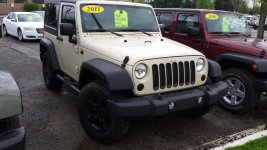
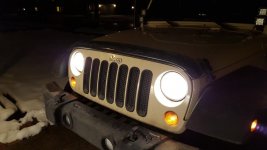
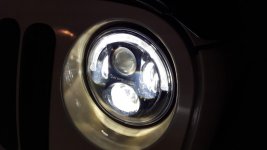
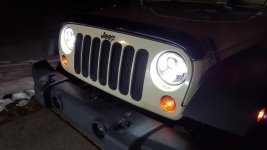
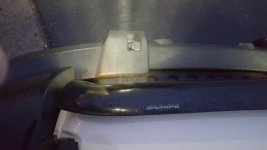
LED Dome Light Install
First off, I wanted to upgrade the dome lights to LEDs for two main reasons: 1, the amount of light that was output by the stocks bulbs was terrible and I always had issues at night with needing a flashlight to actually find stuff, and with the 2011 2dr, you only get the two bulbs in the sound bar for the whole interior. And 2, I am trying to get all lights switched on my Jeep to LEDs as I like the newer, cleaner look of the LEDs compared to standard bulbs. So, for starters, the bulbs that I used in the dome are the same as the bulb that was installed in the license plate light, as well as the marker lights in the front on the fenders. These lights came from
SBL (
superbrightleds.com) and are the 194 CANBus replacement bulbs, and mine for the interior are in the cool white color. Here is the link and picture of the bulbs:
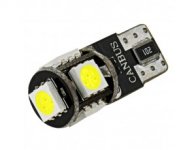 https://www.superbrightleds.com/moreinfo/miniature-wedge-base/194-can-bus-led-bulb-5-smd-led-tower-miniature-wedge-retrofit-car/1127/2672/#/tab/Overview
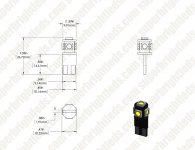
The size is overall not too far off the stock bulb, so you are able to use these as plug and play for most applications. They are rated at 85 lumens, which is plenty for the job they are doing! Here is the measurement diagram from SBL as well:
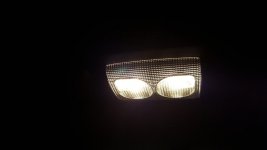
Before we get started though, make sure that you have turned the dome lights off and depending on how long they have been on, gice them a chance to cool because these lights may be small, but they do get extremely hot, extremely fast, just a little warning and fyi on the install! So, to start the install, here is how the lights looked beforehand:
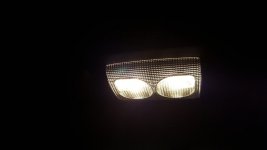
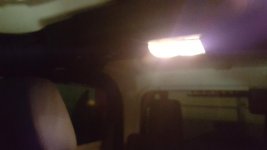
A little hard to see from the pictures, but if you have the stock bulbs in your sound bar, then you know exactly how it looks and how the light output does kind of suck and the placement is not the most ideal, especially with those bulbs. And to my eye, they also give off that yellowish tinted light which sometimes just feels dirty/older to me, especially compared to the new LED lights.
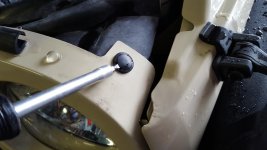
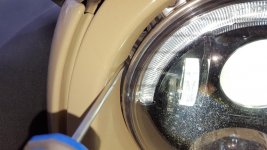
So the first step to remove the lights is to remove the lens cover on the sound bar. This can be done in a few ways. I tested two ways and each worked fine, so dealers choice on which way to go. But for my purposes, you can take a plastic trim removal tool, or for me a thin pocket knife blade and slide it under the edge of the lens very carefully:
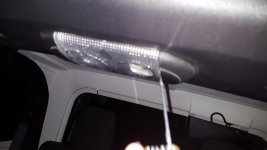
You can also push the button on the side to activate just one light in and use your fingers from the side, but with a trim removal tool or pocket knife you can be a bit more gentle and work it out slower, as you do not want to break any of the tabs. ***IT IS ALSO KEY THAT YOU START FROM THE SIDE AT THE FRONT OF THE LENS (closer to the front seats) AS THE LENS IS MEANT TO PIVOT OUT FROM FRONT TO BACK***
So once you have you method of choice ready to go, you gently an carefully start pulling down the front edge of the lens until the entire front of the lens is released:
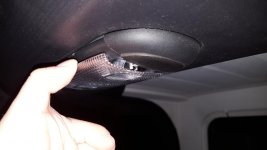
Once this is done, you can go ahead and set you tool of choice aside, unless it was your fingers, and carefully rotate the front of te lens down/towards the back, and you can pull down some, and it will eventually pop out of the clips and be fully removable. (***Note: this install is for the front dome lights only! If you have an unlimited, this will only work for the front roll bar dome lights, not the rear! For the rear, you would need a different light, as well as the lens removal is different and the lens does not completely detach!) Once the lens is off, you can see the two bulbs seated in their sockets with reflectors cupped around them:
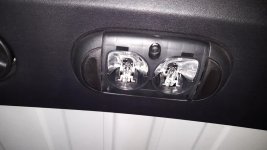
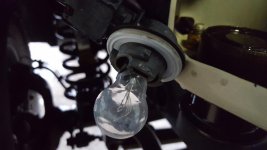
So here is where my issue came in and why it took me so long to actually swap these bulbs. The bulbs set very close to the reflectors above them, not leaving a lot of space to grip the bulb good enough to bulb it out, as these sockets hold the bulbs extremely well! I also wanted to be careful and not get in there with some pliers or something as I did not want to break the bulbs and have to clean glass up, but nothing was working for me for a long while, but then I finally came across a solution with I absolutely feel like an idiot for not thinking about a long time ago :naw::doh::idontknow: but I grabbed some packaging tape, just a small strip, and fished the tape above the light to give me the all around grip on the bulb. I pressed the tape down to make sure it was secure, and pulled the end of the tape that was sticking off, and the bulb popped right out, no problem at all! Here is a pic of the bulb to show what I did:
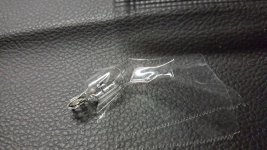
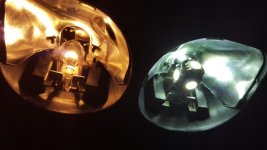
And this method worked like a charm! I highly recommend doing this if you are going to do this mod as it is simple, quick, no hassle, and does not add any extra stress to the bulb when you pull so no risk of breakage! But while I had the bulbs out, I took the chance to take a comparison pic between the two bulbs here:
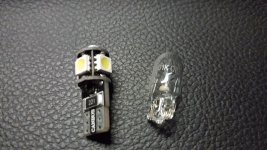
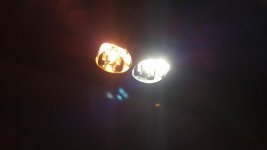
As you can see, the bulb is a bit bigger, but still fits quite nicely into the socket, and is a 360* bulb as well! So with one bulb out, you just grab the LED bulb and slide it right into the socket in the dome light and test for function! (***If the light does not light or only partially lights, remove the bulb, rotate it 180* and reinsert and that should fix any issue!***) Once I put in one bulb, I tested, and took some comparison photos:
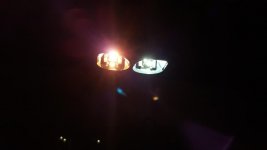
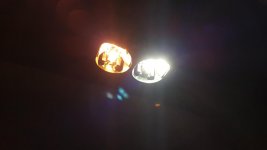
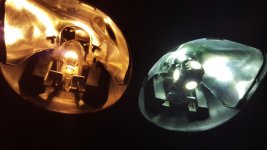
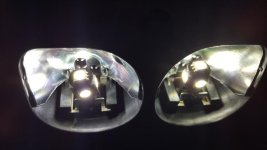
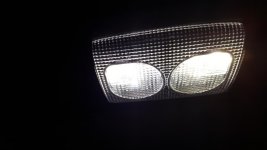
As you can see, the LED with the Cool White light output is on the right, and the factory bulb on the left. The output is much greater from the LED, and it covers a lot more area in the interior of the Jeep! I could actually see the dashboard and cup holders and all easily with it completely dark in the garage, which usually I cannot with the stock bulbs. And the pictures definitely do not do it justice as to the difference in light output! But color-wise, I think the LEDs look so much nicer in there! But, with the comparison pics taken and knowing this method works, I repeated the above couple steps to replace the other bulb, and that led to the finished product:
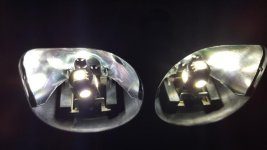
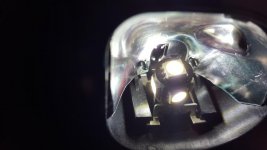
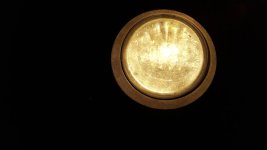
So with both lights installed, I reinstalled the dome light lens cover, making sure that the openings for the light come through are in the correct location (towards the front of the Jeep). You reverse the steps from above by first inserting the rear of the cover with the front tilted down, and once the back is seated in the correct clips, rotate the front of and snap everything back in making sure the fit and flush and secure! And there ya have it! LED dome lights! Here are some more pictures of the finished product and the light output, but like I said, the pictures do not do them any justice:
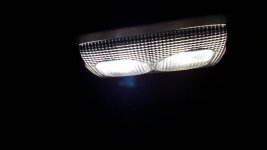
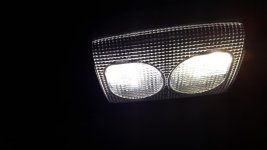
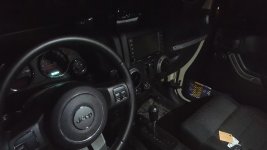
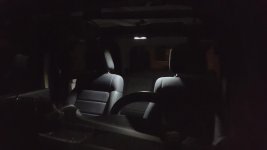
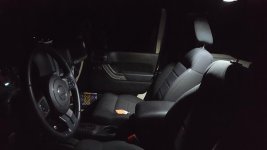
Thanks for checking out another one of my installs, any questions on anything associated with it, I have done a lot of research like usual, so I can probably give you a pretty good answer! Enjoy!
