WxNerd2015
New member
Rubitrux Decals
Had a few minutes of extra time when I got home from work yesterday, so I decided I would get my Rubitrux decals that they sent onto my Jeep! I know it's not really an "install" of anything, but just figured I would share my process of getting them on!
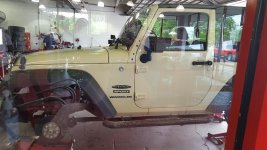
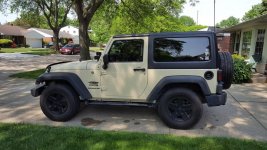
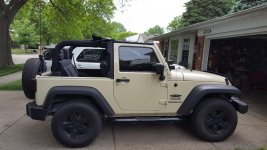
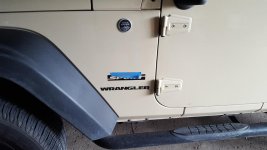
Here is the before picture:
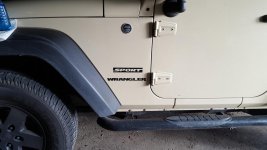
First, I grabbed some Windex and paper towel and cleaned the area I was going to be applying the decal to very thoroughly, and then made sure it was wiped completely dry as well.
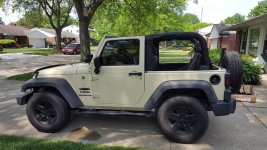
Then, I line up a piece of painter's tape with the sport decal, which should be perfectly placed as it came from the factory, and either way, I want the new decal to line up properly with the existing ones. I also placed the tape marking off some of the space above the Sport decal so they would not end up too close.
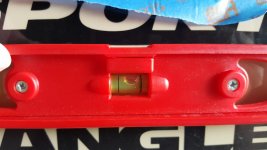
I then got my level out, and figured out what the "level position" was of the sport decal, and fine tuned the tape to match that.
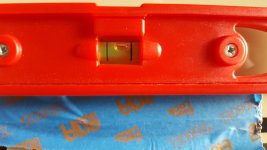
From there, I then grabbed the decal, and lined up it's bottom edge with the top edge of the tape, and took a quick measurement to make sure the decal was properly spaced horizontally to line up right. I then peeled the backing off of the decal, and first lightly placed it using the cover on the front of it (the white paper, not sure what to call it?). After making sure it was still lined up properly, I then started in the middle of the decal (right in between the "I" and the "T"), and using my thumb, I pressed the decal on, working in small movements and always going from the middle to the outside to make sure that there were no bubbles getting trapped. I then took a plastic, flat edged applicator, and ran that over with some pressure a few times to make sure that the decal had set.
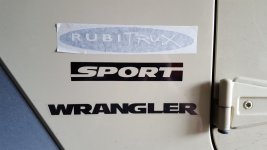
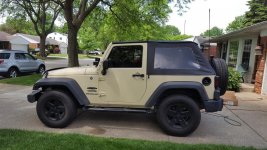
The next step was to then grab the corner of the white paper (I started at the upper left), and slowly begin to pull the backing/cover off. I made sure to take my time to make sure that all of the decal was sticking and nothing pulling up. Once it was all pulled off, the finished product looked like this:
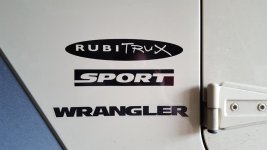
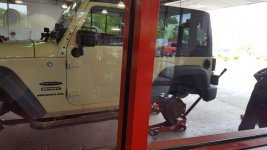
And there ya have it! I went around and did the passenger side then too! And it looks perfect, just like it belongs there! And in my opinion, gives it a little more sporty look with the extra decal, but that is just personal taste/preference!
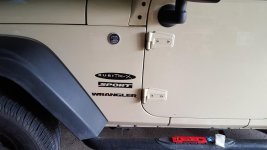
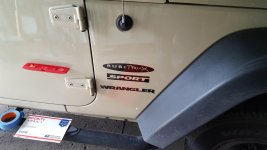
Had a few minutes of extra time when I got home from work yesterday, so I decided I would get my Rubitrux decals that they sent onto my Jeep! I know it's not really an "install" of anything, but just figured I would share my process of getting them on!
Here is the before picture:

First, I grabbed some Windex and paper towel and cleaned the area I was going to be applying the decal to very thoroughly, and then made sure it was wiped completely dry as well.
Then, I line up a piece of painter's tape with the sport decal, which should be perfectly placed as it came from the factory, and either way, I want the new decal to line up properly with the existing ones. I also placed the tape marking off some of the space above the Sport decal so they would not end up too close.

I then got my level out, and figured out what the "level position" was of the sport decal, and fine tuned the tape to match that.


From there, I then grabbed the decal, and lined up it's bottom edge with the top edge of the tape, and took a quick measurement to make sure the decal was properly spaced horizontally to line up right. I then peeled the backing off of the decal, and first lightly placed it using the cover on the front of it (the white paper, not sure what to call it?). After making sure it was still lined up properly, I then started in the middle of the decal (right in between the "I" and the "T"), and using my thumb, I pressed the decal on, working in small movements and always going from the middle to the outside to make sure that there were no bubbles getting trapped. I then took a plastic, flat edged applicator, and ran that over with some pressure a few times to make sure that the decal had set.

The next step was to then grab the corner of the white paper (I started at the upper left), and slowly begin to pull the backing/cover off. I made sure to take my time to make sure that all of the decal was sticking and nothing pulling up. Once it was all pulled off, the finished product looked like this:

And there ya have it! I went around and did the passenger side then too! And it looks perfect, just like it belongs there! And in my opinion, gives it a little more sporty look with the extra decal, but that is just personal taste/preference!


