WxNerd2015's Never Ending Build

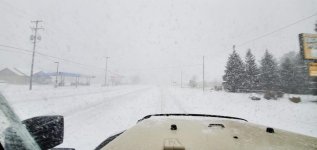
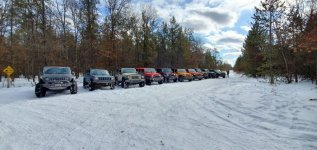
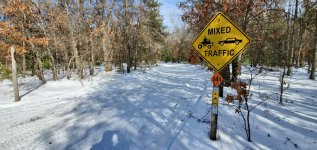
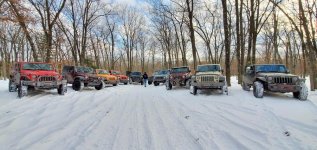
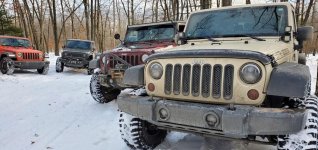
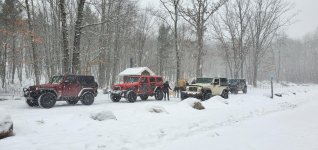
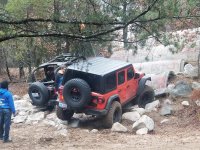
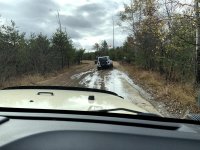
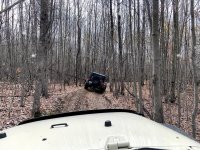
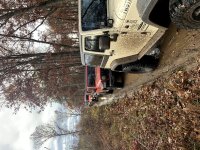
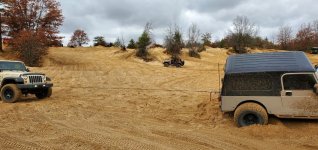
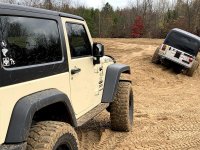
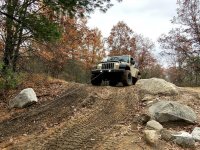
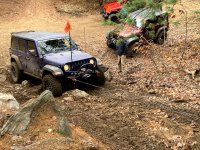
Then me and a couple other Jeep from Wolverine Wheelers went out in January and did some scouting for our Snow Flurry run in February! We ran a few trails like Tin Cup Springs and Little Manistee and then made a run up north of Cadillac to some of those trails the next day as well! It was a snowy weekend for sure, but we had a good time! Trickiest part was the ice that was under a good layer of snow making some of the hills tricky as well as some of the hidden mud puddles of which some of us had some trouble with as you can see in the pics! Had no clue that they were there until you were falling through em!

View attachment 354993

View attachment 354994

View attachment 354995

View attachment 354996

View attachment 354997

View attachment 354998

View attachment 354999

View attachment 355000

View attachment 355001

View attachment 355002

View attachment 355003

View attachment 355004

View attachment 355005

View attachment 355006

View attachment 355007

View attachment 355008

View attachment 355009
Looks like you had some fun last winter. Where are you wheelin north of caddy?

Sent from my SM-G965U using WAYALIFE mobile app
 
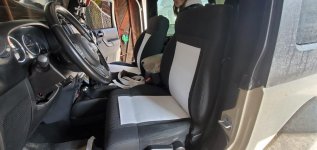
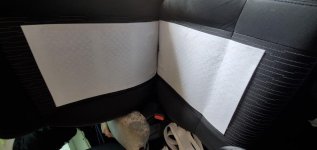
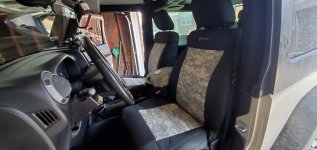
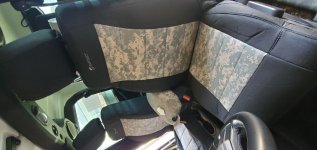
After scouting, the wife decided we finally needed to get some seat heaters installed in the Jeep, so i also took the chance to add in some new seat covers too! I got a cheap set of Amazon seat heaters (not the worst, far from the best though) and some Bartact Seat Covers! This is definitely not the easiest install, mostly due to the wiring, and unfortunately it is still not 100% working, but I need to put some time into it and work on the wiring!

20200202_111811.jpg

20200202_111818.jpg

20200202_121129.jpg

20200202_121135.jpg

So as you can see, since I went with the Bartact seat covers, I ended up just sticking the heating pads to the existing seat fabric instead of pulling that fabric and that made the install a lot easier! The pads have a strip of adhesive down either side, and it doesn't hold the best, but it holds enough. And the seat covers are are tight enough that once on, they hold the pads in place without issue, just a little tricky when you are starting and trying to get them on there.

As for the seat covers themselves, I went with the ACU Camo insert with the black outer. The covers are very high quality and zero complaints! They went on as described. They do require a good bit of pulling force, but the fit is snug on the seat and there is no extra material and no shifting of fabric once on. They even add a little bit of extra padding which to me was definitely noticeable as well on 8 year old seats! Plus I love how they look! Overall, I am very happy and would recommend these to anyone looking into covers or new seats!


As I mentioned though, I am still having an issue with the seat heaters. Out of 4 pads, 2 backs and 2 seat, only 1 seat pad is actually heating. I think it is due to bad connectors between the pads and the main harness as I ended up bypassing one of the connectors, and that is the only one that is working right now. So I will go through and work through that wiring and hopefully get them all working soon!
 
Last edited:
Then it was time for Snow Flurry! And we still had a snowy fun bit of time running through Tin Cup Springs and Little Manistee trails around near Baldwin, MI.

20200207_095255.jpg

20200208_135641.jpg

20200208_140901.jpg

20200208_165854.jpg

20200208_165907.jpg

20200209_132032.jpg
 
Last edited by a moderator:
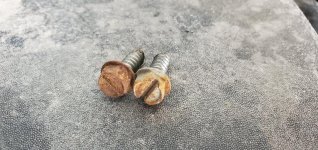
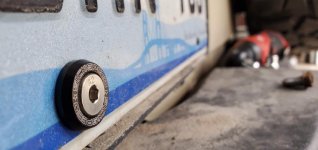
I also did a bit of work with the license plate too on TWSTR! Not big work, however even the little touches matter too! My license plate bolts were starting to get pretty rusty and I just hated looking as it, and especially that it was starting to leave a little bit of a rust stain down my license plate.

20200309_164157.jpg

20200213_172611.jpg

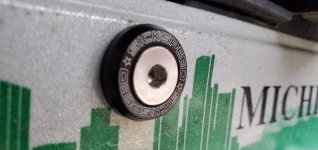
So I went on eBay and came across these new bolts from SickSpeed and they really cleaned the look of the back end up nicely! I went for the black ring, but you can get them in many different colors to match your build! They installed perfectly and I am much happier with the license plate area now!

20200309_164202.jpg

20200309_164209.jpg

20200309_164220.jpg

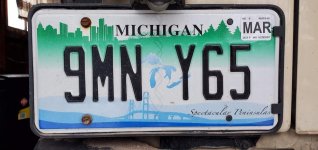
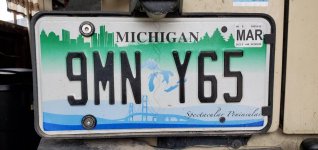
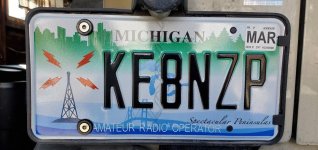
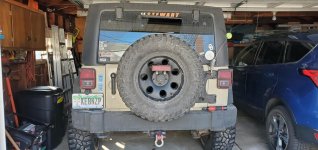
Also, my wife and I passed our HAM Technician license exams not long after this as well! I think it was February or March, so I also went and got a new license plate with my HAM call sign! And now we have a lot more radio frequencies that we can use out on the trail!

20200315_162955.jpg

20200315_163007.jpg
 
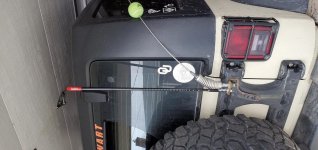
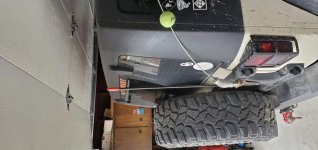
Since I broke my 4 Ft Firestik, I have been really happy with my 102" Whip for my CB, however I have been missing being able to run my TWSTR flag. Looking at my tire carrier antenna mount, I still had a hole left there that I could use, so I went and purchased a little 2ft Firestik to run in that hole that I can then run my flag on when I want to! It fits just right next to the whip, and just reaches to the top of the hard top! It is also nice to have a spare CB antenna if anything ever happens to the whip if needed!

20200328_144527.jpg

20200328_144540.jpg

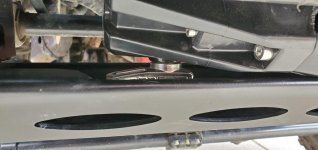
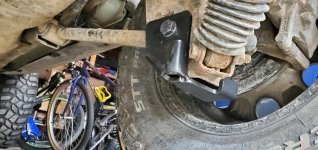
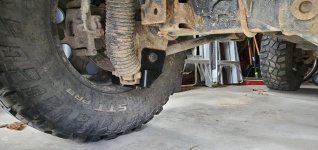
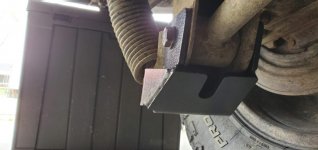
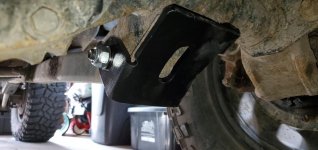
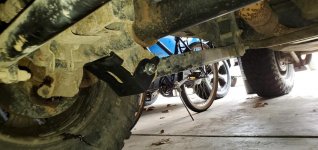
Additionally, I was able to get some Rockhard 4x4 Control Arm Skid Plates for the JK and get those installed! They went on fairly easily, and I worked one by one (one control arm complete at a time). The directions were straight forward to follow and clear, everything that was needed to install them was included in the kit, and they fit perfect! And getting a set of 4 for only $150 was actually a pretty great deal! Hardest part of the install was torqueing the control arm bolts back to proper spec, as I just couldn't find the most ideal position to get the best leverage, especially on the passenger side rear, but I was able to get all of them installed and torqued within an hour or two, and I am very happy with them! I had hit my real shock mount/control arm a few times in my last wheeling trips, so this was definitely a big factor and adding on these skids!

20200414_132745.jpg

20200414_132750.jpg

20200414_132817.jpg

20200414_132851.jpg

20200414_132858.jpg

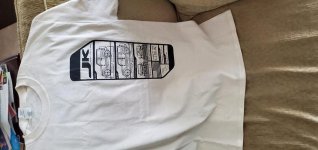
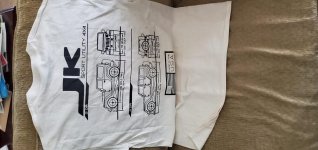
And then I also added a few other items into my Jeep collection! First off, I grabbed a JK Blueprint Shirt from Offroad Outfitter! It even came in my Tan and black color combo!

20200527_151736.jpg

20200527_151749.jpg

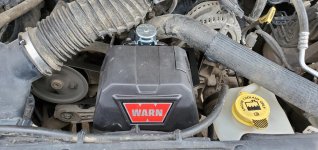
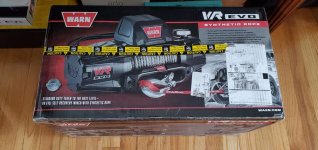
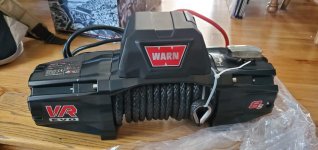
And then I also scored a great deal on a Warn VR Evo 8S! Planning on building a winch mount to install the winch in the stock bumper of my Jeep! Want to keep the build light but still get a winch in the front end!

20200501_135309.jpg

20200918_165551.jpg
 
Last edited:
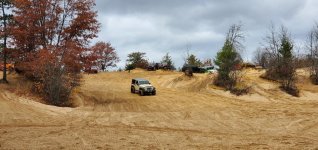
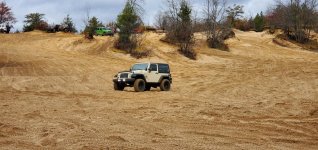
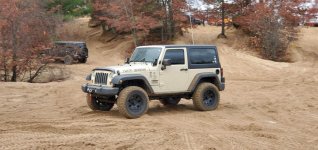
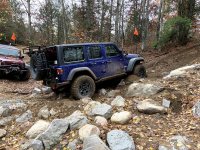
Unfortunately, with all the Covid stuff going on since March, I lost out on the chance for a few trips I had and didn't make it out too much this year. One of the big trips I was supposed to go on was down to Windrock in Tennessee, but unfortunately I missed that one...Hopefully I will get a new chance to go next year! However, I did still make it out in and around Michigan and had some fun wheeling At Rocks & Valleys, along with trails around the lower peninsula, along with having go topless day later in the year than originally planned as well!

20200718_144700.jpg

121245470_10224289125564929_5716357398211451659_n.jpg

117843086_10219120652307386_6889556569587944574_o.jpg

118085829_10158911232619664_5574671003825887098_o.jpg

117642516_10158911234034664_5951640062026007965_o.jpg

118212960_10219120652027379_7078140427551412508_o.jpg

118280595_10219120653787423_4424707266970253692_o.jpg

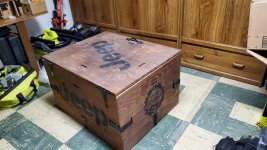
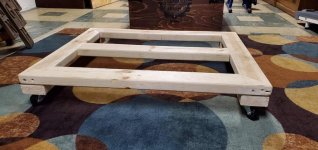
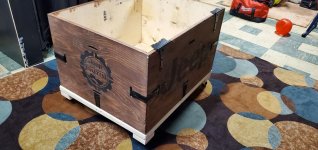
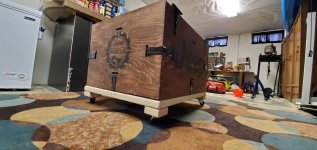
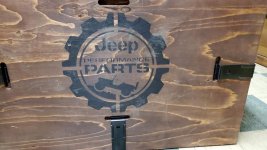
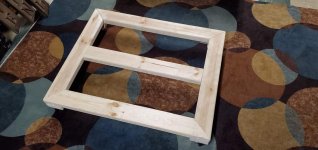
Also, I got my hands on a nice Jeep Crate from someone local getting rid of it! He had already stained it and I really liked the way it looked! I even built a nice roller stand for it as well to raise the crate up off the ground and make it easier to move around if needed! I am using it for tool storage in my work area, mostly for keeping and organizing power tool! But definitely love it!

20191222_152004.jpg

20191222_152009.jpg

20200720_182800.jpg

20200720_182803.jpg

20200720_182859.jpg

20200720_182904.jpg
 
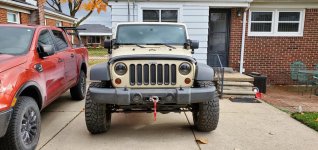
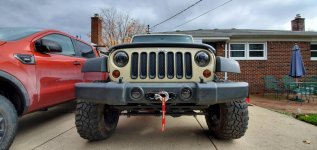
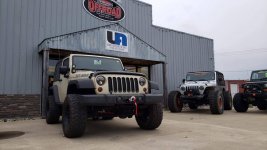
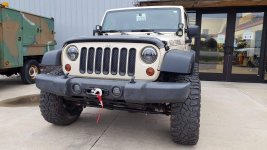
Then we get up to just a few weeks ago and are finally caught up! I got my winch installed on a custom hidden winch mount built by Unlimited Offroad in Fenton, MI. I been working a design idea for a while, but I don't have any welding experience, and this was not the project to try to start welding on! SO I ended up going to Unlimited Offroad, and they took my design and made it so much better! You might have seen the pics already in a few other threads, but without further ado, here are the pics!
received_1012664765916967.jpg

received_937070196784983.jpg

20201021_115852.jpg

20201021_115856.jpg

20201021_115902.jpg

20201021_115914.jpg

20201021_115923.jpg

20201021_120007.jpg

20201021_120002.jpg

20201021_120022.jpg

20201021_121748.jpg

20201021_121756.jpg

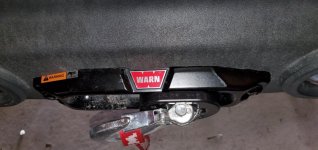
First off, as stated above, this is a custom hidden winch mount for use on the JK stock bumper. The winch mounted inside is a Warn VR Evo 8S. Now, I chose to go with the hidden mount in the stock bumper for a few reasons. First off, I didn't want the the winch up in front of the grill and I wanted to leave all of the airflow possible to the grill. Second, weight was a big factor that I wanted to keep down. From keeping weight down for drivability of the highway to keeping it down for off roading, I hate adding the unnecessary weight of a big steel bumper that I really do not need for the type of off roading I do. I love how easily my Jeep gets through obstacles that many others I wheel with struggle with and I believe a huge factor is the weight of my rig being so light! And lastly, I really don't mind the look of the stock bumper and really wanted something unique for it as well!

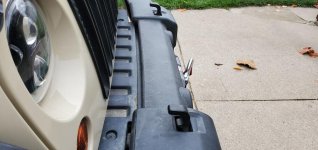
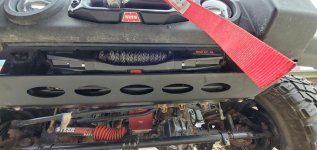
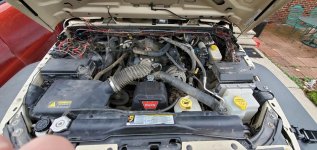
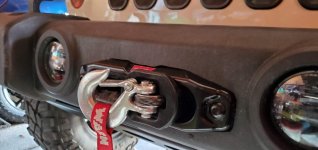
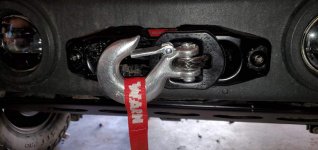
The guys at Unlimited started this mount with an AEV winch plate and modified from there. The winch is mounted upside done and they rotated the clutch lever so it is easily accessible from the front of the Jeep. And yes, the clutch lever is easily reachable through the lower skid or from between the skid and the bumper. Speaking of the skid, the guys wanted to tuck the winch down in the bumper as low as possible and my Crawltek Revolution lower bumper skid that I had added a while ago was the absolute perfect fit for winch protection! You might also note in the pictures that the front bumper maintained all the components from the top side, but it did shift forward about 1/2"-3/4", but unless you are looking for it, it is not noticeable! Additionally in the photos, you might not that the control pack is remoted mounted on a custom alternator bracket front and center. And lastly, there is also a two fairlead setup. There is a fairlead mounted inside the bumper to the actual winch plate and then there is a spacer on either side from that to the external fairlead that you see on the front of the bumper. So the fairlead on the front does have some good strength to pull against, however there is also nothing inside to cut the synthetic line. Additionally, from my original design, the guys pulled the winch a bit further forward to decrease the size of spacer they would need to the bumper as well as give the external fairlead a bit more strength. This also meant that they needed to push the fog lights a little bit further forward into the holes in the bumper, but once again, unless you are really looking hard, you would never catch that change! Then lastly, everything was fully gusseted and reinforced to make the mount really stout and then all was powder coated black to cover up all the bare metal! This was definitely not a small undertaking, however I am super happy with the end result and especially how clean it came out!
 
Last edited:
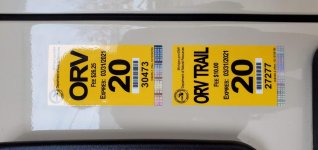
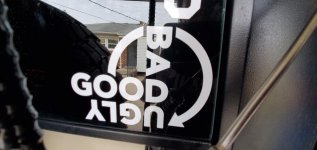
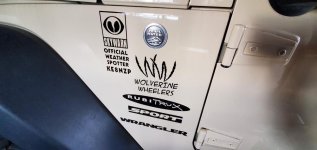
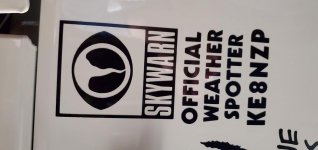
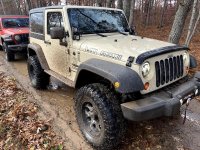
Added a few new decals before Fall Color Tour 2020 with Wolverine Wheelers too! I of coarse had to add my latest ORV Permit and License! And then a new one on the rear window and my Storm spotter/HAM radio!

20201021_161724.jpg

20201021_162914.jpg

20201021_163436.jpg

20201021_164022.jpg
 
I like that “Good Bad Ugly” sticker.


Sent from my iPhone using WAYALIFE

Thanks! Got it from Pixel Decals! You can get it in a lot of different colors too! Fit perfect where I wanted it and liked the idea!
 
Last edited:
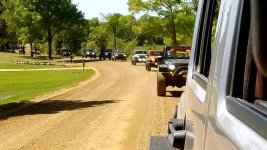
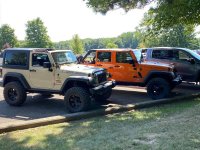
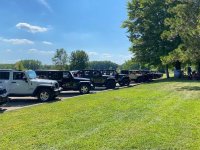
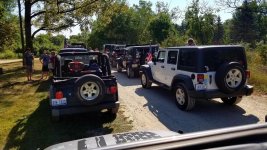
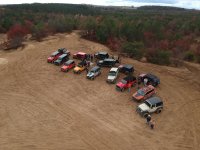
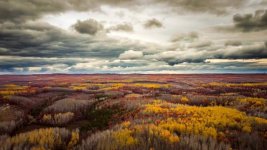
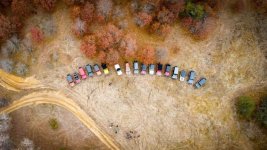
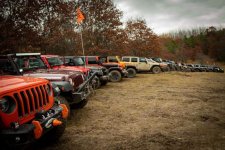
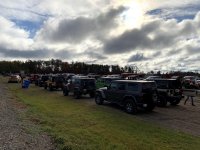
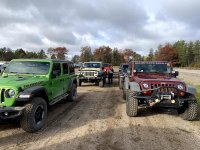
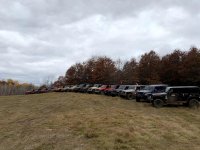
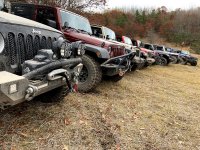
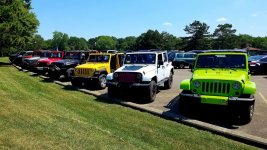
Last weekend was our Fall Color Tour 2020 with the Wolverine Wheelers and we ended up with a pretty good turnout! We were probably a week or so late on peak colors in St. Helen, but still saw some good colors and had a bunch of fun as always! Even took my dad out on his first off road trip and he had a blast!
20201024_113940.jpg

20201024_114028.jpg

20201024_114035.jpg

DJI_0452.jpg

FB_IMG_1603650346231.jpg

FB_IMG_1603650350342.jpg

FB_IMG_1603650360822.jpg

FB_IMG_1603650392075.jpg

FB_IMG_1603650394179.jpg

IMG_0961.jpg

IMG_0962.jpg

IMG_0966.jpg

IMG_0992.jpg

IMG_1002.jpg

IMG_1004.jpg

IMG_1008.jpg

IMG_1009.jpg
 
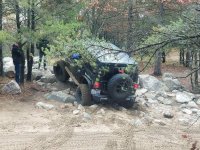
I even got to use my new winch out twice! The first pull was quite easy and probably was better suited for a snatch strap, but a bunch of us wanted to see it work, and the second one was actually quite a good uphill pull of a JLU with the rear diff hung up on a rock and all 4 tires dug in pretty good!
20201024_113454.jpg

IMG_0974.jpg

IMG_0987.jpg

IMG_0988.jpg

IMG_0986.jpg

I also have a whole bunch of video clips from phone, a drone, and dash cam! So I will be putting together a small video of the outing that I will post soon!
 
For anyone interested as well, here is our route that we took in and around St. Helen starting at the St. Helen ORV Trailhead on Airport Rd. Route was recorded using .

Please don't post GPS coordinates to routes here. Not sure if you missed it, but Eddie's been very specific about not doing that here.
 
Thanks! Got it from Pixel Decals! You can get it in a lot of different colors too! Fit perfect where I wanted it and liked the idea!

For fuck sake, can you post without having to insert hot links to every single thing you buy? We are completely capable of looking thinks up on our own if we are interested in doing so.


Sent from my iPhone using WAYALIFE
 
Please don't post GPS coordinates to routes here. Not sure if you missed it, but Eddie's been very specific about not doing that here.

WJCO, I didn't know about this and must have missed it, my apologies! I will make sure to keep that in mind for future posts. :thumb:
 
For fuck sake, can you post without having to insert hot links to every single thing you buy? We are completely capable of looking thinks up on our own if we are interested in doing so.


Sent from my iPhone using WAYALIFE

Sharkey's most of the reason I do it is for myself to go back and find later if I need it, since this is my build thread and it kind of helps me keep a record myself. This is why I try to post with links most of the time just in my own build thread. If other's use the link, then that is fine. I also know many people are horrible at searching even on the forum itself, some are very good and kudos to them, for those who aren't they can use the links. Not trying to offend, just trying to inform and keep my own record myself. Besides, you don't have to click em, but if it is against rules or not in line with forum guidelines, I will happily rework my posts moving forward. Just here to share info and document my build and adventures, nothing more.
 
Last edited:
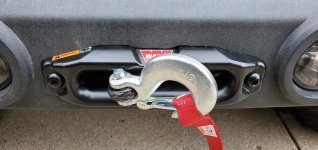
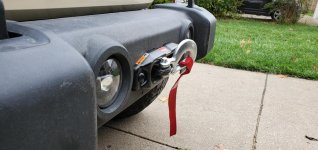
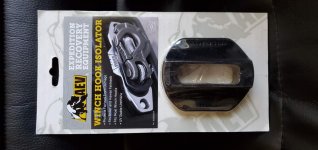
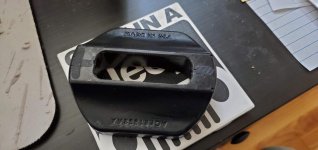
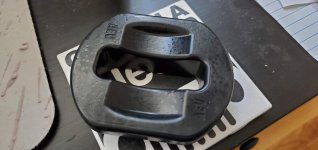
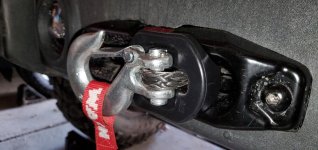
Added on an AEV Winch Hook Isolator to the winch yesterday as well! Will keep the winch hook off the fairlead but allow me to suck the winch hook up nice and tight to the fairlead. And no more metal on metal contact there. It took me about 5 minutes to install. Just remove the pin holding the winch hook on, remove winch hook, slide the isolator on, replace hook, replace pin! Simple as that!

20201103_103226.jpg

20201103_103528.jpg

20201103_103534.jpg

20201104_154335.jpg

20201104_154347.jpg

20201104_154353.jpg

20201104_154431.jpg
 
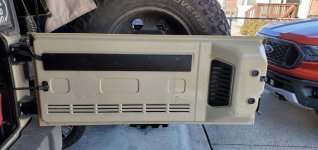
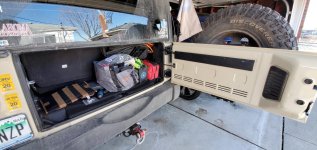
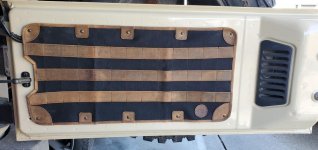
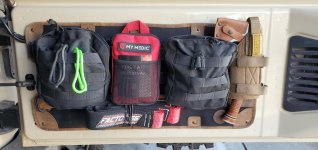
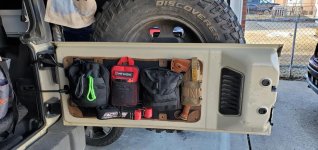
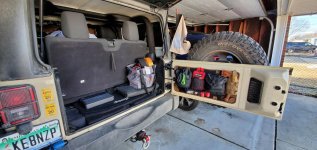
Just a few days back, my wife got me some nice Bday gifts for the Jeep! What a great wife, right? So I took the time to get em installed! The main piece was a no-drill MOLLE panel for the tailgate to clean up the trunk and get this better organized! The panel is from Overland Outfitters! It is made of Duck Canvas and Leather straps and the fit is nice and tight! Installation only took about 20 minutes and is super simple. You remove the plastic panel covering the tailgate wire insert clips into the tailgate where the plastic panel was clipped and along teh vents in the bottom, and then attach the panel with screws into those clips! And there ya go! Installed!

Here's a few shots of before:

20210305_150026.jpg

20210305_150033.jpg

And here's with the panel installed:

20210305_151648.jpg

20210305_151705.jpg

And with all my attachments added onto the panel:

20210305_163243.jpg

20210305_163245.jpg

20210305_163251.jpg

20210305_163311.jpg

I am super happy with how the panel came out, and especially with the fact that I did not have to drill into my tailgate at all! We'll see how it holds up over time, but seems very high quality and sturdy! And with having a 2-DR JK, trunk space is at such a premium, and this really cleaned that space up for me and helped me get a lot more organized! Plus, things are much more easily accessible now that they are out on the tailgate, not just piled up in the trunk!
 
Top Bottom