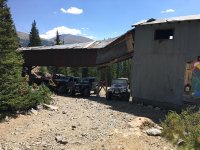
Ever since the Jeep Experience in May, Thanos has been stuck in limbo. See, while summer was just ramping up for the world, my wife and I were headlong into the process of selling our house and building a new one.
With a July target for getting our 20+ year old home updated and on the market, and the bulk of the work to be done ourselves to save thousands, it meant converting Thanos into full time utility mode for hauling, and a concerted effort to avoid the myriad of Jeep events that would threaten to steal weekends and evenings of hard work away.
This is pretty much why I haven't been around to post much (same locally in TX) - the draw to say 'f-it lets strip the jeep naked and go wheelin' is just too great a pull, so I had to go celibate.
Now just look at the poor bastard:

Well into the summer, hard top on, doors on, seats
down, a gd movers blanket. (The Squirt... is not mine.. but the dudes building my frame love the stuff so I bring em coolers of it)
So with Thanos having been pavement stricken for two months now, I thought I'd share some of the house mods I worked on over the past few months. I literally just thought of this, so the pictures below will be whatever I happen to have taken on my phone at the time.
Here we go. Let's start with the shitty tiling job a "friend of a friend" did early on. This was supposed to be a quid-pro-quo where he was the general contractor and I was the mechanic.. so I replaced shocks, struts, and tie rod ends on his Honda Element, and he in-turn was going to retile the master shower (I did all the demo work and cleaning, so he would literally just have to throw down backer board, membrane, tiles, grout)
Couple days later, his Element is driving like a dream, and I'm left with this:
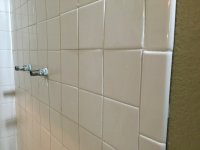
If you want something done right, eh? The nature of the friendships involved made it less conducive to causing drama and making him redo it, so I just decided to address the wonky tiles and poor grout job myself and be done with it. (I would later come to find out the problem is he used 1/4" backer board (meant for floors) rather than the 1/2" you're supposed to use for walls. )
Aaaanyways, the COOL part of this renovation was updating away from the standard crappy "cage" surround and flimsy shower door. We decided to go with a glass block tile and a frameless/floadting glass door:
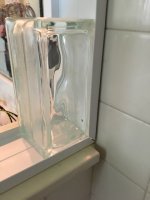
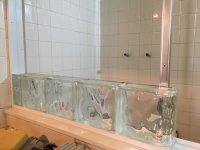
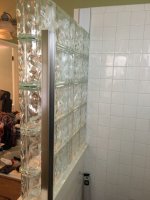
In the first pic above you can see how the blocks come together- they sell these channels that you anchor into the wall and the sill (or half wall shed in this case) and then the blocks "lock in" to the channel and are pushed together.
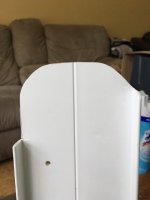
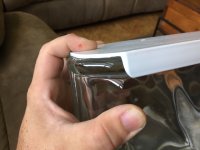
The second and 3rd pics show a little custom outline cut I did on the horizontal channel since the glass wall is coming out to a free-standing end. They sell end-cap blocks with rounded edges for applications like this so I wanted the lower channel to follow the rounded contour.
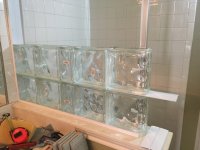
Next you see how the layers work- you use these long horizontal spaced pieces between rows, and shorter vertical spacers between the blocks. After cutting them to length, you apply silicone sealant to the spacers on both sides and then lock in the blocks. The spacers are bowed out on both sides so they pillow out to make good contact with the glass block surfaces.
I'm the last pic you can see how tall the wall is in the mockup- I was also running the strike plate for the glass door up alongside to make sure it would sit level against the glass.
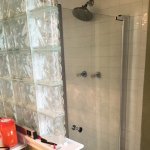
I guess I didn't take any more in-between pictures until I was done, but there you go. The floating/frameless door design is very cool and easy to install, the glass floats on a pair of pivoting clamps above and below that can be adjusted, and the bottom features a door sweep-like kick plate that does a good job of stopping water.
With that shower done (and redone) my next trick was to redo the upstairs second bath/shower. Here was the post-demo pic:
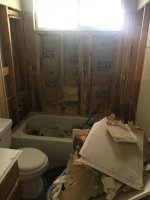
It looks more horrendous than it actually was, the bathroom just had poor lighting and a lot of drywall and grout dust was still in the air

With everything gutted, I checked to make sure the tub was still level, and put up my backer board (1/2" lol)
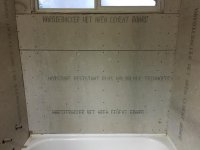
Next step was to run fiberglass tape between all the joints and apply a waterproofing membrane. I went with this red stuff everyone was recommending which paints on- but I later found out they sell these crazy rubber looking sheets you can just cut to fit and staple up... def would have been less work lol
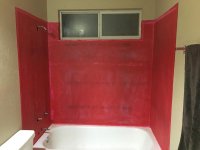
After that stuff set up it was time to tile. We went with larger 12" tile and 3/16" grout spacing, and I got to rock my hole-saw skills on a material other than metal for a change:
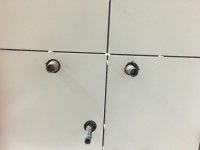
Here's a pic of the tiles before the final complicated cuts for the window sill. Where's all the thinset, you ask? We actually went with this cool product which is a bunch of double sided pre-adhesive'd mats that bind the tiles to the wall. Worked really well, super strong, no mess.
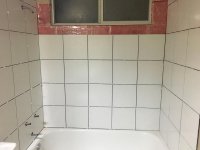
And here is the final outcome- not the fanciest thing in the universe but a thorough enough job that it passed inspection and is a moderate upgrade from basic tile with less grout care required.
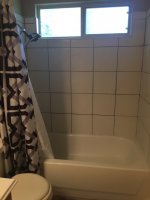
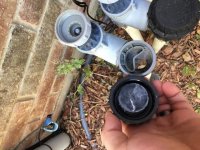
Another project was learning about and troubleshooting our sprinkler system. We
had a 7 valve system but only 1 zone (front yard) was working since we bought the house and I was too lazy to deal with it until now. This is one of my reference pictures I was using to go research:
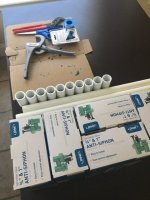
Thru testing I found out that the solenoids on the anti-siphon valves were just old as dirt and had gone bad on the other zones, so I bought and installed a set of replacements:
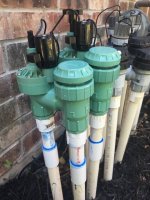
Now all the zones work and I have sprinklers popping up for places I didn't even realize I had irrigation for lol
That's about all the major stuff I have pics for. We also ended up replacing all the light fixtures and door hardware throughout (going form ugly gold to brushed nickel), replaced a few missing shingles (original roof)... oh and a metric shitton of packing, cleaning, and hauling stuff to storage.
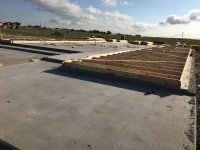
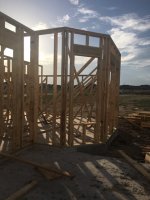
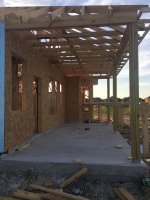
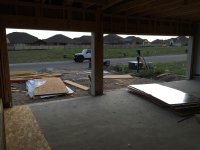
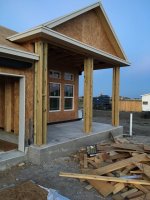
But that's all the boring stuff, in the mean time our new home build was underway, and that's much more photogenic, but the pics will have to wait for another post as in at the limit!


