You are using an out of date browser. It may not display this or other websites correctly.
You should upgrade or use an alternative browser.
You should upgrade or use an alternative browser.
Matt's build
- Thread starter MattAlpha
- Start date
MattAlpha
Caught the Bug
The lift install is complete minus the alignment. Unfortunately my brake pedal is soft. I even used a bleeder...I just suck at bleeding brakes (even following the manual and Eddie's thread). I'll just have the shop do it with the alignment. No highway driving until then though. I won't be able to make the NE suds'n grub meet-up tonight.
A little carnage during my test drive due to the U-bolts extending up to where the stabilizer's body passes over during a left hand turn...which I felt.
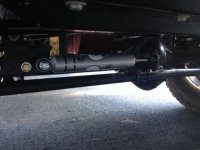
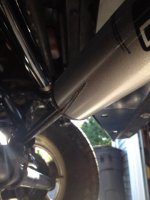
Fortunately the gouge is only superficial and I've trimmed the U-bolts so the end at the top of the nuts and no longer extend in the stabilizer's path of motion. I wish I would have noticed that before my test drive. Hopefully this helps someone else to not make this same mistake.
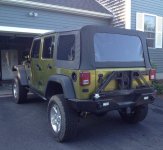
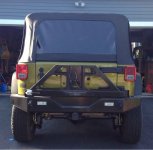
The build will continue with installing my 37's once I buy them. Until then I need to install my spare tire and license plate later on today.


A little carnage during my test drive due to the U-bolts extending up to where the stabilizer's body passes over during a left hand turn...which I felt.


Fortunately the gouge is only superficial and I've trimmed the U-bolts so the end at the top of the nuts and no longer extend in the stabilizer's path of motion. I wish I would have noticed that before my test drive. Hopefully this helps someone else to not make this same mistake.
The build will continue with installing my 37's once I buy them. Until then I need to install my spare tire and license plate later on today.
09blackruby
Member
Looks awesome.. Can't wait to see it with 37's....
MattAlpha
Caught the Bug
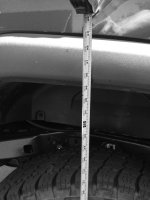
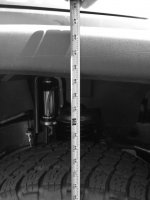
I forgot to take the after install lift pictures of my new rise height.
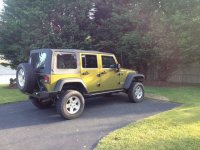
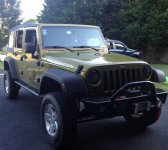
I started out at the fenders at almost 36" in the rear and 34" in the front. I'm now sitting at 39.5" in the front and rear. So the 3.5" RK Max travel lift kit gave me the stated lift and leveled out the Jeep. I have ShrockWorks bumpers, sliders and a winch so I'm very happy with the overall results.
The kit isn't squeaking from the poly joints as others have mentioned it would. I'll make sure to keep the joints lubed. I haven't taken it on the trails yet, but I hope to have time to next month. I think the 37's are about two or three months down the road.
-Matt
MattAlpha
Caught the Bug
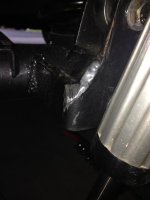
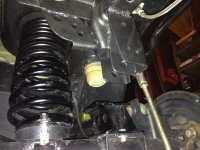
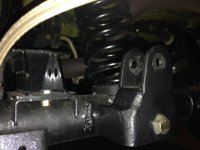
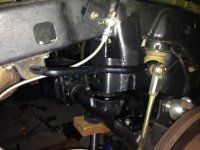
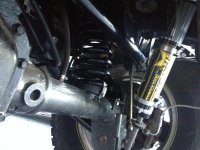
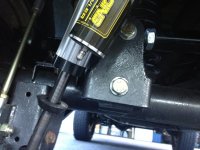
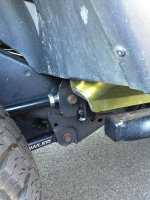
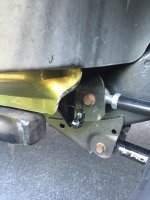
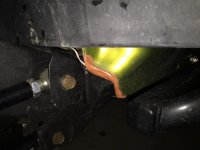
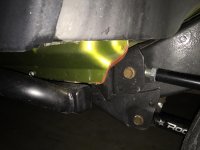
Fabricated upper rear track bar mount
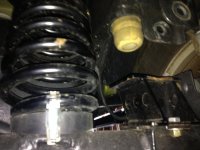
During my some (mild) offroading I noticed that the rear track bar was contacting the passenger side spring. I rotated the bar per RK's instructions and found that it would still rub regardless of the tilt of the track bar relative to the mounts.
So after searching around I found a couple of guys that fabricated a new mount and figured I'd give it a try.
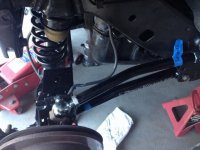
Here are a few pictures of the damage that was being caused on the rear passenger and driver sides.
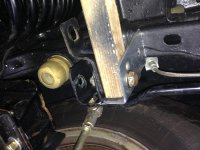
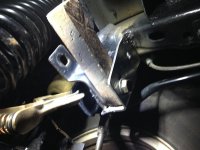
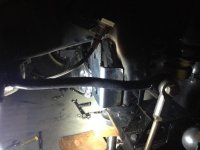
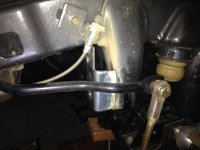
I fabricated the bracket out of a general construction 1/8 inch mild plate steel corner bracket that I bought at Home Depot. It was originally 5 inches high and 3 inches on each side. The holes that came in the bracket were the perfect diameter (5/8 inch), but not in the correct location. After fitting the bracket, I marked where I needed to drill the hole while holding it in place. I then cut a block of scrap wood down so that I could guarantee that I was tacking the bracket in place exactly as I needed it to be to fit the track bar's joint perfectly. It may seem weird/dangerous to weld a bracket in with a piece of wood supporting it, but it worked for me to tack it in.
You can see what I did in the pictures below.
I just drove 84 miles on it around Rhode Island with no problems so far. The ride is much better now too, given the track bar isn't rubbing against the spring anymore.
Attachments
-
 IMG_8415.jpg66.1 KB · Views: 201
 -
 IMG_8417.jpg88.2 KB · Views: 197
 -
 IMG_8421.jpg48.6 KB · Views: 188
 -
 IMG_8422.jpg79.5 KB · Views: 193
 -
 IMG_8423.jpg67.9 KB · Views: 192
 -
 IMG_8424.jpg74.7 KB · Views: 195
 -
 IMG_8426.jpg99.6 KB · Views: 196
 -
 IMG_8427.jpg62.9 KB · Views: 197
 -
 IMG_8428.jpg80.9 KB · Views: 192
 -
 IMG_8429.jpg105.4 KB · Views: 194
 -
 IMG_8430.jpg95.7 KB · Views: 197
MattAlpha
Caught the Bug
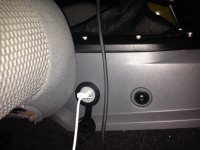
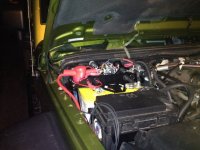
I got a few more things completed. DIY SPOD, switches, dual battery kit and accessories installed.
Here are a few pictures.
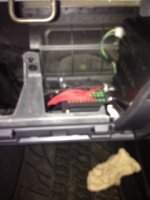
SPODE mounted under the glove box location.
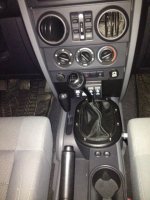
Switches.
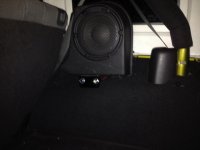
Aux 12V outlets mounted under my sub relocation.
I also hard wired my CB and inverter through the SPOD. I'm hoping to finish the rock lights install over the next week.
Still need to upgrade the brakes and then tires.
Here are a few pictures.

SPODE mounted under the glove box location.

Switches.

Aux 12V outlets mounted under my sub relocation.
I also hard wired my CB and inverter through the SPOD. I'm hoping to finish the rock lights install over the next week.
Still need to upgrade the brakes and then tires.
MattAlpha
Caught the Bug
With the nicer temps this past week I chopped the pinch seams in preps for the larger tires. Hoping for some great sales over the next couple of days.
I moved my rock lights after I cut the seams to a more secure location (up behind my sliders).
I filled in the gaps / cavities with JB Weld, sanded and then primed.
I top coated them with rescue green (twice) to match the rest of the Jeep. I just didn't take any pictures of them yet.


I moved my rock lights after I cut the seams to a more secure location (up behind my sliders).
I filled in the gaps / cavities with JB Weld, sanded and then primed.


I top coated them with rescue green (twice) to match the rest of the Jeep. I just didn't take any pictures of them yet.
MattAlpha
Caught the Bug
Here they are top coated...4 days later.
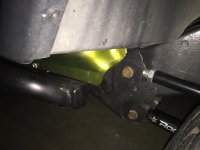
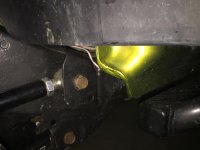
I also ground off a bit more metal from my RK rear Track bar relocation mount from where it rubs the drivers side rear shock body. This is the second time I've ground it and hopefully this will be the final time.
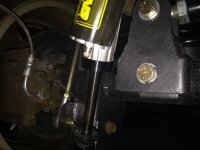
I painted that area black so that I can easily see if the rubs again.


I also ground off a bit more metal from my RK rear Track bar relocation mount from where it rubs the drivers side rear shock body. This is the second time I've ground it and hopefully this will be the final time.

I painted that area black so that I can easily see if the rubs again.
MattAlpha
Caught the Bug
Got my Nitto 35" Exo Grapplers installed today. Always nice to have my father in law to give me a hand in his shop!
Here's a few pics:
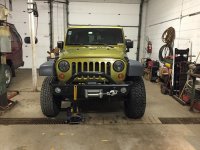
Side by side picture of my old Nitto 33" terra grapplers (passenger side) and the Nitto 35" Exo Grapplers.
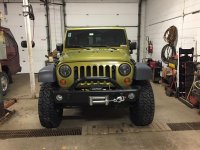
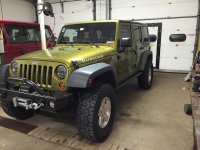
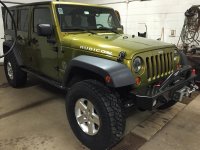
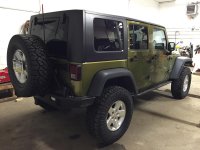
The tires came out at about 33.5" vice 34.75" as stated on NITTO's website. So far they ride great. I'll get a chance to off-road them tomorrow on a mild snowy/icy trail up here in VT.
I'm hoping I get my Pro Grip brake kit soon from Dynatrac so that I can "finish" my Jeep.
-Matt
Here's a few pics:

Side by side picture of my old Nitto 33" terra grapplers (passenger side) and the Nitto 35" Exo Grapplers.


The tires came out at about 33.5" vice 34.75" as stated on NITTO's website. So far they ride great. I'll get a chance to off-road them tomorrow on a mild snowy/icy trail up here in VT.
I'm hoping I get my Pro Grip brake kit soon from Dynatrac so that I can "finish" my Jeep.
-Matt
Jtmw
New member
Looking really good man! I have the 1.5 Max Travel and I got quite a bit of lift out of mine. What did you actually net out of the lift, and how do the RK shocks feel offroad? I would love to see a flex picture as well! Thing I love about these kits is its just a matter of changing coils and shocks to go higher! :brows:
MattAlpha
Caught the Bug
Thanks!
I actually got just over 3.5 inches front and rear. The kit isn't available any more. It's essentially the 3.5" X factor kit with the drag link flip kit too.
The shocks are great on and off-road. I'm still on the rocks about the coils. I was told they are the triple rates and they seem to be the progressive type front and rear but I thought they were going to be a bit softer than they are...though the polyurethane bushings may have something to do with that too.
I'm glad I didn't chop the fenders now that the tires are on.
Jtmw
New member
Thanks!
I actually got just over 3.5 inches front and rear. The kit isn't available any more. It's essentially the 3.5" X factor kit with the drag link flip kit too.
The shocks are great on and off-road. I'm still on the rocks about the coils. I was told they are the triple rates and they seem to be the progressive type front and rear but I thought they were going to be a bit softer than they are...though the polyurethane bushings may have something to do with that too.
I'm glad I didn't chop the fenders now that the tires are on.
When did you actually order the lift? I know the triple rates are relatively new additition to most of their kits. Mine's pretty soft compared to RE 4.5 Long Arm and some :9lame: RC Lift.
I got about 2.75 inches out of my coils, could be the fact I'm the two door. But I chopped my fenders, slapped on some 35's and am ready to go up to 37s. Dont cut them unless you want to make yourself ready to move up a tire size.
MattAlpha
Caught the Bug
I ordered the kit in April and installed it at the end of May. I ordered it through Rivercity off-road and they had to have RK put the kit together. It was about a two week wait while the parts were being made and the kit assembled. So I'm assuming I have the triple rates because that was the time that they were introducing them. I've also haven't had an issue with sagging at the rear end when fully loaded so it seems they are progressive could all around. That also makes me think they're Triple rates too.
I guess I'll only know for sure if I ride in someone else's with Triple rates or the old style coil.
I guess I'll only know for sure if I ride in someone else's with Triple rates or the old style coil.

