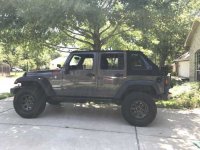
Mako build-ish thread

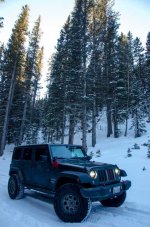
Here's a few shots from the WAL meetup at HF. This was a while ago and there are a lot of pictures of this trip up here already, so I'll just throw out a few. Here's our camp site, and a picture of the newbie group
View attachment 289909
View attachment 289910

On this trip Mako hit 10k too; Mako is the first time I've driven a vehicle > 15k a year. We love taking it everywhere.
View attachment 289911

Lol. I see my super stocker, on the right.


Sent from my iPhone using WAYALIFE mobile app
 
a few more photos we found of CO; I love the country out there, and would totally move if we could find work. I could work for a normal software company but Patrick is a designer at Nintendo so he has to stay in the industry for work
This is the road up to a trail head for pikes peak; we parked and hiked a bit from the trail head
co_pikes.jpg

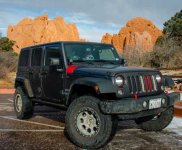
some garden of the gods
co_garden.jpg

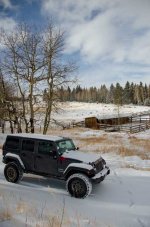
and another shot of the surrounding land we were staying
co_yurt.jpg
 
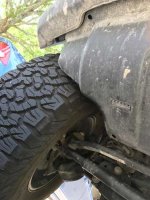
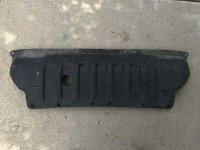
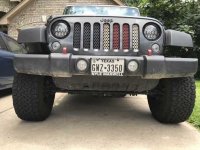
The next thing we did was to trim the splash shield (sometimes on hard turns the tires were hitting it)... I know I could just pull it but eh I figured to keep it till I got a proper skid up there.
skid_prox.jpg
skid_original.jpg
skid_trimmed.jpg

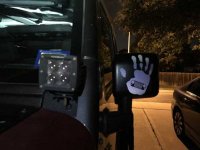
Adding a black reflective "Jeep Wave" sticker, so I never miss one at night ;) I got black so you can't really see it during the day
wave.jpg

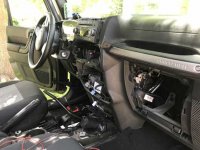
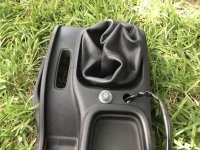
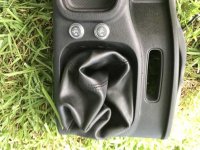
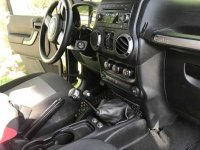
We wanted to add heated seats before the CO trip, but we had a hell of a time getting the manual shifter knob off. I even went as far to ask the dealership if they would do it, but they were worried about breaking it so they said they wouldn't unless we had another to replace it. After watching Eddie's video and talking to some friends, we finally figured it out by the summer and started the wiring through the center console. I had read in a few places that it was kosher to put these particular heat pads directly above the seat and under the seat covers. It's not that we didn't want to take the seats out/apart it was more I wanted the heat element closer to my bum. I'm a cold wimp for sure and the heated seats project is still on going. I got it to the firewall by this stage, and ran out of time working on it. This is TX and it was least 100 degrees out so I figured they could wait a few more months to finish lol. This image doesnt show much, but it was a victory for us to get those shift knobs off.
heated-seats.jpg

I ended up placing the buttons for them in the center console, mainly because that's a cheaper piece to replace if I messed it up. I got some water resistant caps to put on top of them in case it gets stuck out in the rain with no roof on.
heated_seats2.jpg
heated_seats3.jpg
heated_seats4.jpg
 
Last edited:
Next project was starting to get ready for our next road trip. Patrick and I were planning on going to Food and Wine fest at Disney World Orlando, and camp at Disney's Fort Wilderness (one of my favorite places as a kid). We decided to take Mako and get a soft top so we could enjoy the weather, visit New Orleans along the way, and keep our own time line. My grandmother had been getting sick and there was a very real possibility we would end up driving to Alabama to visit her.

With that I got the new NX Plus Black Diamond. It is part glide, part zipper. I also really like that they've added a zipper pocket above the driver and passenger. I've been having some recent trouble with the glide portion on the rear window, but Bestop is replacing it and hopefully that will fix our troubles.
nx.jpg
 
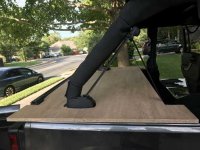
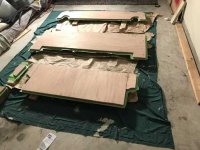
We also needed a way to lock the "trunk" with all our camping gear. So we started creating something that we could bolt from the inside, and deny access behind the seats. This is built out of marine grade ply; I wanted something that would hold up to the elements. The sheet cost me about $80, funny enough the wood shop guy was a Jeeper and he helped me get it back home, because it wouldn't fit in the Jeep (I didn't think that one through very well).
trunk1.jpg
trunk2.jpg

I initially was going to cover/seal it with epoxy, and boy was that a bad idea, and it was about an $80 mistake. I learned a lot though; like screw trying to cover anything with epoxy. So we sanded it down to even out the texture
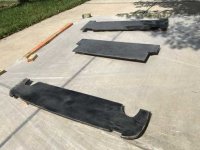
trunk4.jpg

Instead we went with this black enamel paint. That worked out real well and gave it a nice coating. We did about 3 applications on the top side. We were running super low on time and was only able to do the top side, so eventually we will get to the bottom, but for now the ply is holding up real well.
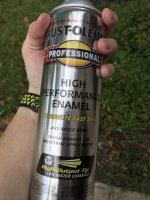
trunk5.jpg

I added some window trim to the bottom so it wouldn't rattle against the back and also to help protect the paint
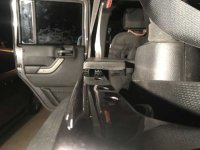
tunk6.jpg

Here's a shot from the backseat
trunk7.jpg

Andddddddd I forgot to take a final finished shot; I will take one soon and edit this post, and also how all the pieces came together.
 
Last edited:
The trip out to Orlando was great; we spent the night in New Orleans which is about half way between Austin and Orlando.

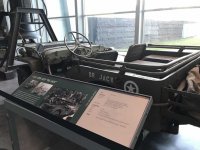
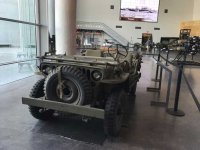
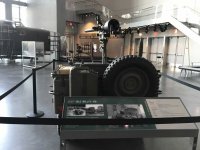
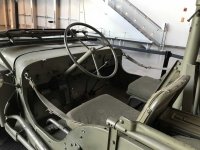
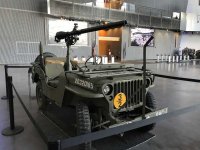
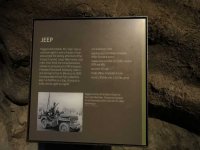
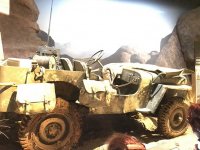
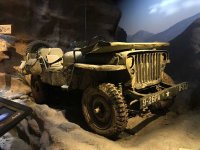
In New Orleans we went to visit the National World War 2 Museum. If you haven't been there I HIGHLY suggest it; we were winging New Orleans so we got there about 2.5hrs before close. We could have easily spent an entire day there; it has a TON to see/read. I have a lot of pictures from the museum, so this is just a tasting where we saw a few old friends there
ww2_9.jpg
ww2_7.jpg
ww2_6.jpg
ww2_5.jpg
ww2_4.jpg
ww2_3.jpg
ww2_2.jpg
ww2_1.jpg
 
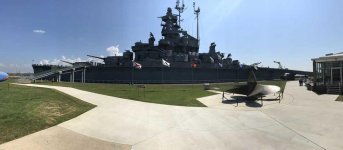
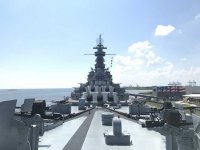
After leaving New Orleans we passed through Mobile, AL where we saw this sucker from the highway. We immediately pulled over and spent a few hours checking it out.

This is the USS Alabama
ussal.jpg
ussal2.jpg

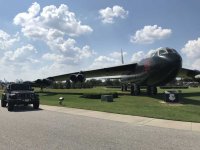
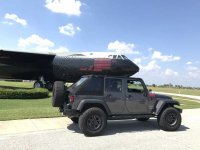
We also saw a B-52 here; my Dad flew B-52s in Viet Nam so it made me think of him. This particular B-52 also had a name I couldn't pass up taking a picture of, "Calamity Jane", which made me think of you guys :)
ussal3.jpg
ussal4.jpg
 
The trip out to Orlando was great; we spent the night in New Orleans which is about half way between Austin and Orlando.

In New Orleans we went to visit the National World War 2 Museum. If you haven't been there I HIGHLY suggest it; we were winging New Orleans so we got there about 2.5hrs before close. We could have easily spent an entire day there; it has a TON to see/read. I have a lot of pictures from the museum, so this is just a tasting where we saw a few old friends there

VERY cool stuff right there :thumb:
 
Thanks all! I figured ya'll would think the graphics look cheesy but seems like graphics are getting a lot of votes :)

This week was spent pulling a few 12 hour days, so just getting back to it now. We had a few adventures with replacing the tie rod and drag link, and we had to come up with a few creative solutions so we could make sure to hit a big local Jeep event/fundraiser at Hidden Falls. Now that it's over I got some makeup work to get Mako into a better state.

I'm not sure I'll get to all of this, but I work best with goals and lists; so this is this weekend's work to be done.

Weekend Goals:
  • Replace drag link boot on pitman arm side; brand new drag, and after I got it installed and greased, there was a small hole in the boot on the pitman arm side.
  • Adjust the drag link a little; I got it professionally aligned, but the steering wheel is a little too driver still regardless
  • Replace a castlenut on the tie rod; a temp nut is there because some threads got banged up removing the tie rod
  • Finish wiring heated seats with a piggyback fuse tap
  • Take some finish pictures of the trunk we built
  • Finish catching up the build thread

Stretch Goals:
  • I got a hardware upgrade kit, but I have some questions about it I need answered first
  • Install new Fox 2.0 stabilizer and relocation bracket
  • Add some new custom grab bars for the A-pillers
 
Last edited:
It’s been a while. I gotta catch the thread back up.

Finished:
  • Replace drag link boot on pitman arm side; brand new drag, and after I got it installed and greased, there was a small hole in the boot on the pitman arm side
  • Adjust the drag link a little; I got it professionally aligned, but the steering wheel is a little too driver still regardless
  • Replace a castlenut on the tie rod; a temp nut is there because some threads got banged up removing the tie rod
  • Install new Fox 2.0 stabilizer and relocation bracket

[*]Finish wiring heated seats with a piggyback fuse tap

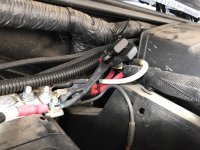
I thought about solutions for this a lot and researched a TON. I wasn’t really happy with a the fuse box solutions. I.E. drilling a hole and plugging with silicone. Ultimately, I ended up taking it straight to the battery. Down side it it’s always on and we have to remember to turn them off. Good news is I LOVE MY BUTT IS WARM!!! (And I haven’t burned down my Jeep)

I decided to keep the 2 seat lines completely separate all the way to the battery. So far so good! Though one of my next mods is definitely going to be a fire extinguisher next to my driver seat and maybe passenger seat too lol. Might be my paranoia but should have one there anyways!

Image1520198611.533849.jpg

I always cover my lines with waterproof heat shrink leads, then shrink tube, and then some kinda plastic electrical tube or cloth for outer protection. I’m pretty paranoid.

Things I’m terrible at:
  • Take some finish pictures of the trunk we built
  • Finish catching up the build thread
  • I got a hardware upgrade kit, but I have some questions about it I need answered first
  • Add some new custom grab bars for the A-pillers


Sent from my iPhone using WAYALIFE mobile app
 
Last edited:
Top Bottom