You are using an out of date browser. It may not display this or other websites correctly.
You should upgrade or use an alternative browser.
You should upgrade or use an alternative browser.
XJ CRWLER - The Unending Journey
- Thread starter JamesNZ
- Start date
10abadilla/jk
New member
HoosierWolf
Member
Very nice! :clap2:
Sorry, just found this build. I'm late to the thread.
Sorry, just found this build. I'm late to the thread.
JeepJeep75
New member
I love the no-nonsense approach you took to the rear tail lights. The custom fab work looks top notch! This looks like it is gonna be a fun trail rig for sure!!! Great looking work sir! [emoji106]
JamesNZ
New member
Thanks guys, it's getting there slowly! Love your feedback :thumb:
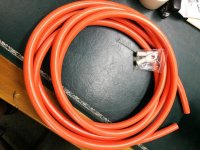
Picked up 4m of 70mm² welding cable to run the battery from the back now. Going to try finish the wiring this weekend, get the fuel tank back in and hopefully look at turning her over again.
All going well I'll pre-set the coilovers up next weekend and get those in just to get her feeling mobile again ...and then it's on to getting the rear diff fully welded, seal and repaint chassis and top coats to exterior body ...and then refit all seals and possible custom snorkel or air intake. I'm sure I'm missing a few things though lol

JamesNZ
New member
Super excited guys! She turned over first pop (but after much head scratching to locating and earthing all the interior loom (my god there's a lot! fuel pump earth = very rear part of the loom LHS :doh
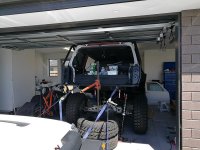
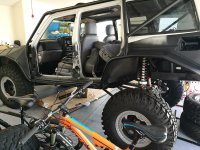
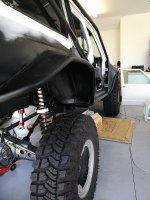
Anyway here's a laugh, so I haven't done anything in terms of preload or getting the appropriate coils yet. It's sitting on the coils that came factory with the Amada Defender II's, I think they might be 250lbs, the Jeep is barely even compressing them an inch! :lol: Guess she's quite light :evil snicker: + with 3 of us sitting in the back only took it down another 4 inches, I need to come down at least 9 inches to get to the ridge height! :thumb:
So anyway here's how she's sitting currently (front coils to go in still), what a laugh! More photos to come.
Word of warning, if you can avoid any bad jacking of a vehicle like I have done in the image below... avoid at all costs, it's dangerous and do not recommend anyone lift any vehicle like this! My JK supported us from an injury or death experience at least I spose :clap2:


JamesNZ
New member
Bit of an update
Hi guys, so I've got the front coils in and did a bit more with the loom, still have to tidy up the fuse box and what not. Not too much longer before it's on the trails!
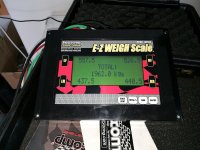
Once again, this is not the ride height! I had her weighed in the weekend so I can calculate required spring rates.
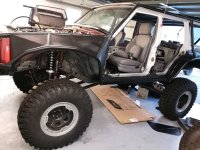
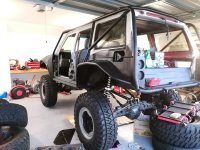
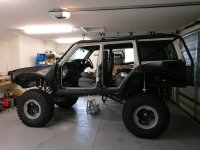
Hi guys, so I've got the front coils in and did a bit more with the loom, still have to tidy up the fuse box and what not. Not too much longer before it's on the trails!
Once again, this is not the ride height! I had her weighed in the weekend so I can calculate required spring rates.


USMC Wrangler
New member
Wow! That's a lot of great looking fab work! Subscribed!!!
.......................................................................
Overall "build thread"
http://wayalife.com/showthread.php?26097-I-guess-it-s-the-quot-Super-Stocker-quot-build
DIY trail/tube door build http://wayalife.com/showthread.php?24449-My-DIY-Doors
.......................................................................
Overall "build thread"
http://wayalife.com/showthread.php?26097-I-guess-it-s-the-quot-Super-Stocker-quot-build
DIY trail/tube door build http://wayalife.com/showthread.php?24449-My-DIY-Doors
JamesNZ
New member
Had an interesting weekend. I drained a lot of rusty water out of the radiator, not too happy about that I thought the last guys that touched it put an anti-freeze mix in there but apparently not; still working on trying to flush it out properly - if anyone's got any techniques I'm keen to hear them.
Anyway I went for a little cruise down the street and back, a quiet one at that (since the rear diff is only tacked up). No issues to report here.
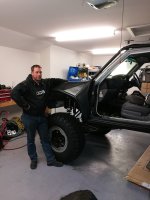
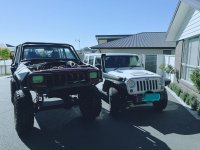
Here's a snap I took next to my JK.
Oh another note I really need to get on to ordering some new springs! At this stage I've roughly calculated 200 / 200 upfront and 150 / 200 rear, however if there's someone out there that's good at calculating spring rates here's the information I have for the corner weights of the vehicle:
1300lb 1350lb - 14" front coilovers sit vertical and plumb. Front links are 34" long.
1100lb 1150lb - 14" rear coilovers sit vertical, plumb with approx. and 10-15 degree inwards toward the center of the vehicle. Rear links are 39.5"' long.
Anyway I went for a little cruise down the street and back, a quiet one at that (since the rear diff is only tacked up). No issues to report here.
Here's a snap I took next to my JK.

Oh another note I really need to get on to ordering some new springs! At this stage I've roughly calculated 200 / 200 upfront and 150 / 200 rear, however if there's someone out there that's good at calculating spring rates here's the information I have for the corner weights of the vehicle:
1300lb 1350lb - 14" front coilovers sit vertical and plumb. Front links are 34" long.
1100lb 1150lb - 14" rear coilovers sit vertical, plumb with approx. and 10-15 degree inwards toward the center of the vehicle. Rear links are 39.5"' long.
JamesNZ
New member
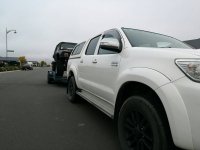
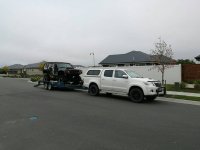
Sorry guys, had some slow progress again. There will be some more posts soon, loaded her up for another round of welding to be done on Monday. More pics coming soon!
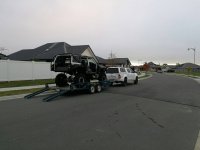
Sent from my EVA-L09 using WAYALIFE mobile app


Sent from my EVA-L09 using WAYALIFE mobile app
VeruGE*144
Caught the Bug
Wow that's thing is cool. That a lot of work you did there, looks awesome and I bet it performs just as good.
Sent from my iPhone using WAYALIFE mobile app
Sent from my iPhone using WAYALIFE mobile app
JamesNZ
New member
Progress photos! What everyone loves in any project/build.. :bleh:
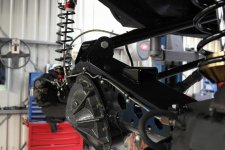
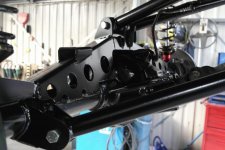
Diff out, welded up, paint and put back in... It's a beautiful thing!
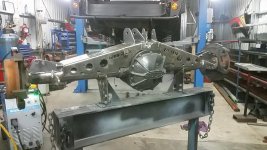
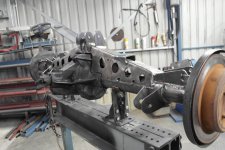
and yes I do have a stubborn bump stop!
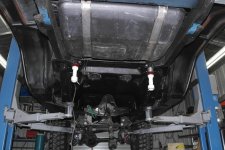
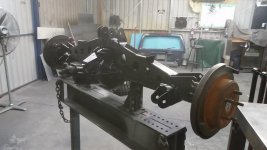
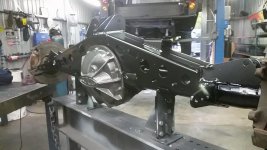
Links also painted
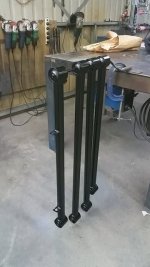
Reassembly
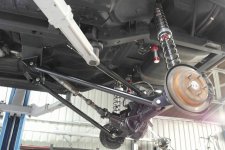
Now on to fixing up the rear boot seal, custom steel trim was added to assist retaining the rubber boot seal
Spin her round and back in the shed..
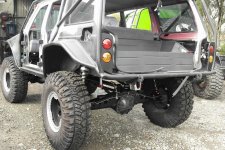
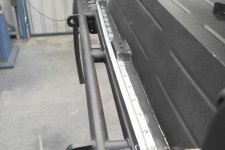
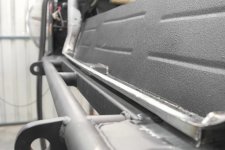
Lick of paint to prevent rust..
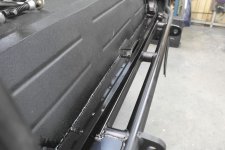
Rubber boot seal test install, victory!
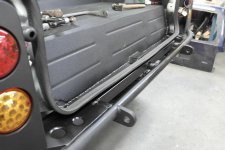
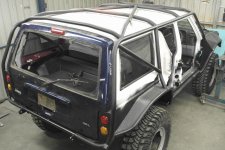
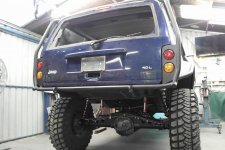
The true test will be out in the rain or under the pressure of a hose!
:clap2:
Diff out, welded up, paint and put back in... It's a beautiful thing!


and yes I do have a stubborn bump stop!


Links also painted

Reassembly


Now on to fixing up the rear boot seal, custom steel trim was added to assist retaining the rubber boot seal
Spin her round and back in the shed..


Lick of paint to prevent rust..

Rubber boot seal test install, victory!


The true test will be out in the rain or under the pressure of a hose!
:clap2:
