WxNerd2015's Never Ending Build

Back in October, I decided to swap out my steering stabilzer for a new one. Now, I was having a good bit of wobble and steering shake on the Jeep, so the I am sure this contributed to wearing the old stabilizer out even faster, but I wanted to get a new one on there to help with the shaking. And before anyone yells at me, I know the stabilizer is only a band aid and only covers up the true issues, so I additionally had the plan and parts purchased todo the ball joints and a new tie rod as well, but those write-ups are coming a bit later.

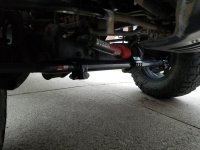
So I wanted to get a heavier duty stabilzer to handle my current setup, and while I know I am by no means extreme in my setup, I like to have a bit heavier equipment than required so that it will hold up even better to how I will use it! The issue with most of the HD stabilizers that I could find though was that on the 2 Dr JKs, they ended up causing a push or pull in teh steering to one side as most upgrades are gas charged and not neutral. And on top of that, most of those options are also a good bit more expensive than just getting new OEM stabilizers. But I ended up talking with Steer Smarts and they had actually just come out with a new product called the JK HD-N Neutral Steering Stabilizer/Damper. This steering stabilizer was only $66, and built for a heavier duty application, and set to actually be a neutral position, equal pressure on both sides of the damper, to do what a steering stabilizer is supposed to do!

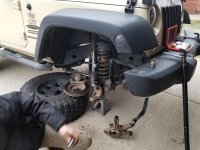
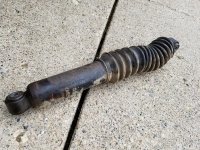
So anyways, installation was a breeze, with the hardest part being installing the bushings into the ends yourself. I managed to install them carefully using a bench vice and a combo of metal plate scrap, wood scrap and sockets, and that worked well. i am sure their are much better methods than what i used, but i used what I had available, took my time, and all worked out well! As for the rest of the install, remove the bolts on either end of the old steering stabilizer, remove the stabilizer, put the new one in, and fasten it up!

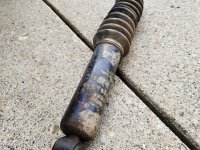
The old one removed:
20181026_094808.jpg
20181026_094816.jpg

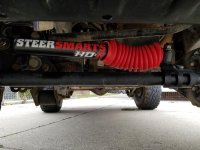
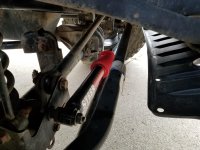
The new one installed:

20181026_094821.jpg
20181026_095509.jpg

After driving with the stabilizer in there, it immediately felt a whole lot better, and the neutral pressure of the stabilizer was felt right away. No push in either direction! And after 6 more months of driving with this new stabilizer, it is still working great, with no unnecessary push or pull toward either direction of the road. Helps to keep the Jeep much smoother now! Though to get it back to full health, the ball joints were definitely needed, but while I waited a bit to get some good days to work on those, the stabilizer did help the steering be a bit more manageable. I recommend this stabilizer for anyone looking for a stabilizer upgrade! Heavier Duty, Neutral Pressure, and much more cost effective!

***Please see the below post from @WJCO on SteerSmarts for you information. Not endorsing the company itself here, just my experiences with the product. Unfortunately to read, as the products I have used have been good, but like to know the company is good itself as well.***
 
Last edited:
I also ended up having a few more driveshaft issues over the late fall/early winter time period, that I actually started to get this loud squeaking sound, and a slightly vibration felt at slower speeds again. Long story short on this, somehow, the timing ball in the middle of double cardon joint had become very overheated and was no longer functioning properly, so that you could actually push with a hand on the double cardon joint and move it around a little bit...something that should not move at all by a simple hand when fastened to the Jeep. Not quite sure what caused it to overheat like that, but nonetheless, after much investigation, that was the issue.

So I ended up being able to get it fixed under warranty with Tow Woods, who was great to work with, and they rebuilt the double cardon joint and sent it back. All is fixed now and it has been working great since, and I have been a bit more proactive on the greasing as well to make sure there is minimal chance of something like this happening again. Though I did end up having about 2 weeks that I had to drive the Jeep around with no rear driveshaft (4WD, minus the rear, basically FWD) and that is definitely no something i want to deal with again on a regular basis. And of coarse over those two weeks, we got snow here in Michigan multiple times, so...definitely fun times.
 
But I ended up talking with Steer Smarts and they had actually just come out with a new product called the Steering Stabilizer/Damper.
After driving with the SteerSmarts Stabilizer .... I highly recommend this stabilizer for anyone looking for a stabilizer upgrade! Heavier Duty, Neutral Pressure, and much more cost effective!

Not trying to be a dick here, but I wouldn't recommend Steer Smarts produts to anyone. Just because they're douchebags. You can read about it here since it seems obvious you aren't aware of their business practices : https://wayalife.com/showthread.php/34385-STEER-SMARTS-has-been-Removed-from-WAYALIFE
 
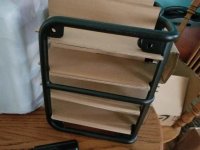
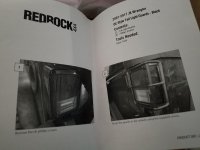
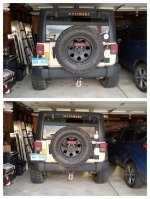
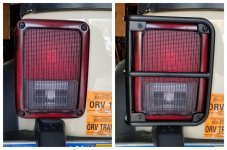
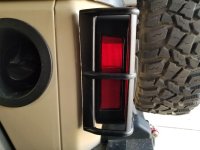
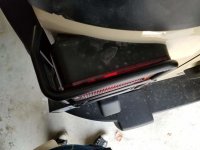
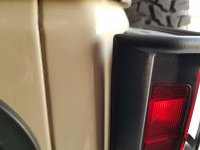
I also ended up getting my hands on some Red Rock 4x4 Taillight Guards for the Jeep. Nothing too special of fancy, but I like the look and a little extra protection on trails...but mostly just for the look. They came packaged very well and look to be nice quality. Time will tell, but I am happy with my first impressions. Only really change I made when installing them were to end up reusing the factory screws to fasten the light back to the Jeep, and some of the new hardware provided didn't quite work right or hold. But he existing screws were more than long enough to be able to fasten the lights and guards securely to the Jeep. I won't go into detailed installation as many have covered the taillight guard installation before and it is plenty simple enough to understand.

20181031_171629.jpg
20181031_171632.jpg
20181031_171643.jpg

Some Comparison Shots:

BeforeAfterFull.jpg
BeforeAfterCloseUp.jpg

And some Fitment Shots:

20181031_173030.jpg
20181031_173033.jpg
20181031_173037.jpg
 
Not trying to be a dick here, but I wouldn't recommend Steer Smarts produts to anyone. Just because they're douchebags. You can read about it here since it seems obvious you aren't aware of their business practices : https://wayalife.com/showthread.php/34385-STEER-SMARTS-has-been-Removed-from-WAYALIFE

Thank you for the info @WJCO, seems I completely missed that thread here on this forum. My dealings with them personally were fine, but I do see in that thread that they did not follow the right rules here. And that does say something as well. I will remove my link from the above post to the SteerSmarts page in respect of the forum. I do like being transparent with what I use as well, so I will leave the product their still, but I respect the lack of forum support here, since rules were in fact broken. Thank you for adding that link in for those who are interested as well in this topic.

And no problem, there is so much info on this forum, and just not enough time! Haha!
 
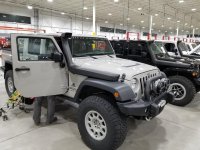
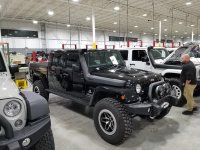
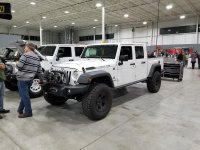
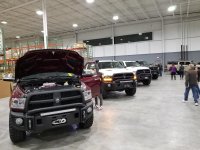
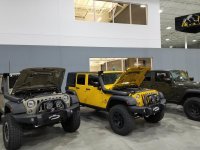
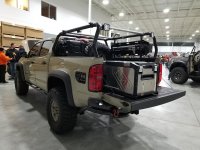
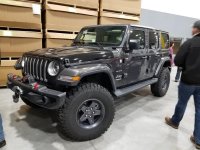
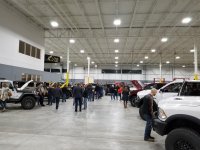
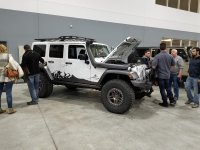
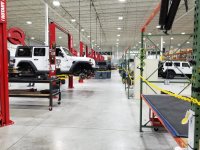
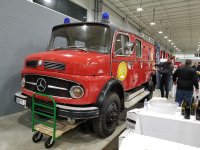
Also had a chance back in November to attend the AEV Open House in their Michigan shop and that was a blast! Got some nice giveaways and AEV merch, as well as some awesome food! And got to dream of all the nice mods that i just don't have enough money to do right now! Haha! Anyways, here's some pics from the open house!

20181109_180228.jpg
20181109_180236.jpg
20181109_180250.jpg
20181109_180304.jpg
20181109_180310.jpg
20181109_180314.jpg
20181109_180322.jpg
20181109_180332.jpg
20181109_180406.jpg
20181109_180425.jpg
20181109_180439.jpg
20181109_180450.jpg
20181109_180540.jpg
20181109_180609.jpg
20181109_180624.jpg
20181109_180747.jpg
 
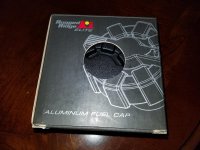
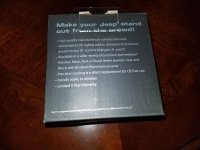
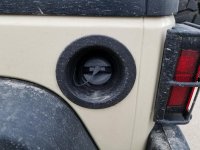
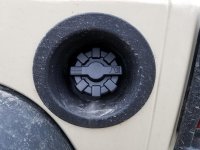
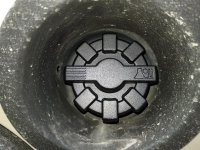
Also got one of the famous P0457 GASCAP EVAP Codes on the Jeep, which I am amazed did not come soon! Basically since I got the Jeep, I always had to tighten the cap to just before the click to prevent this message from coming up, and that lasted 4 1/2 years like that with no issues, but then, I got the message over the winter and I already tried my work around to get it to go away. So I counted my luck for getting it to last this long, and ended up purchasing a new gascap. I grabbed the Rugged Ridge Elite Fuel Cap in Textured Black coating, mostly for looks again! But goes nicely on the Jeep I think!

Once again, install was a breeze, just unscrew the cap and pull the arm out of the side of the housing that lets the cap hang, and you are halfway there! Just screw the new cap in until it clicks and you are good to go! And sure enough, it took care of my issue almost immediately! And I have been good since!

20181119_154855.jpg
20181119_154911.jpg
20181119_154904.jpg

Before:

20181119_154928.jpg

After:

20181119_155038.jpg
20181119_155049.jpg
 
Took the Jeep up to Ludington for Thanksgiving and that was one of the longest trips since getting the driveshafts back and reinstalled and all drove well up and back! Was definitely uneventful which is exactly what I wanted!

20181124_132129.jpg
screen_a6a28e8954510934_1543155922389.jpg

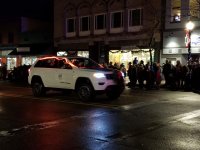
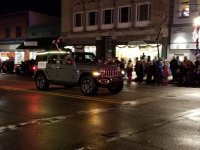
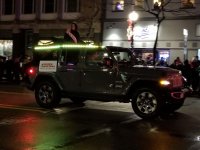
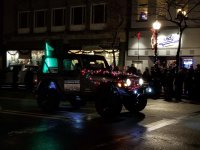
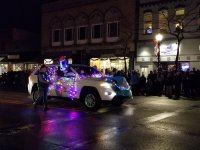
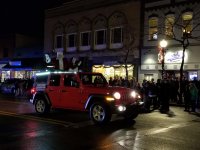
Also got to see the parade through Ludington, and the Jeeps were very well represented throughout the parade!

20181124_174314.jpg
20181124_175923.jpg
20181124_181403.jpg
20181124_181418.jpg
20181124_181425.jpg
20181124_181637.jpg
20181124_181905.jpg
20181124_183230.jpg
20181124_183407.jpg

Even Santa chose a Jeep to get around!

20181124_182950.jpg
20181124_183001.jpg
 
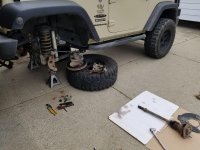
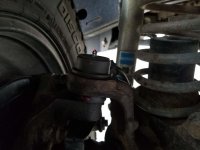
the trip to Ludington back in December! i didn't do much of a write-up on this as plenty have done it before me, but one of my friends from the Wolverine Wheelers Jeep Club came over and we knocked both sides of ball joints out, along with a new tie rod in around 6 hours! That was also working in some cold weather, and not working fastest, along with a store trip for a heavy steel hammer! This was definitely the most involved installation that I have been part of so far but it was really awesome to be able to do this myself (with some guidance of coarse), and to really dive into a lot of the front end components just to have the knowledge!*

20181210_115613.jpg
20181210_115624.jpg

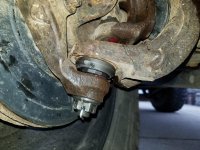
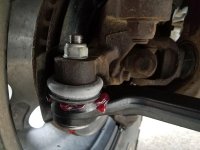
The ball joints that I installed were the Teraflex HD Ball Joints. They were pretty straight forward to get setup, the only thing was that ball joint press adapters that we needed to install the Teraflex ball joints we a little tricky as the lip was a slightly different size than the normal ball joints, but just took a little extra thought and we got a good enough setup to press it in nicely!*

Also to note, when we pulled the old lowers out, there was no structural integrity left in the stud whatsoever! The lower ball joints were definitely trashed! And it is unbelievable how much better the Jeep is driving afterwards and how much i was actually putting up with with the old ones!

20181210_155930.jpg
20181210_155937.jpg

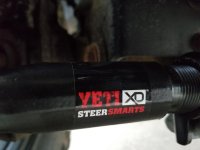
Additionally, I also installed a new HD tie rod while I was down there! I*got the Steer Smarts Yeti XD Tie Rod. And the Jeep definitely feels a lot better with the whole new setup down there! And all it cost me was my old tie rod and a dinner at our next Jeep night! So a big shout out to my WW friend for helping me out and teaching me a lot on that job! It went really well!

20181210_155927.jpg
20181210_155949.jpg
20181210_155943.jpg
20181219_095231.jpg

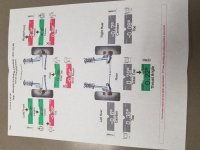
We also did a good job on getting the alignment right with everything reinstalled! You can see the before sheet when i took it in, and we weren't too far off on the measurements, but definitely needed some minor adjustments! And it is all sorted out and driving like new again! I still really can't believe what a difference these made! The old ball joints were so bad, and I just wasn't attributing enough to the ball joints! I*just thought, oh well, it's a lifted Jeep, this is how it drives now, but it is all sorted up great again and I am so happy I don't have to put up with the steering wheel shaking over bumps and all that now! Definitely keep an eye on those ball joints on the Jeep!
 
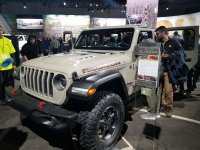
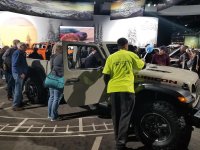
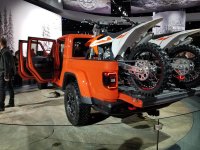
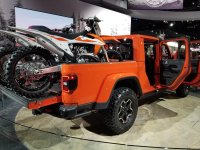
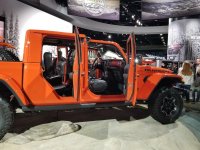
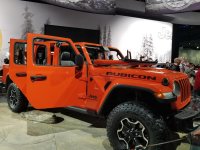
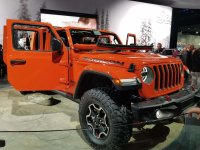
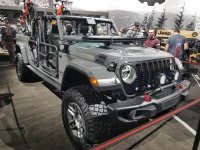
Then made it to the NAIAS in January here in Detroit, and the last one in January I might add! It was the 35th anniversary of the Auto Show here I believe too! But next year it will shift to a June time frame to allow for more outside experiences! Anyways, there were definitely some nice Jeep represented there, but obviously the highlight was the new Gladiator!

20190126_124415.jpg
20190126_125859.jpg
20190126_125918.jpg
20190126_130128.jpg
20190126_130202.jpg
20190126_130234.jpg
20190126_130244.jpg
20190126_130252.jpg
20190126_131106.jpg
 
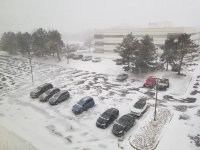
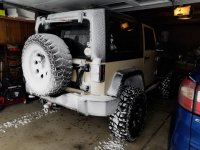
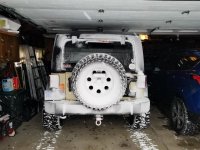
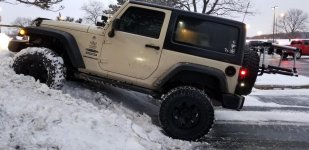
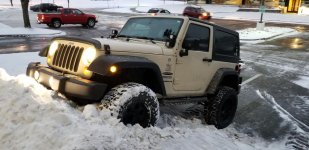
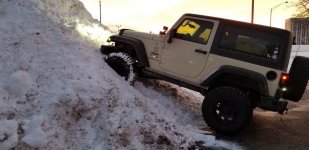
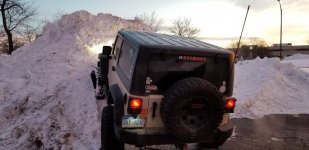
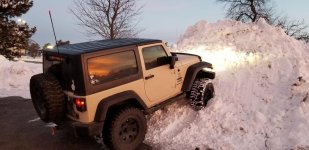
Through January and February the Jeep definitely got to have some nice and snowy adventures! From some good drives to work in the snow and finding the unplowed roads, to climbing snow piles in parking lots, to some up north drives that the pictures don't do them justice, but blind snowfall in 15-20 MPH winds on back country roads and most of the time, no tracks! The Jeep definitely got me everywhere I needed it too! And I had fun doing it!

20190128_114932.jpg
20190128_135748.jpg
20190128_135753.jpg
20190208_195805.jpg
20190211_072239.jpg
20190211_072246.jpg
20190219_071400.jpg
20190219_071409.jpg
20190219_071418.jpg
 
The Jeep then had to go in for a Takata airbag recall on the passenger side airbag in late February...

20190225_115401.jpg

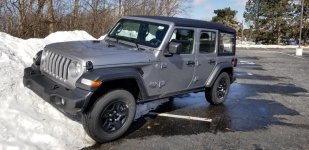
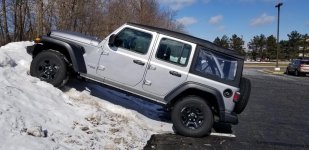
So the Jeep went out to Suburban Jeep in Troy, and luckily, they had a really nice rental for me to be able to take! I got a brand new JL with the 2.0 Turbo to drive around for the day! And of coarse, the first thing I did was park it on a snow pile! Haha! I mean, it was like a magnetic force, it just had to go there! Anyways, the Jeep was definitely really interesting though, as it was a base sport, so it had manual door locks and manual windows, however it did have push button start! Seemed to defeat the purpose of the push button when you still have to pull your key out to unlock the door, but was still a very nice Jeep! I enjoyed driving it! But I definitely still like my Jeep the best! The two biggest differences i noticed where obviously, the 2.0 turboe had a lot more "Go" than my 3.8L, however the lag in the throttle and the turbo were very noticeable and it could definitely benefit from some better throttle mapping, and two, the JL felt a lot more open inside from the drivers seat, a bit more like the TJ did. I felt like I had more space it and it was a lot brighter in there! Either way though, was definitely a nice rental vehicle to have for the day!

20190225_122559.jpg
20190225_122715.jpg
20190225_160805.jpg
20190225_160915.jpg
20190225_160945.jpg
20190225_161001.jpg
20190225_161027.jpg
20190225_161034.jpg
20190225_161108.jpg
20190225_161247.jpg
 
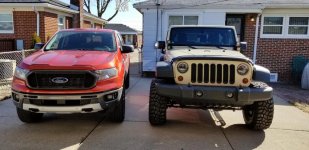
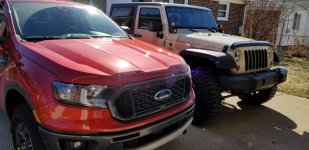
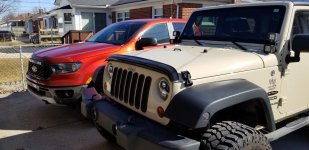
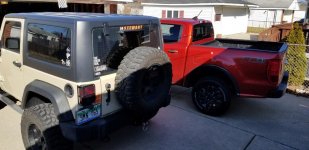
The Jeep also ended up getting a new sibling in March! I ordered a new 2019 Ford ranger back in December, and come March, it was finally ready to be picked up! the Ranger was meant to be the new daily driver so I could have even more fun with the Jeep! The new Ranger is an XLT with the FX4 Package in Hot Pepper Red! Definitely feel lucky to have such great choices to pick from when i gotta grab a vehicle and go drive some where! Here's a few shots of the siblings together!

20190323_105011.jpg
20190323_105019.jpg
20190323_105027.jpg
20190323_105115.jpg

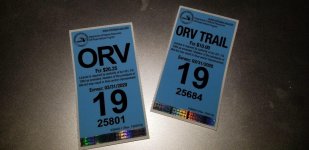
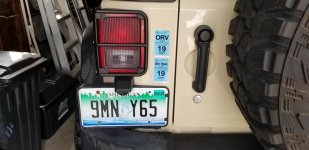
Also, as an additional note, I got my ORV License and permit for the 2019 season too and got those updated on the Jeep! Blue this year!

20190318_190412.jpg
20190405_161600.jpg
 
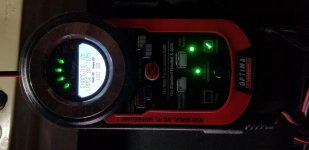
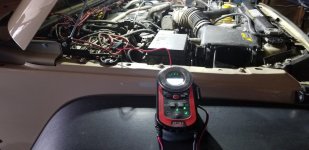
Next up was looking into maintaining the Jeep nicely when it is not getting driven every day since it was no longer the daily driver! I wanted to get a battery tender and looked through a lot of options and reviews and decided on the Optima Batteries Digital 400 charger. now I paid a bit more for this charger than a lot, but it has a nice interface, and I do feel in some cases, you get what you pay for, and for my peace of mind, this i felt was a good all around option for me!

20190501_191516.jpg

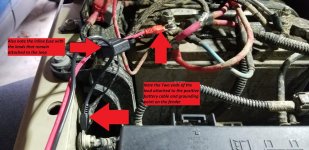
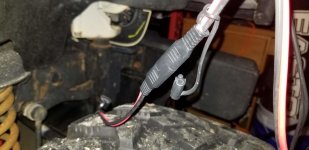
The charger worked great right from the start, and was very easy and simple to figure out! I started by using the clips for the battery, but i found those to be hit or miss, and with out much I would be taking the cables on and off, I decided that the best route was to use the included hard wire kit. And this was another point for me purchasing this kit! The kit came with leads that you permanently install on the battery, and there is around a 2-3 foot length of cable with a nice plug with a cap. This then plugs into the long cables on the on the charger itself, and you are good to go! And when you want to drive the Jeep, you just unplug the wire and tuck the end away in the engine compartment of the Jeep, and the cap protects the leads very nicely!

20190501_191448_edited.jpg
20190502_064543.jpg

Overall, I have been using it for 5 months at this point, and it has been working great! No complaints!

20190501_191523.jpg
 
Next up was looking into maintaining the Jeep nicely when it is not getting driven every day since it was no longer the daily driver! I wanted to get a battery tender and looked through a lot of options and reviews and decided on the Optima Batteries Digital 400 charger. now I paid a bit more for this charger than a lot, but it has a nice interface, and I do feel in some cases, you get what you pay for, and for my peace of mind, this i felt was a good all around option for me!

View attachment 333341

The charger worked great right from the start, and was very easy and simple to figure out! I started by using the clips for the battery, but i found those to be hit or miss, and with out much I would be taking the cables on and off, I decided that the best route was to use the included hard wire kit. And this was another point for me purchasing this kit! The kit came with leads that you permanently install on the battery, and there is around a 2-3 foot length of cable with a nice plug with a cap. This then plugs into the long cables on the on the charger itself, and you are good to go! And when you want to drive the Jeep, you just unplug the wire and tuck the end away in the engine compartment of the Jeep, and the cap protects the leads very nicely!

View attachment 333342
View attachment 333343

Overall, I have been using it for 5 months at this point, and it has been working great! No complaints!

View attachment 333344

I may be in the market for one of these soon since my JLUR is no longer my daily and sitting in my garage most of the time. Thanks for the good review!


Sent from my iPhone using WAYALIFE mobile app
 
I may be in the market for one of these soon since my JLUR is no longer my daily and sitting in my garage most of the time. Thanks for the good review!


Sent from my iPhone using WAYALIFE mobile app

Of coarse! No problem! Like I said, it is definitely working great so far, and for something that is maintaining a battery and dealing with electrical, paying a bit more on a nicer product definitely gives me some peace of mind. There is no over voltage concern especially with the fuse in line too in case something does go (in any part of the system, including a surge in the house power or something), and it can even be used to charge a vehicle up to help start it if it's dead! So I definitely recommend it! Let me know if you have any other questions on it! Happy to answer the best I can!
 
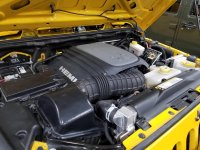
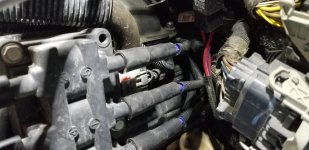
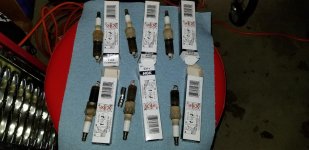
In may I finally got around to installing the new spark plugs and wires into the Jeep! It definitely made a huge difference in the feel of the Jeep now and I actually got a really nice MPG bump of almost 20%! Pre-install I was consistently getting around 12 MPG for a long while, and after, through many tanks of gas at this point, I have been getting an average of 14-14.5 MPG! Can't believe I got that much of a boost, but nothing else at that point changed besides getting the plugs and wires!

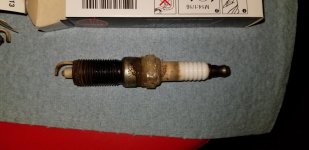
Additionally, the gaps on the plugs in the 3.8L are supposed to be at .050, and all of the old plugs that I took out were between .065-.080, so they were out of spec, and it was definietly time to get em changed! i swapped out the stock plugs with around 70xxx miles on them for NGK Iridium IX plugs and the NGK Performance Ignition Wire Set.

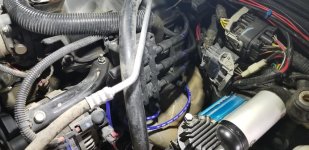
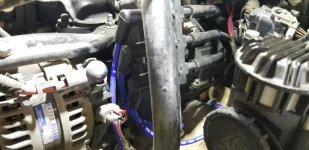
The install went fairly according to plan, just took a while getting the right extensions and joints for the sockets put together to get each plug, as well as carefully breaking the old plugs free, as they were very well stuck in there. And as expected, the driver's side was much easier to do than the passenger side of the engine. I did remove a few hose and such to gain more space into the passenger side of the engine as described in many write-ups, and I did everything from the top side. Also, fishing the plug wires behind the engine for the passenger side was also extremely hard. I tied some wire to the ignition coil end of the oil wires and pulled it through so that I had a path to follow to get the plug wires back through and that definitely aided in getting the wires back through the other directions. Additionally, i did not break the wire tray removing it, but i did not try and open the old wire tray as i had already purchased a new one to install.

The tips and tricks from many write-ups definitely came in handy, so if you will change your plug wires yourself, definitely go and read a few good omnes to have some ideas what you need to do to get everything done! But anyways here's a few pics of the old plugs that came out, along with the finished product with the new, blue NGK wires. I definitely like how the blue wires look under the hood!

20190504_151935.jpg
20190504_151941.jpg
20190504_151945.jpg
20190504_152102.jpg
20190504_152116.jpg
 
I also found some great deals on a few new things for the Jeep, and the deals were too good to pass up! So I placed a few orders!

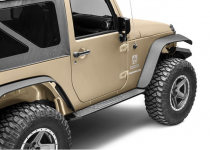
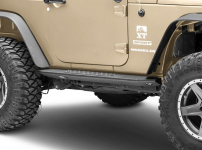
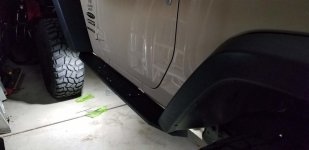
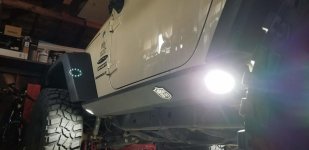
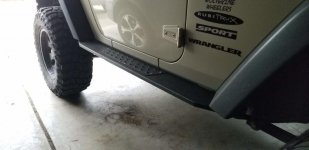
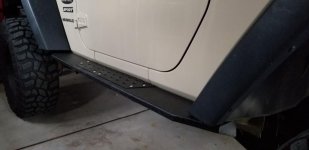
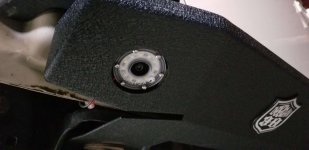
1. I finally decided to upgrade those tube steps on the sides of my Jeep to some real sliders! I ordered the Deegan 38 HD Rock Sliders, which also come with 4 KC Cyclone LED Rock Lights integrated into them as well! I got these on sale for a great deal, for only $230! And on top of that, I really liked how they looked! They have a nice and high tuck on them to the rocker panel, and they have a great step on the side to use! So for me, this was a no brainer!

D381.png
D382.png


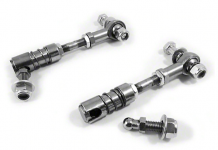
2. I also finally decided to get some sway bar disconnects for the Jeep, as I really have never even disconnected the front axle before, and for some trips that I had planned, I was definitely going to need to! I did some research, and I know the popular brands, but the prices were a bit higher on those too. I then came across the Steinjager Sway Bar Disconnects which were only around $60! They use a ball stud coupler on one end that bolts to the Jeep, and the end link side is actually similar to an air hose coupler that is spring loaded. You just pull up on the collar to connect and disconnect the end link on one side, and it is definitely more forgiving to get the sway bar reconnected too! They also do rattle a little at slower speeds, but this I am ok with, as the Jeep is already noisy! but if you are interested in these, be aware of that!

Stein1.png


Lastly, I also finally go around to order some new wire to rewire all my accessories in a much cleaner and more professional way. Right now, all the wires are all just red and black and zip tied in a bundle, but I actually am going to go through color code each accessory to different wire colors to more easily identify them, as well as add nicer wire coverings, and add connectors at key points as well if anything ever needs to be disconnected. I will add in the graphic that I drew up a bit later as I do not have it with me at he moment, this is all the components that I got to make all the connections:


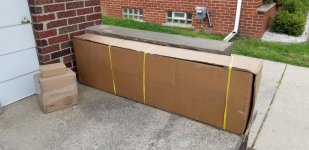
And here it is all arrived and waiting for the fun to begin!

20190508_160759.jpg
 
Last edited:
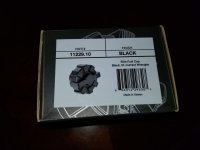
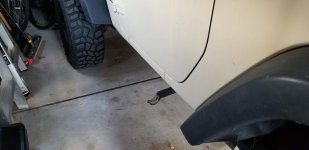
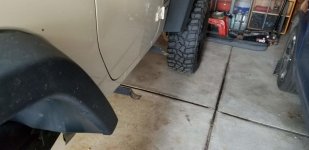
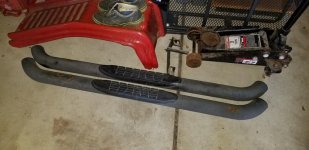
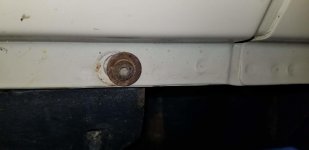
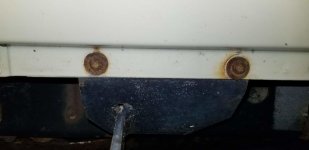
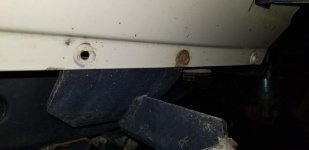
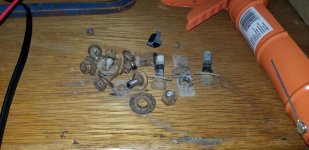
I also did manage to get the old step sides off and the new rock sliders on! Man did the old nerf bars not want to come off at all! i was able to get the tubes themselves off the brackets themselves relatively easy, however the brackets did not want to let go of the body side of the Jeep! I They badly rusted in place, and the hardware was only allen head bits, so not the greatest hardware to work with for this setup. I ended up having to go buy a rotary tool (Yay! new Tools! Haha!) and cut most of the pinch seem bolts off. It took a while, but I finally go there!

20190516_195343.jpg
20190516_195405.jpg
20190516_195434.jpg
20190516_195352.jpg
20190516_195419.jpg
20190516_195423.jpg
20190516_195440.jpg

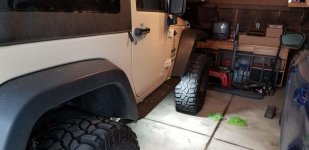
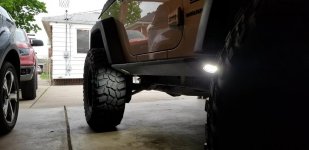
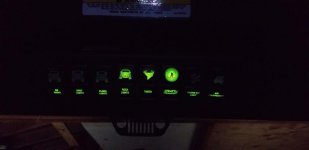
From there, the Deegan38 sliders were installed pretty much like the directions described and went on fairly easily! For more details on the sliders or full instructions, see the videos in the above posts, but I basically followed those and everything went as it should! One of the biggest keys was to not tighten anything down until all the bolts were started, and I believe that I ended up needing to use the the thicker spacer pieces that come with the kit at each pinch seem plate. I really loved the welded on metal tabs which were attached to the nutsert plates! Those made it really easy to control where the plate went and to get it in place and hold it there until the bolts were started! Additionally, I also used the included wiring harness only partially. I ended up modifying the harness to collect all of the lights together, but instead of using their relay box, I connected the lights to my sPod, and that has worked perfectly with no issues. i also used the square holes in the body under the rockers to run the wiring for the rock lights inside the body and slider to leave nothing exposed to get damaged or hung up on anything! I also ran the wiring up behind the inner fender liners in the backside of the engine bay on both sides, and there was plenty of space to run it there!

20190517_193634.jpg
20190517_193656.jpg
20190517_193709.jpg
20190517_193716.jpg
20190517_194034.jpg
20190517_194042.jpg
20190517_194058.jpg
20190517_194109.jpg

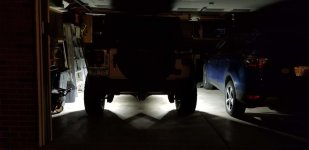
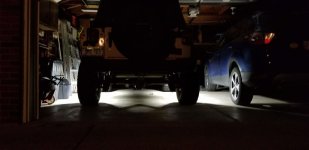
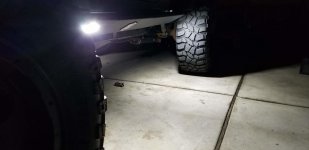
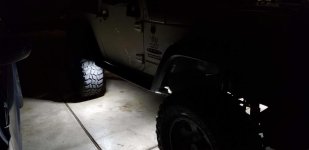
Overall, I am absolutely loving these sliders in fit, and function! The steps work great, and the high tuck of the sliders is exactly the look that I wanted! It is really clean and for the deal that I got, these definitely couldn't have been beat! Here's a few more shots with the lights on at night too!

20190517_223811.jpg
20190517_223816.jpg
20190517_223834.jpg
20190517_223853.jpg
20190517_223947.jpg
 
Had a great time back in May as well with the Wolverine Wheelers at our Go Topless day event! Unfortunately, the weather did not cooperate the best for too much topless weather until later in the day, but it was still a great time! And we had a great turnout of Jeeps! I believe it was just over 30! Had a couple of chances to get a little bit muddy, and i was able to get some good shots with my Drone of the whole crowd! And any day driving the Jeep is never a bad day!


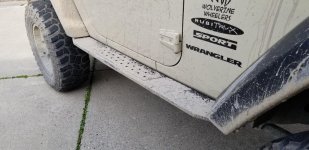
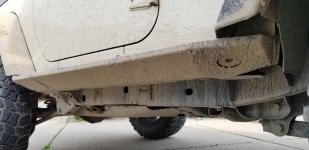
Here's a few shots of the aftermath as well! Those Deegan38s didn't take long to get coated either!

20190518_174232.jpg
20190518_174254.jpg
20190518_174241.jpg
20190518_174323.jpg
20190518_174328.jpg
20190518_174312.jpg
 
Top Bottom