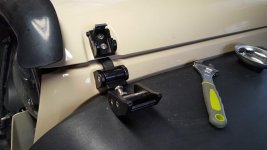
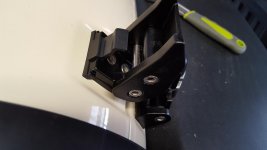
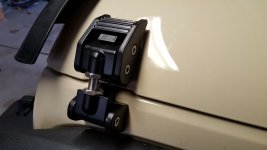
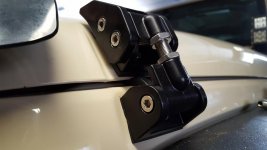
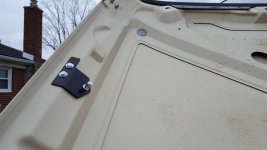
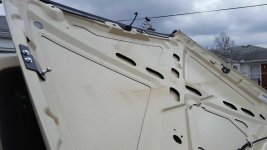
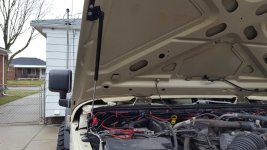
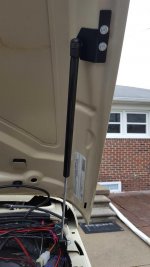
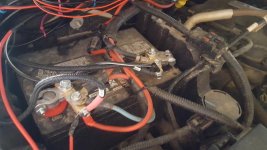
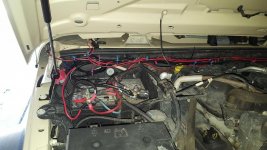
Hood Flutter Gone!
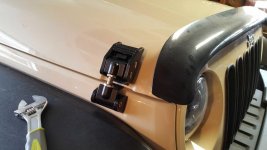
Yesterday I managed to have an hour free and decided I would get the Rugged Ridge HD Aluminum Hood Catch system installed on the Jeep! My overall impression was the the installation was rather straight forward and simple, and the hinges were definitely much heavier than I expected and high quality. I was surprised to see that, the little rubber bumper that goes between the hood and fender where the hood closes, was included in the kit and I didn't have to pull off the factory one. I was disappointed however with the fact that the kit came with washers, but no where in the directions does it mention to install them, nor is it even listed in the parts list I believe (however the latter I could have missed). I know that it should have been rather obvious to add the washers onto the bolts since the factory ones that came out had washers and the bolts which were already threaded onto the hinges did not, but I would have liked that explicitly stated, and I had to uninstall some parts when I realized this and add the washers back in. Not a big deal, and shouldn't have needed to be expressed, however, still would have been nice to have in the directions as a reminder. Other plused here that the directions were straight forward and there was no reuse of factory parts, all parts were new and either stainless steel or HD aluminum and the gaskets that go between the metal were really nice as well.
An additional disclaimer before I get into the write-up...make sure that you have plenty of extension and joint options for you sockets to be able to play with some combinations to get the right set up to get to the bolts on the inner fenders. I had all of my stuff out to get the right options. Also, instead of using the allen wrenches like I did, if you have a bit that you could get into a socket, that would work MUCH better and be a lot easier! And lastly, it helps greatly, especially with the passenger side, to remove the grill to give you better sight lines and more access into the bolts inside the fender.
So enough with the disclaimers and impressions, and I already gave ya a link to the product in a previous post, so we will dive into the in installation now. I started off with using this video from Trailrecon to help with the initial flow and to supplement the directions, as it is a great video, and the extra perspective never hurts!
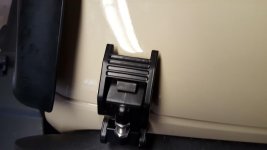
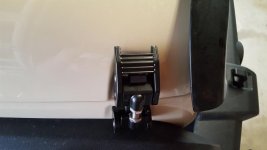
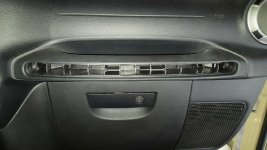
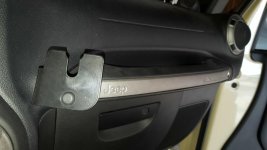
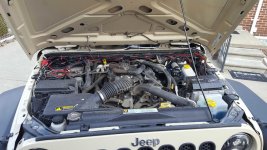
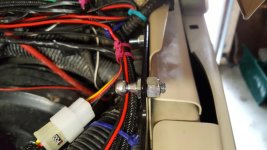
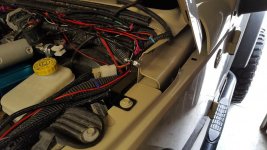
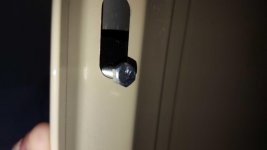
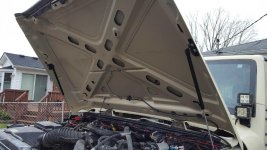
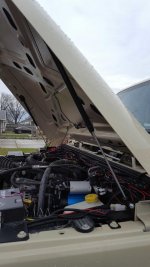
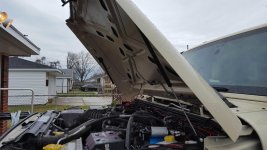
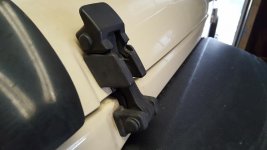
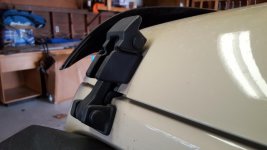
So here are some before pics with the stock latches:
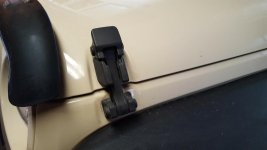
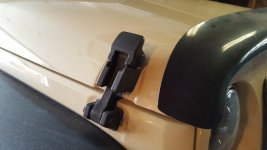
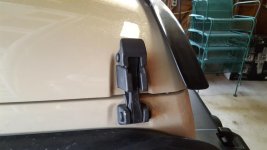
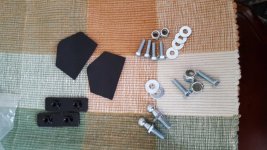
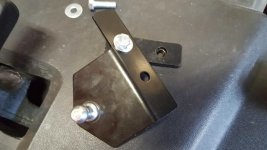
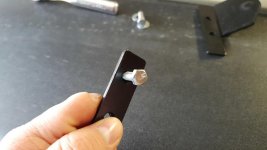
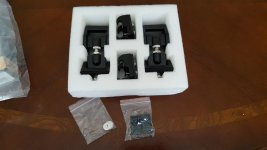
Here are the contents of the kit as well. You receive the latches (upper and lower parts), New bumpers to attach to the lower pieces, washers for all the bolts, and the rest of the hardware needed for installation.
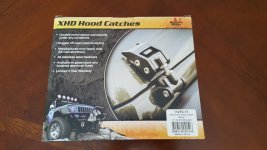
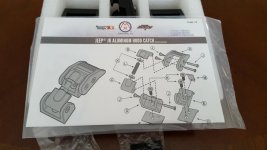
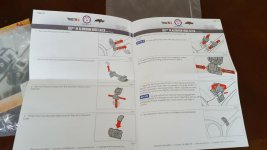
First step was to remove the factory latches, so i started with the upper part of the latch on the drivers side attached to the hood. I used a 10mm deep socket and wrench to remove the two bolts holding that latch to the hood. Once the bolts were removed, the upper part of the latch slide straight out of the holes.
I then grabbed some cleaner and go in behind that bracket really good making sure it was spotless, as I don't plan on getting back into that area to clean for a while!
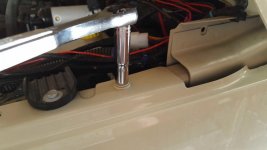
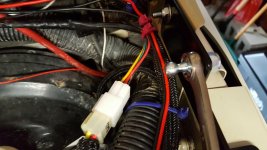
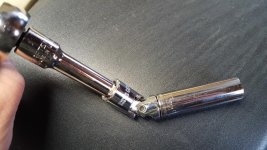
I then moved onto the driver side fender bolt. There is only one in the middle of the bracket, but it is very hard to get to. i first removed the grill from the Jeep, as this gave me some additional sight lines and clearances to get into where i needed to, but just try through any openings you can to get the right angle you need on the bolt. I had to come in from near the radiator cap fish through and opening on the driver's side. I needed a 13 mm deep socket, a long extension, and a joint on the extension. Once that nut is removed, you can slight the bracket straight out of the fender and I recommend cleaning here too.
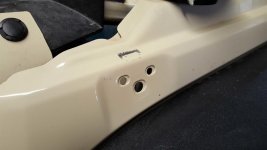
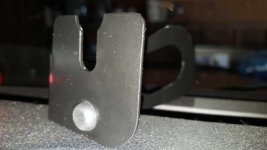
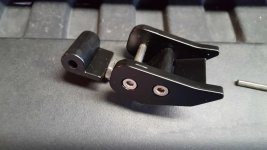
With that removed, it's now time to grab your new hood latch and start installing. You first need to remove the latch and arm from the base of the latch (the part the attaches to the fender) as the flat allen head screw that you need to tighten is located underneath that. To remove the arm, grab two allen wrenches and loosen the base and completely remove the bearing. Your latch will look like this:
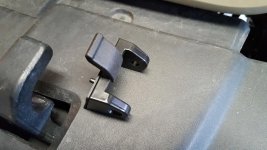
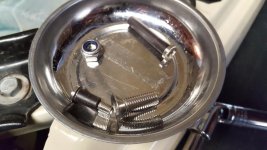
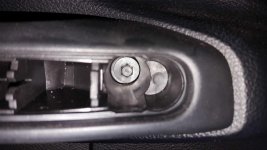
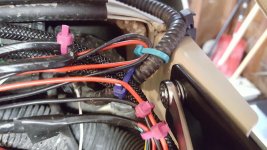
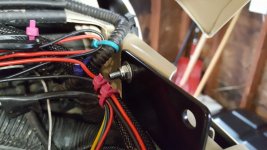
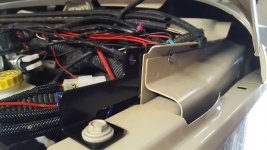
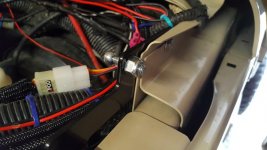
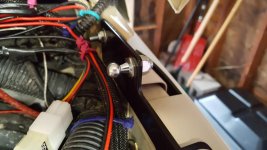
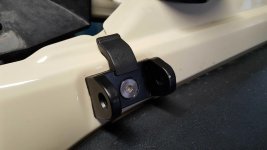
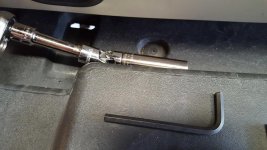
Next, line the base of the latch up with the bolt hole and 2 mounting holes in the fender in place the latch where it needs to go. Grab you locking nut, and one of the 2 bigger provided washers and thread those on to the bolt inside the fender. Be very careful not to drop these! And once those are threaded on, fish your wrench with various joints and extensions back into the fender to hold the nut and tighten the bolt on the outside with an allen wrench or a bit and socket. When finished, it will look like this:
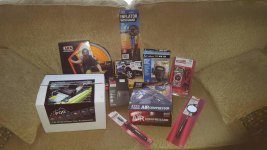
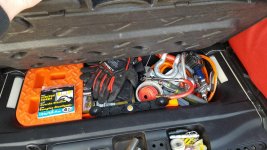
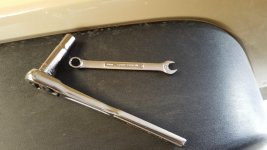
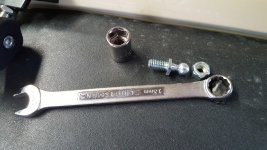
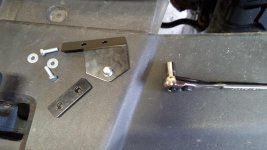
These are the tools needed for that part:
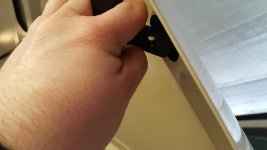
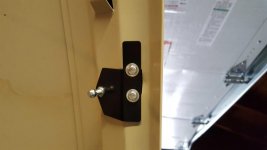
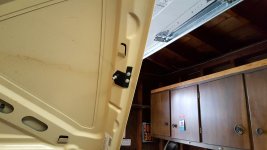
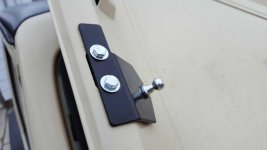
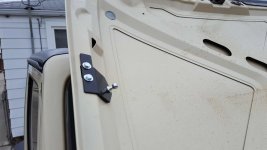
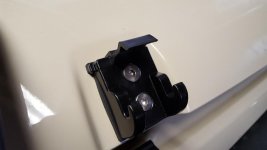
Now, move back to the hood, and attaching the upper mount. This is done using a 10mm socket and the same allen wrench used above. grab 2 of the 4 smaller washers and thread both on to the inner part of the hood while holding the bracket in proper place. This bracket liked to rotation slightly on me, and the gasket underneath was slightly off so I have a few times of tightening and loosening the nuts to get the bracket and gasket just right. This I recommend holding the bolt with the allen head and tighten using the socket wrench, it goes much easier and faster.
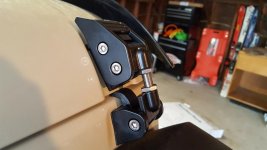
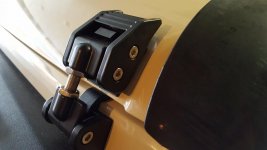
With that attached, you can also reattach the latch to the lower bracket too but reinserting the ends through the latch and mount and tightening down. Your product will not look like this:
