Trail Ready Beadlock Wheels Installation Write-Up

wayoflife

Administrator
Staff member
20170604174357-c699f480-me.jpg


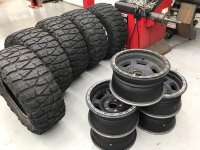
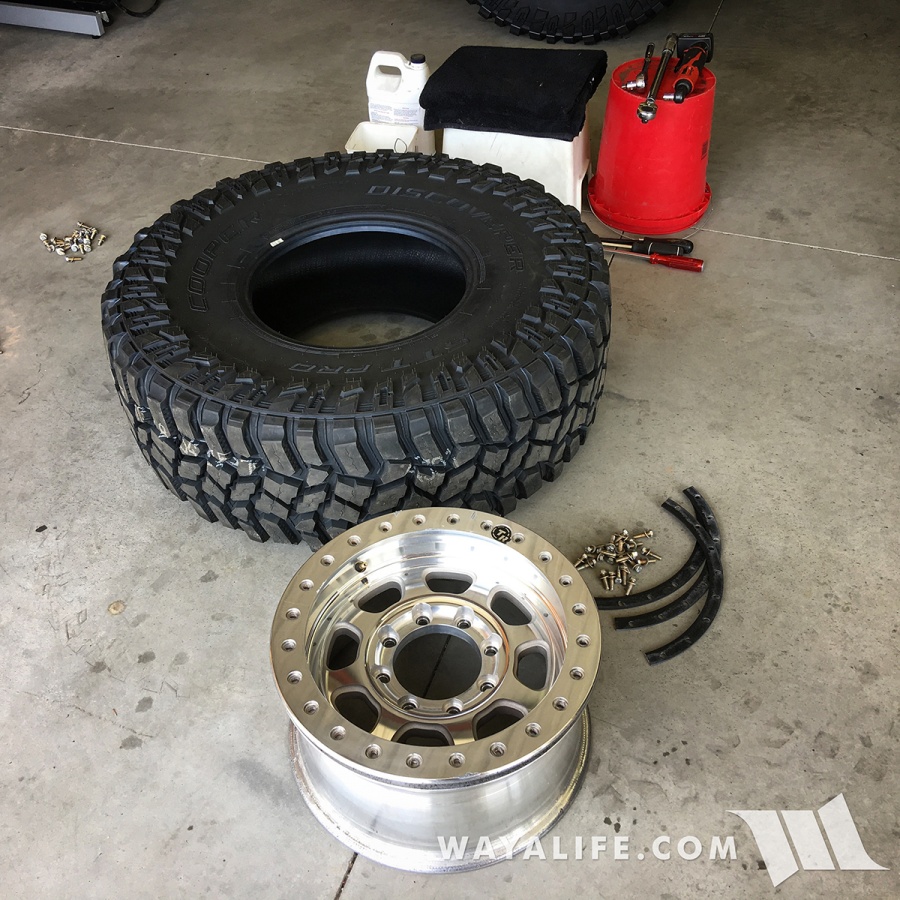
Cindy and I recently installed an all new Dynatrac XD60 front axle in a 72.5" with PRO 1550 steering knuckles but to take advantage of all the benefits this new setup has to offer, we needed to run 40" tires mounted on wheels that have 5.5" of back spacing. Needless to say, we picked up a set of Cooper Discoverer STT Pros in a 40x13.50R17 and decided to run them on Trail Ready Beadlock wheels which are offered in an 8 lug bolt pattern and with the 5.5" of back spacing we needed. In this short write-up, you'll get to see just how easy it is to get everything installed and using basic tools.

What you will get
• Trail Ready Wheel
• Aluminum Clamp Ring
• (20) 1-1/4” 5/16” grade 8 bolts
• (20) Plated 5/16” Washers
• (20) Serrated flange nuts
• (4) silver starter bolts
• (1) Valve stem

NOTE: Depending on the thickness of your tires bead, you may find it necessary to acquire additional 3/16” Beadlock Spacers that Trail Ready makes.

What you will need
• ½” Socket
• Ratchet
• Torque Wrench
• Deadblow Hammer
• Valve Stem Install Tool
• (2) Dull Pry Bars or Large Flathead Screwdrivers
• Ruglyde or Simple Green
• Air Compressor or Pump
• Pressure Gauge
• 5 Gallon Bucket

Instructions
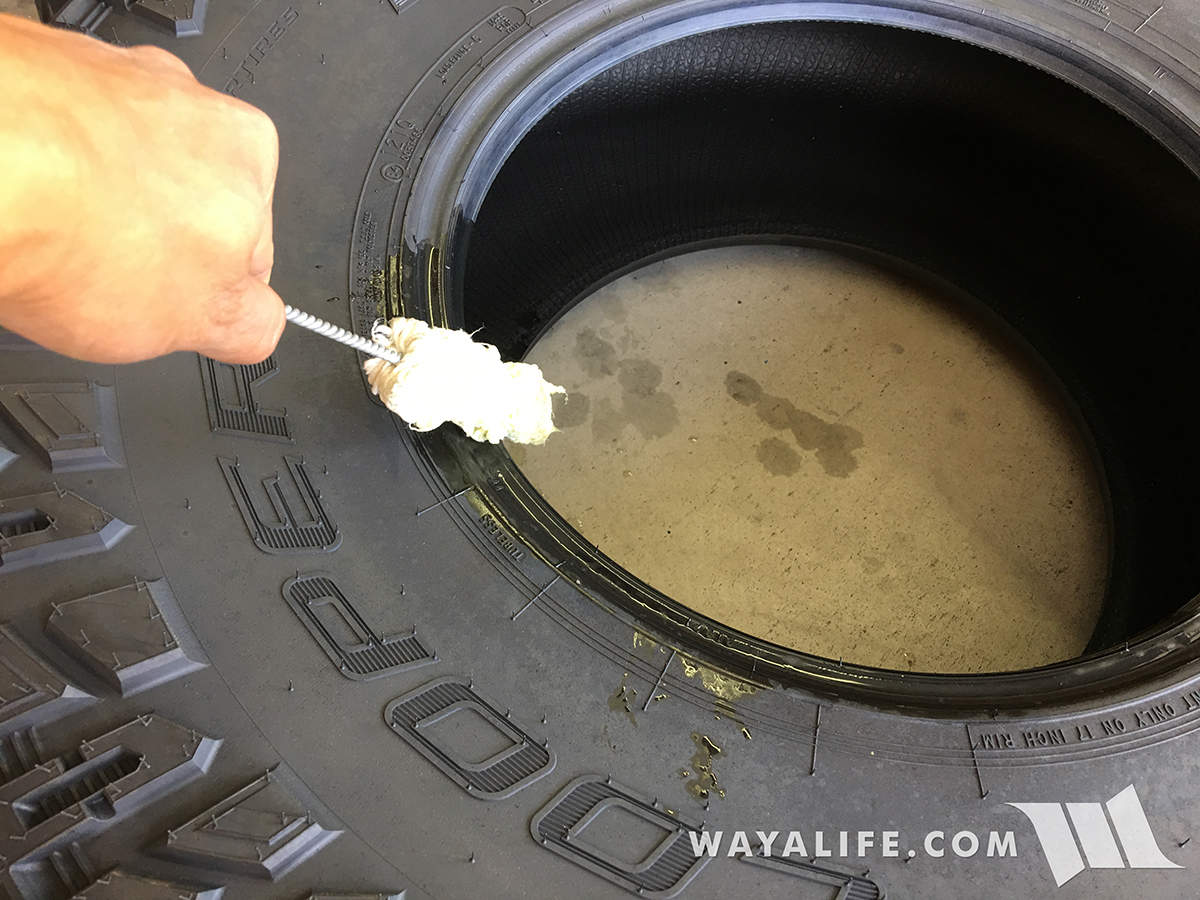
1. Lay your tire flat on the ground and apply some Ruglyde, Simple Green or soapy water to the bead.
20170604174326-8bb6e679.jpg


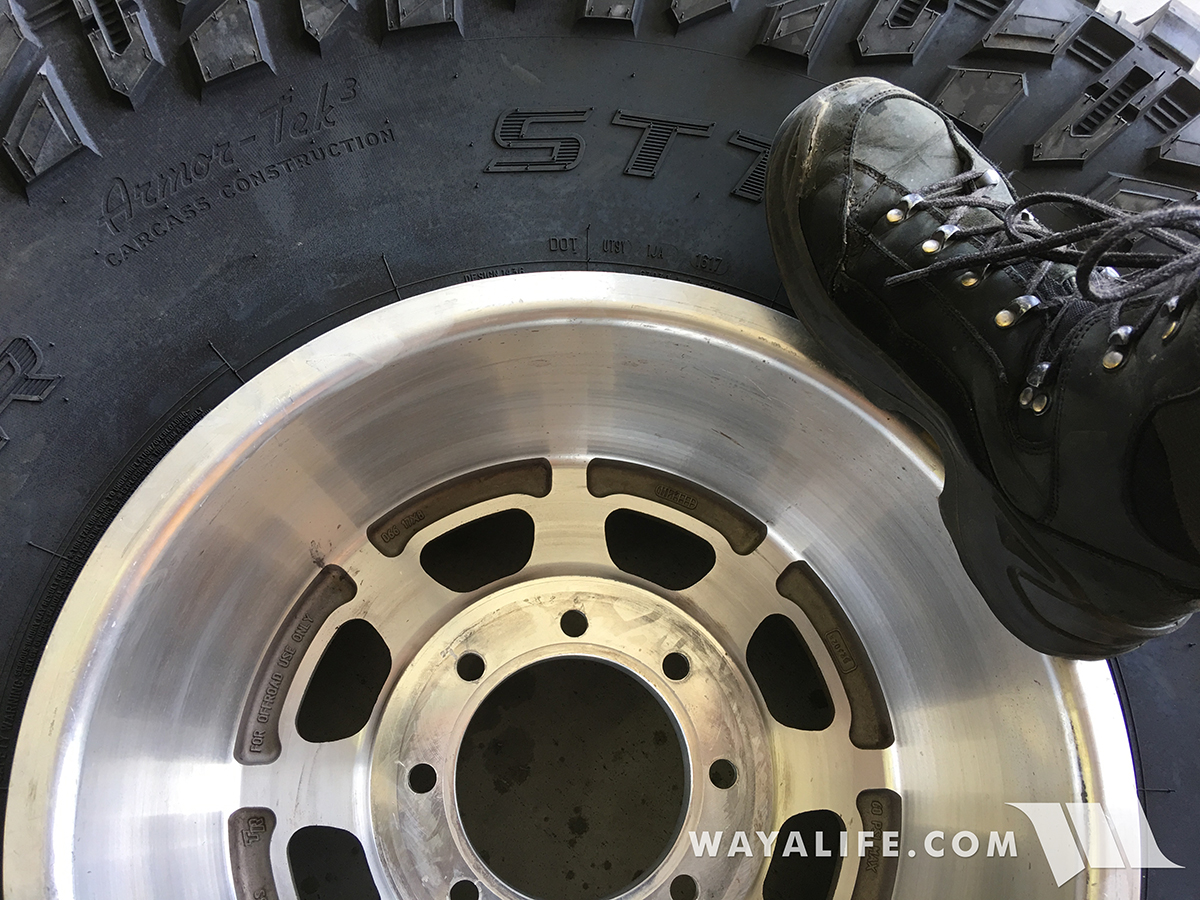
2. Push the open face of your Trail Ready beadlock wheel into the opening of the tire and so that as much of it is in as possible and where the bead of the tire is pressing up against the center of the wheel. Stand on top of your tire and pound the edge of your wheel with the heal of your foot until the entire wheel drops into the opening.
20170604174328-499d097e.jpg


3. Place your Trail Ready wheel and tire on top of a 5 gallon bucket as shown so that your tire is suspended in the air. This will help make it a lot easier to set your bead on the open face and complete the installation of the beadlock ring.
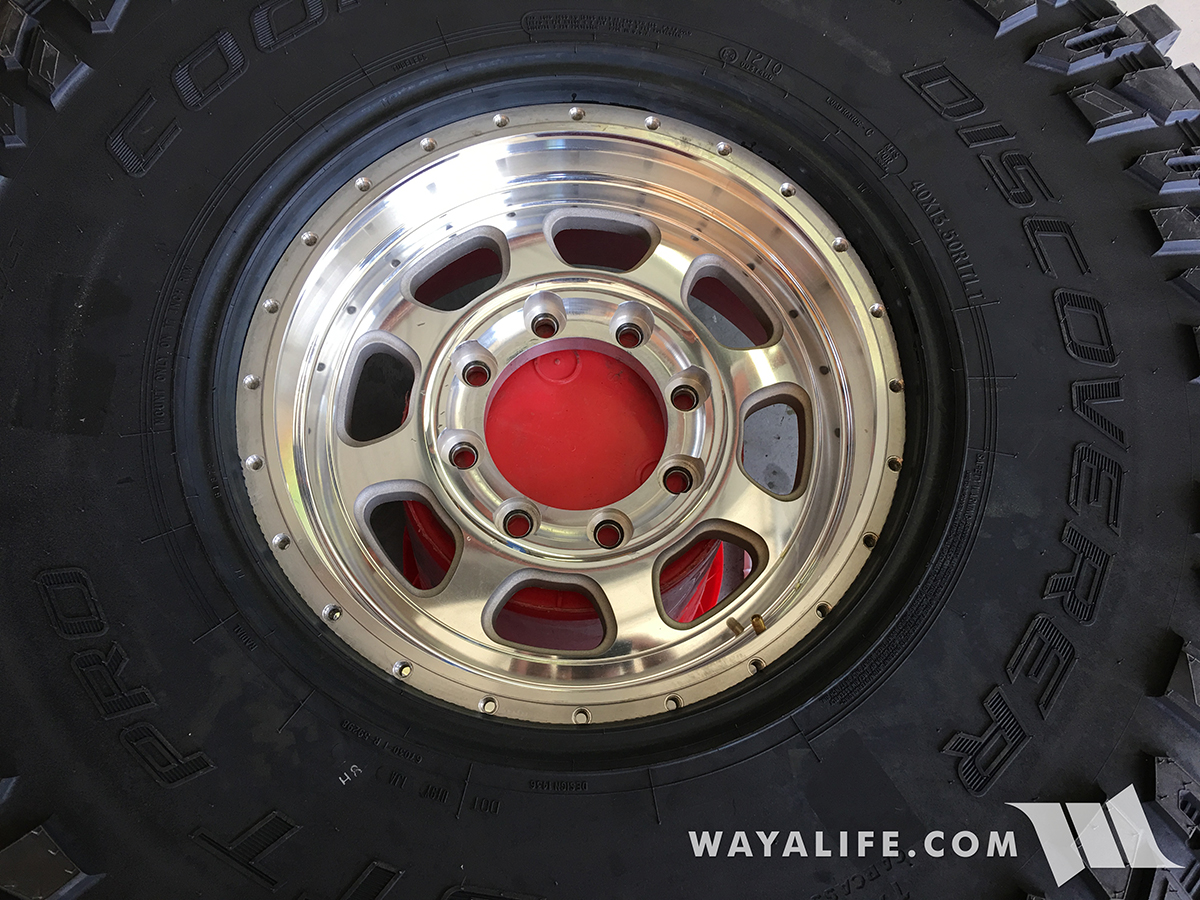
20170604174333-3af894ee.jpg


4. Using a small pry bar and/or a large flathead screwdriver, slowly work around your Trail Ready beadlock wheel carefully prying the bead of your tire onto the mounting lip as shown.
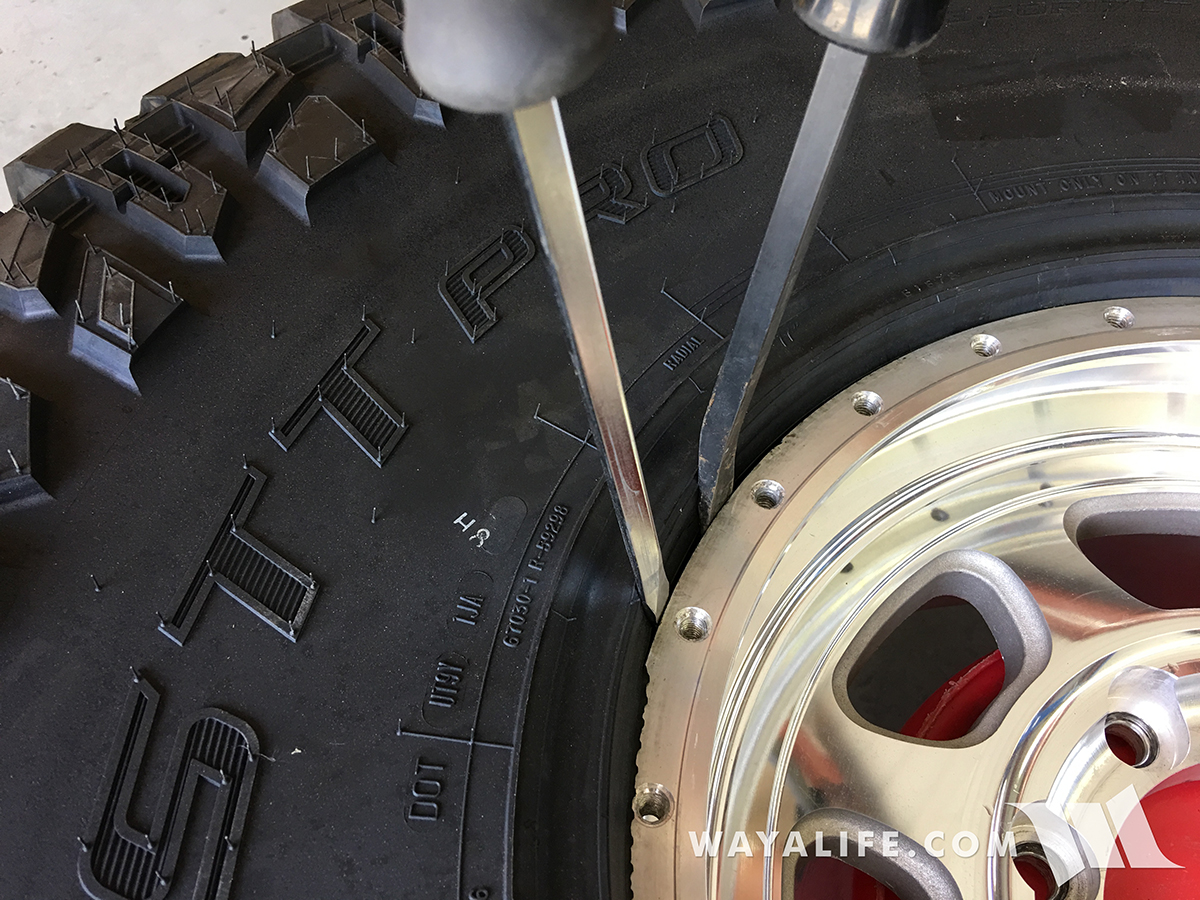
20170604174337-df4bc9ec.jpg


5. Once the bead is completely seated along the inside lip of your Trail Ready beadlock wheel, strike the edge of the bead with a deadblow hammer to help ensure it's completely seated.
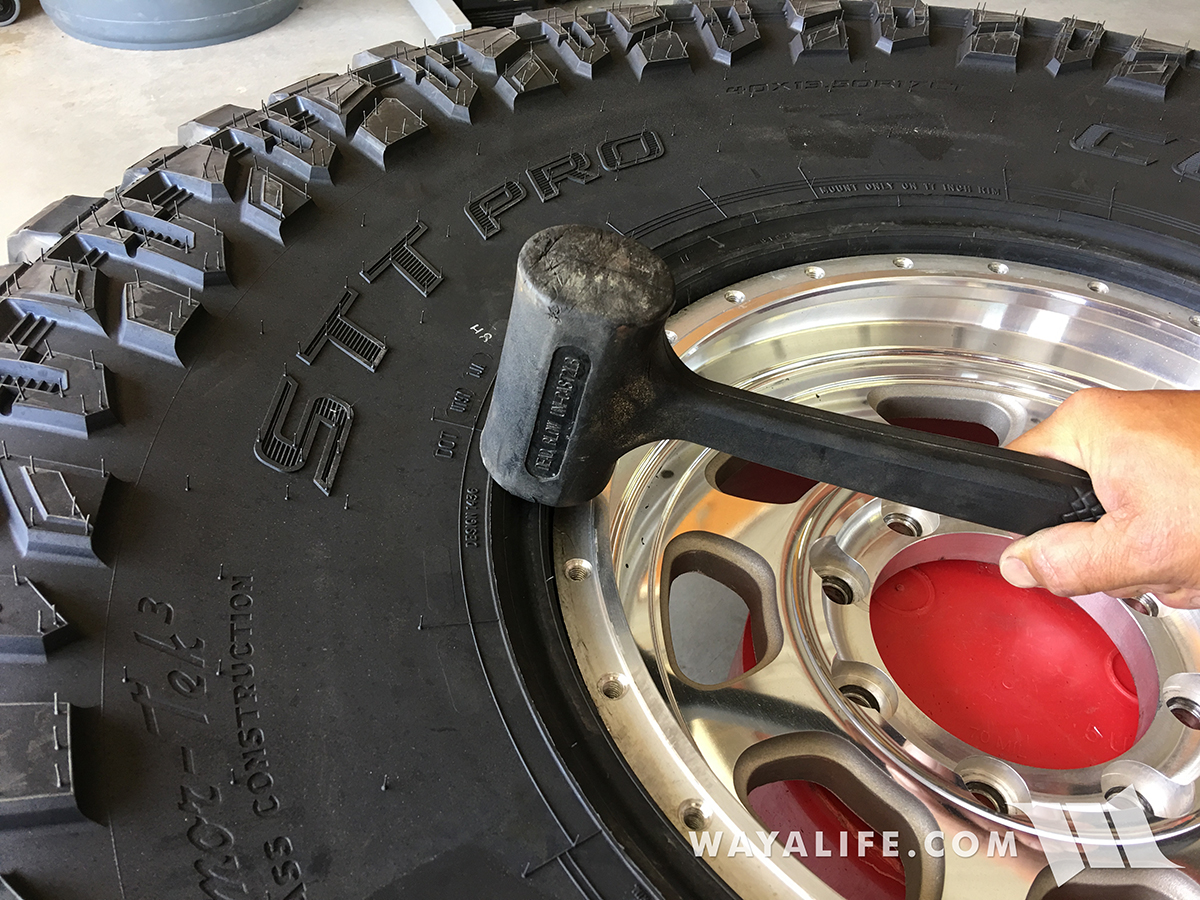
20170604174339-f6f50569.jpg


6. Depending on how thick the bead of your tire is, you may find it necessary to install additional 3/16” Beadlock Spacers that Trail Ready makes. If it is necessary for you to use them, place them on the mounting surface now.
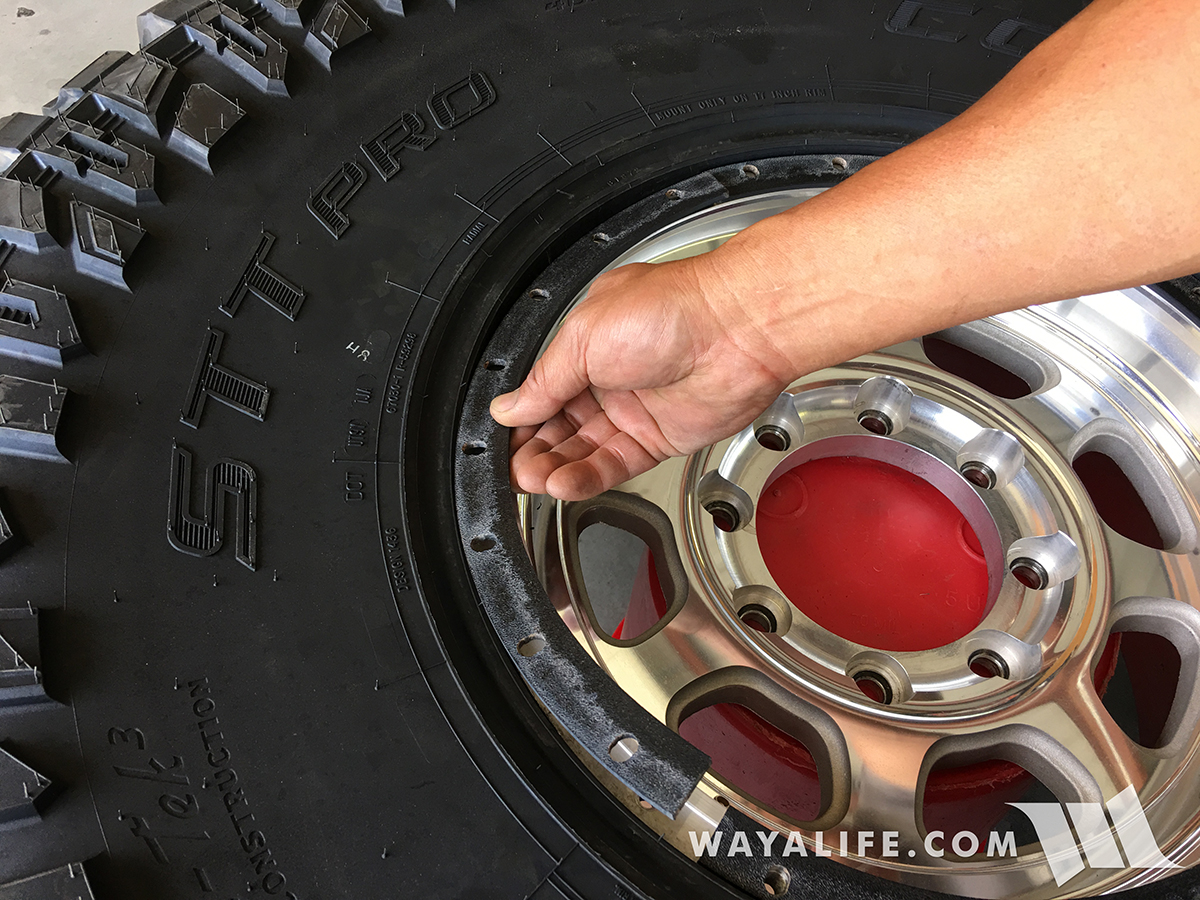
20170604174344-d516d36a.jpg


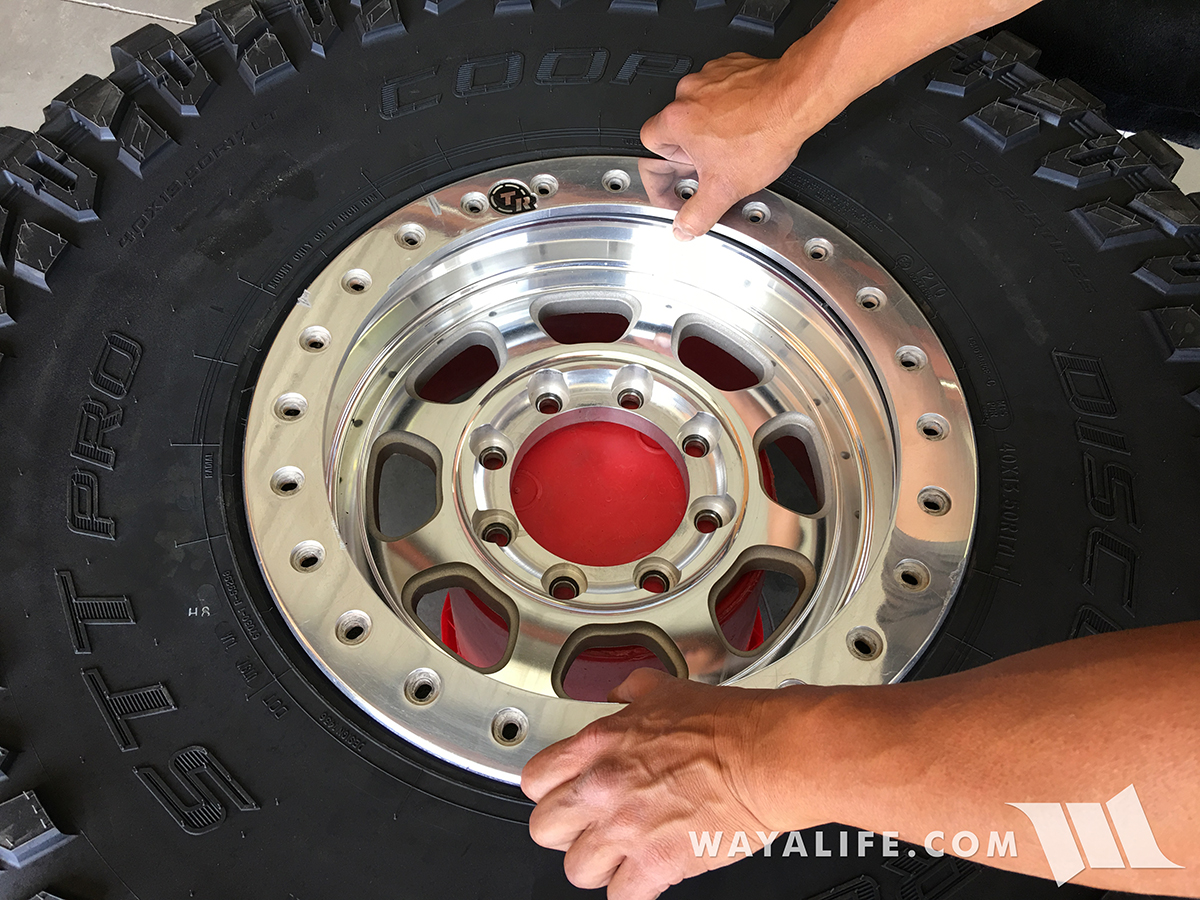
7. Place your Trail Ready beadlock ring on top of the mounting surface of the wheel and position it so that the mounting holes are aligned.
20170604174346-bff5499e.jpg


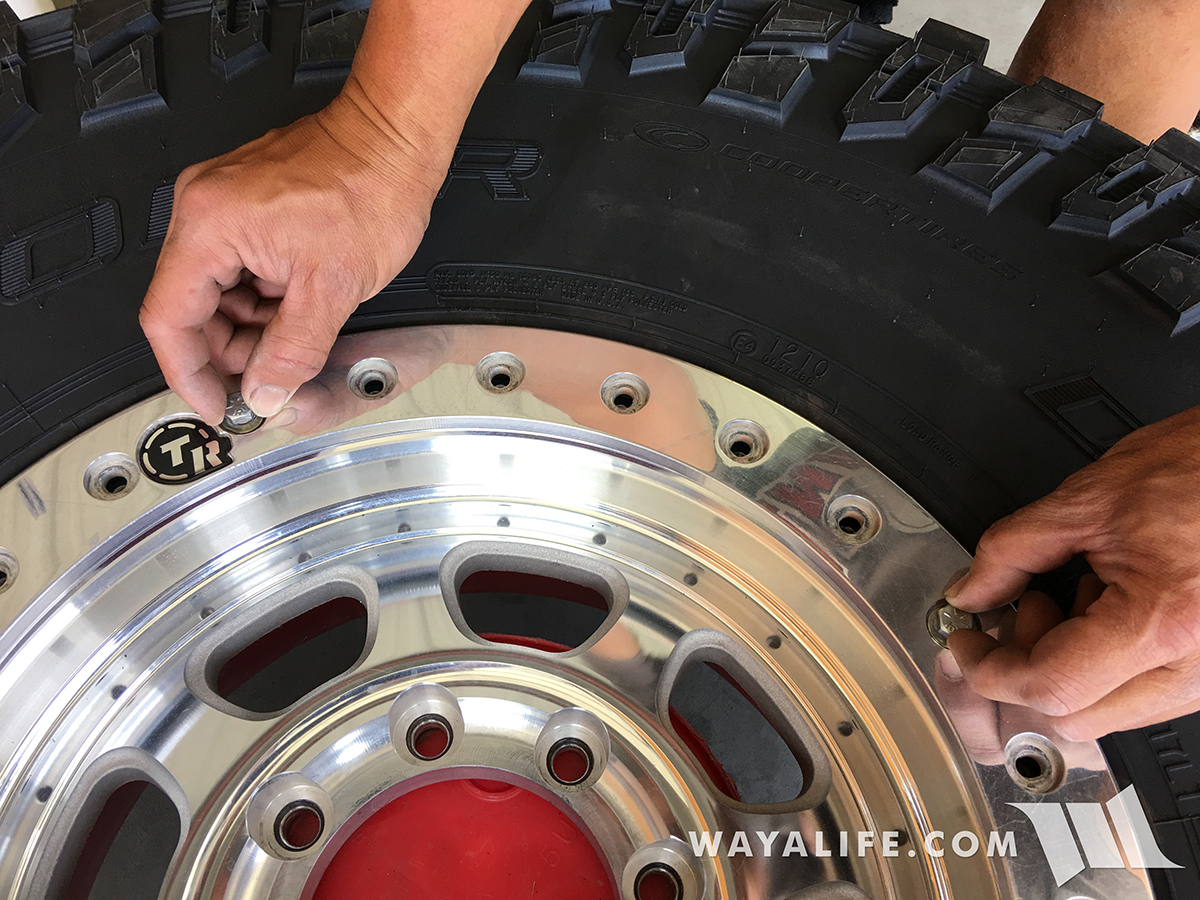
8. Install the 4 longer starter bolts opposite each other and in a 12, 3, 6 and 9 o'clock orientation.
20170604174348-d12e69b9.jpg


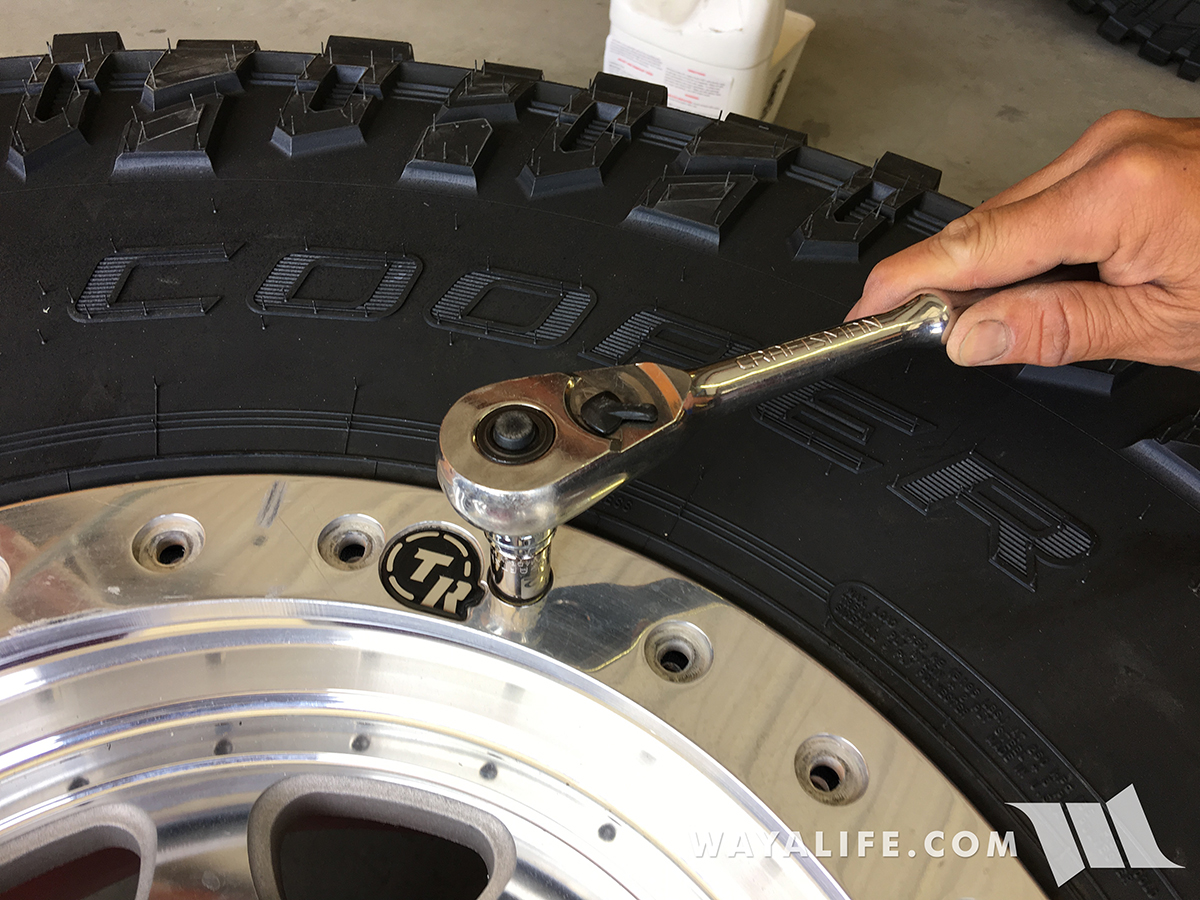
9. Using a 1/2" socket, slowly tighten the 4 bolts in a crisscross pattern until you can install the remaining bolts.
20170604174350-b675a2ca.jpg


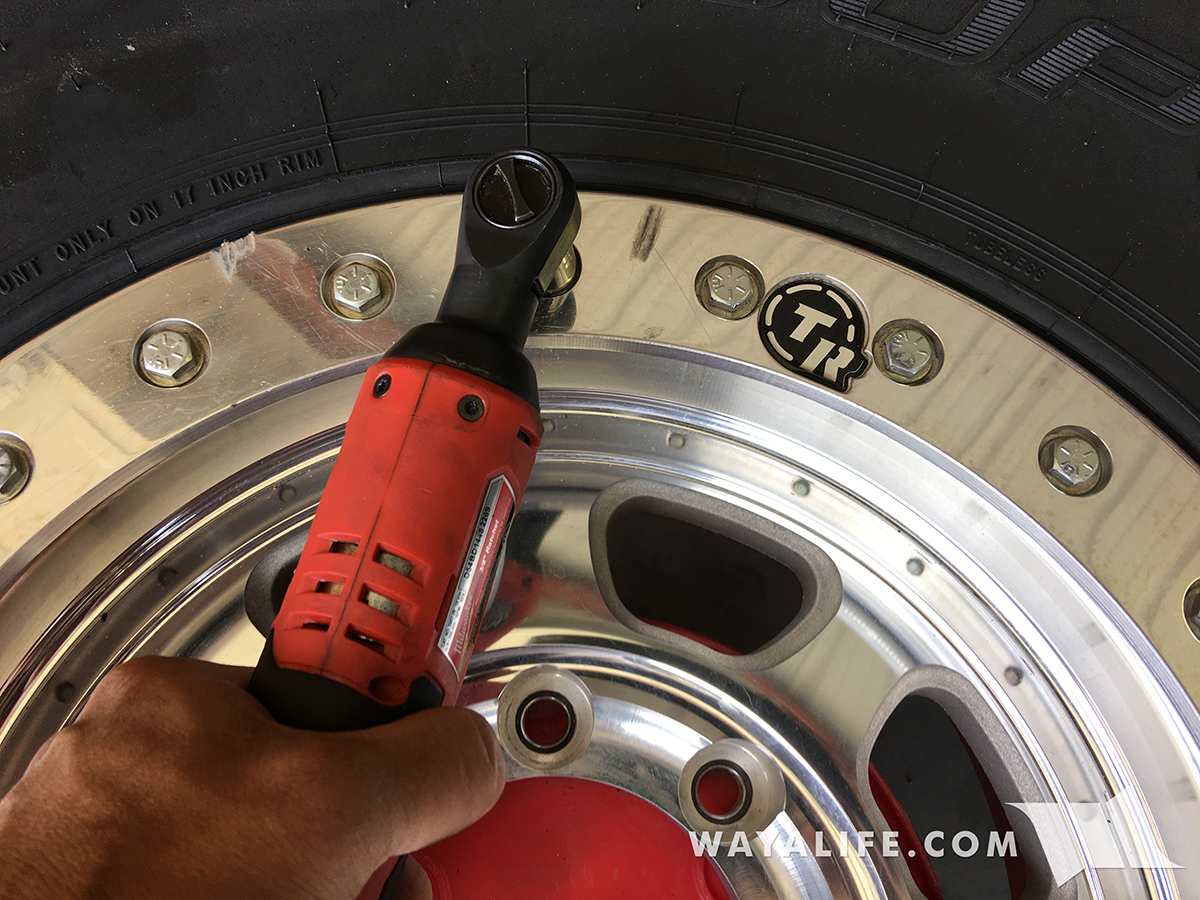
10. Remove the starter bolts, replace them with the shorter bolts and then lightly tighten all the bolts down in a star pattern. As you can see here, I used an electric ratchet to speed things along but you'll want to make sure that you do NOT over tighten your bolts.
20170604174359-b2efed3e.jpg


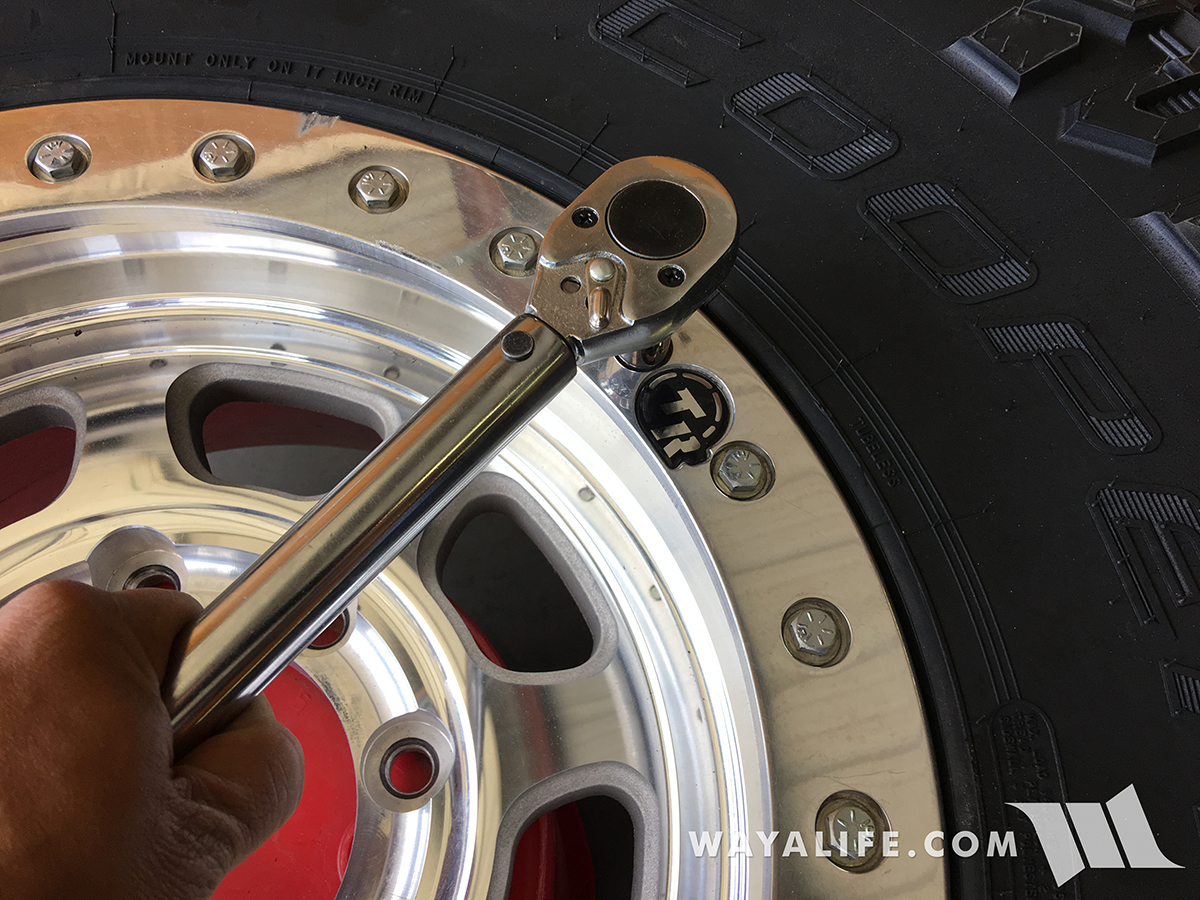
11. Slowly work your way around the beadlock ring and tighten all the bolts to 20 ft. lbs. of torque. When completely installed, there shouldn't be any gap between the beadlock ring and wheel.
20170604174402-f39538c2.jpg


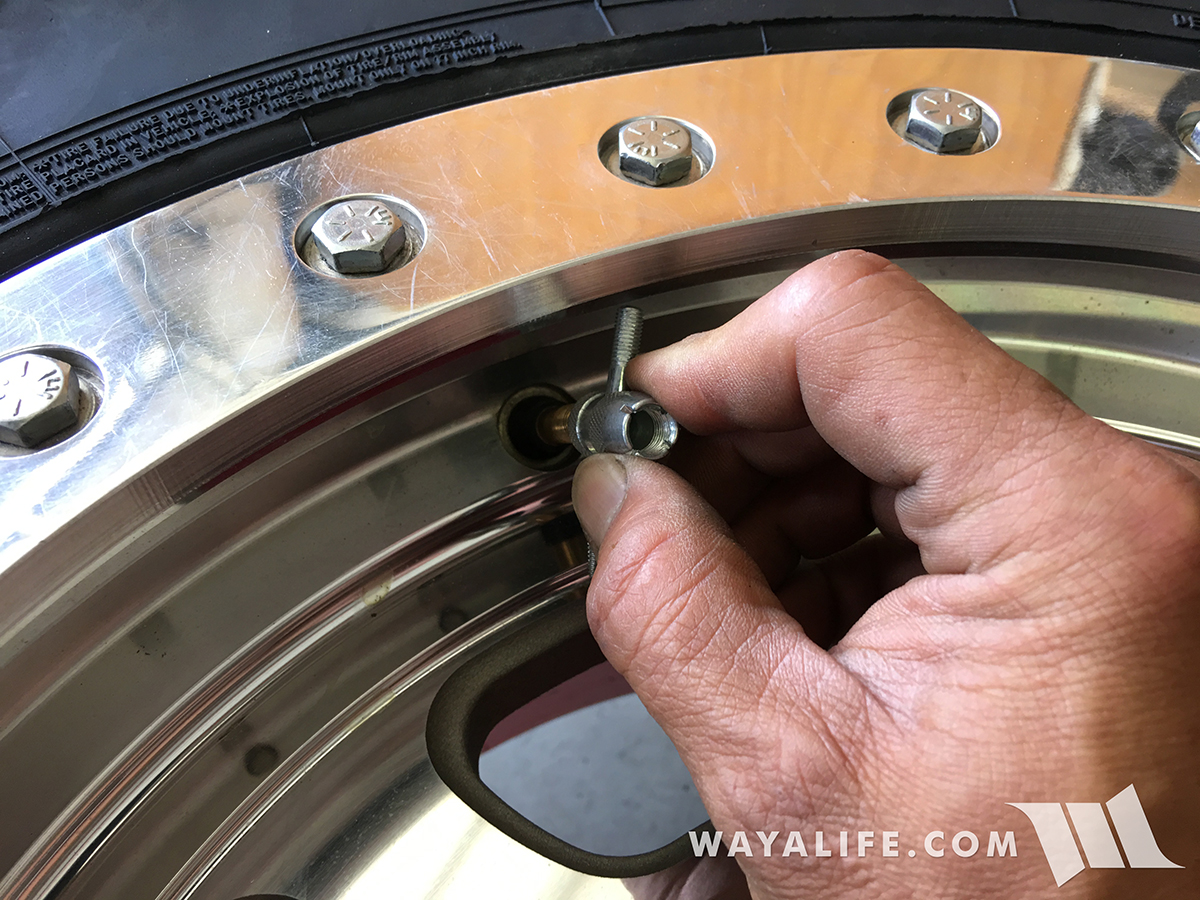
12. Install your valve stem core and tighten it in place with a valve stem tool.
20170604174404-e0db4229.jpg


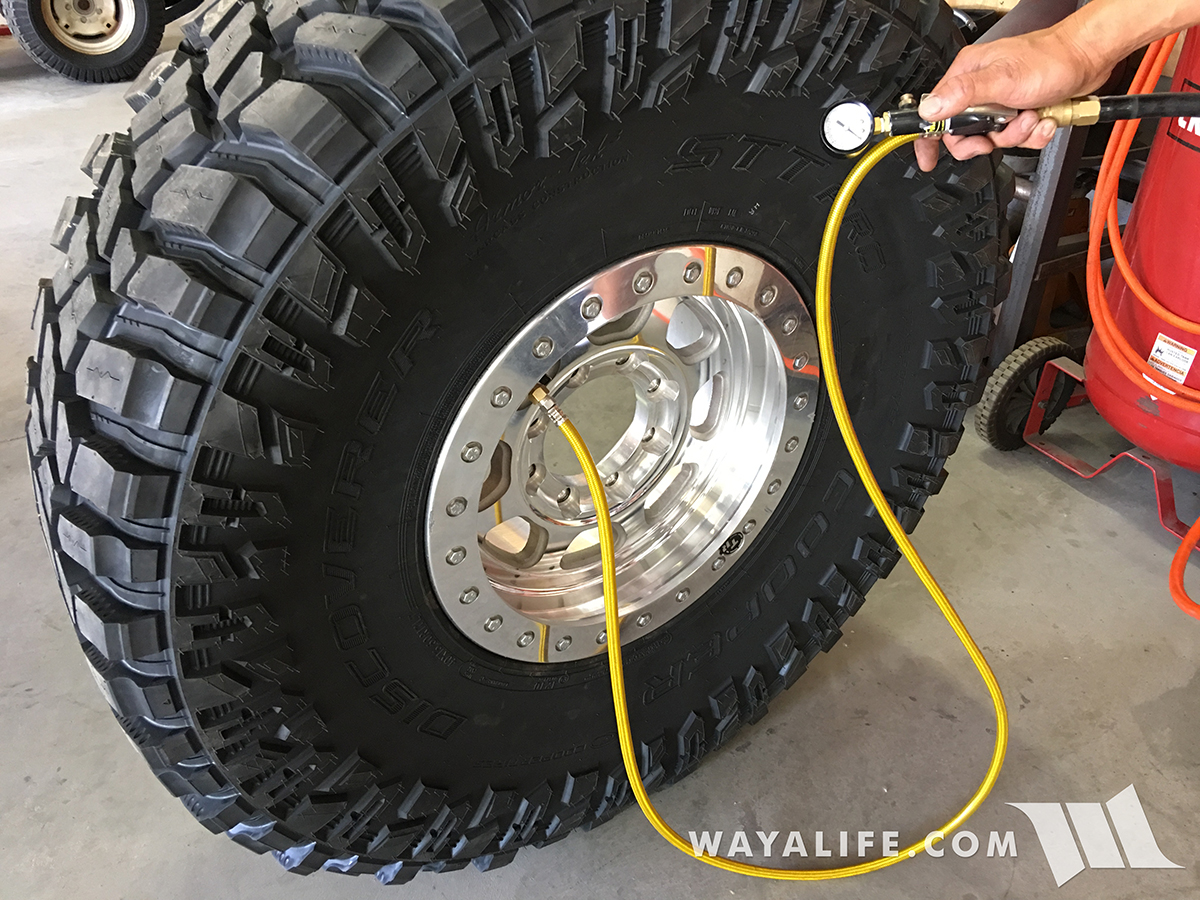
13. Standing to the side of your tire for safety, use an air compressor to inflate your tire until the bead of your tire is set on the back sideof the Trail Ready beadlock wheel and proper operating PSI is obtained.
20170604174406-809a310e.jpg


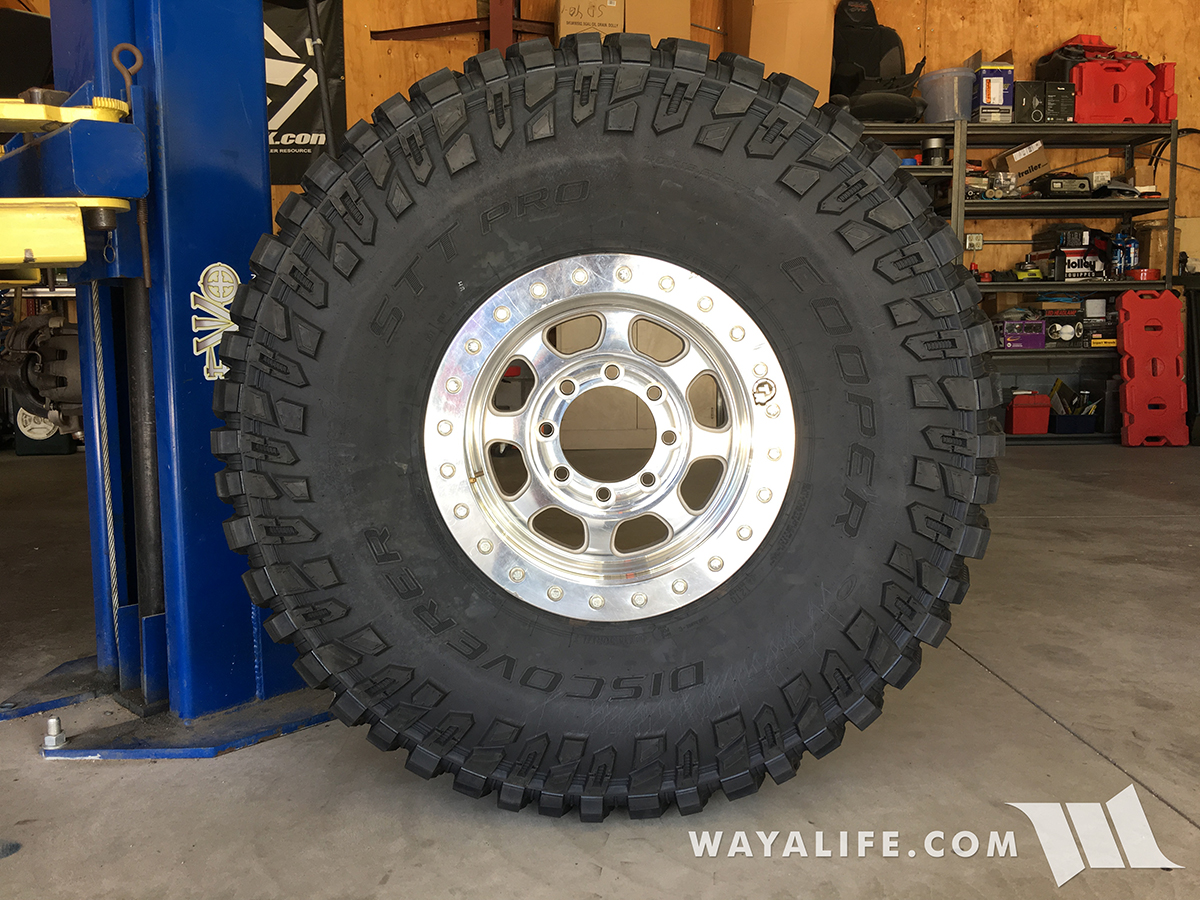
Here's what your Trail Ready beadlock wheel will look like installed on your tire.
20170604174408-7eae0333.jpg


That's all there is to it. I hope this write-up has been helpful to you. :cool:
 
Do you find the Trail Ready Beadlocks are easier to mount compared to the ATX Slabs? The process seems very similar.

Oh, without question the Trail Ready's are so much easier and faster to install if only because they use regular bolts. Using a 12-point socket, you're pretty much on every bolt without even thinking about it. Getting an allen socket in and out of every bolt can be a bit tedious and will slow you down quite a bit. Also, the Trail Ready spacers help eat up a lot of the distance you need to wrench. Of course, the Slab do have much thicker rings and bigger bolts that do require a higher torque setting too. In other words, more wrenching.
 
Oh, without question the Trail Ready's are so much easier and faster to install if only because they use regular bolts. Using a 12-point socket, you're pretty much on every bolt without even thinking about it. Getting an allen socket in and out of every bolt can be a bit tedious and will slow you down quite a bit. Also, the Trail Ready spacers help eat up a lot of the distance you need to wrench. Of course, the Slab do have much thicker rings and bigger bolts that do require a higher torque setting too. In other words, more wrenching.

Awesome, thanks for the info!


Sent from my iPhone using WAYALIFE mobile app
 
Oh, without question the Trail Ready's are so much easier and faster to install if only because they use regular bolts. Using a 12-point socket, you're pretty much on every bolt without even thinking about it. Getting an allen socket in and out of every bolt can be a bit tedious and will slow you down quite a bit. Also, the Trail Ready spacers help eat up a lot of the distance you need to wrench. Of course, the Slab do have much thicker rings and bigger bolts that do require a higher torque setting too. In other words, more wrenching.

this is one of the reasons I hesitate to disassemble my Chamber Pro's ...I do not look forward to all those allen sockets and inserts.

they're still tight, no leaks but I know i'll need to replace several of them just from the looks of the corrosion.

took a long ass time to run those bolts down in increments to keep it all even. you don't think about the gap until you've been on the same wheel for awhile then take look and still more gap to close...never realized how long it takes to get to 21ft/lbs lol
 
if these were mounted on ATX slabs/Chamber Pros would there be a gap between the ring and wheel since those wheels don't have spacers? what about the 37" coopers on ATX wheels? are the spacers absolutely necessary, or could you tighten the bolts down enough to close the gap?
 
if these were mounted on ATX slabs/Chamber Pros would there be a gap between the ring and wheel since those wheels don't have spacers? what about the 37" coopers on ATX wheels? are the spacers absolutely necessary, or could you tighten the bolts down enough to close the gap?

I believe the spacer is a trail ready and method wheel thing only. Those are the only two I have seen the spacers used on.

But yes my 37" coopers and chamber pros are clamped nice and tight
 
I believe the spacer is a trail ready and method wheel thing only. Those are the only two I have seen the spacers used on.

But yes my 37" coopers and chamber pros are clamped nice and tight

Thanks, Good to know, going to try to mount them tomorrow!
 
How do you tell if you need the spacers? I have trail readys and probably gonna go with trail Grapplers 40-13.5. Thanks! This is very helpful to me since I'm new to beadlocks!
 
Although I doubt I'll ever run beadlocks, I still love seeing this stuff. Great write-up. Question I've always wondered: What keeps the tire from not coming off the inboard side? I understand the outer side being clamped, but what about the inner bead?
 
I have two questions...:

-How can I recognize when it's mandatory to use a spacer on a wheel?

-Are the bolt thread directly made on the aluminium or are there some metallic insert?

Thanks!
 
Although I doubt I'll ever run beadlocks, I still love seeing this stuff. Great write-up. Question I've always wondered: What keeps the tire from not coming off the inboard side? I understand the outer side being clamped, but what about the inner bead?

The inner bead is held in by a huge outer lip and a huge inner lip to keep it from popping off. It's a both to pop by hand and that's why eddie takes them to a tire shop to dismount the inner bead.

You can kinda see on my chamber pros the large inner lip
IMG_7296.jpg
 
Thanks, Good to know, going to try to mount them tomorrow!

When you get started with the rings and see how big that gap is between the ring and wheel you'll swear there is no way in hell that they will ever clamp together. They will, it just takes a while. You have to keep chasing the bolts in a circle until they do. Never mounted anything but Coopers but they have one monster of a bead. Not sure how they compare to Nitto's though.

I have two questions...:

-How can I recognize when it's mandatory to use a spacer on a wheel?

-Are the bolt thread directly made on the aluminium or are there some metallic insert?

Thanks!

Not sure about the spacer but the ring bolts thread into steel inserts in the wheel.
 
When you get started with the rings and see how big that gap is between the ring and wheel you'll swear there is no way in hell that they will ever clamp together. They will, it just takes a while. You have to keep chasing the bolts in a circle until they do. Never mounted anything but Coopers but they have one monster of a bead. Not sure how they compare to Nitto's though.


Not sure about the spacer but the ring bolts thread into steel inserts in the wheel.

Thanks for the answer!

Method wheels are threaded on the aluminium? Right?
 
Top Bottom