The Birth of Cookie Monster (aka Cymbol Monkey)

Well I’ve been quiet here for a bit but have been busy none the less. So here we go....

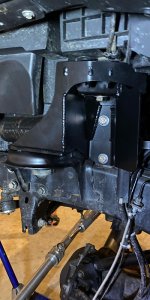
As most know by now I hit a point in the build where I just needed it together to figure out the next step in the suspension. I have to say that my basic coil and spring setup really did handle great for the most part and was keeping up with some of the nicest built rigs like JeffJ with his double throw down, Jerry with his coilovers and Fury with his double triangulated outboarded work of art. The problem was that the shocks really just weren’t able to handle the weight of my axles and I found myself in my bumps constantly and after any period
of wheeling they just got worse. So it was decision time.
 

Attachments

  • F46D3240-F42B-4207-A2E8-DBC1D445B20D.jpeg
    F46D3240-F42B-4207-A2E8-DBC1D445B20D.jpeg
    148.8 KB · Views: 56
  • 30C21DE1-4009-47B2-B9CA-0BAC37AFE793.jpeg
    30C21DE1-4009-47B2-B9CA-0BAC37AFE793.jpeg
    157 KB · Views: 56
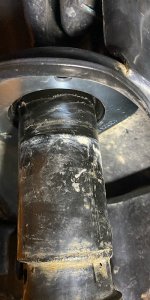
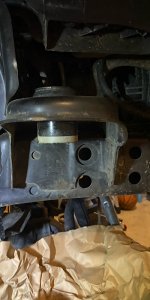
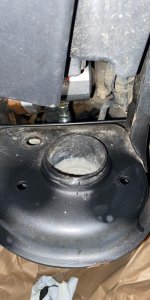
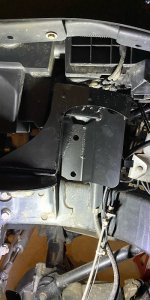
Progress was honestly pretty easy and quick at first.
 

Attachments

  • 0A79377F-AC68-4CF1-834E-06E0589B00B8.jpeg
    0A79377F-AC68-4CF1-834E-06E0589B00B8.jpeg
    127.4 KB · Views: 56
  • 9095101B-838D-41EA-BCA7-1E6CB508328D.jpeg
    9095101B-838D-41EA-BCA7-1E6CB508328D.jpeg
    95.3 KB · Views: 56
  • CA07E503-B9A7-4F56-82AD-851F2B282C63.jpeg
    CA07E503-B9A7-4F56-82AD-851F2B282C63.jpeg
    119.9 KB · Views: 56
  • B76803EC-0C2F-4CF6-8004-8D7A82D788CB.jpeg
    B76803EC-0C2F-4CF6-8004-8D7A82D788CB.jpeg
    127.2 KB · Views: 56
  • FB0C90AD-1EB8-4D12-A735-9E8CAC7CDA1A.jpeg
    FB0C90AD-1EB8-4D12-A735-9E8CAC7CDA1A.jpeg
    134.8 KB · Views: 56
  • FE31C85D-073A-4270-9B38-5A5AA719D3CF.jpeg
    FE31C85D-073A-4270-9B38-5A5AA719D3CF.jpeg
    133.7 KB · Views: 56
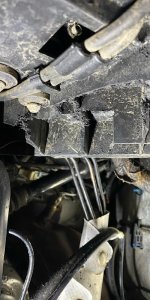
Then I hit the passenger side....they say trim the underside of the battery box slow. They say take your time. Well I wish someone would say just take out the whole damn corner of it so your battery is sticking out and it would of saved hours of trimming and a hell of a mess.
 

Attachments

  • BBE00971-5CFA-4FD0-B8E5-146556A6ACA6.jpeg
    BBE00971-5CFA-4FD0-B8E5-146556A6ACA6.jpeg
    140.4 KB · Views: 54
  • E048AA66-72B4-42CE-A45A-355658665A7B.jpeg
    E048AA66-72B4-42CE-A45A-355658665A7B.jpeg
    123 KB · Views: 54
Then came my next dumbass hurdle of the lower bracket for the straps for the reservoir. When I originally changed my brakes Iines I put the mounting bracket how it best fit my lines. Well I’m order to get the Evo bracket to mount and clear the brake connection I needed to undo my lines and flip the brake line connection bracket the other way. Needless to say I was pissed as I hate bleeding brakes and dealing with brake fluid.
 

Attachments

  • E3122B48-C6D6-4DE0-82C6-3DA26B068EF1.jpeg
    E3122B48-C6D6-4DE0-82C6-3DA26B068EF1.jpeg
    142.5 KB · Views: 53
And finally the rears. Install itself here was really easy until I realized my adjusters were hitting both the OE bracket and Evo support bracket. Finally decided to just trim away.
 

Attachments

  • 4CBC5FFE-8F78-4F93-8303-3B7B0CA07FA6.jpeg
    4CBC5FFE-8F78-4F93-8303-3B7B0CA07FA6.jpeg
    104.2 KB · Views: 55
  • 659AB310-E39B-4665-A6DD-EF6A54212D8D.jpeg
    659AB310-E39B-4665-A6DD-EF6A54212D8D.jpeg
    132.9 KB · Views: 55
  • C699966D-8D99-401C-9502-9C45CA17CE4A.jpeg
    C699966D-8D99-401C-9502-9C45CA17CE4A.jpeg
    97.6 KB · Views: 54
  • C3B6BFC3-936C-465E-BE49-26A3859F1765.jpeg
    C3B6BFC3-936C-465E-BE49-26A3859F1765.jpeg
    70.3 KB · Views: 54
Top Bottom