GraniteCrystal
New member
So excited to begin this process. I'll begin with our thought process on this Jeep for others considering an older Jeep.
My wife and I were down to one vehicle (Scout, our 2014 JKUR) for about the past 9 months. That worked fine for the time, but we're coming up on a season of needing a second vehicle. We considered an SUV, a Minivan, or an older Jeep. Ultimately, we came to conclude that the 2nd vehicle didn't need to be 100% reliable (we have been fine with 1 car for awhile) and that an older Jeep could be a lot of fun to restore for me and our two sons.
Initially, I wanted a CJ7. Very cool look, newer than the CJ5. TJ isn't old enough to be cool in that classic-car kind of way (sorry TJ guys). As I was searching for a CJ7, the idea of a Scrambler came up in conversation. I showed one to my wife and she loved it. Then I found out you can put a 3rd row in there to seat 6. At that point, I knew a Scrambler was what I wanted. We'd already be maxing out a CJ7 with us and two kids. We could grow into a CJ8.
The entire search is documented in this thread:
https://wayalife.com/showthread.php/46157-Scott-s-build-of-a-CJ7
and culminates in 7 hour drive to Blanding, Utah to pick up the Jeep. If you're looking for one of these, be prepared to drive. Only 27,792 of these were ever made, from 1981-1985 with a few leftovers sold in 1986. Of those, I assume probably half have been destroyed or turned to rust buckets in the past 30+ years so the number of Scramblers in good condition for sale is relatively tiny.
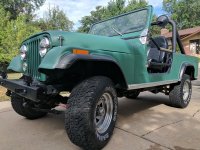
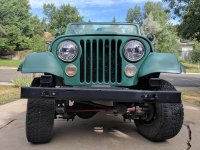
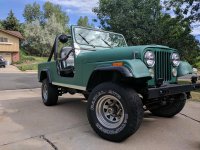
And so I present to you Atticus, our 1981 CJ8 Scrambler. Atticus is equipped with a 4.2L straight 6 engine and a T176 manual transmission. The 4.2L engine is a good one and the T176 transmission is probably the best manual transmission to go into the Scrambler (the T4 and T5 are weaker from what I read). You can tell the T176 from the T4 or T5 because the shifter on the T1756 is straight, the T4 and T5 bend/curve in the middle.
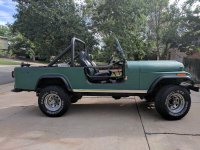
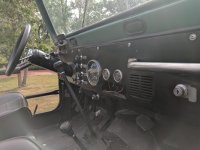
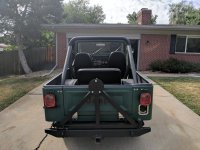
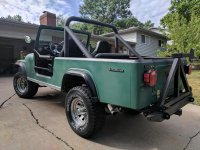
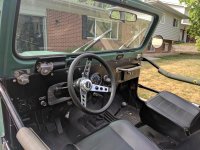
Future modifications:
Sell hard top, buy full length soft top
Sell tube doors, buy YJ half doors
Rockhard 4x4 Sport Cage for the rear - maybe
Remove body lift to return it to stock height
Spare tire and wheel
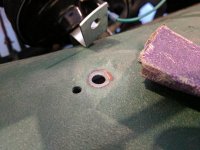
Remove LED cubes - DONE
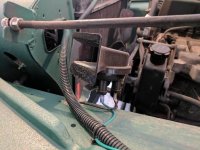
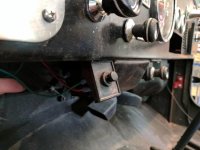
Get the horn working - DONE
Rewire horn to steering wheel
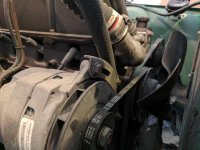
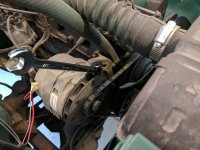
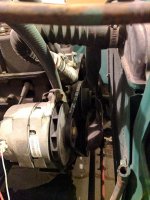
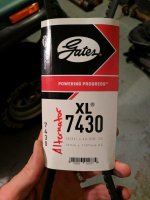
Adjust belt tension so it doesn't squeal on start up - DONE
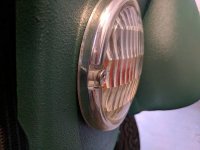
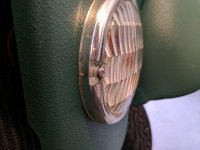
Fix auto-off feature of right turn signal
Add a catalytic convertor so it passes emissions
New draglink (or at least the ends)
New tie rod (or at least the ends)
New dash plate so there isn't a hole for the radio
New breather hose on front differential
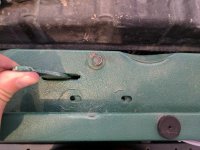
Sand down and spray paint/bed line the bottom of the tub for protection
New gear oil in differentials
New motor oil
Rebuild the carburetor
General engine compartment clean up/degreasing
Add shoulder belts for front seats
New paint job - maybe return to it's original Oriental Red
Seems like a lot, but I think I'll be able to knock out a lot of it in the first month or two. The potential is all there.
My wife and I were down to one vehicle (Scout, our 2014 JKUR) for about the past 9 months. That worked fine for the time, but we're coming up on a season of needing a second vehicle. We considered an SUV, a Minivan, or an older Jeep. Ultimately, we came to conclude that the 2nd vehicle didn't need to be 100% reliable (we have been fine with 1 car for awhile) and that an older Jeep could be a lot of fun to restore for me and our two sons.
Initially, I wanted a CJ7. Very cool look, newer than the CJ5. TJ isn't old enough to be cool in that classic-car kind of way (sorry TJ guys). As I was searching for a CJ7, the idea of a Scrambler came up in conversation. I showed one to my wife and she loved it. Then I found out you can put a 3rd row in there to seat 6. At that point, I knew a Scrambler was what I wanted. We'd already be maxing out a CJ7 with us and two kids. We could grow into a CJ8.
The entire search is documented in this thread:
https://wayalife.com/showthread.php/46157-Scott-s-build-of-a-CJ7
and culminates in 7 hour drive to Blanding, Utah to pick up the Jeep. If you're looking for one of these, be prepared to drive. Only 27,792 of these were ever made, from 1981-1985 with a few leftovers sold in 1986. Of those, I assume probably half have been destroyed or turned to rust buckets in the past 30+ years so the number of Scramblers in good condition for sale is relatively tiny.
And so I present to you Atticus, our 1981 CJ8 Scrambler. Atticus is equipped with a 4.2L straight 6 engine and a T176 manual transmission. The 4.2L engine is a good one and the T176 transmission is probably the best manual transmission to go into the Scrambler (the T4 and T5 are weaker from what I read). You can tell the T176 from the T4 or T5 because the shifter on the T1756 is straight, the T4 and T5 bend/curve in the middle.


Future modifications:
Sell hard top, buy full length soft top
Sell tube doors, buy YJ half doors
Rockhard 4x4 Sport Cage for the rear - maybe
Remove body lift to return it to stock height
Spare tire and wheel
Remove LED cubes - DONE
Get the horn working - DONE
Rewire horn to steering wheel
Adjust belt tension so it doesn't squeal on start up - DONE
Fix auto-off feature of right turn signal
Add a catalytic convertor so it passes emissions
New draglink (or at least the ends)
New tie rod (or at least the ends)
New dash plate so there isn't a hole for the radio
New breather hose on front differential
Sand down and spray paint/bed line the bottom of the tub for protection
New gear oil in differentials
New motor oil
Rebuild the carburetor
General engine compartment clean up/degreasing
Add shoulder belts for front seats
New paint job - maybe return to it's original Oriental Red
Seems like a lot, but I think I'll be able to knock out a lot of it in the first month or two. The potential is all there.
Last edited:

