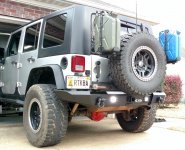
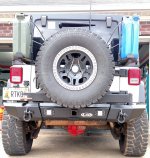
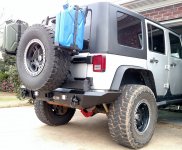
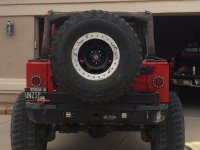
Finished
OK, this took some time, but here it is.
1. Removed powder coat. Paint stripper was more or less ineffective, so we had to use an angle grinder + flap wheel (80 grit), dremel, and orbital sander (80 grit, 150 grit, 220 grit final).
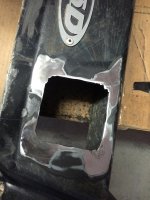
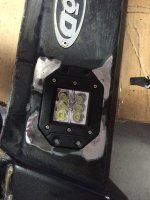
2. Squared out the existing round holes to accommodate the Rigid D2s.
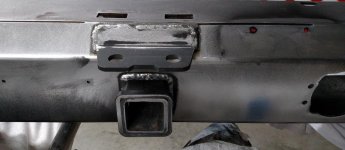
3. Cut up the bolt-on safety chain plate, and welded it to the bumper just below the tow hitch. The previous location hung below the bumper and could catch on things. As for the weld, the powder coat inside the bumper caught fire and we had to stop welding to put it out. Hence the bead is uneven at the very top.
4. Primed and painted with Eastwood Extreme Chassis Black primer & epoxy paint. EXTREMELY happy with the results; looks like it was powdercoated!
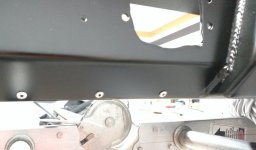
5. Riveted angle brackets to the inside of the bumper to serve as zip-tie points.
6. Customized the wiring harness -- we don't like excess wires. Also took four short lengths of black 10AWG, twisted the ends together, crimped inside of a 4AWG copper lug, then soldered. Bolted to frame and ensured ground continuity. Used two of the wires for ground (relay and lights), and two are left over for future grounding projects.
7. Sanded the LOD logo, clearcoated, and riveted back to bumper.
8. Not related: ran two extra 10AWG circuits each on the driver and passenger side, with split look. These will serve for future power needs (e.g. for our ARB freezer, 12v accessory socket, rear roof lights, and so on).
Anyhow, here are some pictures before, during, and after the install. Enjoy! Thanks for the help along the way.
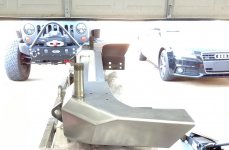
Before. See the tow chain plate below the bumper, just past the muffler? Not good:
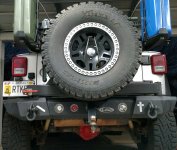
Measuring:
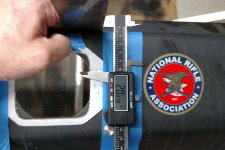
Cut outs:

Sanding complete:
Safety chain plate welded on. Again, pardon the broken bead on top; had to stop to put out a fire.
Riveted angle brackets:

Riveted angle brackets:
Wiring:

Pre-installation:

Done!
