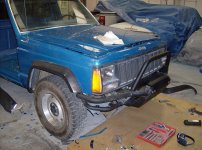
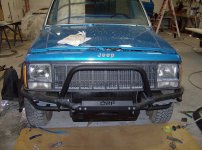
Metric Blue 89 MJ Comanche Build

meljr

Member
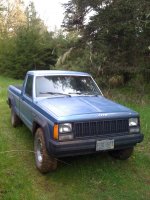
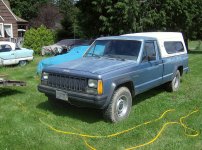
I bought this 1989 Jeep MJ Comanche off a sketchy Salem, OR used car lot in 2011 for $1,400. It's main attractions were that it was reasonably straight, not too rusty, seemed to run OK, and I was regretting passing up a $2,000 package deal on a pair of Comanches (an 88 Olympic 4WD and a red 2WD Short bed, both in very good condition). The first part of the build on my 08 JKU had gone well and I had caught the mod bug for sure. So after money and title changed hands, I drove it to our tree farm and started using it for timber cruising. Even with more than 200,000 miles on the clock, everything worked better than expected, including the vacuum disconnect front D30.

5822723828_64c6d16c56_z.jpg5822160087_8937d79ca4_z.jpg

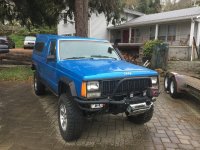
Today, after more than five years, I am very happy with the modifications; although there are still a few things to do. This thread is intended to document the journey as I kept pretty good records and learned quite a bit along the way.

31122161101_0fa1030321_z.jpg

-meljr
 
Last edited:
Looks like a pretty cool restoration so far. I missed your wave thread so I will give you one now from Wisconsin [emoji1588].
 
Initial Assessment and the Beginning of a Plan

After getting the Comanche Home, I checked it out with some friends from my local Jeep club. The MJ appeared to be completely stock and unmolested with a lot of miles, but what receipts I found indicated that it had been cared for and serviced regularly. Apparently, the dealer had bought it from an estate sale and I believe I am the second or third owner.

Here are the as delivered specs for my 1989 Jeep MJ Comanche:
  • 1/2 ton 119.6 in. wheel base 2DR pickup with 7 ft. (long) bed
  • 4.0 liter Renix straight six cylinder engine
  • 5 speed AX-5 transmission
  • D30 front axle with vacuum disconnect and "Quadra-Link" suspension design from XJ
  • D35 rear with leaf springs under axle
  • Bench seat
  • Manual Wind-up, Windows

Condition
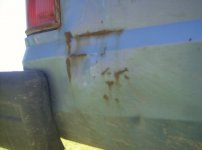
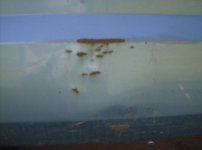
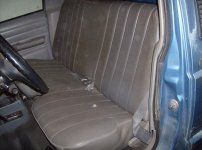
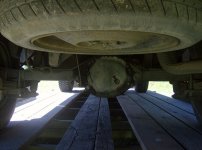
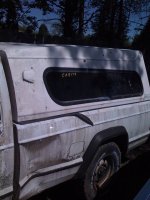
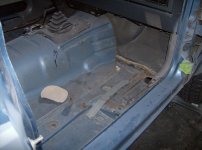
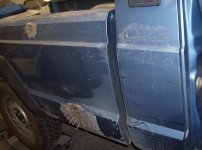
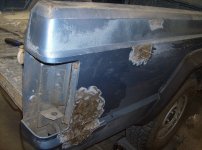
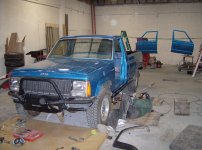
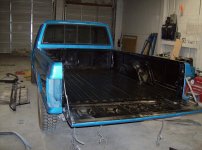
The truck showed signs of wear and tear with dings and rust here and there along the bed sides, one tear in the upholstery, a gross looking headliner and a wet floor mat. Aside from that, it appeared to have had regular maintenance and was sporting a set of almost new All-Terrain tires on the stock rims. What appeared to be the original spare was properly stored under the bed. There were no major leaks and the truck started and ran without smoking or leaking fluids. There was an exhaust leak that was eventually traced to the manifold's #5 cylinder tube cracked at the flange.

5924346873_3ffff872d2_z.jpg5924347065_3b2efd2d10_z.jpg5953195540_e78e22f585_z.jpg5924906722_168dacf914_z.jpg

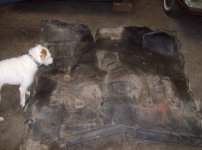
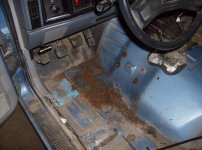
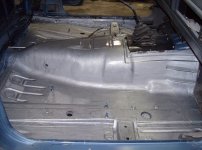
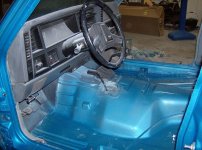
After pulling the bench seat and floor mat with a little help from Dewey the Dog, we encountered some rust on both driver and passenger floor boards. There was nothing too serious, and as the truck seemed to run fine, we decided to start with the body work and installation of some armor and other off-road accessories while I saved up the funds for an eventual lift, re-gearing and larger wheels and tires.

5953196136_a570754680_z.jpg5953196504_80b303e295_z.jpg
 
Last edited:
The Build Plan

Our plan was to do the build in three stages:
  1. Rust repair, Body work and Re-paint
  2. Add Armor, Winch, Auxiliary lighting and Accessories
  3. SOA lift with Long Arm front suspension, compressor, lockers, regearing with new tires and wheels

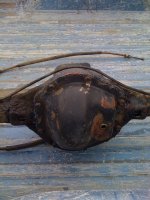
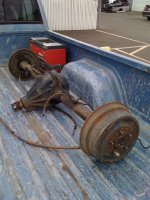
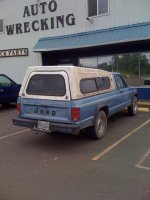
When the word got out that I wanted to eventually replace the stock D35 with something more suitable for moderate wheeling (a broken axle shaft on the D35 was something I really wanted to avoid), I received a call from a friend of a friend who worked in a local wrecking yard. He had a Metric Ton (2,200 lb. capacity) Comanche that still had an intact D44 that I could pick up for $100. Metric Ton D44s don't come up very often so I jumped on the deal, tossed my tools in the Comanche and drove straight to their yard. The axle was quickly pulled and they even tossed in the topper for good measure.

5822724952_b4dd1ec3b9_z.jpg5822725602_7ac05c0a45_z.jpg5822161925_bb8e36798f_z.jpg5822160761_f7c491a118_z.jpg

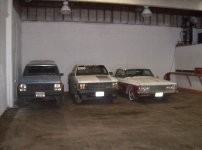
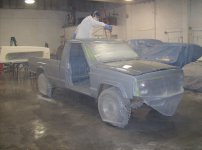
When I got back to the farm, I washed the truck and topper before taking it to the shop I rented with a buddy from the Jeep club and moved the Comanche to the front of the line, ahead of my 89 Shelby Dakota race truck and 63 Plymouth Sport Fury, both of which are still waiting for restoraction.

5822199169_55dde919d4_z.jpg5924909628_b7ec7cf1c4_z.jpg
 
Phase 1.0 Rust Repair and Body Work

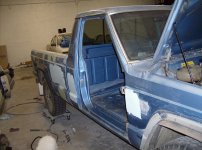
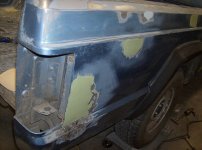
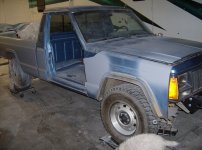
No matter what the Comanche would look like when the build was completed, rust and body repair was the obvious starting point.

6360853669_4ca251827b_z.jpg6825913447_9523883101_z.jpg

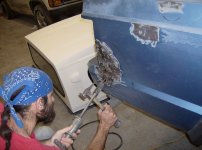
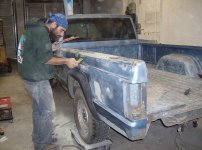
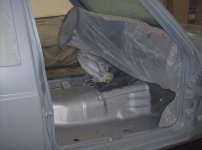
While I cleaned, chemically stripped and treated the floorpans with POR-15, a friend of mine from the Jeep Club started on the body work.

6205833899_c773c29103_z.jpg6206344982_f8b9f649f4_z.jpg6205834405_9f87cb8111_z.jpg6205828243_18e9033bba_z.jpg6205835621_a6f7dcf699_z.jpg6205835995_4a3d22aa16_z.jpg
 
Phase 1.1 Body Modifications

After I scored the Metric Ton D44 rear axle assembly that would eventually replace the stock D35, I had to think about what aftermarket accessories should be ordered and what other body modifications were needed before re-painting the Comanche.

From various Internet postings and conversations with people who had done similar swaps, we thought that doing a Spring Over Axle (SOA) modification when the rear axles were swapped, would result in about a 6" lift even if we kept the tired 1/2 ton stock leaf springs. I didn't want to lift it any higher than 6" and I wanted to keep a decent ride, so we decided to keep the old springs and upgrade them to something like similarly sized S10 springs only if necessary. After all, we were going to the D44 to get away from the stock D35, not to increase our load capacity and we could do the SOA lift with just about any axle assembly. Even with a future 6" lift planned for phase III to clear 33" tires, we decided to trim the lower rear sheet metal of the bed for additional departure angle clearance. If I had to do it over again, I should have held off and bought a short bed Comanche to begin with, but even then I probably still would have trimmed the rear sheet metal.
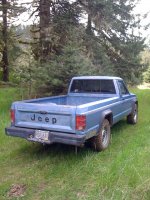
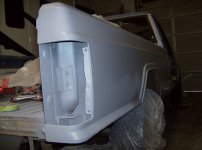
5822723828_64c6d16c56_z.jpg6360852761_c5e56c11ee_z.jpg

Let the Mods Begin

I had won a set of OR-Fab tube doors for my JKU from a contest on JK-Forum, so I had a soft spot for their products and decided to order their JEEP CHEROKEE XJ 3-PIECE FRONT WINCH BUMPER which should clear 33" tires, but still required the front fenders to be cut. For the most part, everything on the MJ/Comanche in front of the bed is based on the XJ/Cherokee. The OR-Fab front bumper I ordered also included a frame stiffener for the steering box, which seems to be a common point of failure when wheeling MJ/XJs.
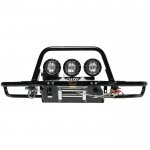
OR-Fab83203.jpg

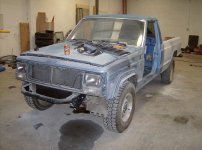
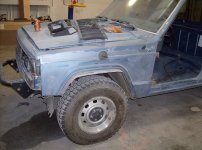
Several of the fields at our tree farm can only be accessed by fording creeks that run through the property. While all the creeks flow year around, depending on the season, some of them can run several feet deep or more, so a snorkel seemed like a good idea and I ordered an ARB Safari Snorkel kit for a XJ. This kit needs a rather large hole drilled through the left front fender and some modifications to the stock air box. In the picture below, we are test fitting the OR-Fab bumper and have trimmed the forward edge of the front fender and cut the hole for the snorkel. The second picture shows where the ducting for the snorkel enters the air box.
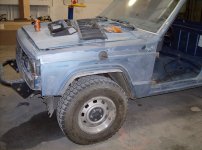
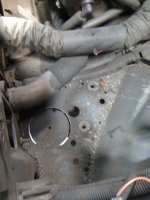
6825911685_1c2a3aefce_z.jpg6911629907_90c33bca89_z.jpg

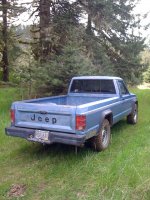
About the time I started ordering these upgrades, Hanson announced their plans to produce a rear bumper for the MJ/Comanche. Because the rear of the Comanche is so different from the XJ/Cherokee, there are fewer products available from vendors. There was nothing wrong with my stock rear bumper, but I decided to pre-order the Hansen bumper even though I would not need it right away. As it turned out, delivery of the Hanson bumper took so long that it actually ended up delaying the build slightly.
 
Phase 1.2 Prime and Paint

When we were satisfied with the body work and accessory prep, it was time to mask, prime and paint.

Our shop is heated by ceiling mounted forced air natural gas, so in order to reach an optimal heat and humidity without blowing the place up, we experimented with running the heat and cutting it off just before priming. Our lighting is from ceiling mounted industrial explosion proof fixtures, so no concern there.

6825919835_905c33a469_z.jpg6360852473_7e586f6680_z.jpg6825916113_1853a2f1ba_b.jpg

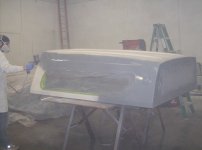
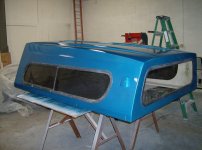
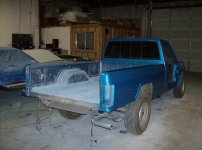
My friend, who did most of the body work, suggested Audi Metallic Pearl medium Blue paint and got us a deal from the local wholesaler. We decided to spray the topper first just to see if we liked the color.

6825920327_1c4c0203ae_b.jpg6847958947_42d9db27c5_z (1).jpg

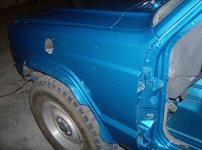
The tailgate and doors, which came from a wrecking yard XJ, because I wanted an upgrade to opening vent windows, were painted separately from the truck body.
6847957339_59959866b4_z (1).jpg6847958393_acca519a61_z (3).jpg6847960987_ac632ae980_z (1).jpg6859447271_5535d94665_b.jpg

After the paint was dry, we started installing the body mounted accessories, starting with mounting the OR-Fab front bumper to the frame brackets and the Rocky Road Super Sliders. We finished up Phase I of the build by spraying the bed with POR-15 bed liner. I didn't care for how it came out (too shiny) and it has not proven to be very scratch resistant, so I will probably have it re-done at the local Line-X shop.
6859441691_89840ce080_z.jpg
 
Last edited:
Phase 2 Planned Armor, Accessories and Upgrades

With the body and paint finished, we moved onto making a few recommended upgrades by adding armor and accessories before undertaking the lift. The idea was to get the MJ close to it's final weight in order to lift it just enough to clear 33" tires but not over do it. The planned SOA lift at the rear with the stock leaf springs would establish the minimum lift and by adding the accessories and mods first, we should have a base line for lifting the front as the MJ front suspension is essentially the same as an XJ/Cherokee, giving us plenty of options to complete the lift.

Armor and Accessories:
  1. OR-Fab XJ Front Winch Bumper
  2. Winch
  3. Rocky Road MJ Long Bed Super Sliders
  4. Hanson Rear Bumper
  5. Headlight Switch Relay Modification
  6. Auxiliary Fuse Box
  7. IPF Fog Lights
  8. Rigid Spot Lights
  9. Rigid Flood Lights for rear backup
  10. ARB Safari Snorkel
 
Last edited:
Phase 2.1 OR-Fab XJ Front Winch Bumper

A few years before I bought this MJ/Comanche, I won a set of OR-Fab tube doors for my JK and purchased their JK rear bumper with spare tire carrier. I was very satisfied with those JK products and the support I received.

There are quite a few choices for MJ/Comanche front bumpers because the XJ/Cherokee front end is essentially the same. Since OR-Fab had a competitive offering, I ordered their Jeep Cherokee XJ 3 piece front winch bumper (part number 83203) with the optional grill hoop and light bracket. As I write this, it appears that OR-Fab is currently "reorganizing" and not open for business. I wish them well.

We installed the base of the bumper while the body work was in progress as the front fenders have to be trimmed ahead of the wheels and we wanted to check the fit before painting. OR-Fab also includes a steering box reinforcing mount for the frame as part of the overall bumper installation. Apparently, the stock XJ/MJ steering box to frame mount is susceptible to stress and fatigue, which was something I was not aware of until installing the bumper

6825912109_828e962584_z.jpg6825911685_1c2a3aefce_z.jpg

After painting, we bolted on the two tubular sides to the center base of the bumper, the grill hoop, light bracket and then reinstalled the trimmed stock front fender flares.

6859442381_2bfcc610fb_z.jpg6859442753_b1eaacef28_z.jpg

The entire installation was a straight forward bolt on of the bumper assembly with a slight trim of the front fender sheet metal and wheel flare.
 
Last edited:
Wow. Cool. Great work. I was just looking at getting a Comanche for another project.
 
Top Bottom