Jaydoc1
New member
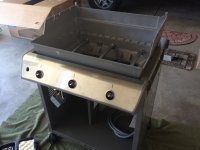
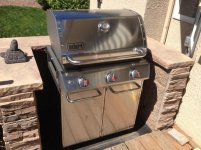
So my father-in-law stopped by a few months ago and decided to turn my natural gas grill into a smoker. It absolutely destroyed the grill. So I finally replaced it with a Weber Genesis S310 3-burner natural gas grill.
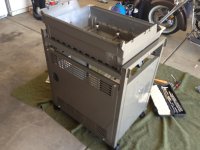
This is NOT a "some assembly required" grill. It requires TOTAL assembly. The few things that did arrive assembled actually have to be unassembled before actual assembly starts.
So I thought, based on my past history with assembling things like this grill, and with a little tongue in cheek wink and a nod to Eddie's unbelievably good write-ups, that I'd document it. Well turns out that Weber has one of the best set of assembly instructions and hardware that I've ever found in a kit of this sort. The diagrams are spot-on and the hardware is all color-coded so it is nearly impossible to screw up. I did manage to take one wrong turn which I'll point out shortly.
Here we go.
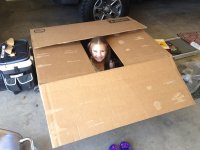
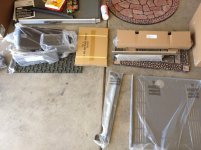
First, everything comes packed in one giant box that some engineer from MIT must have organized. There wasn't one bit of wasted space in there.
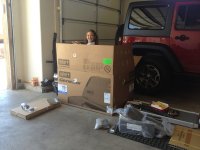
Everything is nicely separated into boxes and bags.
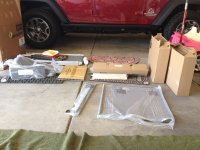
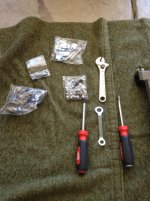
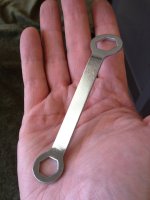
If you decide to put one together, immediately throw this included wrench away...
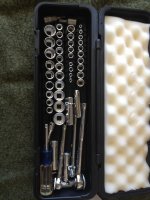
And instead break out a 11mm socket and a 5/16 socket.
Start off by attaching the two sides together using the rear frame support.
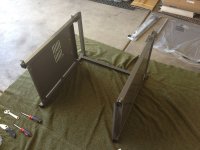
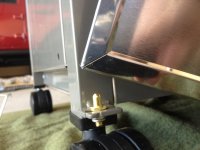
Pop the four wheels into their respective sockets making sure to have the two locking ones in front (I reversed them and had to pry them out to attach in the right spots).
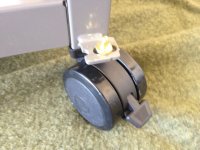
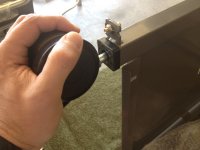
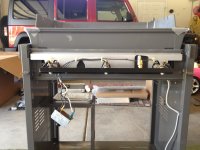
Set the frame up and attach the front frame support.
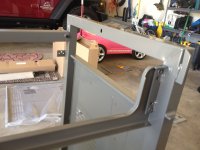
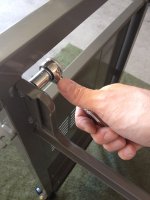
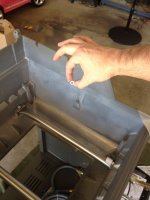
Attach 6 J-clips to the bottom panel.
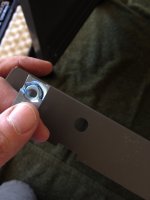
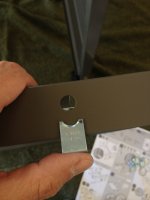
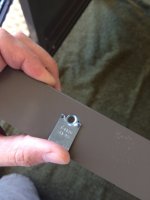
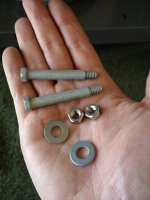
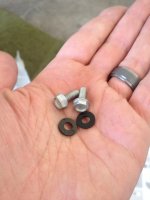
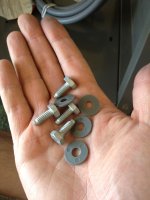
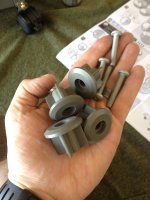
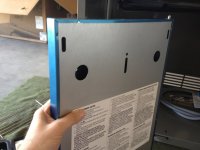
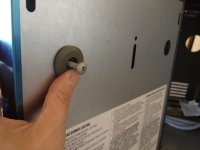
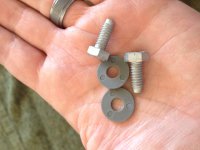
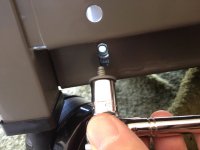
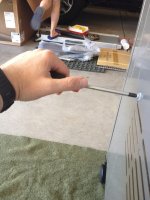
Attach the bottom panel to the frame using four silver hex bolts and four black plastic washers.
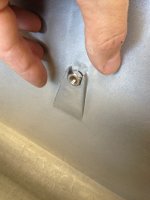
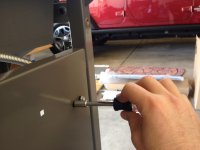
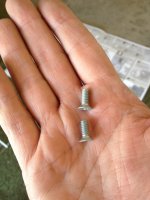
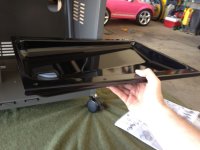
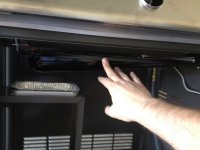
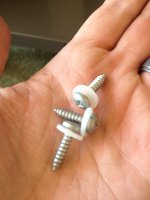
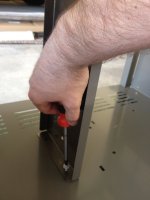
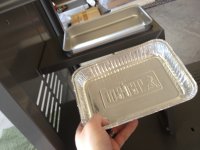
Attach the catch pan holder using three silver screws and two plastic plugs (one plug is pre-attached).
This is NOT a "some assembly required" grill. It requires TOTAL assembly. The few things that did arrive assembled actually have to be unassembled before actual assembly starts.
So I thought, based on my past history with assembling things like this grill, and with a little tongue in cheek wink and a nod to Eddie's unbelievably good write-ups, that I'd document it. Well turns out that Weber has one of the best set of assembly instructions and hardware that I've ever found in a kit of this sort. The diagrams are spot-on and the hardware is all color-coded so it is nearly impossible to screw up. I did manage to take one wrong turn which I'll point out shortly.
Here we go.
First, everything comes packed in one giant box that some engineer from MIT must have organized. There wasn't one bit of wasted space in there.

Everything is nicely separated into boxes and bags.


If you decide to put one together, immediately throw this included wrench away...

And instead break out a 11mm socket and a 5/16 socket.

Start off by attaching the two sides together using the rear frame support.

Pop the four wheels into their respective sockets making sure to have the two locking ones in front (I reversed them and had to pry them out to attach in the right spots).


Set the frame up and attach the front frame support.


Attach 6 J-clips to the bottom panel.


Attach the bottom panel to the frame using four silver hex bolts and four black plastic washers.


Attach the catch pan holder using three silver screws and two plastic plugs (one plug is pre-attached).


Last edited:

