JL Rear License Plate Relocation Options

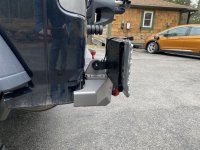
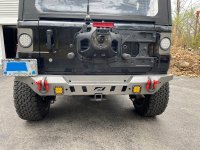
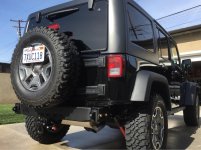
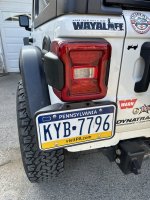
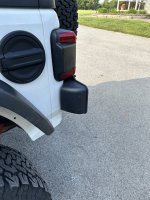
So I have installed my aftermarket rear bumper, and I thought I would share my choice of plate relocation so that it might help someone else if trying to decide on an option.
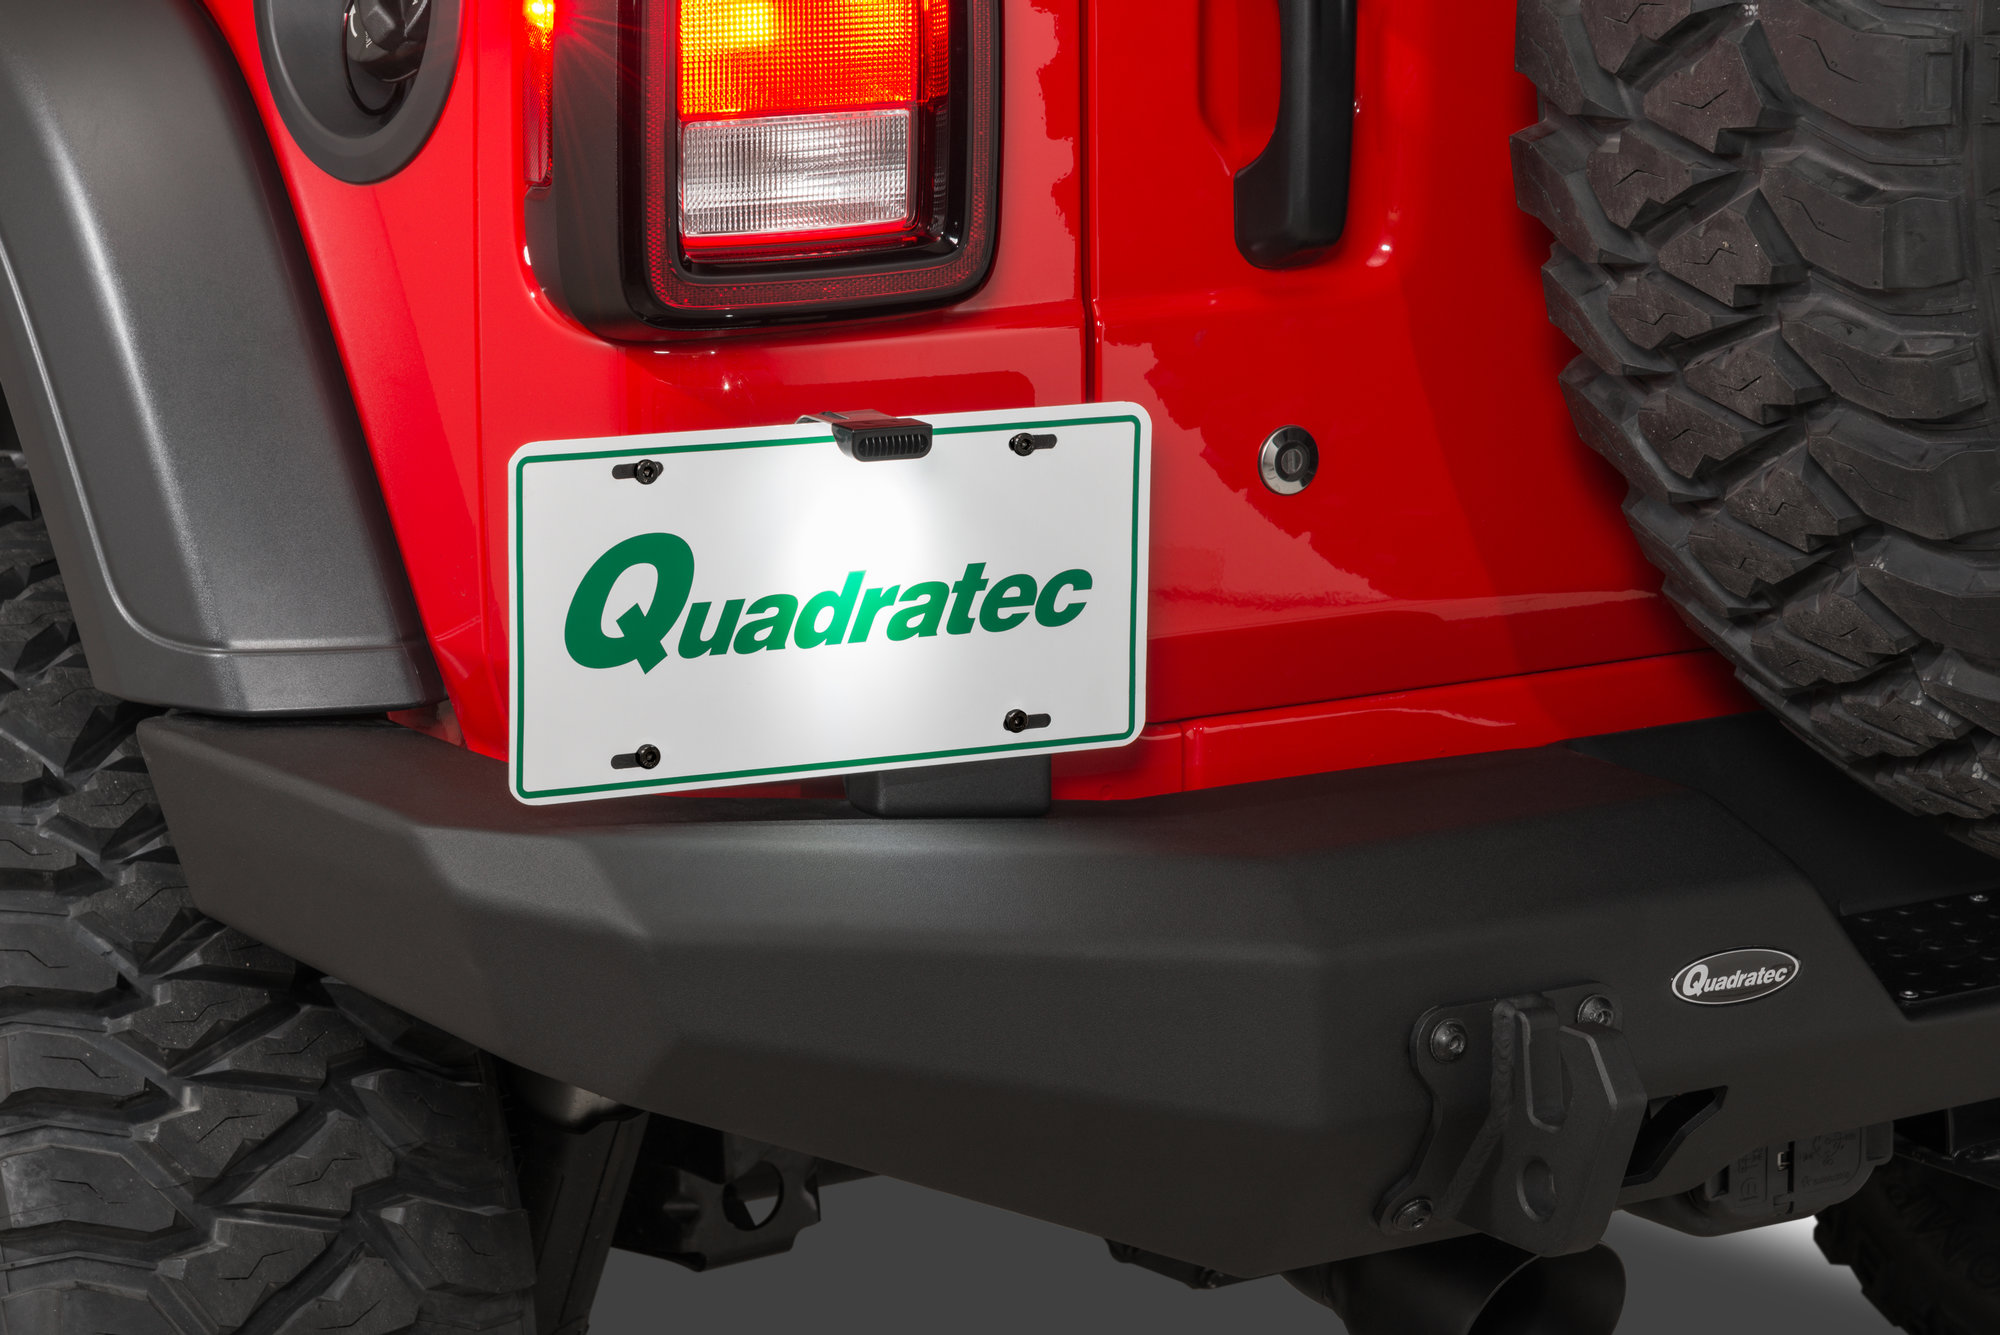
I went with the Fishbone Shackle mounted License Plate Bracket, Quadratec LED License Plate Light, and a bolt on D ring mount.
Parts for links if interested,

I like the Fishbone mount because it feels very rugged, and has four mount points for the plate. The Quadratec LED light is not very bright, but it fits simply into the need and comes with an adapter to plug it right into the existing connector for the plate light, there is also plenty of extra cable if needed. As to the D ring, drill the needed holes and your good to go. This setup seems to be very strong and hopefully will last.

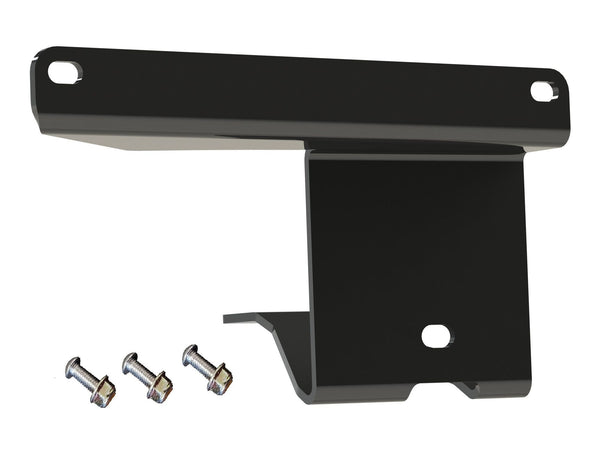
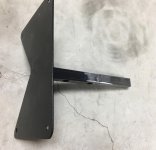
I did find this plate mount from EVO, https://discipleoffroad.com/EVO-MFG-JLJLU-BODY-MOUNT-LICENSE-PLATE-LEFT-BLACK_p_1351.html but choose to not use it. I did purchase it and it is a solid piece of metal, but I was not sure of the single mount point to the Wrangler body, and only two mount points for the plate. I also was not sure on the idea of the plate and kit being close to the body if it were to get bumped and possibly cause some damage.

Why didn't I just use the existing shackle mount on the bumper, I did not want to give up that location for a plate relocation.

Of course all of this is subject to personal likes!
 

Attachments

  • b1.jpg
    b1.jpg
    227.6 KB · Views: 24
  • b1b.jpg
    b1b.jpg
    303.9 KB · Views: 21
Last edited by a moderator:
So I have installed my aftermarket rear bumper, and I thought I would share my choice of plate relocation so that it might help someone else if trying to decide on an option.
I went with the Fishbone Shackle mounted License Plate Bracket, Quadratec LED License Plate Light, and a bolt on D ring mount.
Parts for links if interested,

I like the Fishbone mount because it feels very rugged, and has four mount points for the plate. The Quadratec LED light is not very bright, but it fits simply into the need and comes with an adapter to plug it right into the existing connector for the plate light, there is also plenty of extra cable if needed. As to the D ring, drill the needed holes and your good to go. This setup seems to be very strong and hopefully will last.

I did find this plate mount from EVO, https://discipleoffroad.com/EVO-MFG-JLJLU-BODY-MOUNT-LICENSE-PLATE-LEFT-BLACK_p_1351.html but choose to not use it. I did purchase it and it is a solid piece of metal, but I was not sure of the single mount point to the Wrangler body, and only two mount points for the plate. I also was not sure on the idea of the plate and kit being close to the body if it were to get bumped and possibly cause some damage.

Why didn't I just use the existing shackle mount on the bumper, I did not want to give up that location for a plate relocation.

Of course all of this is subject to personal likes!
looks like it still sticks out on the side. do you remove it when you're on the trails?
 
Last edited by a moderator:
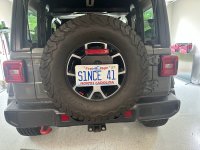
looks like it still sticks out on the side. do you remove it when you're on the trails?
It does stick out a bit, no more than a JK I think. As to trails, I only installed it this past weekend, so no trails yet.
I could not come up with any other option that I liked more.
 
Why not mount it in the spare tire?
Because the stock spare tire holder in combination with this bumper will not allow for a 35 inch tire. Looking at it closer, maybe, maybe, a 33 inch would allow the door to close. I have since ordered an adjustable tire mount kit and that should cure that issue.
 
Oh, I misunderstood. Moving the plate to the spare, I could not find a very friendly kit that deals with getting the plate and the camera easily out of the way when having to add or remove the spare.

I’ve seen someone do it here on their JL.. cant remember who.. but I think the mounted the plate above or below the camera.

When my JK was stock and was running the EVO tireI modified a plate bracket to keep it tight with the wheel and
 

Attachments

  • 1CAB9F41-D322-4778-BAE7-DD06BCC2BDB4.jpeg
    1CAB9F41-D322-4778-BAE7-DD06BCC2BDB4.jpeg
    91.6 KB · Views: 6
  • B98F185D-7F66-44DF-94FB-EF5F637152DA.jpeg
    B98F185D-7F66-44DF-94FB-EF5F637152DA.jpeg
    83.5 KB · Views: 6
  • 00D43E8A-E956-4F42-AEB4-B114FFED1E93.jpeg
    00D43E8A-E956-4F42-AEB4-B114FFED1E93.jpeg
    112.8 KB · Views: 6
I’ve seen someone do it here on their JL.. cant remember who.. but I think the mounted the plate above or below the camera.

When my JK was stock and was running the EVO tireI modified a plate bracket to keep it tight with the wheel and
I have seen it, in fact I have one such kit, but it is very cumbersome when having to deal with the spare, so I am trying this idea.
 

Serendipity!​


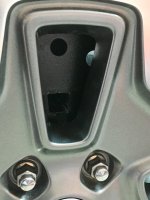
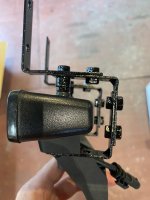
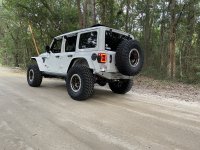
After installing my aftermarket rear bumper, this in combination with the stock spare tire carrier would not allow me to put my 35 inch spare tire in place, not enough clearance, I looked and went with the Teraflex adjustable Alpha carrier for the JL.
What works great here is that the backup camera is built into the housing like stock, and the 3rd brake light kit that comes with it moves the light into the wheel well.
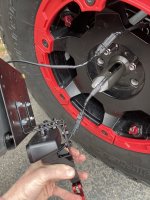
This brake light system has an easy disconnect clamp and a quick speedy disconnect for the electrical connector, so you can easily deal with the spare tire as needed, on or off. You don't have to deal with any lug extension or other needed fasteners.
Looking at this quick connect or dis-connect package, I was trying to figure out how to tie the rear license plate needs into this and keep it simple.
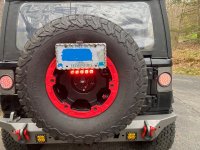
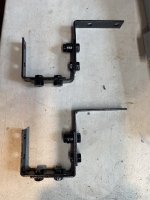
So I came up with a few galvanized corner brackets, some modified wiring for the rear plate light, and now I have a quick and simple method to remove the brake light and plate, quick disconnects for all the electrical, and not have to bother with the backup camera.
Hopefully the screenshots will help explain the rest, but if anyone has questions please ask and I will do my best to answer.
One other item, the screenshot of the brackets I made do not show some rubber bump stops I have put in to place to prevent any rubbing or scratching. I also painted the brackets for appearance, but they cannot be seen once all is in place.

I have been real mixed too not sitting comfortably with the plate sort of in the JK position, but could not find a solution I liked. I wanted the plate tucked inside!
So after self review, I came up with this, and a very inexpensive option, or would have been if not trying to experiment and figure things out that would work, and simply work.
 

Attachments

  • a1.jpg
    a1.jpg
    248.7 KB · Views: 14
  • a3.jpg
    a3.jpg
    151 KB · Views: 12
  • a4.jpg
    a4.jpg
    254.7 KB · Views: 14
  • a2.jpg
    a2.jpg
    201.7 KB · Views: 14
Last edited:

Serendipity!​


After installing my aftermarket rear bumper, this in combination with the stock spare tire carrier would not allow me to put my 35 inch spare tire in place, not enough clearance, I looked and went with the Teraflex adjustable Alpha carrier for the JL.
What works great here is that the backup camera is built into the housing like stock, and the 3rd brake light kit that comes with it moves the light into the wheel well.
This brake light system has an easy disconnect clamp and a quick speedy disconnect for the electrical connector, so you can easily deal with the spare tire as needed, on or off. You don't have to deal with any lug extension or other needed fasteners.
Looking at this quick connect or dis-connect package, I was trying to figure out how to tie the rear license plate needs into this and keep it simple.
So I came up with a few galvanized corner brackets, some modified wiring for the rear plate light, and now I have a quick and simple method to remove the brake light and plate, quick disconnects for all the electrical, and not have to bother with the backup camera.
Hopefully the screenshots will help explain the rest, but if anyone has questions please ask and I will do my best to answer.
One other item, the screenshot of the brackets I made do not show some rubber bump stops I have put in to place to prevent any rubbing or scratching. I also painted the brackets for appearance, but they cannot be seen once all is in place.

I have been real mixed too not sitting comfortably with the plate sort of in the JK position, but could not find a solution I liked. I wanted the plate tucked inside!
So after self review, I came up with this, and a very inexpensive option, or would have been if not trying to experiment and figure things out that would work, and simply work.
I am having the same struggle for the same reasons as you mentioned and have been thinking about fabbing something myself and like what you did here. I went with the EVO you mentioned and the same light as you to get me through until I figured out a design solution. tempImageHGZnB3.jpg
 
This is the Rugged Ridge kit. Not bad but guarantee this will leave the chat next trip. At least it's held on with adhesive so it won't cause damage when it gets ripped off


Image (003).jpegImage (005).jpeg
 
Top Bottom