JeepNimzel CJ7 Frame Off

Like my other build this is going to go from zero to 100mph as I started this build in the spring of 2014 but just joined WOL.

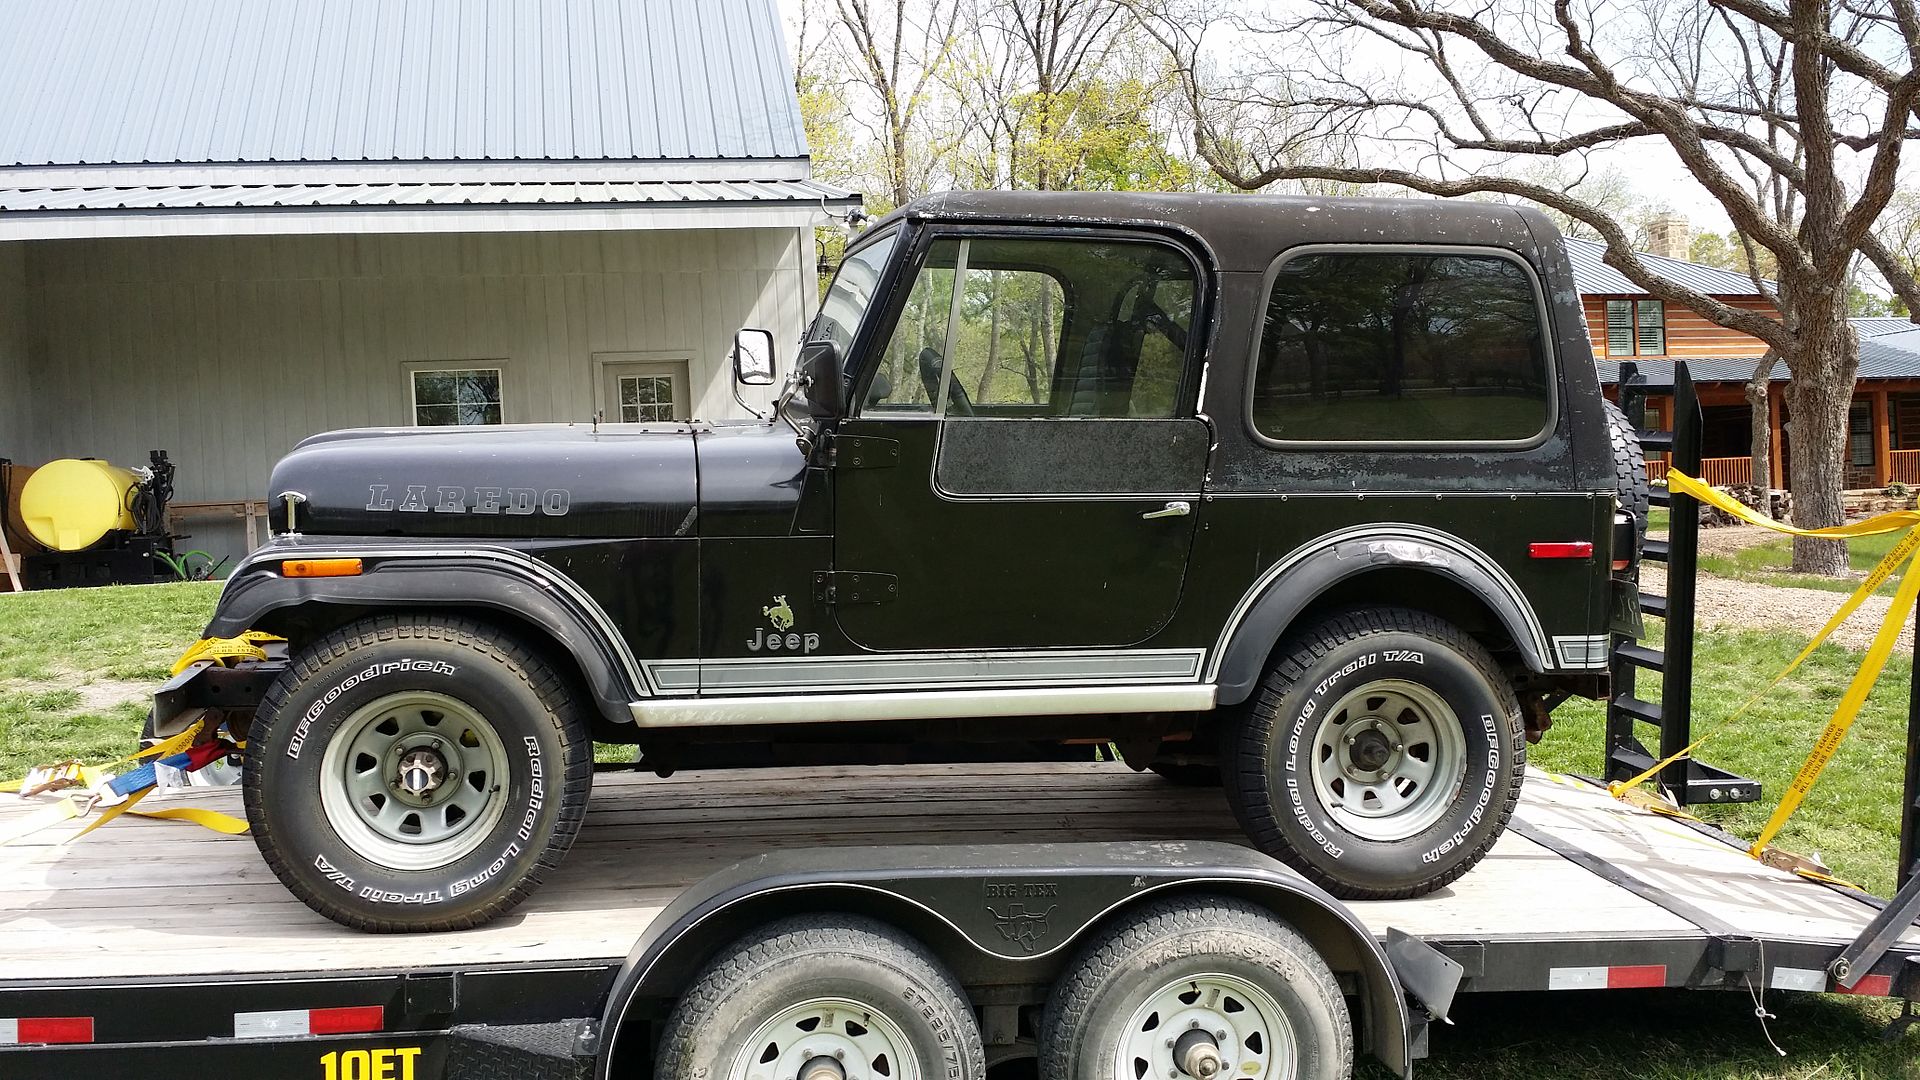
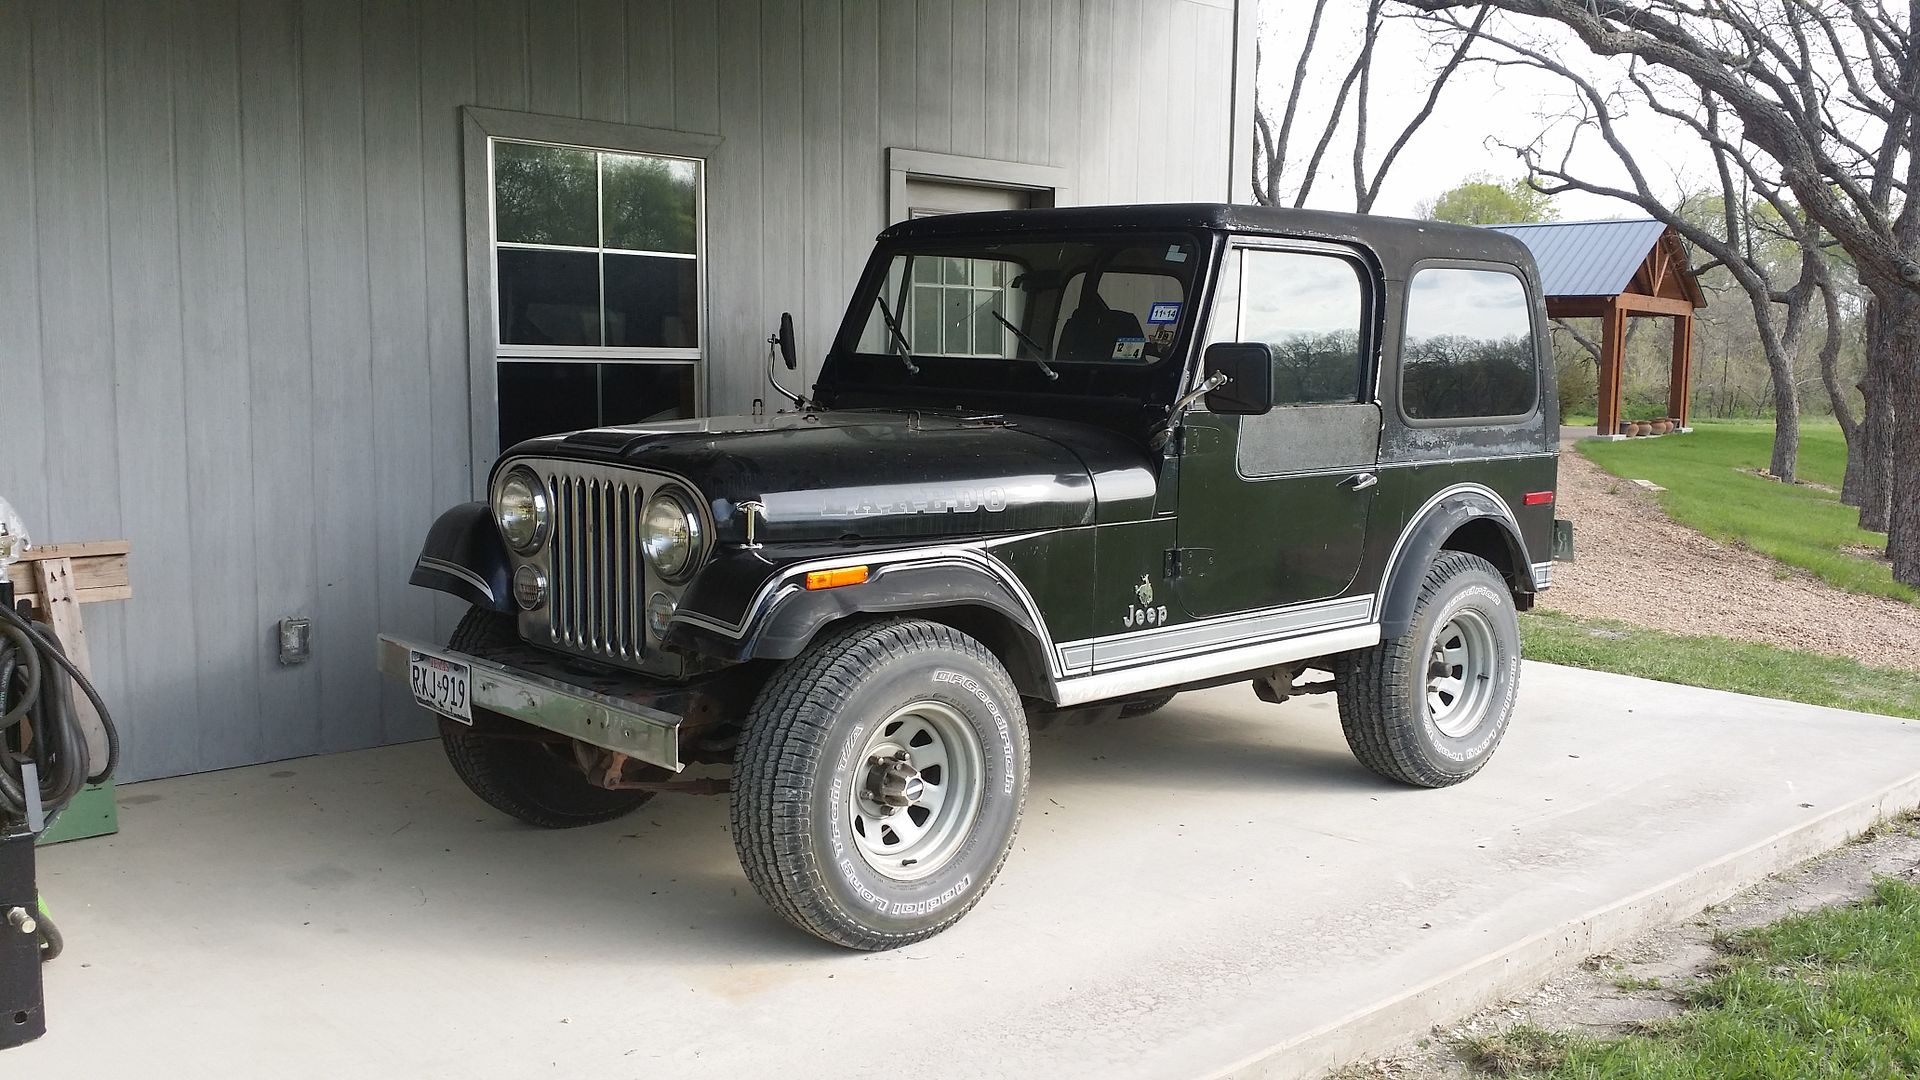
I picked this 1980 - CJ-7 up in April of 2014. My original plan was to increase its value by addressing its issues and flipping it for a quick profit.
When I began getting into it I realized that the frame was busted along the rear cross member and as I began removing suspension bolts, steering bolts, and other bolts inside the frame they would break off, free spin.
Then I got into the engine compartment. From the heads down to the rear axle was covered in oil that had congealed into a muddy-greasy mess. It was apparent that the engine would need to be pulled and rebuilt, not to mention the entire drive trained cleaned.
Based on these two things, the quick flip was dropped and plans for a full frame off restoration began.
The body was relatively straight, save for a bad job on a rear end job from long ago. This is the same collision that had caused damage to the frame. There was some rot in the foot wells beneath the driver and passenger foot board from typical leaking CJ hard doors.
The interior seats and steering wheel were also in need of attention.
This Jeep lived most of its life in West Texas so the sun had damaged the clear coat, and bleached out the color coat.
Plans progressed quickly and so did the tear down.
This is the day I brought it home –


The purist out there will freak out when they see where this goes. It’s a Larado, it’s a 1980, and it is black…. Not for long.

So begins the tear down for a full frame off restoration!


Setting the Stage

Pulled the body and got it down to getting out the drive train.

Some might say that was this wasn’t that bad. However, I like things clean neat and in perfect order both in appearance and in operation. I was this way prior to the Marines. Perhaps that was just accentuated after my service in the Marine Corps.

This was unacceptable -
So was this, I had already made an attempt to degrease and said just pull it.
 
Doctor – Scalpel


Getting too a “clean” frame.


The exhaust was shot – so I just cut it out.

A good look at that Jacked up rear x-member. The fix for the oem cross member was a piece of channel welded to the original frame. That wouldn’t do.

The previous owner had installed a 20 gallon poly fuel cell. Thanks!
 
Transmission separated – cleaning it began immediately. I tried oven cleaner, degreaser, and several other solvents to break up the grease. In the end what worked was Marine Clean from POR-15, then oven cleaner, a wire brush, more Marine Clean and then prep and ready. But I am getting ahead of myself.

A box of parts to head off to powder coating.

This is the OEM wiring harness which will be replaced by a nice neat and new painless version.

Beside the female form, this has to be one of my most favorite things too look at.

 
The black paint hides the grease well. I think in this picture I had already blasted a lot of the grime away.

As I mentioned earlier the frame had a lot of broken off bolts and capture nuts inside. This was the solution. PLASMA –

That rear x-member was gone. So I used a plasma and a reciprocal saw to dissect this original piece and replaced it with a killer unit.

Cleaning up what it took away.


Before I was ready to replace the rear cross member I removed the old one. I didn’t have the other one on hand. So I moved on to something else.
My workspace:


Some attention to this right rear corner problem. I believe that it was a poor repair job, or damage left unattended to from a rear ending.

 
My initial plan was to sand the paint and repaint. But my father said he wanted this Jeep so I started building it for him at this point.

This is before I made up my mind to just have this thing sandblasted.
I am about to “SPRAY Chemical Stripper.”

The result of the chemical stripper.
 
I got it up on my rotisserie to begin working on the busted body panels.


These things are a treat to work with


Makes working at any angle so easy
 
While the melee with the body was going on, the engine was also being rebuilt. I had City Motor Supply in Dallas, TEXAS take care of this for me. They re-built it cheaper than I could buy the rebuild parts for.


Isn’t it sexy.

 
I got to work on the rear cross member, but before welding it on to the back of the frame I used it as a template to build this simple bumper out of 2x3 3/16 rectangle tube. By waiting to install the rear cross member I was able to drill easy pilot holes. Even though I’ve not finished this bumper, the cross member was a big help in building it.


I got started welding up that rear cross member to the frame.


This was quite awhile ago – my welds have improved significantly since I did this back in 2014.


Next up was prepping the frame for a shackle reversal from Mountain Off-Road Enterprises.


Plasma cut the factory brackets off, then hit it with a flapper.


Had to do something similar on the front end.


More of getting those brackets off.

 
At the same time I got that box of parts back from powder coat. If it could be powder coated – it was.


This lay out reminded me of two things. 1st working on models when I was a kid, and layouts of my kit in the Corps.


I also got that frame back – got it powder coated also.


With a clean frame, clean axles and brackets I got to start rebuilding the Jeep.


I got a roller

I love body off rollers – just cool I think


Tires are 35x12.5x15 on 15x10 wheels. This is where the purist start to choke.


Notice my bumper brackets. Aren't they hanus? I'll redo these.


I used some blue torch fab works DIY flat fenders – or tube fenders. Again the purists are going to puke.


I think my welding got better, but haters gonna hate.


In retrospect I should have welded these from the bottom not the top. Sometimes I get in a hurry and don’t think it through.


Top Bottom