Jeep Wrangler JK - fromt 33" to 37"

Jeep Wrangler JK - fromt 33" to 37"

Hey Guys,

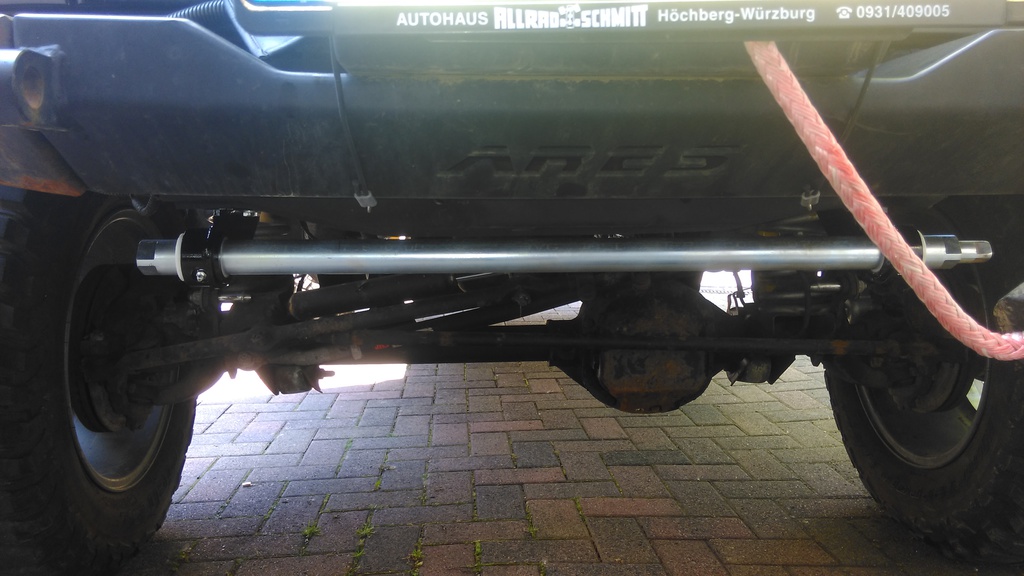
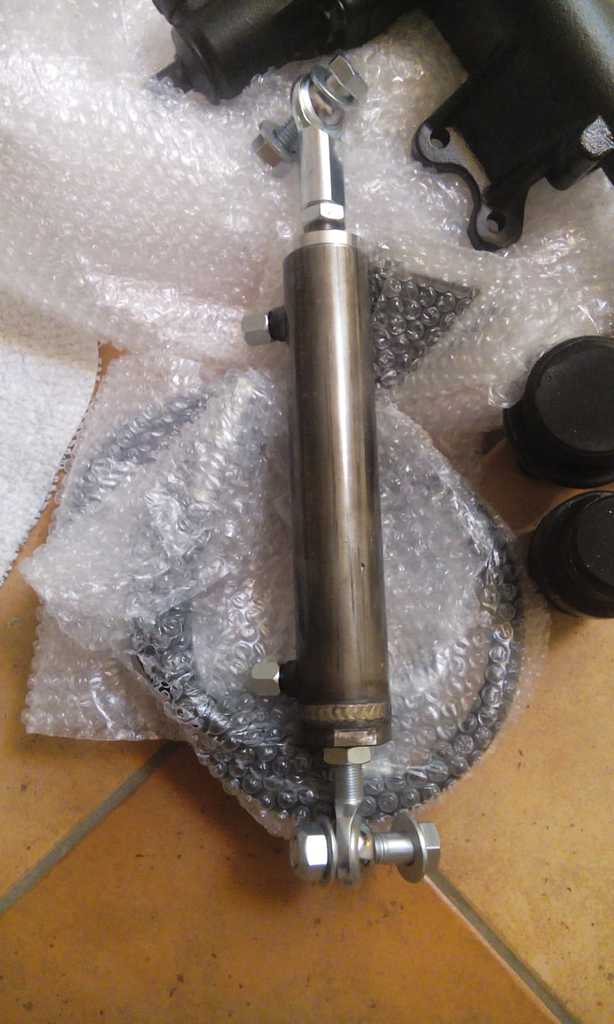
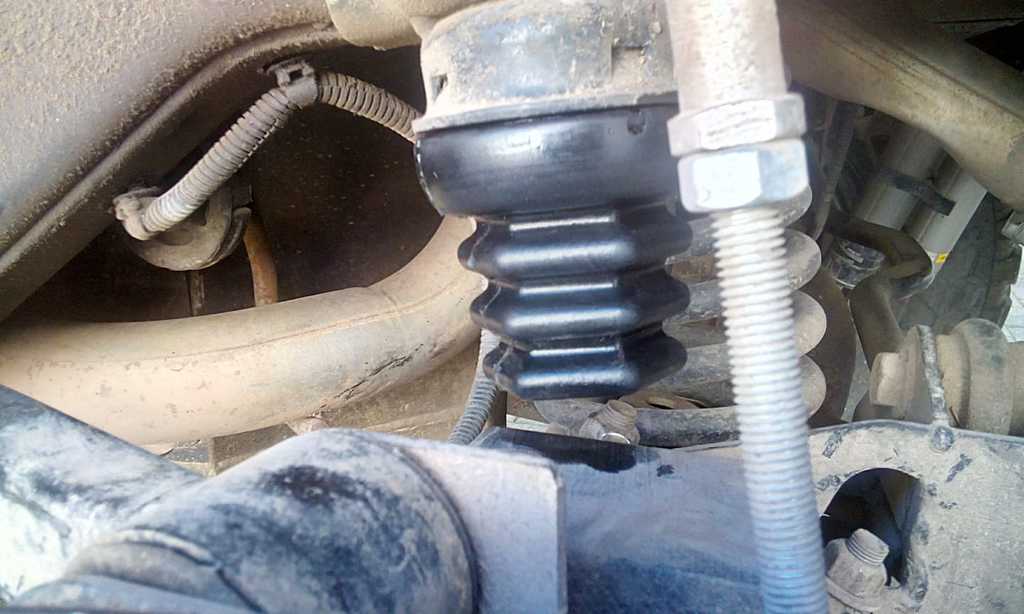
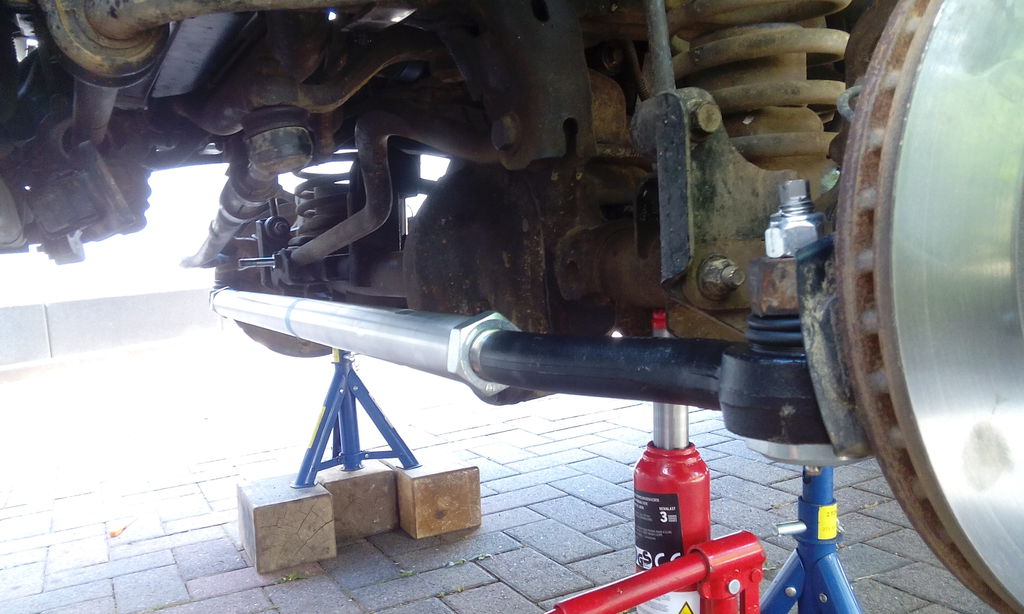
so back to the JK. Yesterday I installed my Fusion 4x4 tie rod. A hughe tanks to VeruGE*144 - very nice guys, helped me so much to find the right tie rod for me. The Fusion4x4 tie rod is better than the other stuff I can get in Germany, so I'm glad you gave me the tipp to buy it in the USA.

So check this out. The diameter is as big as my "heavy duty Jeep Cherokee XJ drive shaft". This was the moment I knew I'm a big Idiot because I havent ordered a Fusion Drag link with my tie rod. Now I ve the double shipping costs :naw:

d35d285a-c565-46d6-b1d2c5i.jpg


but the tie rod have enough clerance to fit my 2,5" suspensio plug and play. No drilling
img_20180811_144429ubi6g.jpg


To prevent the bolt from loosening I splinted the thread, like I did back in time when I was an activ Moto Cross rider.

img_20180811_144311gkdpz.jpg


Now check for clearance while flexing - and some other JK fotos. I hope you like it.

382dl6.jpg


48iise.jpg


img_20180811_154005huinw.jpg


2s6d5i.jpg


One thing is to do. I ve to drill my FOX steering damper clam up to 42mm to fit the tie rod. After driving 100km without a steering damper I can say that a JK normally dont need a steering damper - and defently dont need this expensive FOX ATS. If one day my ATS is worn out I buy a "cheap" bilstein for 80$ and be happy.

Lg

Nice jeep.

They let you put your license plate on the roof in Germany?
 
Hi,

thank you all. Yes, the Fusion4x4 Customer Service is great.

Yes, you can put it on the Roof in Germany. There are some rules for it, but it is possible.

Lg
 
Last edited:
Hi,

for 10€ extra you can get a custom one. But the first 2 letters are fix for the area you are. Than you need at least 1 letter and 2 numbers and a maximum of 3 each I think.

Lg
 
Hi,

guys I have a Question. My FOX ATS dont fit the new tie rod and I dont want wo pay 100€ for the new clamp. Actually I drive without a steering damper and I feel no difference.

Now I thinking about to stay without a steering damper. Whats you thought about it? I mean .. there is really no difference, even on the forest roads.

Or do I defiantly need a SD? If so, will be the stock one OK with my 37" tires or is there some cheap and good options to go with?

Lg

Leave it off or go with a stock one. You'll be fine.
 
Hello,

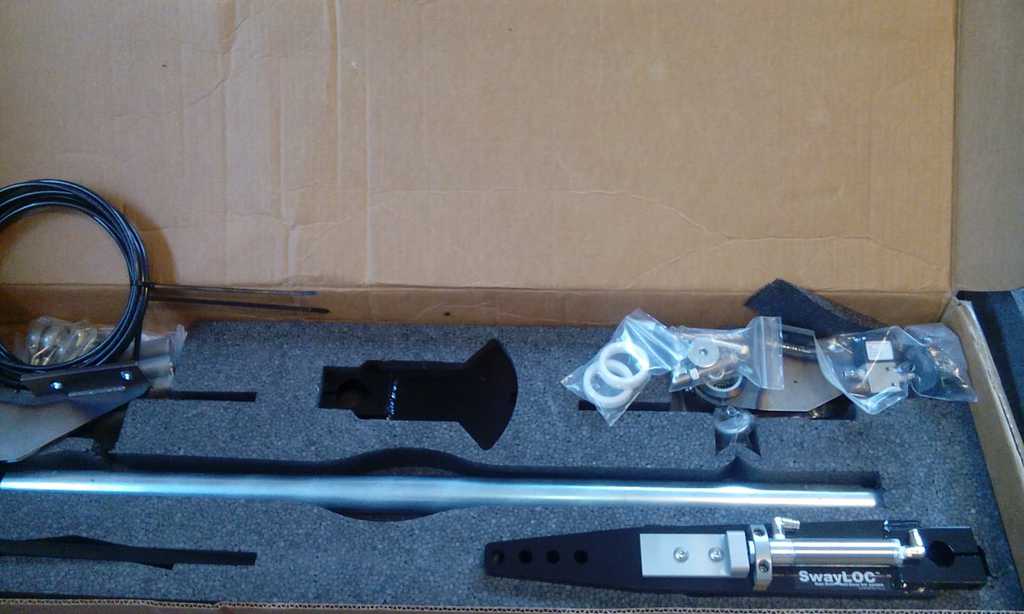
it's been a while since posting. There wasn't much I did on my Jeeps. But in the last two days I finally installed my Oro Swayloc on the XJ.

What should I say? It is a really beefy swaybar. The XJ feels now much better onroad and offroad. There was so much body roll at the XJ when going offroad with the swaybar disconect. Well, you need to disconnect the swaybar on the Xj wheen going offroad because if you dont do it, the XJ have zero flex. But now it have the same flex as before but with so much less body roll.

I really thinking of buy a Swayloc for my JK. I have had the Currie Anti Rock in my JK on both axles. I removed the front anti rock because the street ride wasnt good. I think it would be perfect with at least one Swayloc.


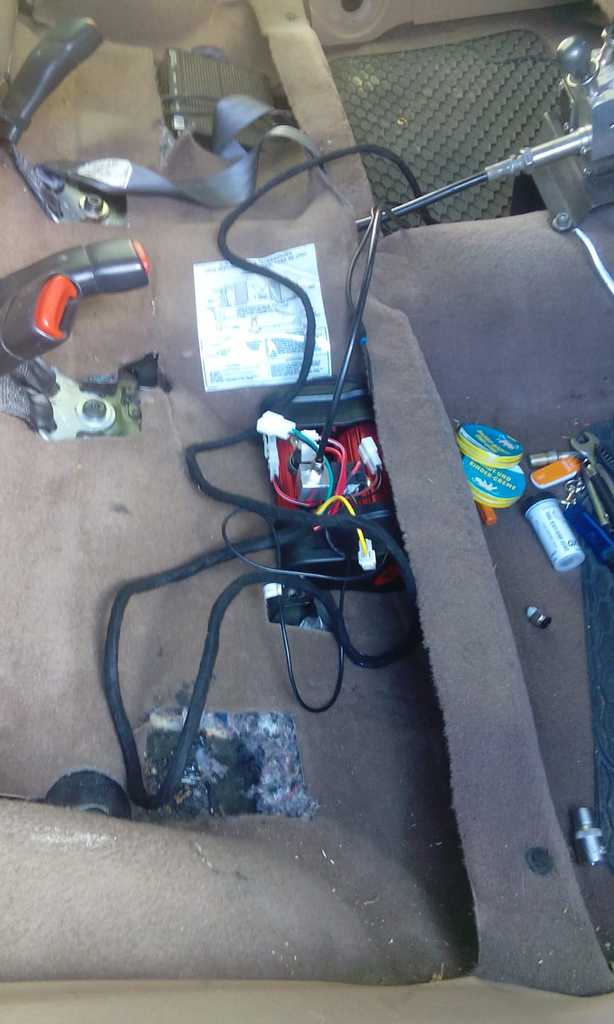
The install was easy than I thought. Thats because of the G2 air compressor. The wire harness is very good. You just have to fit 12V power and a negative wire to the compressor. Everything you need for the rocker switches is already there. :rock:

Well, lets show some pics.

Like I said: The swaybar is really beefy. Much more than the stock one. Also the Swaybar mount is more massive. Its bolted with 8 screw to the "frame" - not 4 like the stock one. If you are using a aftermarket bumper like I do, you need to make some 6mm spacers.

19mjv6.jpg


Thats there the "magic" happen. This little guy pulles a leaver so you can disconnect the outer swaybar from the inner on. If its disconnected you have the same swaybar as an Anti Rock.

6lokev.jpg


Sorry for the mess. The G2 aircompressor is mounted under the rear seat. Fits quite well. I just have to hide the wires.

8zfkjg.jpg


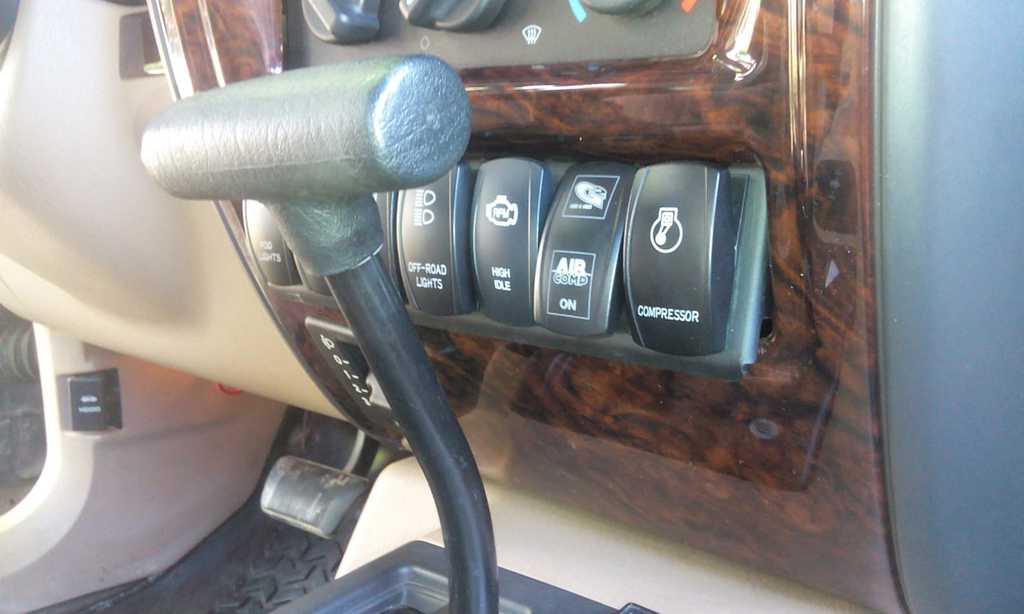
I also did a custom rocker switch panel. The G2 switch will be replaced with a "Sway Bar Locked" switch. Its just a place holder for now.

9atk7f.jpg


And finally some quick fotos. Sorry for the quality - it was close to getting dark.

21fk6t.jpg


3brkjh.jpg


5shjb5.jpg


Lg
 
Hey There,

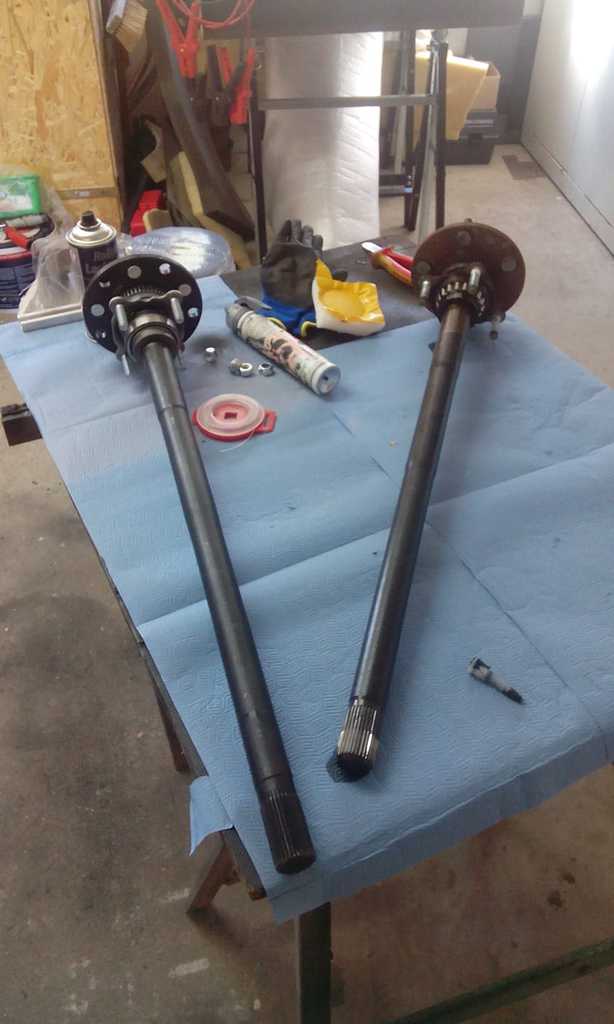
after I bend my rear axle shaft I decided to go on a virtual shoping tour in the US. The US market offer so much more parts to choose from. I think in Germany you can only get RCV Axle shafts for a lot of money.

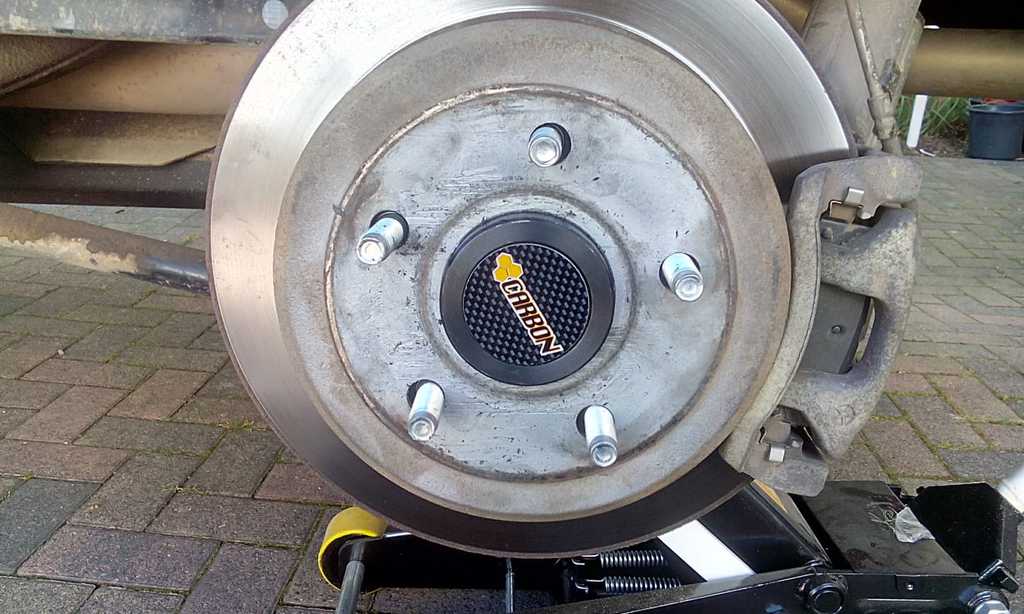
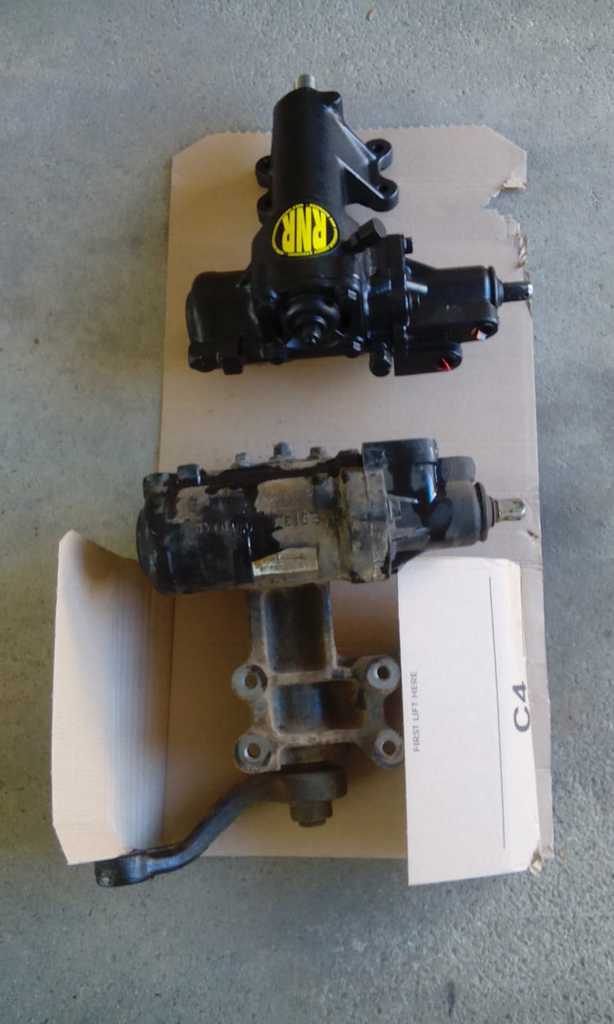
After looking in VeruGE*144 build thread, I ordered some Carbon Offroad Axle shafts. I like that they come pre assembled. I also ordered a tapperd steering box and a Red Neck Ram from Westtexasoffroad.com.

Today the parts arrived and I start bolt them on. Well, I just put the drive shaft in. I dindn't know that the Ram cant be used with the stock trackbar bracket. At least I think it cant be used. There isnt enough space to weld the taps on. Also the stock steel seems very thin. So maybe someone have a tipp witch trackbar bracket will be worke with my 2.5" AEV lift.

ebea8cba-1864-4f57-8170jll.jpg


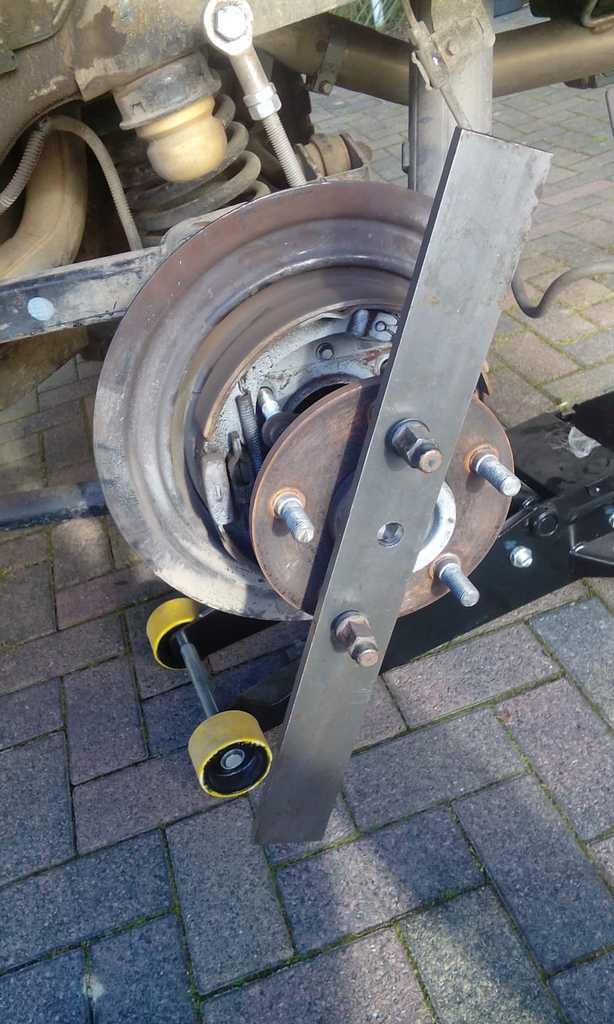
To pull the bent axle shaft, I drilled some wholes in a 6mm stell.

c5c7ba81-039f-4890-90mvkm8.jpg


When I did the rear-gearing I clued the bearing-case into the axle. That was very hard to get the case out. I think I wont do that again ..

b2d93f10-b0ec-4a4f-bbyckd2.jpg


And finish. Lets see how the hold up. They have a warranty against bending. I'm satisfied if they will bend. If so, I wonder if they really send me some new shafts.

9b5612d2-d37d-4f60-abydjbw.jpg


Ah ... I ordered some Metall Cloak Sumo Springs. Because the German laws, I cant mount hydraulic bumpstop at the rear. All hydraulic bumpstops need to cut the frame. We cant do that legally here.

c6a7eaa4-1673-49c6-b4cvkpv.jpg


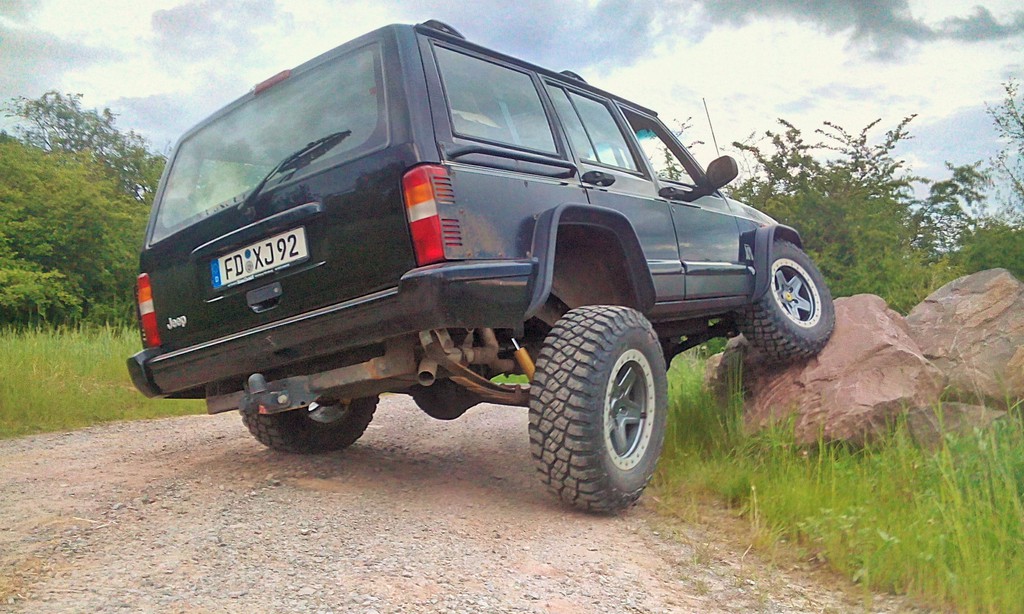
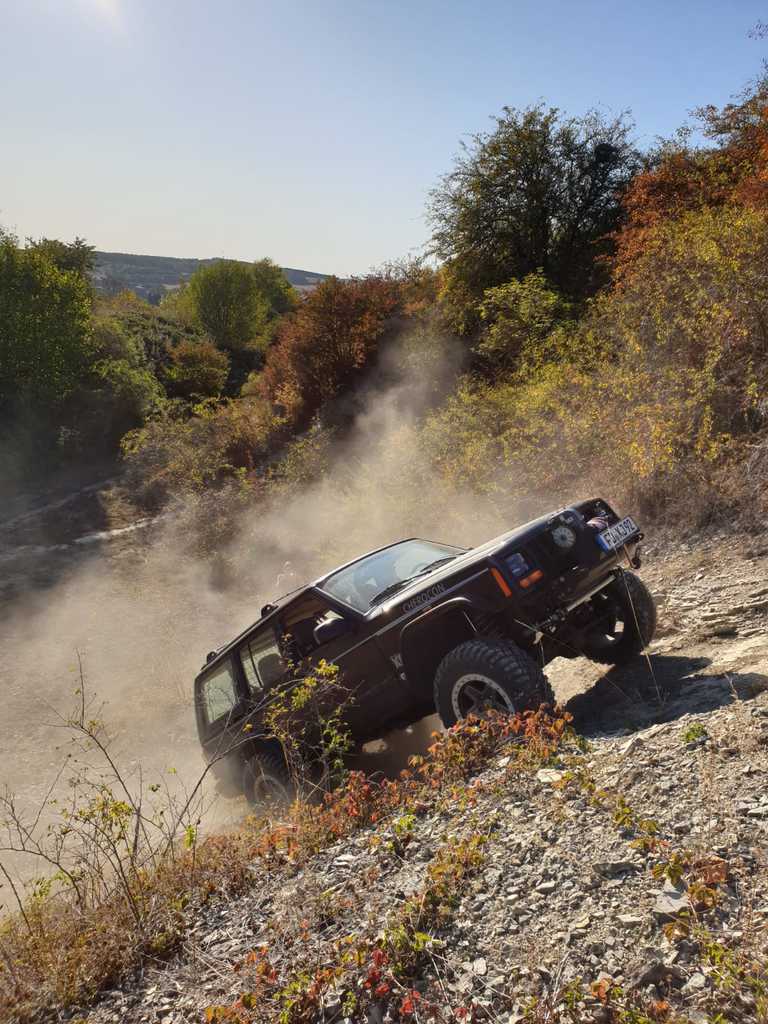
At the afternoon I played a little with my XJ. My frind have some steep old hills. Normaly he organize some Landrover event there, because he work in a LR dealership. At the last LR event I also was invited. There was a hill i didnt make up with my JK. I think its because of the weight, tires or just a bad driver. So I want to know If my XJ can make it up there.

After a few tries and fully locked the XJ made it up. Dont look steep - but it is very steep and loos rocks. If you watch the Video, just let me say: I rlly dont know why the Jk dont made it. Maybee you see somthing I missed.

imag3429iekhx.jpg


And some other hills:

imag34256wk9o.jpg


imag3426w6ji4.jpg


whatsappimage2019-09r2j1x.jpeg


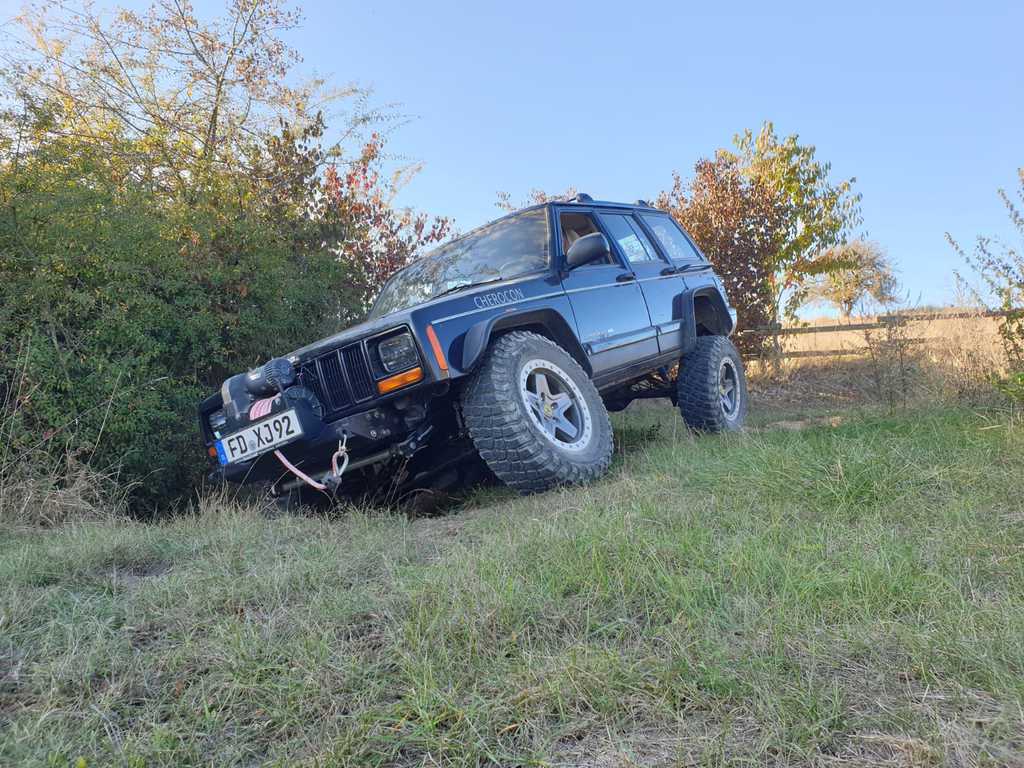
And at least - some flex:

whatsappimage2019-09g2js2.jpeg


whatsappimage2019-09c9kqc.jpeg


Lg
 
Last edited:
Cool to see you guys running the Jeeps over there. Look up synergy for the track bar bracket. I believe once that’s on, you can weld the tabs on there and it is much stronger


2015 JKUR AEV JK350
1985 CJ8 Scrambler
 
Hey Guys,

on this weekend I started the Install of my RedNeck Ram. At first: I never did this. I have watched just some Videos. If you see something I did wrong - pls write it down.

Also a big thank to Justin from Redneck Ram. He helped me a lot an wrote several E-Mails to support me.

The Steeringbox was easy to remove. Also the pitmen arm come loose with no trouble. The new box was tappered by Westtexax Offroad - Red Neck Ram. I like to go with this system because there is no extra steering pump needed. To get a bigger steering pump is a big problem with the 2.8 Diesel. I dont thing there is one.

The ride with it is very nice. Nearly as stock. Just when you steer really quick its a little different than before.

a84b8ca5-0972-4628-aasbkk7.jpg


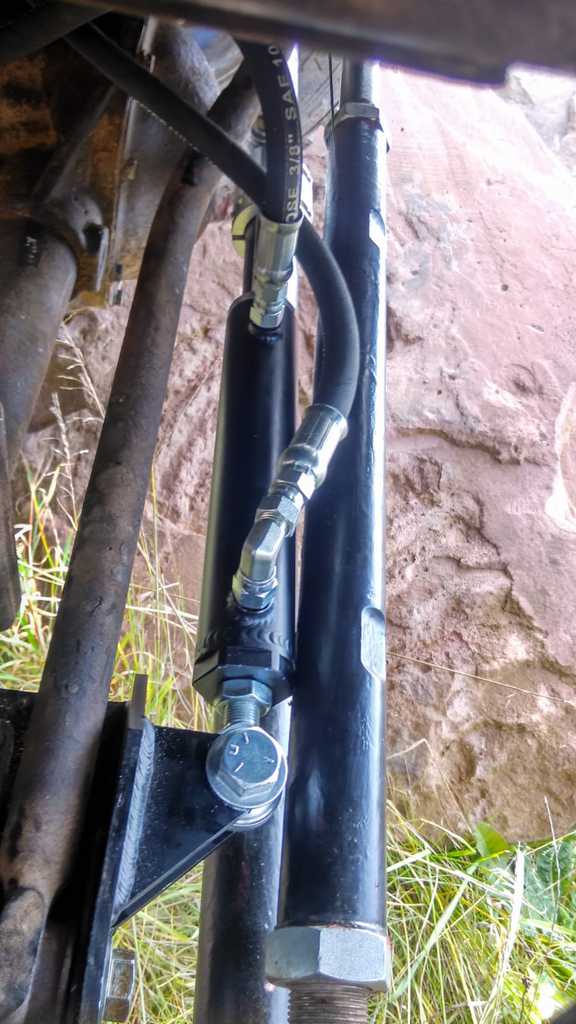
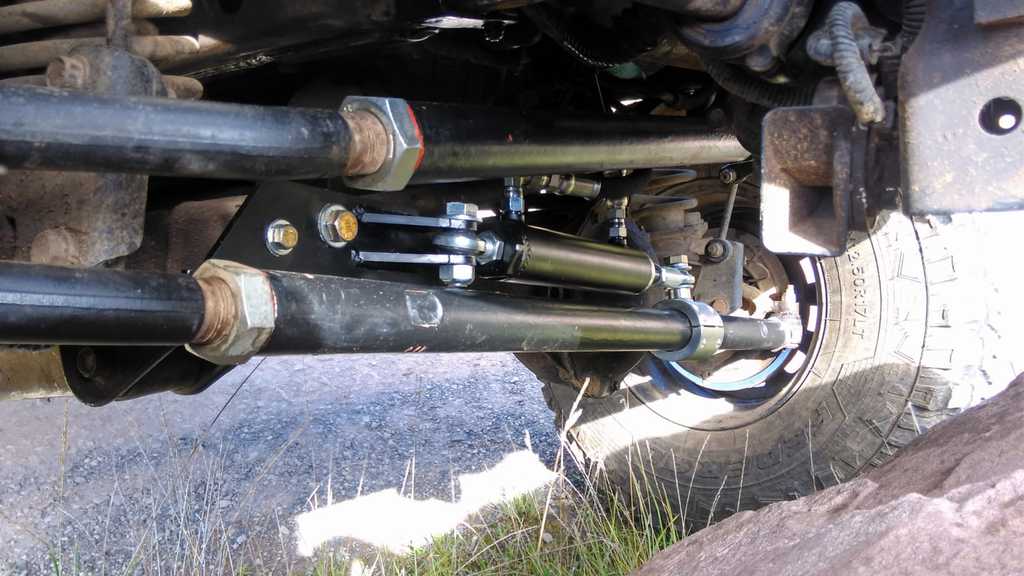
To bolt the Ram on the axle, I used a hydro assit bracket from PSC. Its because no welding on frame and axle is allowed hier.

Maybe some one have a solution because the drag link hit the ram? I have a fusion 4x4 tie rod and drag link. No drag link flip because of the 2,5" Lift.

1a9jr6.jpeg


230k5v.jpeg


3c5jam.jpeg


Its nearly a perfect fitting. Just when I flex fully on the passenger side and steer to driver site, the drag link hits the ram. Also my washer fluid box wont fit anymore. There is some custom worke to do.

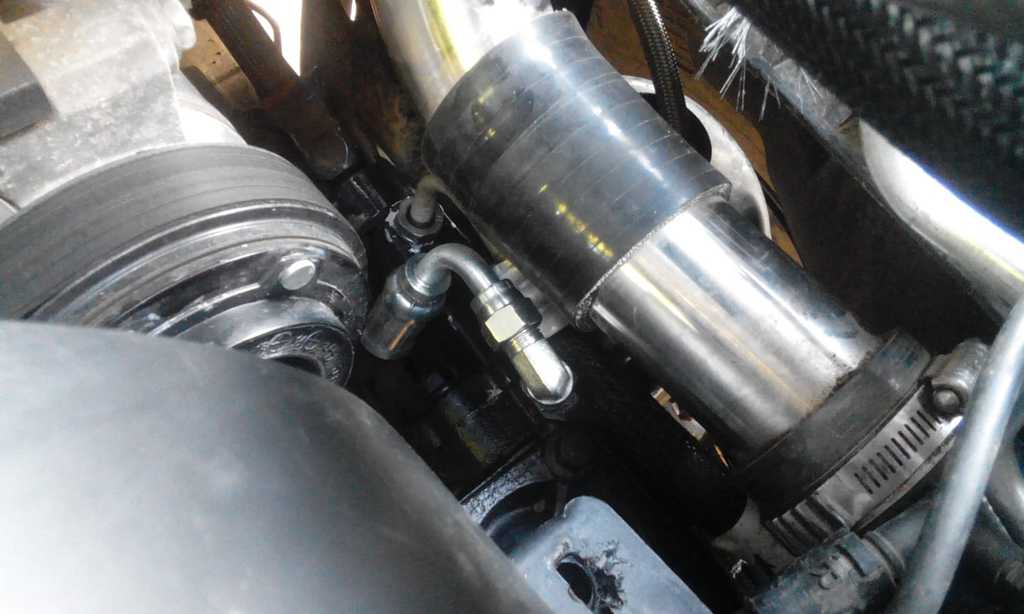
I'm glad that the new ram lines fit with the intercooler hoses.

669eebe4-2cd4-45de-bbx8k7b.jpg


786f8827-951a-49a0-a2e9kkk.jpg


I also did a short clip for you:


Thx
 
Last edited:
Looks like you might have to do the DL flip to get enough clearance even though you are a 2.5” lift.


2015 JKUR AEV JK350
1985 CJ8 Scrambler
 
I run the same Redneck setup with the PSC bracket and didn't want to do a drag link flip... I had to grind down the bolt that holds the ram in the PSC bracket to clear the tie rod, but had no issues with the ram hitting the drag link. I run Currie drag link and tie rod though, so maybe they have different angles on them?

To answer your other question, yes, you'll need to raise your track bar if you flip the drag link.


--
Build Thread - Adventures of Fiona - https://wayalife.com/showthread.php?t=47407
 
Hey,

thank you. That helped! Yes, I also have to shorten the bolt.

You are maybee right. Also the Fusion tie rod is 1,75" diameter. I think currie have 2 or 3 diffrent drag links. Wich do you have?

This have a 1,3" diameter and it looks like a diffrent geometry.
https://www.currieenterprises.com/jk-9704dl-jeep-jk-currectlync-heavy-duty-drag-link


With a hydraulic assist there is much less force ob a drag link I think? So maybee there is no need for the 2.5t nuckels from fusion.


Lg
 
Last edited:
Hey,

thank you. That helped! Yes, I also have to shorten the bolt.

You are maybee right. Also the Fusion tie rod is 1,75" diameter. I think currie have 2 or 3 diffrent drag links. Wich do you have?

This have a 1,3" diameter and it looks like a diffrent geometry.
https://www.currieenterprises.com/jk-9704dl-jeep-jk-currectlync-heavy-duty-drag-link


With a hydraulic assist there is much less force ob a drag link I think? So maybee there is no need for the 2.5t nuckels from fusion.


Lg
This is the kit I run...
https://www.currieenterprises.com/jk-9704-wrangler-jk-currectlync-steering-system
I think that's the same drag link you're talking about.

I installed the steering links about a year before the ram to solve other issues I had, but with the ram install I've got no concerns with the strength of any of the parts. The whole setup works great.

I think I've got photos in my build thread of how much I had to grind the bolt. I actually flipped it, if I remember correctly because I ground down the nut at an angle to get the clearance I needed.


--
Build Thread - Adventures of Fiona - https://wayalife.com/showthread.php?t=47407

Hi,

I have checked you Build. Nice rig btw. Maybee you have a nother picture when you fully steered to driver side? That would help me a lot.

I also will check if I can get a currie drag link for testing. I will keep my tie rod, everything is fine with that.

Lg
 
Hi,

I have checked you Build. Nice rig btw. Maybee you have a nother picture when you fully steered to driver side? That would help me a lot.

I also will check if I can get a currie drag link for testing. I will keep my tie rod, everything is fine with that.

Lg
Thanks for the compliment. [emoji482]

I can take one later... Not with her at the moment. [emoji41]


--
Build Thread - Adventures of Fiona - https://wayalife.com/showthread.php?t=47407
 
Building a Roof Top Tent Heater

Hi Guys,

I hope its not against your forum rules to post "non-jeep-stuff in members build.

so maybe you recognized it, but since 2012 I'm in Overlanding. 2015 I bought my first pop up tent, made by James Baroud.

Because we also want to do some trips in Winter, I decided to built a roof top tent heater. Before that, we have had use the additional heating (Webasto Termo Top) from my JK, clamped some big hoses on the inside vents and move the hoses up in the tent. It worked not perfectly, so lets try an other way.

12157_01.jpg


What do you need?
You need a additional heater, a fuel pump, a box, some heat resistent hoses, clamps, fuel line and a canister.

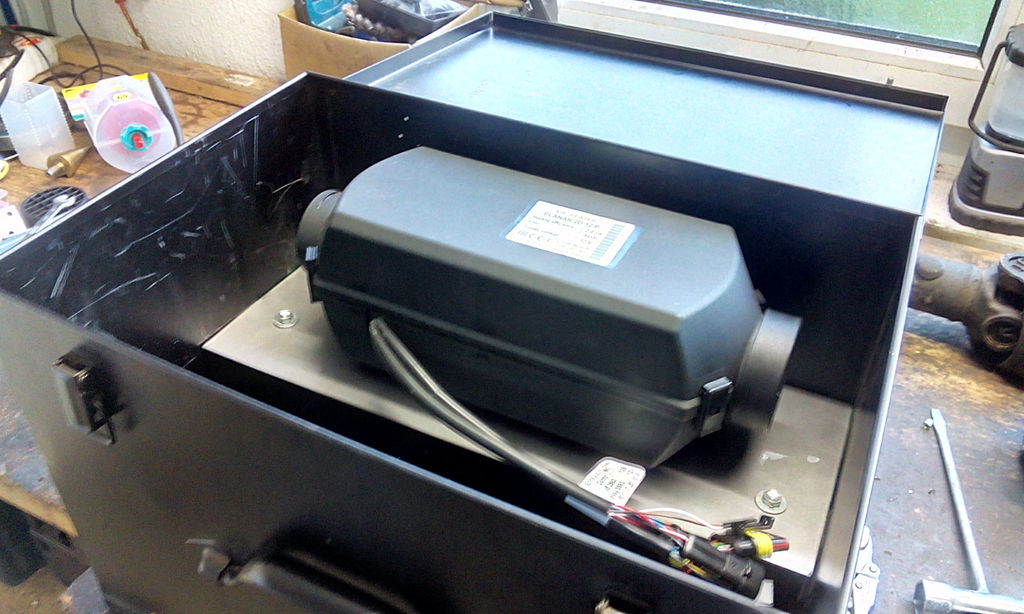
In my case I use a Planar 2D. This heater is russian made, robust and can run with no runtime-limit. Also the Planar 2D come with a do-it-yourself kit. Nearly everything is included.

Lets start!

First you need a robust box that fit the Planar. If you want you can use a large one, so the box also worke as an hose and fuel storage. In my case I build it as smale as possible, so I can put it on my roof tent.


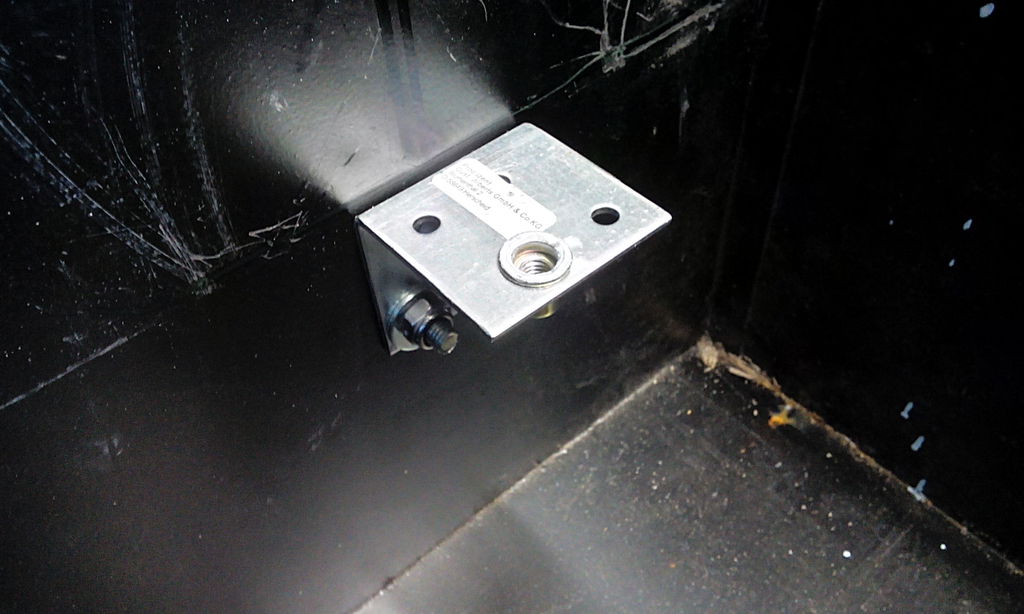
So, if you finde the right box, you need to build your own mounting bracket for the Planar 2d. I used a 2mm alloy plate with some 90° angels.

2gsj40.jpg


The metal angels hold the mounting plate. For an easy Installation of the top plate, I used some rivet nuts.

1hkj8e.jpg


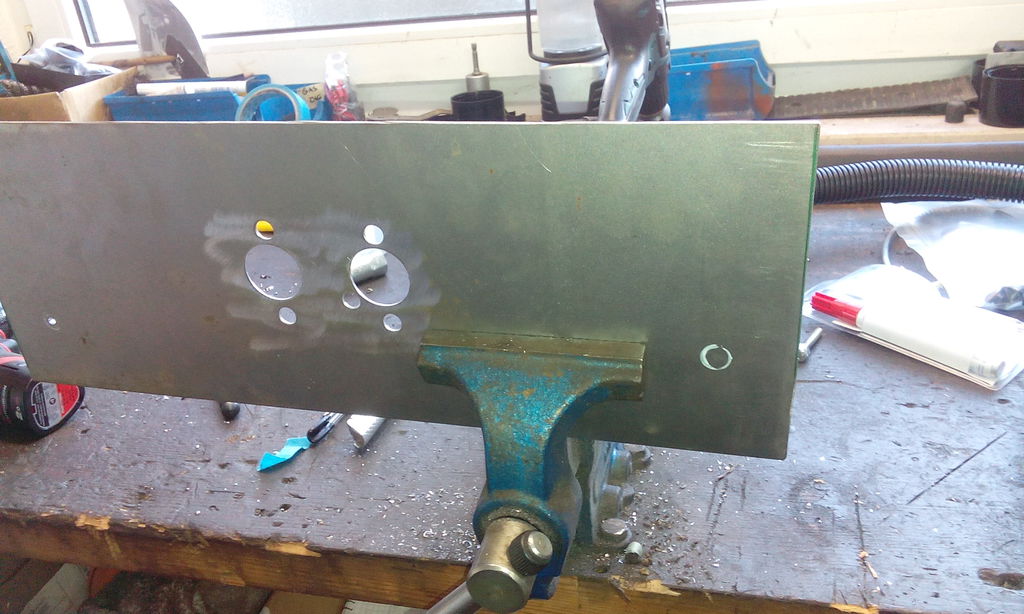
After cutting the top plate that hold the Planar 2D to fit the box, you need to drill some holes. One for air intake (for running) and one for exhaust. Five smaller ones for mounting and fuel line. You can use your rubber gasket that comes with your Planar to use it as template.

56bkjf.jpg


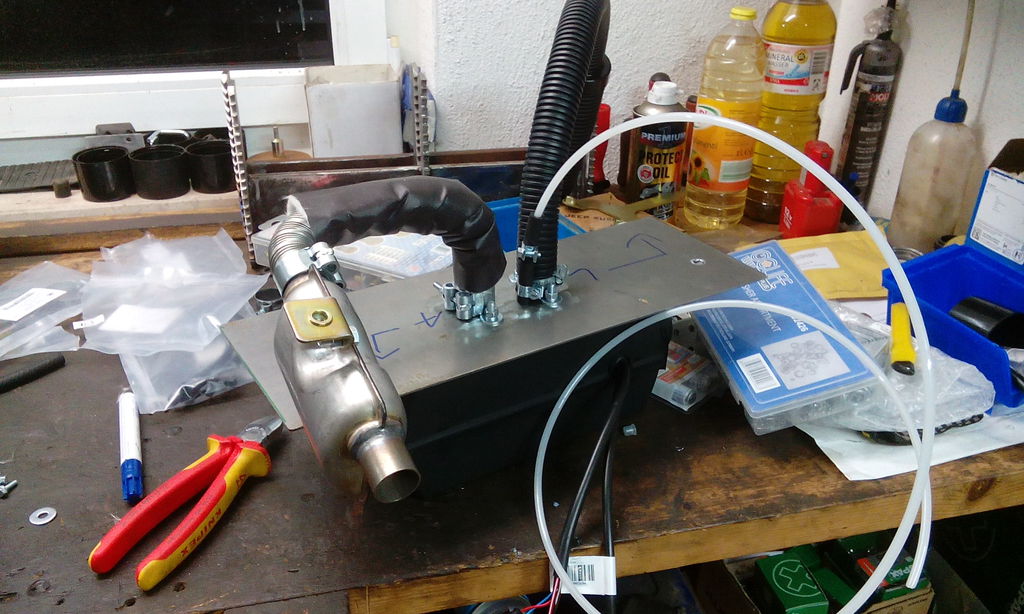
Now you are ready to install all hoses, fuel line and fittings. Put your Planar back into your Box.

4k3kdj.jpg


Next step is to drill some big wholes with a hole saw into the side of the box. Thats you fresh air inlet and heated air outlet. If you are using my design, its not possible that your Planar sucking in the exhaust gases in your fresh air intake, because its on the other side.

You can now plug in your controll unit and fuel pump thats included in the kit. Al plugs are pre-installed so you really need to plug it in. Take a 12V car batterie and a canister of diesel and start the heater for a test. Make sure that everything work fine and nothing leaks.

1a380d9f-6dad-45c3-b6c6ju1.jpg


... Stay tuned for Part II.

Thx
 
Top Bottom