How-to build a custom fiberglass upper windshield trim switch pod

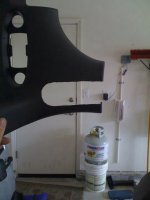
Ok I just found a couple pics online. The first one does not have the corner piece but you can see how it needs to be cut to fit around the cage tubing. The second is one that someone did a pretty good job trimming, on the inside anyway. View attachment 92561View attachment 92562

Well... I see what you mean. If you had it your way what would you like to do? Build the plastic over and around the new cage or reform the stock panels to fit under the cage better...
 
The trim won't fit under the tubing because the tubing has a plate that bolts to the windshield bracket. The plastic trim has to be cut/notched because there's no way to simply slide it over the cage tubing ends.
 
The trim won't fit under the tubing because the tubing has a plate that bolts to the windshield bracket. The plastic trim has to be cut/notched because there's no way to simply slide it over the cage tubing ends.

Is there a reason you just don't remove the plastic completely and go with the raw look? It seems like that would fit image...
 
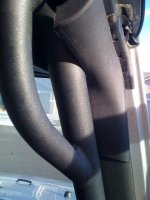
Although it's nowhere near the quality of the custom stuff Darkknight made, I was able to use a dremel to trim my panels to fit around my ORFab cage. Not perfect, but I think it looks better than not having panels at all.

ImageUploadedByWAYALIFE1393105627.910232.jpgImageUploadedByWAYALIFE1393105616.899034.jpgImageUploadedByWAYALIFE1393105605.497146.jpg
 
Last edited:
do you follow the down the a-pilar?

I haven't done any wiring on my jeep yet so I am just trying to make a game plan and understand where to route wires and what control panel to use/ design.

Thanks

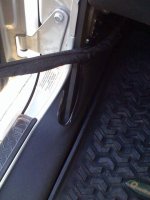
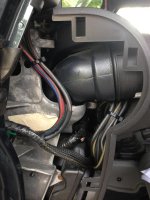
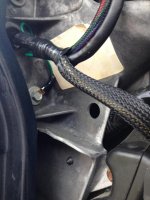
Yeah it runs down the a-piller and through the foamed hole in the firewall (which is behind the side dash panel) It just pops off. It looks like this:

0FD20766-7A85-419C-A55B-B14DB9DBCA7E_zpskejvylhx.jpg
C69DB619-39FE-48E6-B1CF-28BF42C0F1BA_zps8b0xbltn.jpg
 
Darkknight1999,
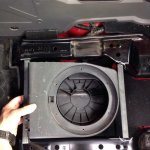
You have inspired me to take on a project. I moved my subwoofer box from the back to give me more room awhile ago. I have needed to build a box for under my front seat, so I decided to cut the factory one and use your write up to fix it.
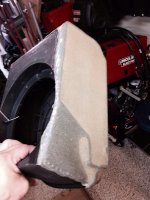
Here is the box cut and ready to fix,ImageUploadedByWAYALIFE1414113893.146189.jpg
 
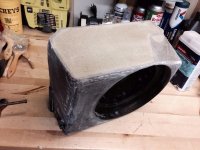
Sorry to break this into separate posts but my app keeps crashing. Here it is sanded and ready for the bondo coatImageUploadedByWAYALIFE1414114302.229552.jpg. That will have to be done tomorrow after work though. Thanks for making this look easy so dopes like me will get up enough nerve to try it!!!
 
Sorry to break this into separate posts but my app keeps crashing. Here it is sanded and ready for the bondo coatView attachment 106514. That will have to be done tomorrow after work though. Thanks for making this look easy so dopes like me will get up enough nerve to try it!!!

Very nice! Great job. Since your building a sub box I would recommend you sand down (30grit) and drill a bunch of small holes through the side and get some fiberglass mat (cut into strips) and fiberglass the new side to the rest of the original box on the inside.
 
Great point!!! I'm on it! Thanks!!!

Idk what the specs are on the sub, nor how minor the modifications you are making to the enclosure, but what's the interior volume range for that speaker at recommended specs (and for the stand-off distance from the front cone to an object )

I only ask because I installed a set of subs in my Dakota that lasted well over a year, but we didn't allow enough stand-off and the box was VERY tight (within specs, but marginally so) and it eventually blew the subs (and not the amp).

Just want to mention it for your consideration so your sub relocation plan has plenty of room for operating and has a long, healthy audio life :)

Sent from my SM-P905V using WAYALIFE mobile app
 
Top Bottom