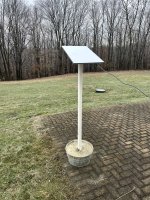
I finished setting up my Starlink system.
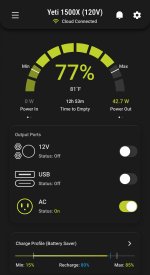
The main router is in the living room and attached to the Goal Zero Yeti 1500X. The Yeti is plugged into the wall and is set to operate between 80-85% charge. This will give the longest possible battery lifespan. As you can see from the picture below at 81% I should get about 13 hours of run time if the power goes out.
View attachment 416359
I have the solar panels that can be set up in the yard if the power is going to be out for extended periods of time. Using all three panels will give me the potential for 300 watts of power input. I also have three generators that can be used to charge the Yeti 1500X.
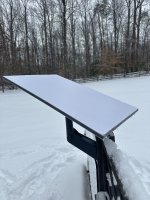
I was able to get surprisingly good satellite coverage by mounting the antenna on my fence post. I was hoping not to need to crawl on the roof. Being an old guy I don’t want to fall off the roof and break a hip.

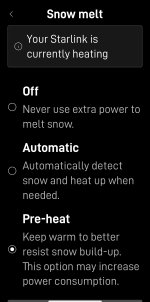
The Starlink App is really cool and allows you to do quite a bit and provides lots of information. There is also a Goal Zero app that provides lots of functionality.
View attachment 416360
I ran the CAT5 cable through a PVC pipe to protect it.
View attachment 416361
View attachment 416362
View attachment 416363
View attachment 416364
The cable will go into the basement.
View attachment 416365
I put automotive cable covers over the CAT5 cable to provide protection from the sun and abrasion.
After putting everything back together.
View attachment 416366
View attachment 416367
View attachment 416368
I added a Mesh Router upstairs that links to the downstairs main router and expands the coverage. We get great speed anywhere in the house!
I am really impressed with the Starlink and am super happy we made the switch. We will be able to take this with to Nevada and enjoy it there also.


