You are using an out of date browser. It may not display this or other websites correctly.
You should upgrade or use an alternative browser.
You should upgrade or use an alternative browser.
DIY Spod- Waytekwire
- Thread starter pvanweelden
- Start date
Bmoore0429
New member
How about some pics of the project.
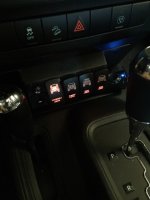
I went with four switches and used the extra spot on the Daystar for a usb and aux port for my Pioneer CarPlay head unit. Fit the bill nicely. Currently just have a single set of KC's and my CB hooked up. More on order.
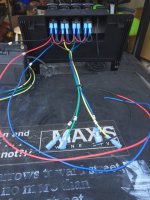
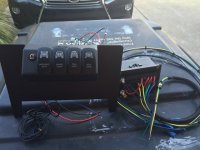
You will notice I lost my fourth relay. While it wasn't critical to me (I only required four) it was disappointing. Even with the extraction tool I was unable to salvage a bad crimp in the fourth position. Pay attention, once they are in they aren't coming out without a fight. I lost that round.
I am an engineer by trade but not of the electrical variety. This is a fairly easy project once you take the time to learn about how relays actually work. I am now fairly handy with a multimeter, understand ohms law, and can splice, cut and crimp with the best of them. Very glad I took this on. Well worth the time for the experience and confidence boost.
I finally started my build last weekend, I gained a lot of good info off this thread so I wanted to share how I did mine.
Previously I ran 8ga wire to a rear Blue Sea fuse panel and installed 2x 12v outlet and 1 USB in the rear for my Fridge. The fuse panel also supplies power to rear lights and a water pump attached to a 13gallon Front runner tank.
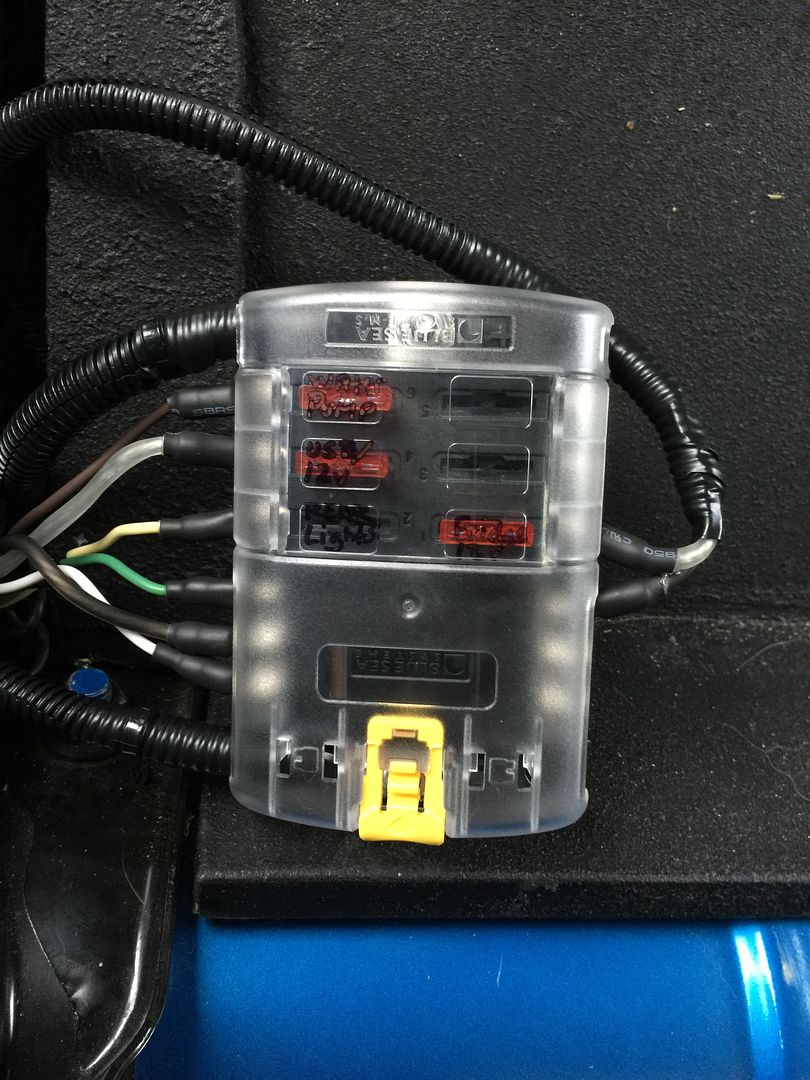
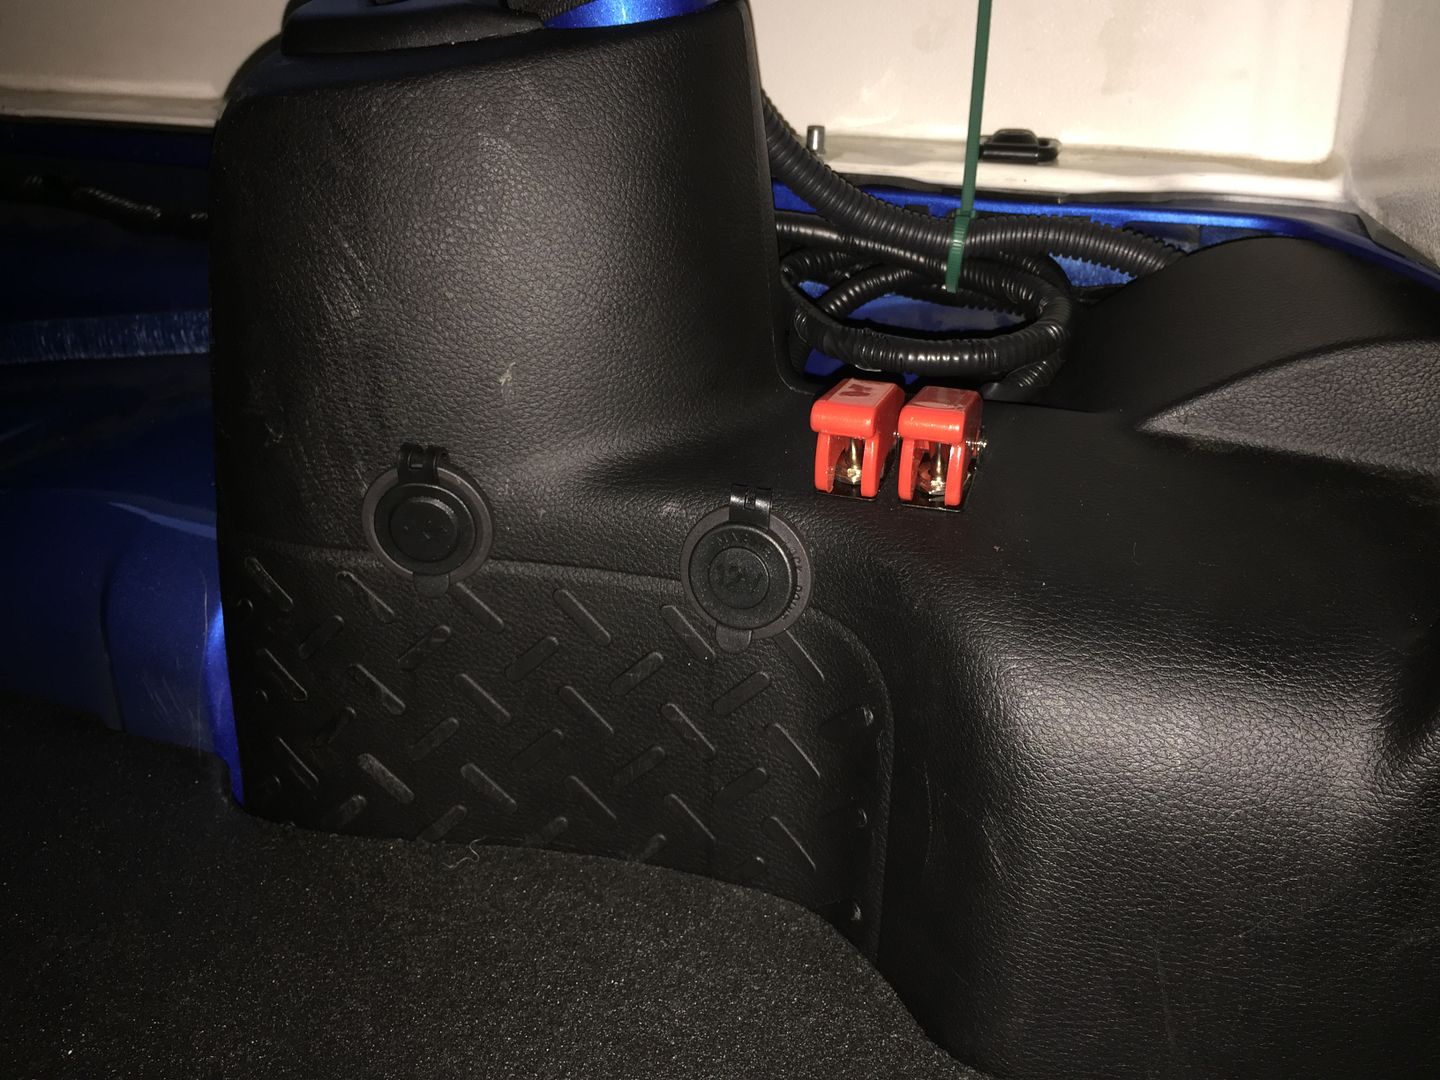
You can see the 12v outlet on the driver side is vertical to not interfere with a future fridge slider.
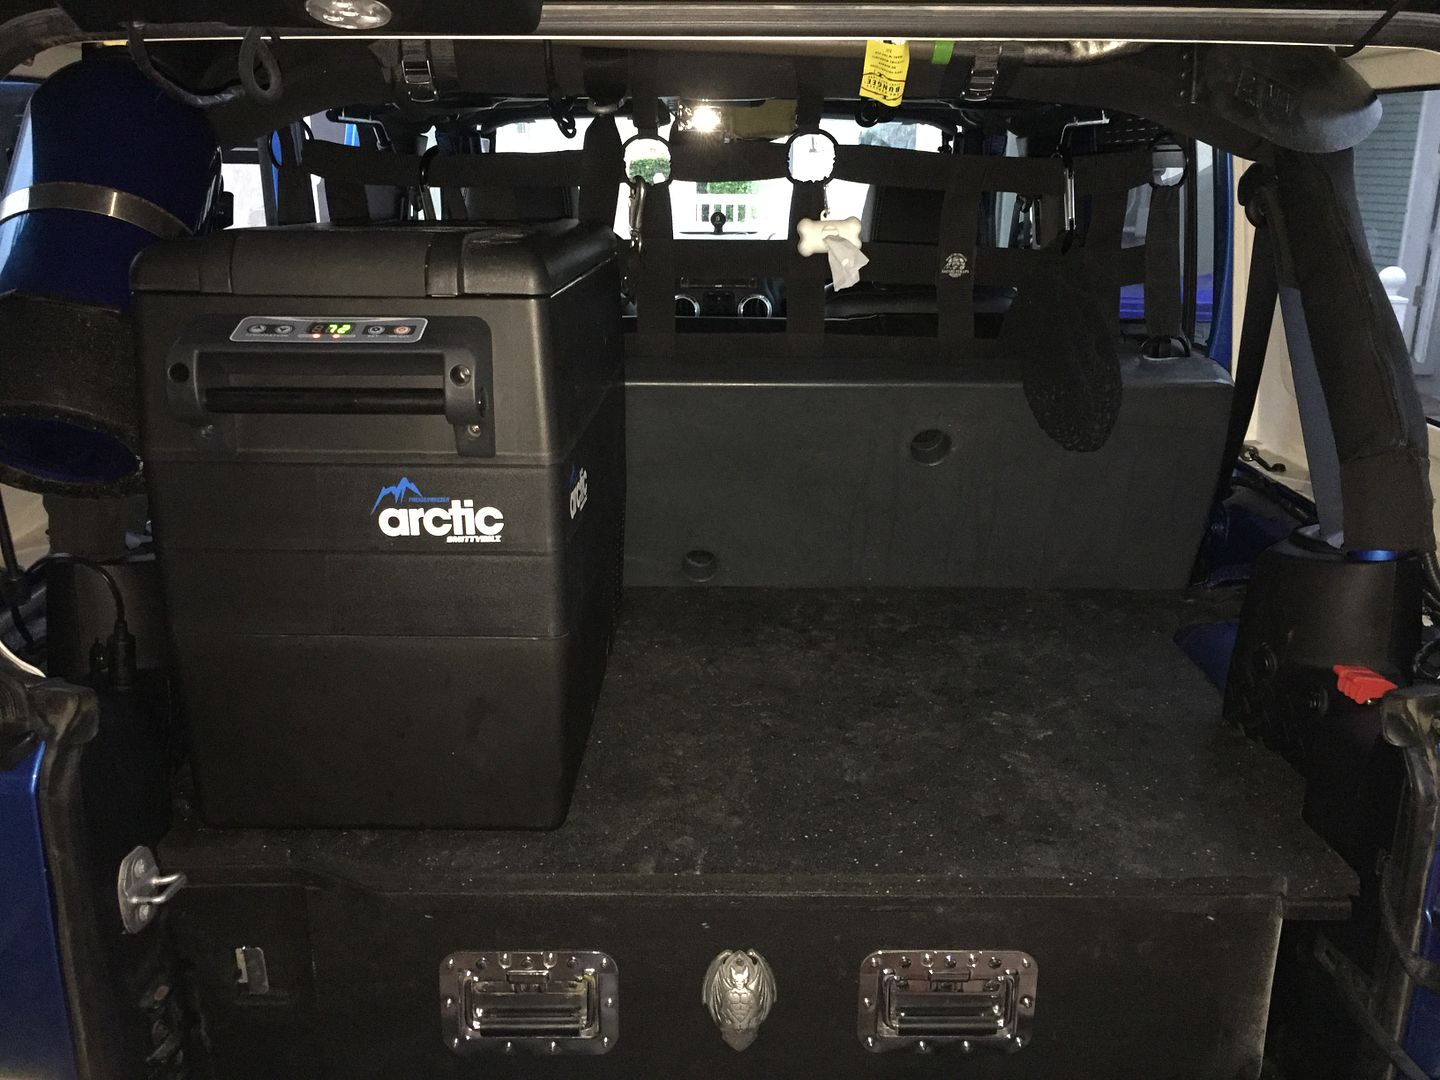
Then I fabricated a ABS sheet that covers my battery and gives ample room to build off of.
Started as this:
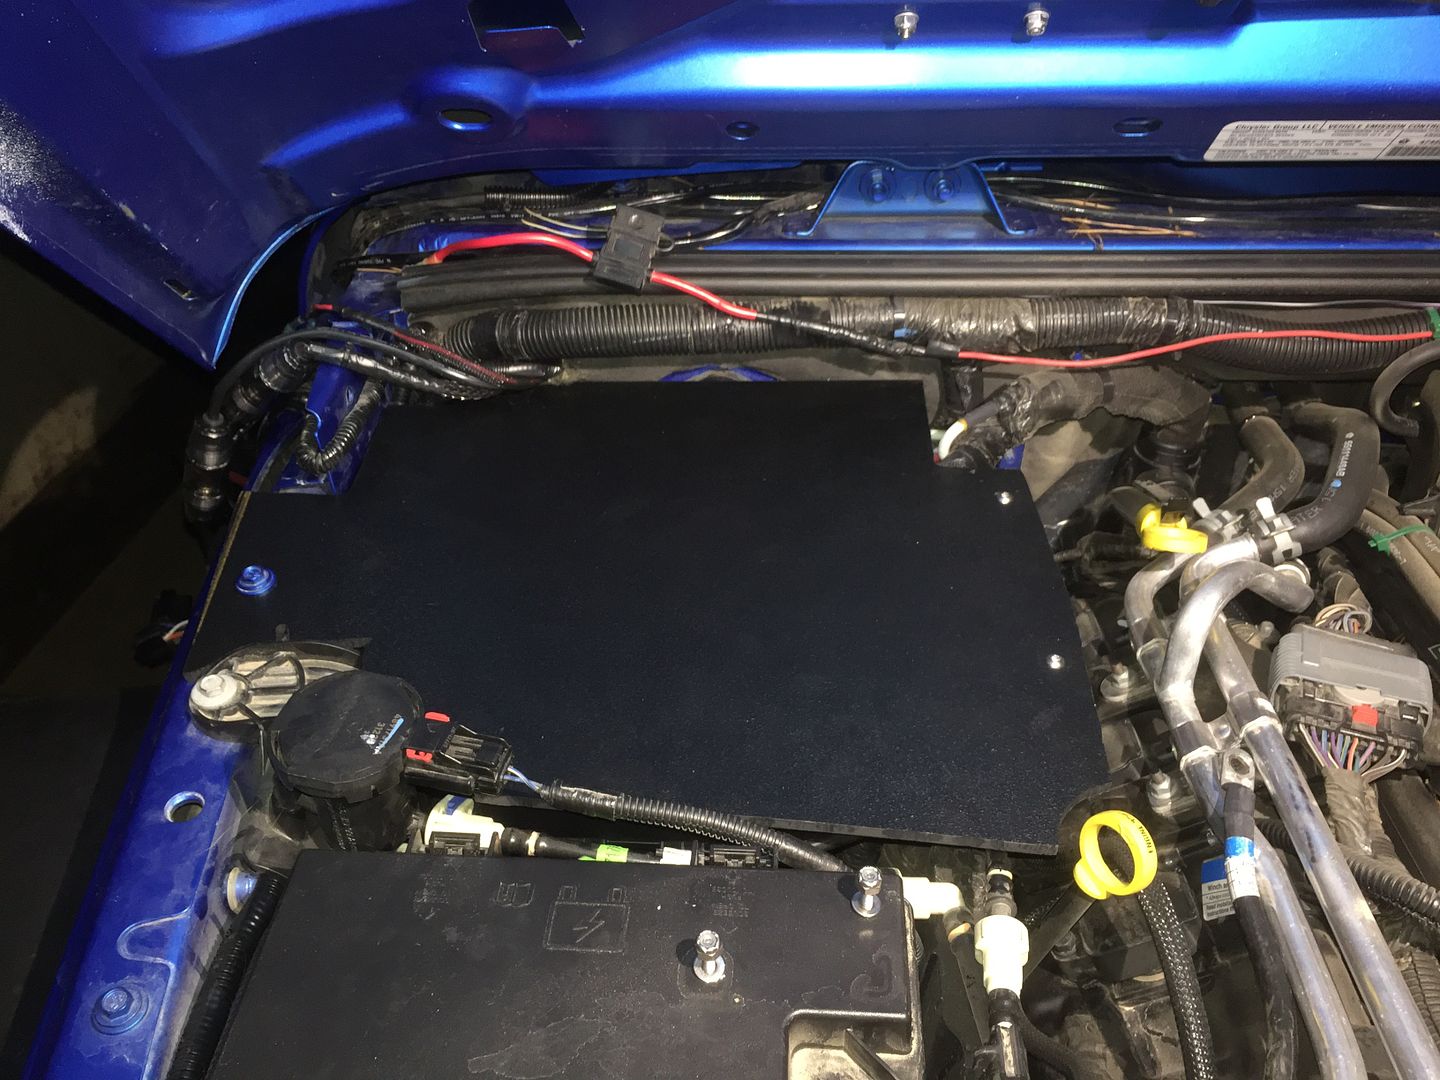
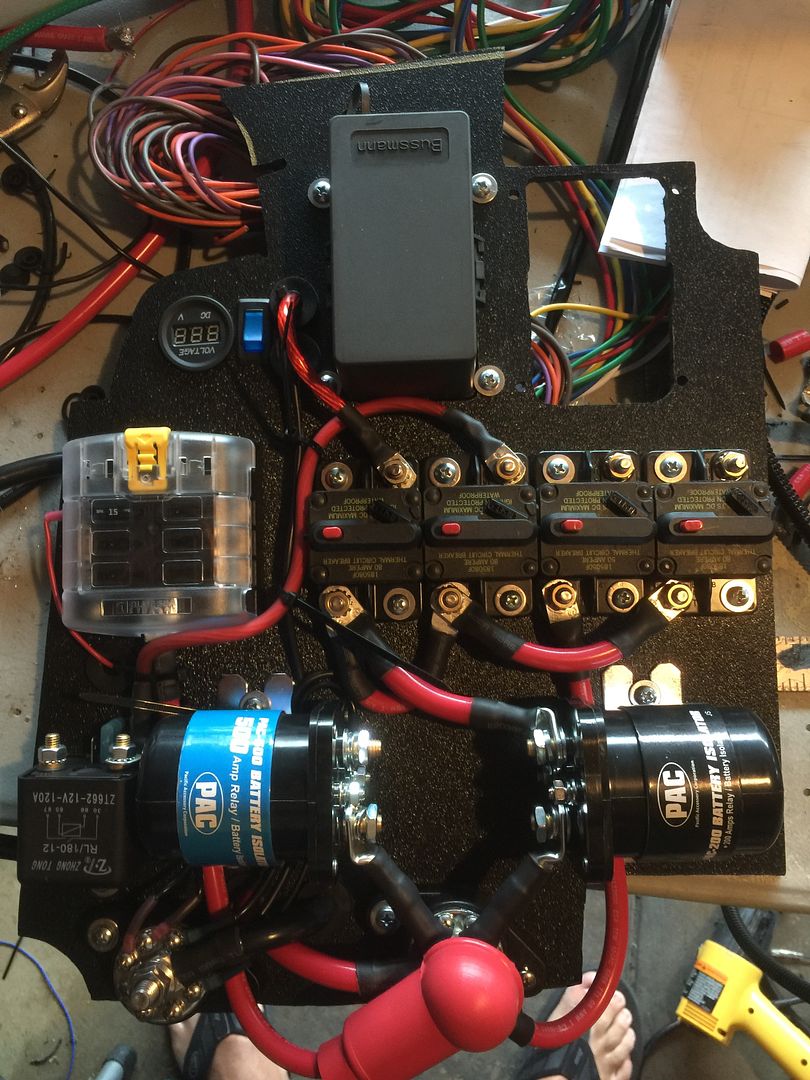
Ended as this (still waiting on my second BUSSMANN relay block to arrive)
While this set up is way overbuilt I went this way because I wanted something I wouldn't grow out of and could handle a lot of amperage (up to 260a constant). I will be eventually adding dual batteries using a blue sea ACR. likely a group 31 Optima under the hood and a 34 Optima in the rear or dual Odyssey 34s under the hood. Currently I have a PAC 500 to isolate the winch, Pac 200 for accessory 12v. Blue sea 6 fuse block for constant lower amperage 12v like rock lights and under hood lights. The 4 breakers are for Bussmann 15303 1 (80a), Bussmann 15303 2 (80a), RF 500W Amp (80a) and rear Blue Sea fuse panel (50a). There is also a separate 180a relay for an ARB Twin Compressor, it's tied into the Bussmann 2 breaker for circuit protection.
I believe when all is said and done I'll still have 5 or so open relays and a bunch of fuses in the Bussmann Relay blocks if I ever need to expand.
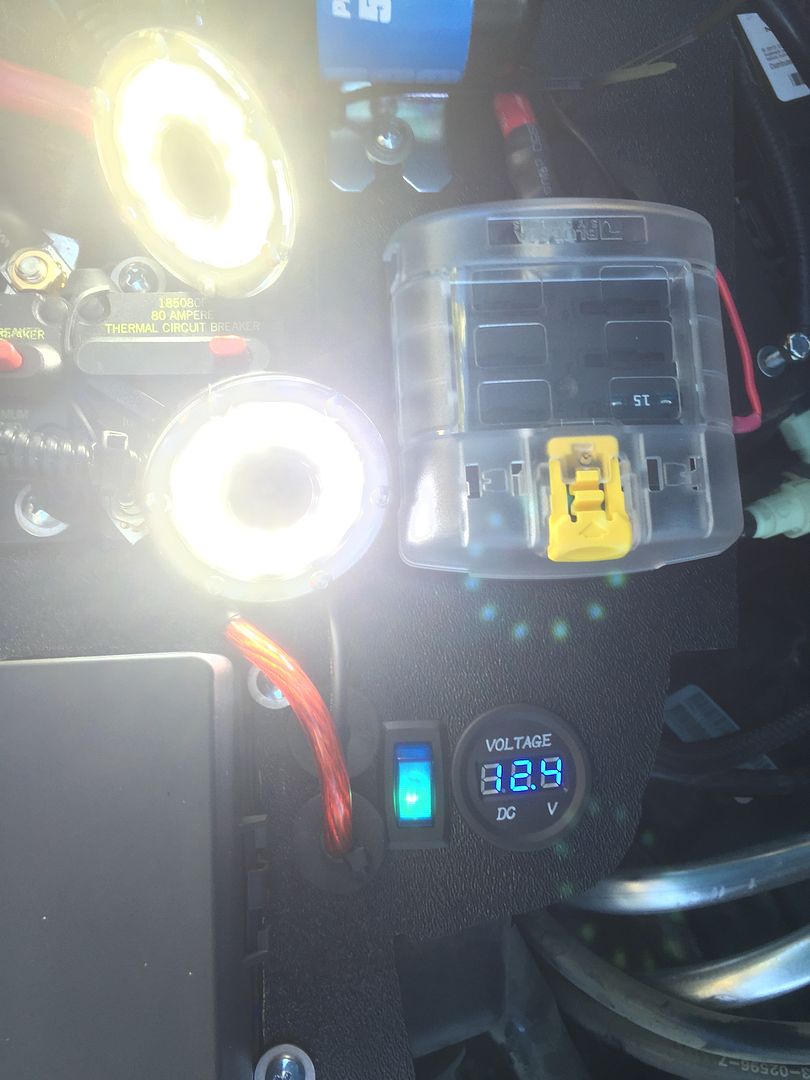
Wired a pair of KC Cyclone lights to a under hood switch that also activates a voltmeter. Lights are held inlace by the bolts from my PSC hood louver.
Then I modified a Rugged Ridge A pillar mount to hold 5 switches and a 6th power switch that turns the lights on and off. The switch set up is a little complicated so I made a video.
Previously I ran 8ga wire to a rear Blue Sea fuse panel and installed 2x 12v outlet and 1 USB in the rear for my Fridge. The fuse panel also supplies power to rear lights and a water pump attached to a 13gallon Front runner tank.


You can see the 12v outlet on the driver side is vertical to not interfere with a future fridge slider.

Then I fabricated a ABS sheet that covers my battery and gives ample room to build off of.
Started as this:

Ended as this (still waiting on my second BUSSMANN relay block to arrive)
While this set up is way overbuilt I went this way because I wanted something I wouldn't grow out of and could handle a lot of amperage (up to 260a constant). I will be eventually adding dual batteries using a blue sea ACR. likely a group 31 Optima under the hood and a 34 Optima in the rear or dual Odyssey 34s under the hood. Currently I have a PAC 500 to isolate the winch, Pac 200 for accessory 12v. Blue sea 6 fuse block for constant lower amperage 12v like rock lights and under hood lights. The 4 breakers are for Bussmann 15303 1 (80a), Bussmann 15303 2 (80a), RF 500W Amp (80a) and rear Blue Sea fuse panel (50a). There is also a separate 180a relay for an ARB Twin Compressor, it's tied into the Bussmann 2 breaker for circuit protection.
I believe when all is said and done I'll still have 5 or so open relays and a bunch of fuses in the Bussmann Relay blocks if I ever need to expand.

Wired a pair of KC Cyclone lights to a under hood switch that also activates a voltmeter. Lights are held inlace by the bolts from my PSC hood louver.

Then I modified a Rugged Ridge A pillar mount to hold 5 switches and a 6th power switch that turns the lights on and off. The switch set up is a little complicated so I made a video.
Last edited:
WJCO
Meme King
I finally started my build last weekend, I gained a lot of good info off this thread so I wanted to share how I did mine.
Previously I ran 8ga wire to a rear Blue Sea fuse panel and installed 2x 12v outlet and 1 USB in the rear for my Fridge. The fuse panel also supplies power to rear lights and a water pump attached to a 13gallon Front runner tank.
Then I fabricated a ABS sheet that covers my battery and gives ample room to build off of.
Ended as this (still waiting on my second BUSSMANN relay block to arrive)
While this set up is way overbuilt I went this way because I wanted something I wouldn't grow out of and could handle a lot of amperage (up to 260a constant). I will be eventually adding dual batteries using a blue sea ACR. likely a group 31 Optima under the hood and a 34 Optima in the rear or dual Odyssey 34s under the hood. Currently I have a PAC 500 to isolate the winch, Pac 200 for accessory 12v. Blue sea 6 fuse block for constant lower amperage 12v like rock lights and under hood lights. The 4 breakers are for Bussmann 15303 1 (80a), Bussmann 15303 2 (80a), RF 500W Amp (80a) and rear Blue Sea fuse panel (50a). There is also a separate 180a relay for an ARB Twin Compressor, it's tied into the Bussmann 2 breaker for circuit protection.
I believe when all is said and done I'll still have 5 or so open relays and a bunch of fuses in the Bussmann Relay blocks if I ever need to expand.
Looks good, but time consuming I bet.
Bmoore0429
New member
Looks great! How do you like the lower console switch panel? I'm thinking of using that location for my locker switches.
Sorry for the delayed reply. Honestly, I don't care for the location. In the interest of keeping things clean I went the easy route. They are convenient but the area is cramped.
Looks good, but time consuming I bet.
Yea there isn't anything fast about it, but it has been fun. I did save some time by buying my bussmann relay boxes already wired. I picked them up of eBay for $129 shipped. I didn't figure I could save enough by building my own to make it worth my time and the seller really has an eye for detail. Their wiring is very nice!
ETA: Finished photos
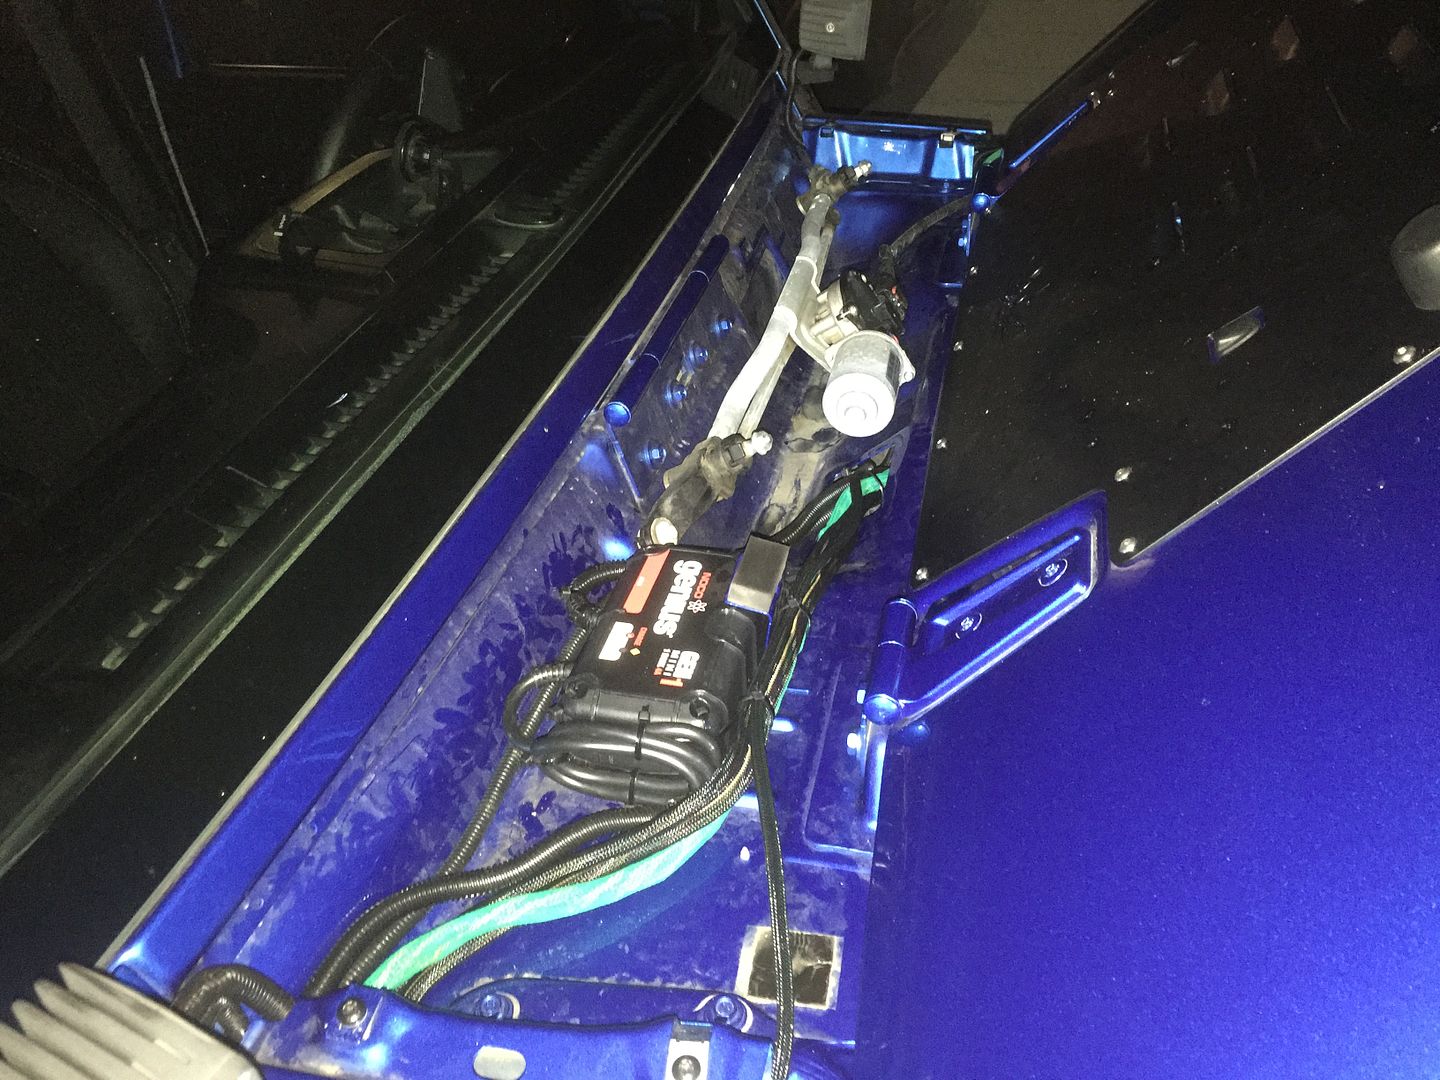
NOCO Genius onboard charger under the wiper cowl
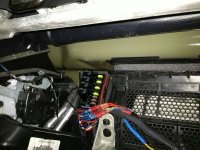
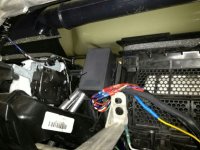
Electrical panel under hood
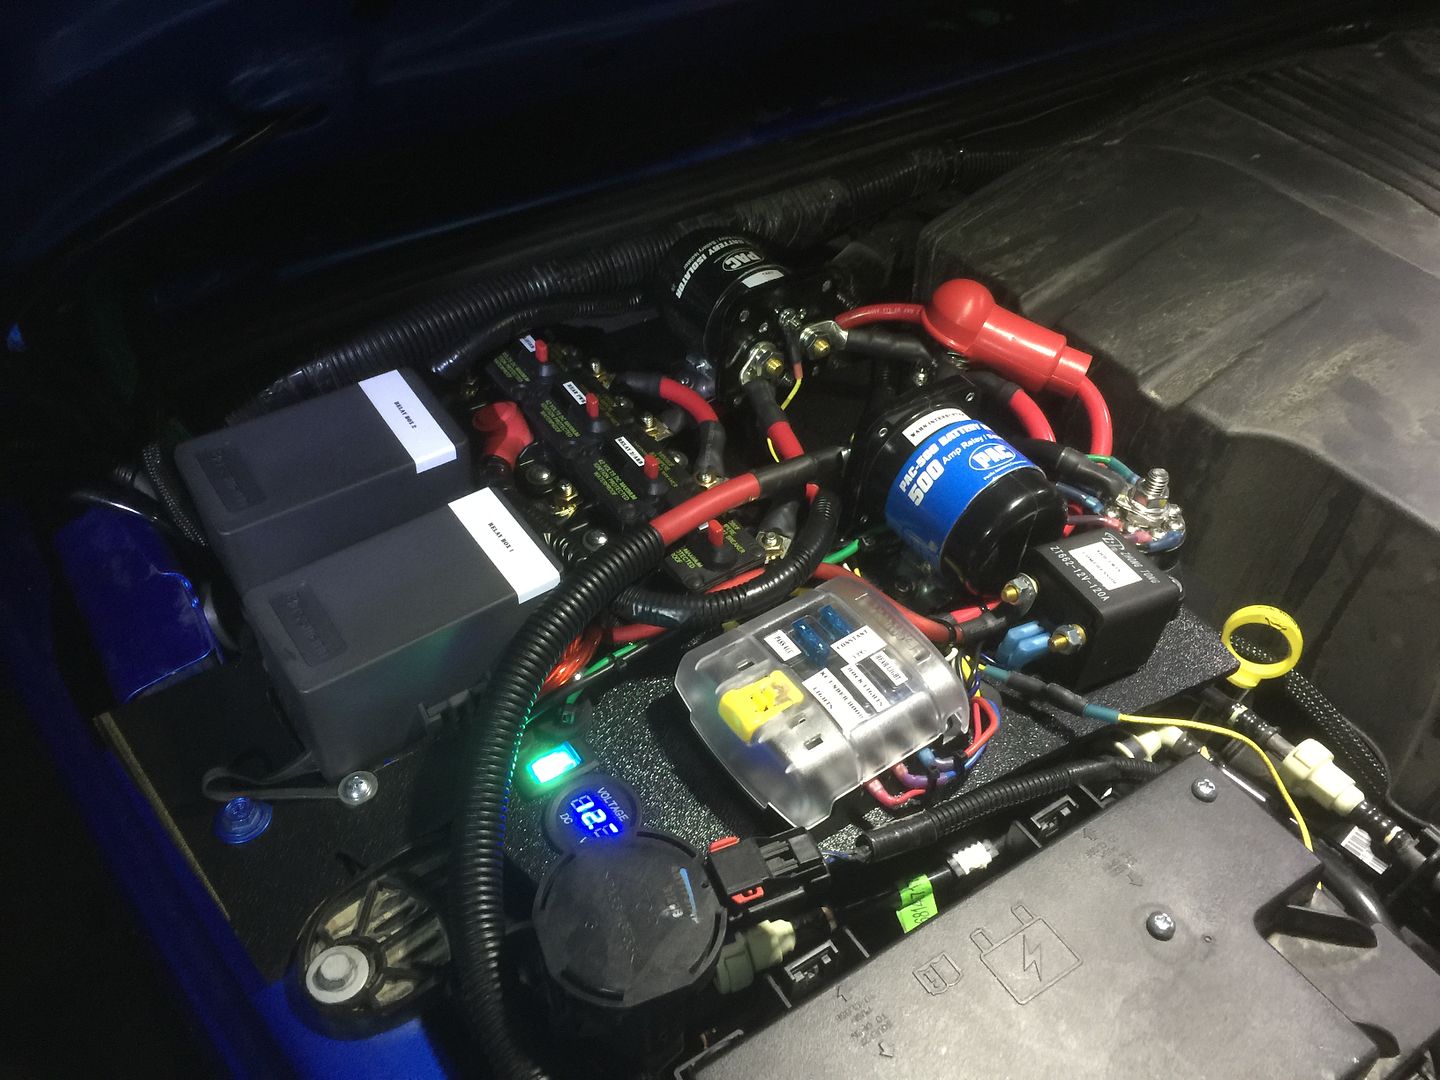
blue switch in above photo activates the voltmeter and the KC Cyclone under hood lights.
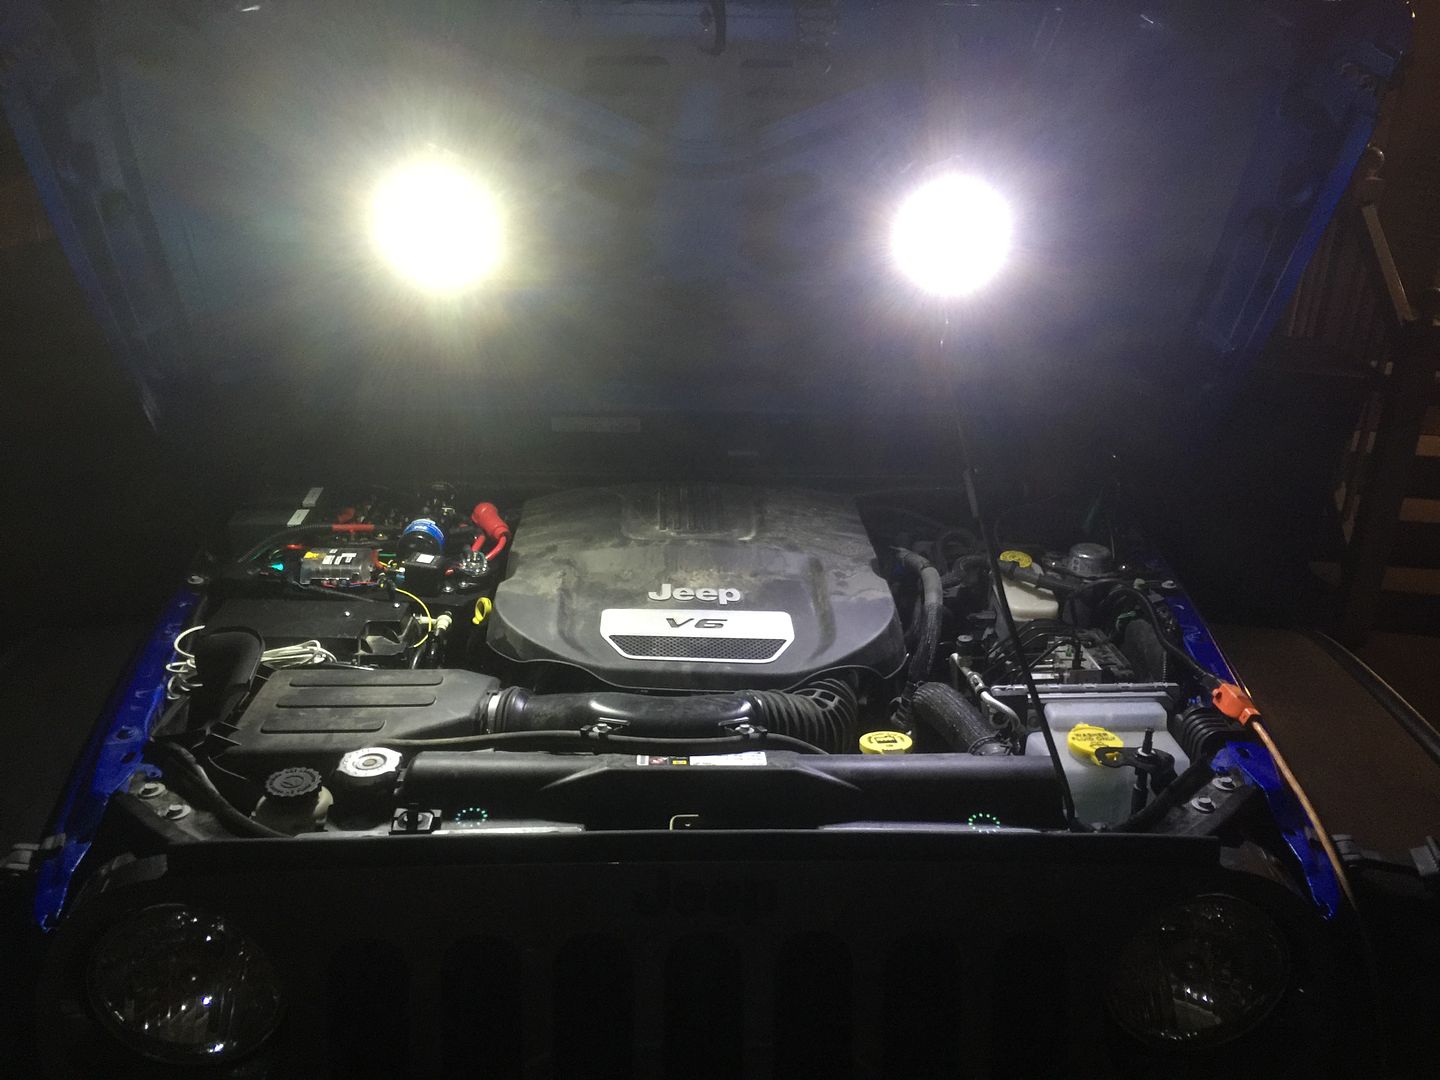
Everything clears under the hood.
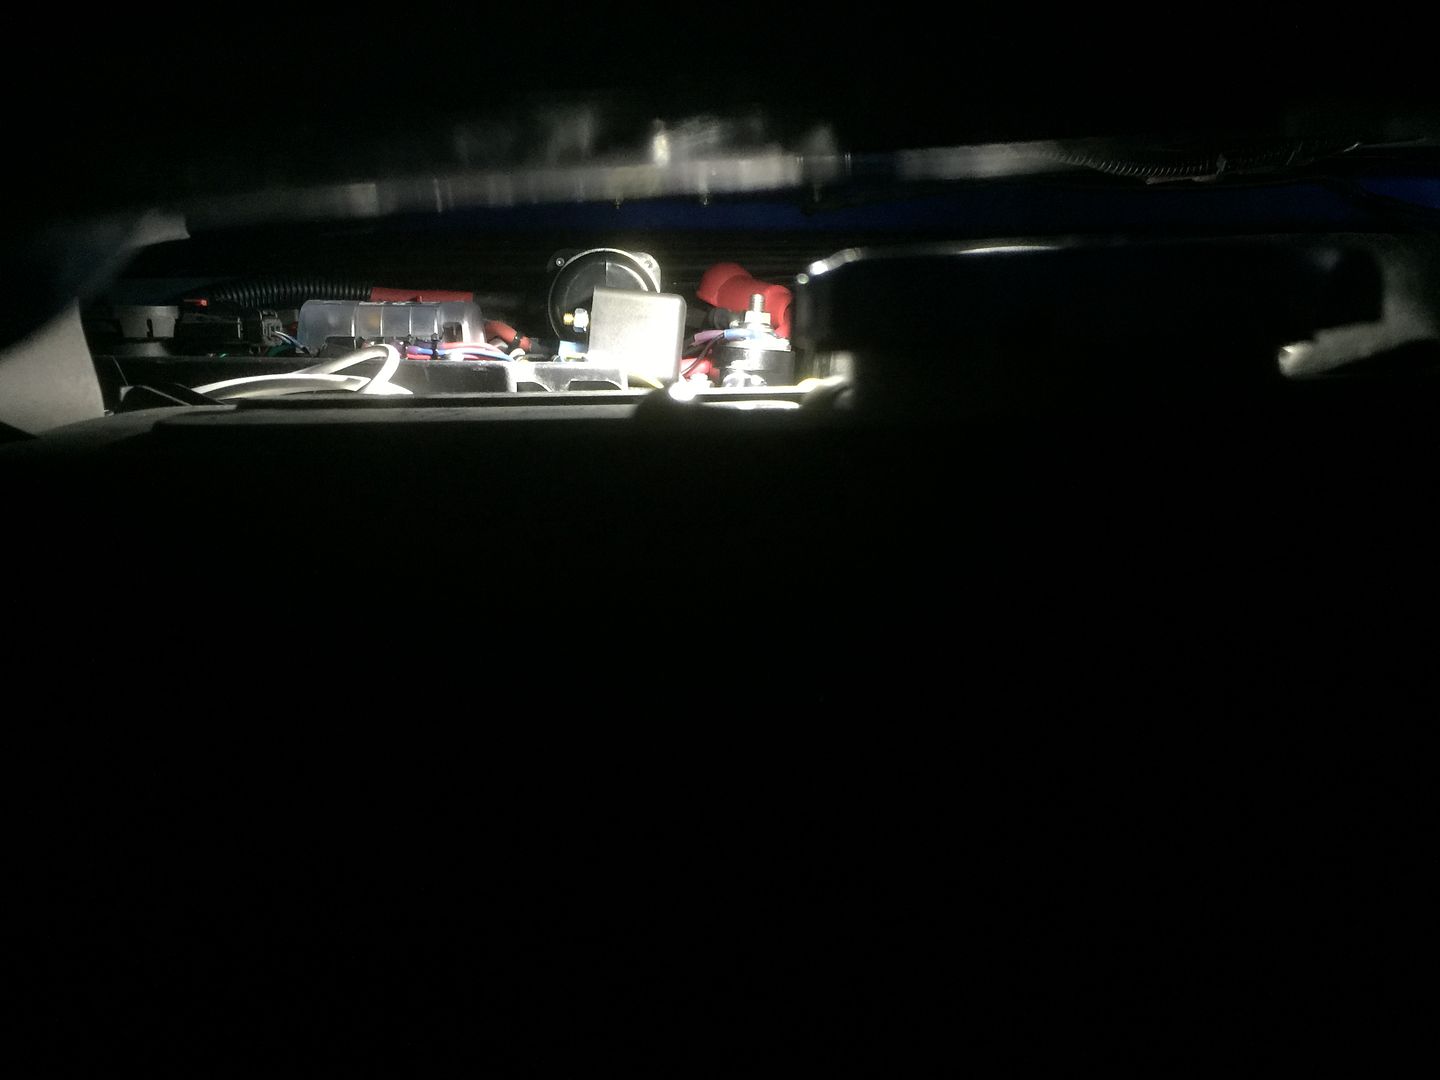
Anyone else have difficulty getting their Daystar lower dash panel to stay in? Mine keeps popping out, even though the wiring is out of the way.
Last edited:
CZEBJKU
New member
Just a quick question. What size wire do I need to run from the switches to the relays.
I used 16 gauge. My switches are above my windshield and my relays are by my battery.
HogBlock
New member
Okay, thanks. Sounds about right. Also what gauge wire did you use for power to the switches? I know I can piggy-back the grounds together as well as the positives for making the led's come on when I flip the switch, as my switches don't have full time illumination, only when turned on. So would something like 10 or 8 Hague work for those two?? Thanks again for all the help, I don't want to burn the jeep to the ground.
CZEBJKU
New member
Okay, thanks. Sounds about right. Also what gauge wire did you use for power to the switches? I know I can piggy-back the grounds together as well as the positives for making the led's come on when I flip the switch, as my switches don't have full time illumination, only when turned on. So would something like 10 or 8 Hague work for those two?? Thanks again for all the help, I don't want to burn the jeep to the ground.
I wouldn't use anything less than 8 gauge and I wouldn't "piggy back" the wire. If one of the piggy backed wires fails for some reason then you are carrying the load on one wire which could result in a fire. But that's just my opinion.
HogBlock
New member
So, all the pics I see here of all the switches that are ran piggy back, is the wrong thing to do. From what I understand with the relays, the switch doesn't carry the load any more correct. This is just the positive wire I have to hook up to make my switches light up when I flip them to on.
HogBlock
New member
It looks like In the pics on Bmoore0429 that his are hooked up piggyback or chained together with one long lead going to a power source. Is this not the correct way to do it?? I am just trying to get this straight so I don't burn the jeep to the ground. I will be running 1 50" light bar, 2 2x2 cubes in the windshield, 2 4x4 cubes on the front bumper and 2 4x4 cubes on the rear bumper, all LED.
CZEBJKU
New member
So, all the pics I see here of all the switches that are ran piggy back, is the wrong thing to do. From what I understand with the relays, the switch doesn't carry the load any more correct. This is just the positive wire I have to hook up to make my switches light up when I flip them to on.
Sorry. Misunderstood piggy back. I thought you were referring to ie: two 16ga together. Yes you can run them in series and you will be fine.
JeepDrum
New member
Then I modified a Rugged Ridge A pillar mount to hold 5 switches and a 6th power switch that turns the lights on and off.
The switch pod I have for my '08 has the plastic support for the mounting clips right behind where your top rocker switch is. Are the newer switch pods different?
Clifford33
Caught the Bug
This is awesome !

