CoWj Build /I'm back

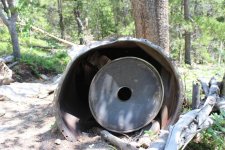
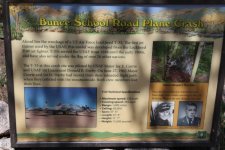
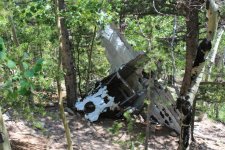
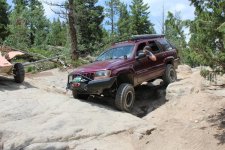
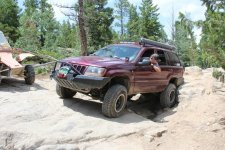
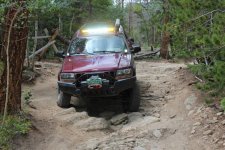
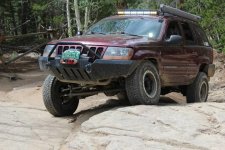
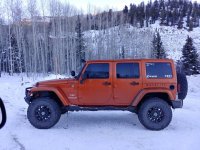
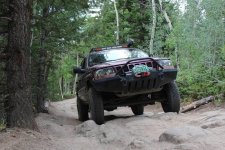
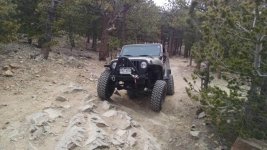
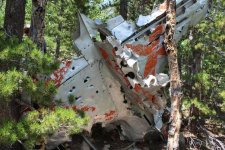
Next up was a run on a trail that both my dad and I had wanted to do since we first heard of it. The trail is called T-33A plane crash and as the name suggests the trail takes you out to a short hike that ends at the location in which a T-33A jet crashed during a training mission, the cause of the crash is unknown. The wreckage of the plane still remains as a memorial to the 2 pilots that lost their lives in the crash.
IMG_4581.jpg
The trail is rated 5/10-6/10 depending on the source and it accessed after completing the better part of Bunce school road *which sits at about a 4/10 depending on the way you run it. This was one of the hardest trails that I have completed in the Wj, I am not sure if Elephant hill in the snow was harder or easier.

I had spent the night at my uncle and aunts house in Nederland where I had camped outside that night. My parents and I got in the Jeep and headed out to Bunce school road, where one of my favorite local trails, Ironclads, is located and that I had done a few months prior at the beginning of January while home for the Sportsman expo. I used that multiple times to test out new mods on the Jeep and to compare it to my ZJ that I build a few years ago.
IMG_20150412_105518366.jpgreceived_1823984244493359.jpeg
I aired down to my usual 16 psi and disconnected my sway bar. We made our way through Bunce which up until this I had never actually done all the way, I had done a couple short runs a couple miles in during the winter.

Bunce had a couple rocky sections and one ledge but nothing major.

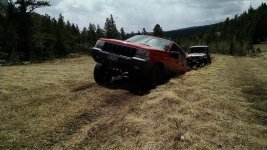
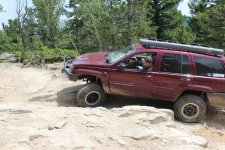
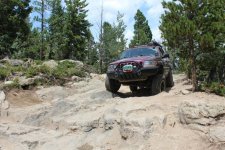
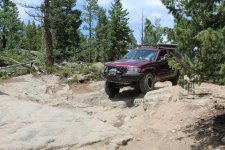
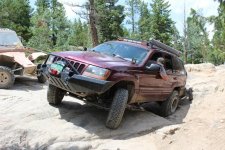
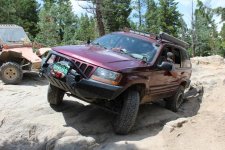
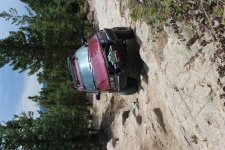
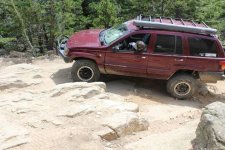
The trail starts out with some minor rocky until you hit the major obstacle which is the V notch, a 3' ledge that is in the shape of a V, easy enough but it is positioned right behind a weirdly off camber granite slab which forces our approach to be rather awkward. I had caught up with a couple of mildly build 5th gen 4runner Trail editions, I ended up spotting them up and teaching them how to properly use the A-trac and rear locker in these situations. I knew how to use them from when I owned my old 4runner. With a bit of teaching and a better line choice they crawled up it with a bit of difficulty.
IMG_4596.jpg
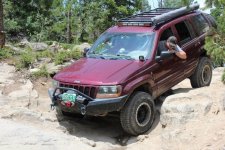
I unfortunately did not get many pictures of my jeep going up it as I gave my dad my camera and he was expecting it to take longer, but knowing the line I managed to crawl directly up in in one shot without as much spinning a tire. I should mention I decided to run this trail without using my rear locker to see how capable the jeep was if I was in a situation that the locker was not functioning. Needless to say the Jeep had zero issue running without a locker the front LSD caused both front tires to spin under even with one tire in the air.
IMG_4597.jpg
IMG_4598.jpg
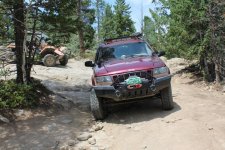
The Rest of the trail winds its way through the wood till you hit a small parking circle which marks the end of the trail. A quick quarter mile hike reveals the first piece of the plane and by walking around that area you can find all parts of the plane including the jet engine, tail, and fuselage.
IMG_4600.jpgIMG_4601.jpgIMG_4613.jpgIMG_4599.jpg
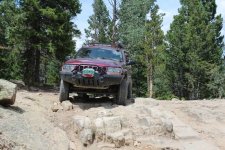
The trail then returns out the same way you came in. You descend down the V ledge and then continue down through the other rock gardens before returning to bunce which in my case had some rather deep puddles which caused the mud on the side of the jeep.
IMG_4614.jpgIMG_4616.jpgIMG_4617.jpg
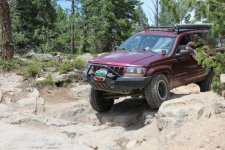
Upon descending the ledge I finally hit the rear bumper, first time for everything, and proceeded to drag it across the edge of the rock. Nothing but a scratch. On this trip I ended up giving 3 of my wheels pretty good rock rash, in which I finished the 4th one off up here in Gunnison wheeling at Hartmans in September. I still don’t have rock sliders on but I somehow have managed to not hit even though I have gotten within a half inch of them multiple times. They hopefully with be the next welding project.
IMG_4618.jpgIMG_4619.jpg
IMG_4621.jpgIMG_4624.jpgIMG_4625.jpgIMG_4628.jpg
Overall a successful run, no issues at all the Jeep did the whole trail without issue and without breakage. Just minor scrapping on skid plates. I did notice on the trip a ripped cv boot which wasn’t clicking or damaged just ripped.


Sent from my VS996 using Tapatalk
 

Attachments

  • IMG_4623.jpg
    IMG_4623.jpg
    140.7 KB · Views: 42
Here just a couple more from the run, lower down on some small obstacles on the trail.
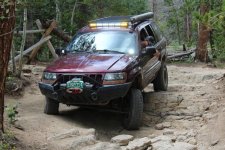
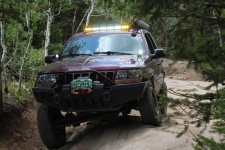
Had to turn on the lights for shits and giggles.IMG_4646.jpgIMG_4651.jpgIMG_4667.jpgIMG_4644.jpgIMG_20180728_182113_549.jpg

Sent from my VS996 using Tapatalk
 
Looks like a great trail with a sad but historical destination. Nice Adventure and the WJ looks great!


Sent from my iPhone using WAYALIFE mobile app
Thanks! It is unfortunate about the pilots however normally when I come across old buildings or vehicles left in the woods they are filled with bullet holes and have beer cans everywhere. I could not find a single bullet hole or piece of trash at the site because it is extremely hard to access as well as the people that make out there understand what happened and respect it as if it were sacred ground.
 
Next up were a whole host of parts that I had been sitting on quite a while in some cases.

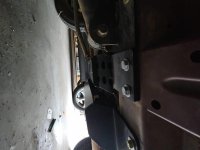
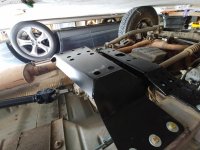
I had ordered the Iron Rock Offroad high clearance transmission crossmember and their transfer case skid plate back in December 2017 but never got around to installing it.

I pulled the factory crossmember and my 1” drop and installed the new crossmember, this raised the lowest point by over 3”.
0820181337c~3.jpg
I installed the Skid Plate too, it replaced my Rusty’s off road plate that had served me well for a couple years and wouldn’t work with the new crossmember. It required drilling 7 holes in the frame rails and inserting a nut plate into the frame which the 7 1/2’’ grade 8 bolts attach to and hold it one to the point that you could probably winch to in without worries, but seriously don’t...
0820181337~2.jpg0820181337b~2.jpg
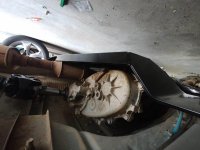
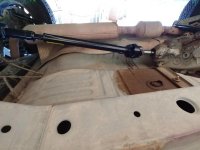
Of course lifting the transfer case up 4” really messed up my driveshaft angles and after fighting it for a couple days I bought the IRO SYE for the 242, and had a custom rear driveshaft build by boulder driveline, same people that build my rear driveshaft when I swapped transfer cases last summer.
0816181259~2.jpg 0817181700_HDR~2.jpg
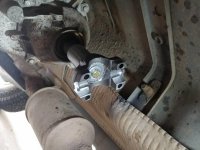
The install wasn’t too bad and only took a couple hours, however, I did purchase the tap and drill bits from IRO too, and the drill bits were crap, they were way too soft to be able to touch the hardest steel output shaft and either dulled right away or broke off. So I went and picked up some cobalt bits from a local hardware shop which cut right in and helped me finish the project. The tap worked well and was more than strong enough to cut the output shaft.

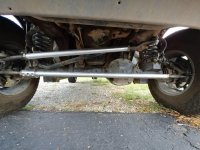
I also had ordered a upgraded steering to replace my factory drag link and tie rod, while sleeving the axle I had noticed the ball joints were shot on my tie rod. I ordered up a 7075 upgrade from IronMan Fab with upgraded tie rod ends. Unfortunately they did send me the wrong length drag link, one from an xj, but after a quick phone call they slapped another one on the lathe and a week later I got it and it fit perfectly this time.

I bolted the steering stabilizer to the tie rod Via a 1.5” OD steering tube clamp from Ruff Stuff and it works perfectly.

**Note** I am very sorry for some of the pictures showing up sideways or upside down, I can not for the life of me figure out why it. I have tried uploading them on my computer and phone abd cant seem to get it figured out.

0819181447_HDR.jpg

Sent from my VS996 using Tapatalk
 
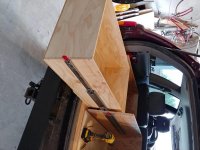
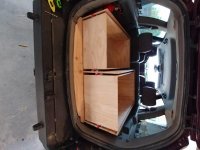
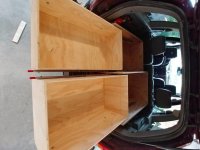
Next up was the rear drawers, I had been using the Costco yellow top boxes for a while to hold all my tools and camping gear but got sick of having to climb into the Jeep anytime I had to grab something. So my dad and I worked on building a drawer system to keep everything organized and contained. This would also serve as a platform for a Fridge in the near future.

View attachment 316867
We started by cutting a base plate to fit the contours of the Jeep, in which I got a little over confident with the jigsaw and made one cut a little too far in which ended up not matching the curved end of the jeeps tailgate. The drawers cover up the empty spare tire opening which I wanted to use for a while but never found anything to put there.

Next was to build the walls and center piece that would hold the slides. These were all cut on angle to match the angle of the rear seats to use up as much space as possible. After building these I do kind of wish I hadn’t angles it and used that space for the hi-lift jack but it is what it is and it works.

0721181727_HDR~2.jpg0721181824a_HDR~2.jpg
The boxes were built next, the shorter one is to hold tools and vehicle related items, the larger box is for camping gear and is that tall to be able to hold my stove vertically so that it takes up as little room as possible.
View attachment 316871
The top was easy and made of two parts, All the wood is held together by wood glue and 16ga nails that really just held it together while the glue dried. I shot the in every 5-6” to make sure the glue had a good hold on everything.

0721181824b_HDR~2.jpg
The slides are 250lbs rated and lock both in and out. They are secured by 1/4” bolts that screw into T-Nuts in the wood, it's the strongest setup I could find, it is actually what goose gear uses to mount the drawers to the base plate.

I still haven’t gotten around to planting it but my plan is to spackle the wood to remove any cracks and texture then paint it with either flat black or a thin layer of spray paint style bedliner just to make a more durable coating on the wood to resist scratches.


Sent from my VS996 using Tapatalk
 
Awesome! I have not heard of Bunce. Looks beautiful up there. Looks like the WJ did pretty good.
My go to trail when I'm up there is to take Taylor pass up and over and then Pearl pass(if open) back to CB. Beautiful!
Also I like to hit Devils punchbowl, to Lead King Basin. I think some of the views from Lead King are some of the best in CO. Then down to Marble for some BBQ.
Let's hook up next time I'm in town.
Jake
Definitely! Bunce is located on the front range I did it while home for the summer working. My time spent up here in Gunnison is either out exploring the back end of Hartman's or just exploring dirt roads like Ohio Creek, taylor park, and some dirt roads down by Lake City.

Sent from my VS996 using Tapatalk
 
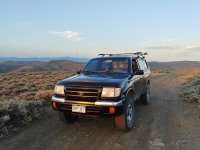
That completes my projects over the summer.It was time for me to move back up to Gunnison. Due to the Jeep now having a Fridge and Drawer system I thought it would be best to use the Taco to move back as I couple fit everything that I needed in it and then go home and pick up the Jeep that next weekend. I can definitely say that the 2.7 i4 is no match for the 4.7 in the Jeep. But having a manual in it is so much better and more fun than the jeeps auto. But it made it over Kenosha and Monarch eventually. I then had some time to do a but of exploring at Hartman's Rock which is the local recreation area. IMG_20181216_231005_946.jpg

Sent from my VS996 using Tapatalk
 
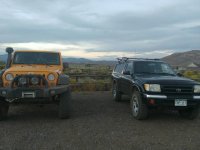
Met up with a friend and did some Wheeling with him and his nicely built JK.0830181942a.jpg

Sent from my VS996 using Tapatalk
 
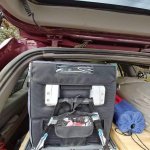
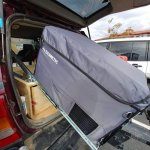
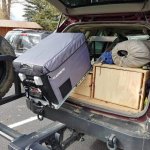
Now it was time to make a quick drive home over labor day weekend to pick up the Jeep, and the fridge showed up! It is a Dometic CFX-35US that I got a great deal on. I had ordered the previous generation of the fridge but they were out of stock they just sent the new version for the price of the old generation.
FB_IMG_1545064497555.jpg
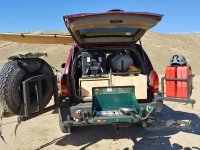
I ordered a DFG Off road tilting fridge slide to have the access to the fridge. It fits on the drawer perfectly and fits into the jeeps roof space perfectly. The size of the Wj rear door is rather limiting so this was my best option to fit it in.
If I build the drawers again, I would likely put the two drawers on top of each other and mount the fridge on the floor next to it. But it is what it is.
FB_IMG_1545064502917.jpgFB_IMG_1545064505950.jpg

Sent from my VS996 using Tapatalk
 
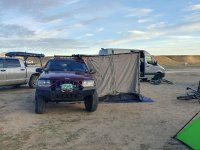
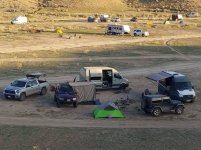
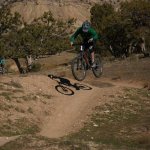
Took another trip out to fruita for some Mountain biking and used the Jeep as my base camp like before.FB_IMG_1545065030208.jpgFB_IMG_1545065033666.jpegFB_IMG_1545064483134.jpg
I ran the fridge for over 36 hours without running the Jeep without the battery dropping below 12.1v I have the fridge voltage cutoff set at medium which is 11.4v which for my Odyssey battery is safe to do and will still start the Jeep. I have run my own power back to the fridge. A power and ground 10ga with an inline fuse positioned right off the battery, the fuse is a 15amp fuse which is enough to run the fridge but will blow if there is a short in the system. FB_IMG_1545065046045.jpg

Sent from my VS996 using Tapatalk
 
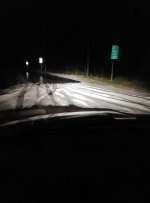
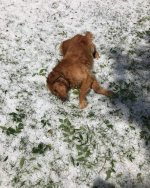
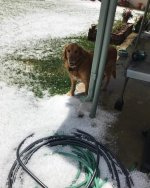
This one happened over the summer but there was freak hail storm in the middle of the night that ended up dumping about a foot of hail in some places. I went out after to see what happened and even pulled a couple trees off the road in the process.
0818182238.jpg
FB_IMG_1545149415964.jpg
Heres Duke enjoying the hail the morning after. FB_IMG_1545147277132.jpgFB_IMG_1545147274064.jpg

Sent from my VS996 using Tapatalk
 
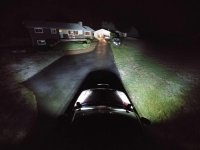
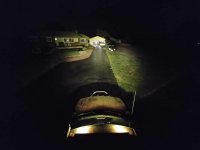
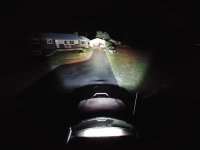
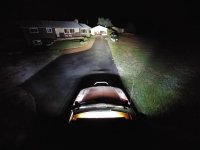
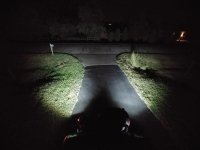
I had switch around my LED set up during the summer and decided to make a bit of a comparison of the light patterns and strengths.
Currently I have
32" X6 Amber combo by Extreme LED
2x Side shooter Pods by Extreme LED
2x 4" flush mount pro pods by Extreme LED
Factory headlights, soon to be replaced with PIAA 9005 high beams and 9006 Low beams slightly custom*

A-Pillar pods.
0817182237a.jpg
Amber Only.
0817182242a.jpg
White Bar only.
0817182242.jpg
All fronts minus headlights.
0817182243b.jpg
Rear Pods.
0817182243.jpg
I personally I don't notice the light on the hood unless I sit up forward in the seat. This Is because the Wj hood starts up high and slopes down quite fast so the only noticable light is actually light from the bar hitting the back of the pods which isn't all that bad in reality.

Sent from my VS996 using Tapatalk
 
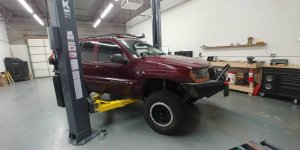
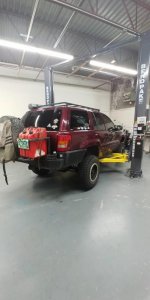
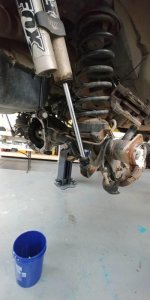
Started my Re-Gear today. 1227181711.jpg1227181714.jpg
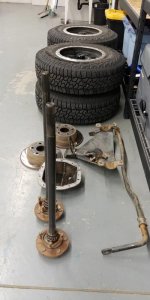
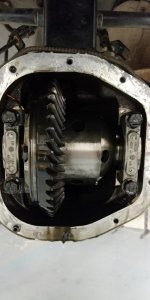
Started on the rear, by removing: the skid plate, driveshaft, axle shafts, brakes, and diff cover, 1227181915a.jpg
1227181915.jpg
ARB is still looking great, and worth the airline detached we blew out the airline which had some gear oil and water mixture, nothing out of the normal as compressors created water in the line in compression. 1227181842.jpg
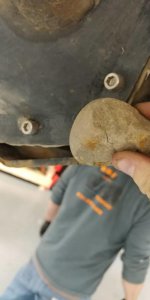
It seems as if my Mountain Vista skid plate has collected a rock. It's probably been sitting in there for a good 20,000 miles.1227181756.jpg
Tomorrow we will be pulling the carrier and starting to swap over to the new gears and bearings.

Sent from my VS996 using Tapatalk
 
Nice...that tilting slide for the fridge is pretty slick. Is that an arb tent enclosure for the canopy?...how do you like it?
 
Top Bottom