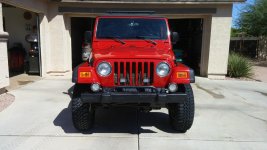
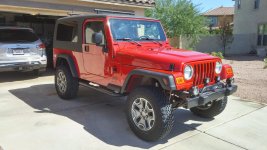
AZMikeD's LJ Build Thread

Looks nice.

Your LJ is looking good!

Thanks guys!

Looks good! As far as budget CBs go, I'm very happy with my Midland.

Thanks! The Midland has been great so far for the money. Range isn't that great but I attribute that to the 3' antenna. One minor annoyance, but I understand this is common with other CBs, when I shut the Jeep off the Midland doesn't remember the channel I had it on. Especially annoying since I have the CB out of sight in the center console.
 
Last edited:
Great work. You'll love those tire deflators.

I've got to use them a few times and they're great. Don't seem to be too precise with the pressure, though, but they get me within 1-2 psi. Probably need to spend a little more time calibrating them.

Nice! It's looking good. Been thinking about getting a Trasharoo myself but other mods taking priority for now.

I was surprised how big the Trasharoo is! I've seen pictures of it on Jeeps and still didn't realize. Probably over kill for the half day trail runs I'm doing now but figure when my son gets a little older it'll be useful for camping. Can always use it to carry gear too. ;)

Thanks guys!
 
I was surprised how big the Trasharoo is! I've seen pictures of it on Jeeps and still didn't realize. Probably over kill for the half day trail runs I'm doing now but figure when my son gets a little older it'll be useful for camping. Can always use it to carry gear too. ;)

Thanks guys!

Definitely. Went camping last weekend and ended up putting a tie down over our trash bag on the roof rack for 20 miles till we could make it to a nearby town and toss it. Trasharoo definitively came to mind.
 
Good looking LJ. [emoji106] looks like your off to a good start on your build. I understand these are kind of rare.
 
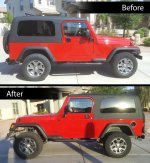
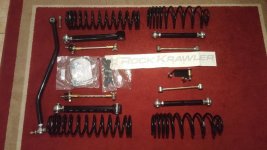
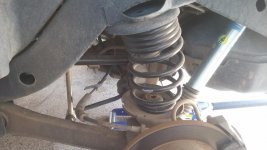
Finally got my Rock Krawler 3.5" lift installed! I was able to get the new 'Max Travel' updated kit with progressive rate springs and updated control arms. I also added a set of Bilstein 5100 shocks.

The ride is noticeably improved on the road and it seems to soak up the bumps better off road. The first trail I did since installing the kit was an easy one and I was not disconnected. Looking forward to trying one a little more challenging and see how much more articulation there is disconnected.

I realized 2.5" additional lift in the front and 2" additional in the rear. I had a 2" budget boost before. We'll see if it settles in a bit.

killer.jpg

Kit contents:
0608162032.jpg

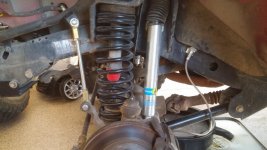
Front Suspension:
0612161222.jpg
0612161222c.jpg

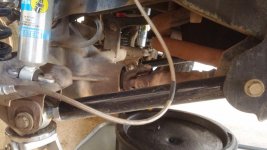
Rear Suspension:
0612161209.jpg

Side note, my 4 year old son is sitting next to me right now watching Wayalife videos. When we were out this past weekend, we were descending a particularly steep hill. As we were descending he couldn't help but suggest, "More driver! More driver!". LOL! Maybe we need to cut back on Youtube. :cheesy:
 
Last edited:
Good looking LJ. [emoji106] looks like your off to a good start on your build. I understand these are kind of rare.

Thanks! Yeah, they pop up on Craigslist from time to time and usually sell quickly! I missed out on a few before jumping on this one. Definately many more TJ's out there on CL.

Looking good. Don't cut back...there are way worse things he could be yelling......

Thanks. Yes, that's true! LOL!
 
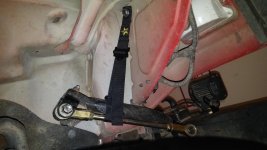
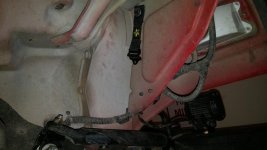
Installed the Rock Krawler sway bar straps that came with my Rock Krawler lift kit. The shop that installed the lift kit deals a ton with Rock Krawler and that's their lift of choice. However, he thought these new straps were kind of cheesy. He recommended disconnecting only one side and zip tieing the link to the sway bar leaving the other side connected. Maybe this works on the JK but when I tried it my tire contacted the sway bar when turning and broke the zip tie. I figured I'd give the straps a try. Thought they'd be better than the zip ties I was using with my old JKS disconnects.

There was an existing hole up inside the fender I used. I did a test before tightening down the bolt and they seem to hold the sway bar securely. Look forward to trying them out on the trail!

0628162147a.jpg

0628162203a.jpg
 
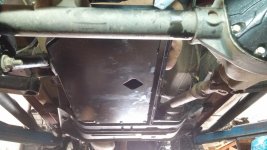
Installing the Rock Krawler lift necessitated removing the transmission skid plate. The lift causes the front drive shaft to hit it. I wasn't comfortable running without the skid so on advice from the offroad shop I purchased a Skid Row skid plate (3/16" plate) which protects the transmission and oil pan.

The skid bolts directly to the stock transfer case skid with 3 bolts, which need holes to be drilled. The front part of the skid bolts to existing points on the chassis.

0707161714.jpg

Since I was getting an oil leak addressed (oil pan gasket plus RMS while they were in there), I had the shop install the skid. I also had Control Arm skids welded in.

0707161714a.jpg

0707161714c.jpg

The skids look too new so time to go bash them on some rocks. :D
 
Last edited:
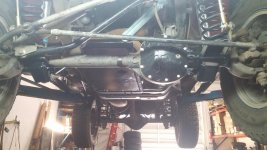
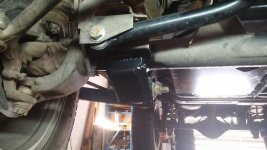
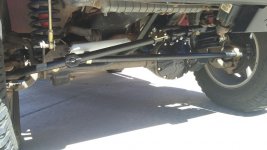
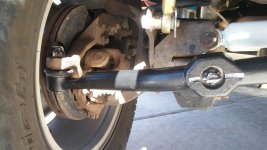
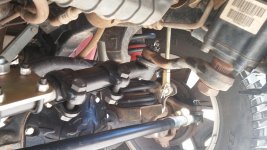
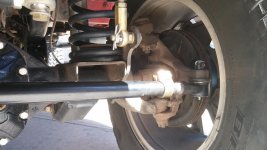
The Currie Currectlync Steering system was installed this week (along with a new stabilizer). I had a couple of tie rod ends that needed to be replaced (and a dead steering stabilizer). Instead of throwing money at the stock steering I decided to put it towards an upgrade.

curriesteering1.jpg
curriesteering2.jpg
curriesteering3.jpg
curriesteering4.jpg

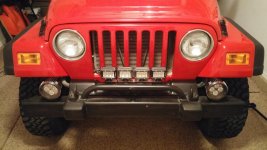
I also recently installed new foglights from Quadratec. I had previously said I didn't like the way it looked with the 4 rectangular lighs across the front so decided on these 4" round spot lights. They are more than twice as bright as the Auxbeam 6 LED lights and I'm impressed by the light output for the size.

foglights1.jpg
foglights2.jpg

The plan is to move the old lights in the middle, at least until I get a winch. I have since painted the aluminum strip black but still need to wire them.

foglights3.jpg
 
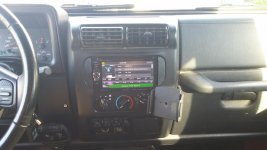
I finally got this Kenwood NAV Unit installed! I bought this for my wife's RAV4 early last year and 6 months after I installed it some knucklehead totaled the RAV (luckily no one was hurt). I have been holding on to it with the intention of installing it in the Jeep and finally found some time to do it.

kenwoodnav.jpg

I was happy with the results considering what I had to work with. I wasn't interested in spending a lot of money for a custom install or bezel. I wanted to do as little cutting on the bezel as possible so it didn't look too hacked and managed to get it in there using an aftermarket install kit by only cutting out the bar that separated the stock radio from the AC controls. If others are interested I can post up more information and pictures as to how I completed the install.

Kenwood uses Garmin Navigation and I was able to load up the Custom POI's from the Funtreks trail book with no issues.
 
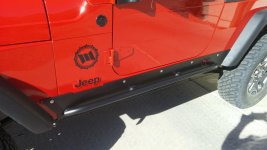
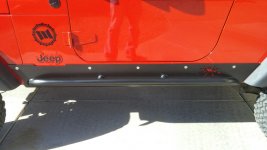
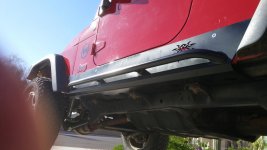
With the help of 'jeepsterchris' I got my Poison Spyder Rocker Knockers installed today!

PSslider01.jpg

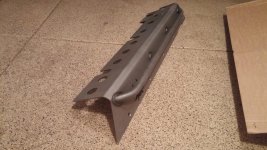
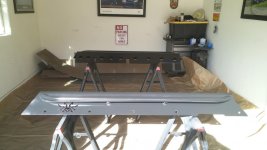
They came bare metal so I decided to paint them myself to make touchups easier with the rattle can.
PSsliderraw.jpg

Turned one of my garages into a make-shift paint booth. (if you try this at home, make sure you wear a respirator!)
PSsliderpaint.jpg

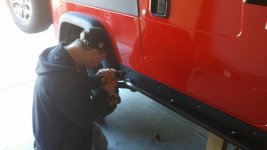
Action shot drilling into my pristine (not really) body work!
PSsliderinstall.jpg

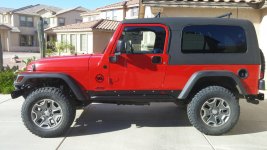
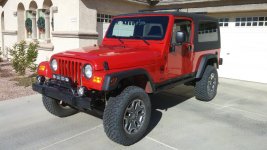
And the beauty shots:
PSslider02.jpgPSslider03.jpgPSslider04.jpgPSslider05.jpg
 
With the help of 'jeepsterchris' I got my Poison Spyder Rocker Knockers installed today!

View attachment 235037

They came bare metal so I decided to paint them myself to make touchups easier with the rattle can.
View attachment 235038

Turned one of my garages into a make-shift paint booth. (if you try this at home, make sure you wear a respirator!)
View attachment 235039

Action shot drilling into my pristine (not really) body work!
View attachment 235044

And the beauty shots:
View attachment 235040View attachment 235041View attachment 235042View attachment 235043

Very nice! Can't wait to hit the trails with you again so we can get those scuffed up!


Sent from my iPhone using WAYALIFE mobile app
 
I had 35" Cooper STT Pros mounted today on Method Double Standard wheels! Can't wait to get them dirty.
1489277080021.jpg1489277097106.jpg1489277104618.jpg
 
Top Bottom