You are using an out of date browser. It may not display this or other websites correctly.
You should upgrade or use an alternative browser.
You should upgrade or use an alternative browser.
68' M715 AKA "Smokey", 8.1 engine on links, coils and 40's
- Thread starter Rock40
- Start date
Rock40
Active Member
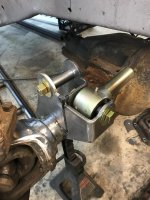
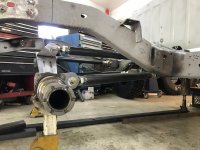
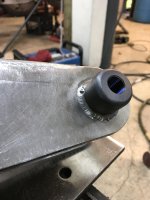
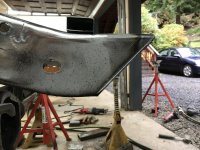
Here's the upper panhard bar mount. Probably not in it's final location front and back but close. Probably.
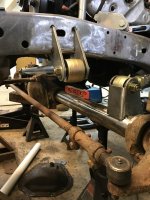
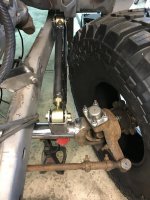
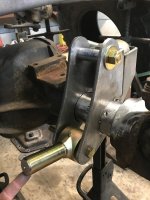
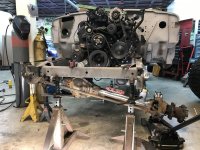
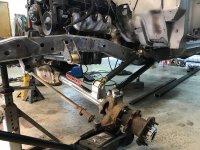
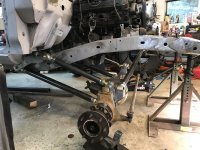
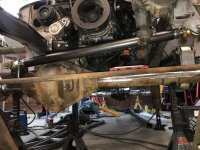
Panhard around the front differential. It'll need a little bend in it for sure in order to clear. Definitely will need a short pitman arm in the long run too
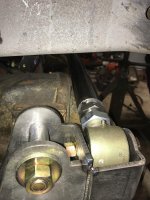
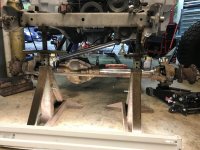
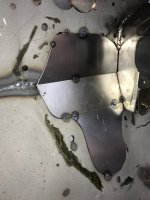
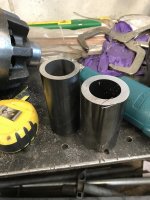
And here is less than 9" of link material waste which represents nearly $30. Goodness the stuff is expensive

Panhard around the front differential. It'll need a little bend in it for sure in order to clear. Definitely will need a short pitman arm in the long run too


And here is less than 9" of link material waste which represents nearly $30. Goodness the stuff is expensive

Rock40
Active Member
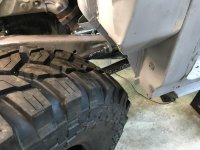
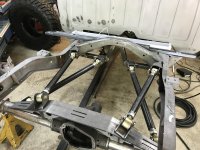
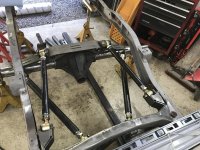
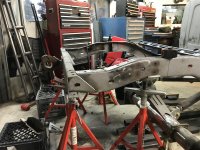
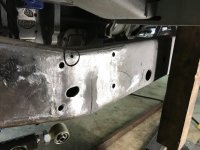
Working on the front upper links here. Two large “nutserts” are frenched into the frame and welded to the bracket. Custom made and tapped to 5/8-18 they have about 1” of thread engagement and allows the bracket to suck all the way up against the frame maximizing tire to link clearance
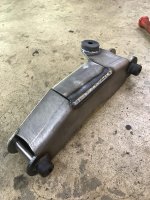
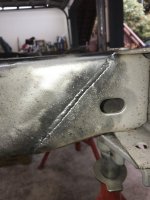
The link bracket also incorporates the front body mount seen here
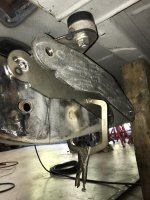
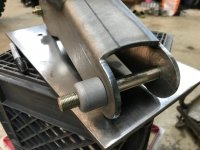
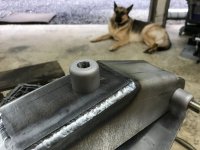


The link bracket also incorporates the front body mount seen here


wjtstudios
Hooked
68' M715 AKA "Smokey", 8.1 engine on links, coils and 40's
First off, Welcome to the forum!
This is unbelievable project, the design and skills it’s taken to create this build are insane!!
And great job Documenting everything, it’s awesome following along with the build.
Try not to reference other forums or platforms out of respect for Eddie and what he’s created here. If you can, delete that reference from you first post
Again, awesome project, keep the pictures coming!! Can’t wait to see what this beast can do in the trail
2015 JKUR AEV JK350
1985 CJ8 Scrambler
Rock40
Active Member
First off, Welcome to the forum!
This is unbelievable project, the design and skills it’s taken to create this build are insane!!
And great job Documenting everything, it’s awesome following along with the build.
Try not to reference other forums or platforms out of respect for Eddie and what he’s created here. If you can, delete that reference from you first post
Again, awesome project, keep the pictures coming!! Can’t wait to see what this beast can do in the trail
2015 JKUR AEV JK350
1985 CJ8 Scrambler
Done. Sorry about that, never even occurred to me. Thanks for checking out the build!
wjtstudios
Hooked
Done. Sorry about that, never even occurred to me. Thanks for checking out the build!
No worries, Glad you found us!
Keep the pictures and stories coming!
2015 JKUR AEV JK350
1985 CJ8 Scrambler
Rock40
Active Member
Welcome from just a little north of you! So much fun scrolling through the work. Amazing job. Cant wait to see more! :thumb:
Thanks! Yeah I grew up not far from Sudden Valley actually
Rock40
Active Member
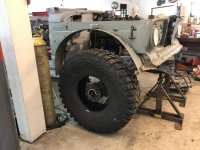
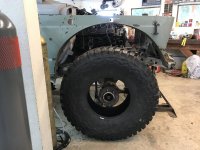
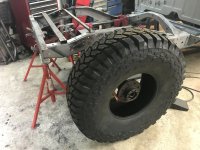
OK....Many thanks to TrailReady that loaned out this mockup wheel so I could really dial in the backspacing. It’s cracked clean through from racing KOH but it did the trick
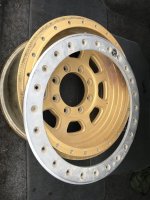
Definitely assisted with finding the right backspacing. But.... unfortunately it's going to require some serious changes to our original plan. We were planning on running the factory Dana Dually hubs to match the Dana 70HD but it won't work. For those that aren't super familiar with M715's, they are VERY wide from the factory so it's hard to match the factory axle width with an axle swap.
So, we're ditching the D60 dually hubs altogether and going with SRW hubs and wheels with 3.5" of backspacing. It'll allow full steering lock to lock and with 2" of suspension lift, essentially no sheet metal trimming to run the 40's. As an added benefit, this thing might actually fit down some NW wheeling trails.
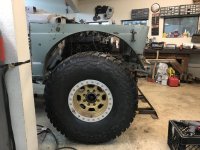
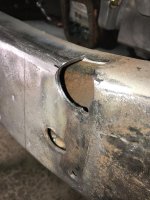
Wheels are on order so I moved on to trimming the rear frame down. In total, shortened it 22.25" as I wanted the truck to have extremely good breakover angles
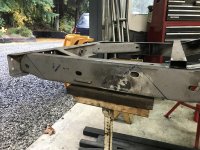
I do not love cutting frames but if you're going to do it, do it right and take your time
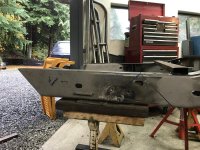
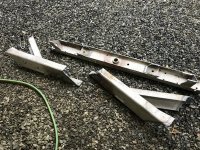

Definitely assisted with finding the right backspacing. But.... unfortunately it's going to require some serious changes to our original plan. We were planning on running the factory Dana Dually hubs to match the Dana 70HD but it won't work. For those that aren't super familiar with M715's, they are VERY wide from the factory so it's hard to match the factory axle width with an axle swap.
So, we're ditching the D60 dually hubs altogether and going with SRW hubs and wheels with 3.5" of backspacing. It'll allow full steering lock to lock and with 2" of suspension lift, essentially no sheet metal trimming to run the 40's. As an added benefit, this thing might actually fit down some NW wheeling trails.

Wheels are on order so I moved on to trimming the rear frame down. In total, shortened it 22.25" as I wanted the truck to have extremely good breakover angles

I do not love cutting frames but if you're going to do it, do it right and take your time


Last edited:
Rock40
Active Member
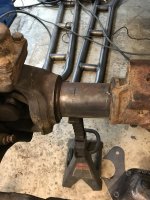
Maybe it’s just me but I had a heck of a time finding a GM 14B locally. I probably visited 4-5 different yards before finding this one from a 79' 2WD. Got it hub to hub, no warranty for $189 which is just fine with me since I really only want the housing anyway. When I told the nice junkyard man I was only after the housing he looked at me like I was nuts, oh well.
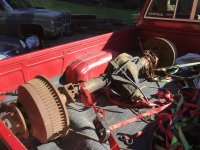
Tore it down fully, had 3.73 gears and was super clean inside. Brakes looked more or less fresh. Threw all that nonsense in the recycling pile
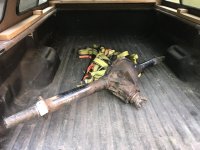
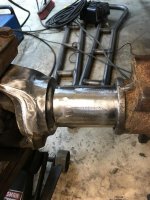
Back from the blaster and ready for some fab. I just can't stand working on dirty parts and for $75 in blasting? Well worth it
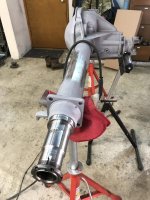

Tore it down fully, had 3.73 gears and was super clean inside. Brakes looked more or less fresh. Threw all that nonsense in the recycling pile

Back from the blaster and ready for some fab. I just can't stand working on dirty parts and for $75 in blasting? Well worth it

Rock40
Active Member
I’m beginning to square away interior bits also. This is a Vintage Air Magnum unit. Both heat and AC. It's gigantic and it JUST fit against the firewall. For those with "J" trucks, this unit will "probably" fit also and it's supposed to REALLY put out the head and AC
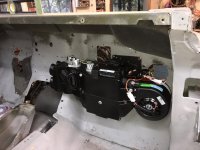
Tucked right above the passenger side footwell
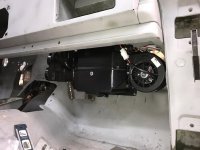
And just clears the firewall hump where the defrost and heat ducts exit the unit
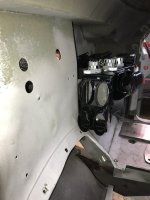

Tucked right above the passenger side footwell

And just clears the firewall hump where the defrost and heat ducts exit the unit

Rock40
Active Member
These are the Vintage Air vents. They fit quite well over the factory M715 vent ports but need to be custom mounted
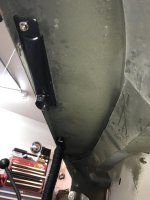
The goal on this build is to use nutserts or welded studs whenever possible. They make assembly/disassembly very easy since you don't need a backup wrench. These studs are TIG welded in place and I'll just sand this smooth prior to paint
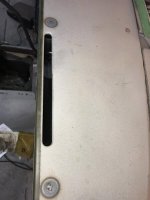

The goal on this build is to use nutserts or welded studs whenever possible. They make assembly/disassembly very easy since you don't need a backup wrench. These studs are TIG welded in place and I'll just sand this smooth prior to paint

Rock40
Active Member
Old factory dash/gauge cluster. And yeah, the miles are original
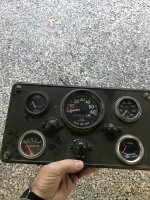
New and updated gauges

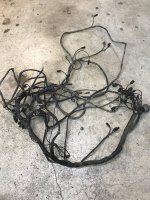
This is the factory M715 complete frame and engine harness. Overall, not terrible but not great shape either. I sorted it all out and separated the bits used just to control the large factory dimmer/military lights/headlight switch
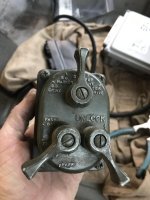
I want to retain this switch as there is a large hole in the dash already for it and it's totally original. It will control the headlights/taillights eventually

New and updated gauges

This is the factory M715 complete frame and engine harness. Overall, not terrible but not great shape either. I sorted it all out and separated the bits used just to control the large factory dimmer/military lights/headlight switch

I want to retain this switch as there is a large hole in the dash already for it and it's totally original. It will control the headlights/taillights eventually

Rock40
Active Member
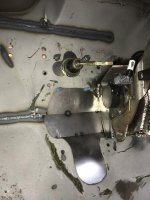
On to retrofitting the pedals. Fortunately the GM pedal that mates to the 8.1 is drive by wire since threading a throttle cable would be essentially impossible. The clutch and brake pedals are factory on the factory hangers. All three align quite well
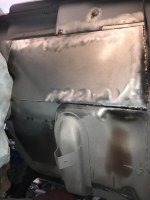
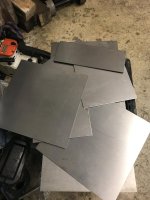
Before the pedals can be finalized, I needed to repair and reinforce essentially the entire driver side firewall. It's pockmocked with all kinds of holes and this is not the result of me I'm lucky that my next door neighbor owns a fabrication business and he supplied a small pile of 14g sheet metal for the firewall
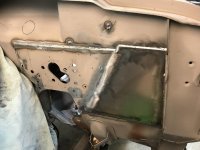
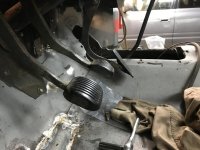
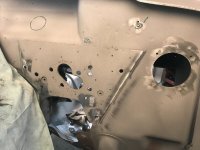
Here's the factory firewall, pretty much a mess. There's a 14g reinforcement plate already in place which I considered removing and decided against. Too much work and too many spot welds. The round hole is one of the factory fresh air inlets
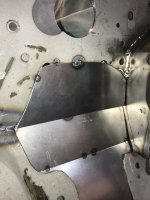
New 14g plate going in to level things out...
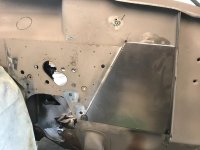
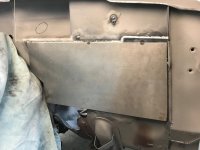
TIG'd in place. I used silicon bronze against the outermost edge, ER70S2 for everything else.
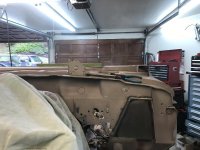

Before the pedals can be finalized, I needed to repair and reinforce essentially the entire driver side firewall. It's pockmocked with all kinds of holes and this is not the result of me

Here's the factory firewall, pretty much a mess. There's a 14g reinforcement plate already in place which I considered removing and decided against. Too much work and too many spot welds. The round hole is one of the factory fresh air inlets

New 14g plate going in to level things out...

TIG'd in place. I used silicon bronze against the outermost edge, ER70S2 for everything else.

Rock40
Active Member
Rock40
Active Member
Prepping to cut the hole for the new Wilwood clutch master cylinder. The truck was originally a goofy mechanical pushrod system for the clutch. At the very least, I triple checked this against where the clutch pedal was located before cutting the hole
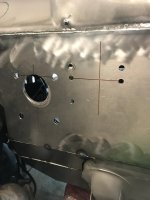
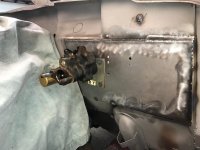
Done, the Wilwood until is super clean and simple. It has a 3/4" bore
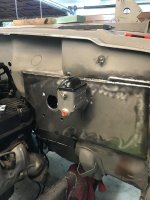
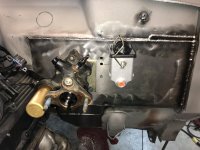
In conjunction with the Hydroboost and there's quite a bit of room to the right of the clutch master cylinder to mount other stuff
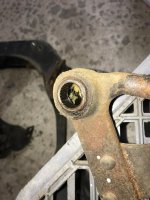
Moved on to making some required changes to the pedals since this obviously was never equipped with hydroboost or a hydraulic clutch. To my surprise, I found that the clutch pedal actually pivots on needle bearings. Fancy. What you're seeing here is completely solidified grease circa Vietnam War
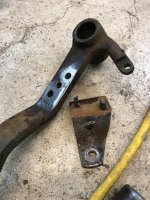
Clutch pedal. The bracket was for the original rod linkage. I drilled it out and popped it off. I added the 3rd hole in the middle, that's right where the Wilwood master cylinder rod wants to go. Drilled 5/16" and I'll make a custom clevis for it

Done, the Wilwood until is super clean and simple. It has a 3/4" bore

In conjunction with the Hydroboost and there's quite a bit of room to the right of the clutch master cylinder to mount other stuff

Moved on to making some required changes to the pedals since this obviously was never equipped with hydroboost or a hydraulic clutch. To my surprise, I found that the clutch pedal actually pivots on needle bearings. Fancy. What you're seeing here is completely solidified grease circa Vietnam War

Clutch pedal. The bracket was for the original rod linkage. I drilled it out and popped it off. I added the 3rd hole in the middle, that's right where the Wilwood master cylinder rod wants to go. Drilled 5/16" and I'll make a custom clevis for it


