You are using an out of date browser. It may not display this or other websites correctly.
You should upgrade or use an alternative browser.
You should upgrade or use an alternative browser.
68' M715 AKA "Smokey", 8.1 engine on links, coils and 40's
- Thread starter Rock40
- Start date
Rock40
Active Member
Looks like a fun project... Good work
Thanks! :thumb:
Rock40
Active Member
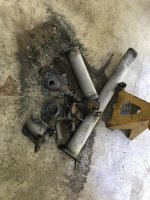
Finally finished cleaning the frame of any unnecessary brackets, crossbars or mounts. What a mess
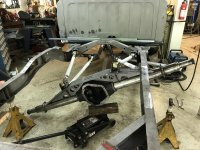
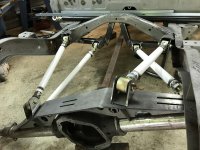
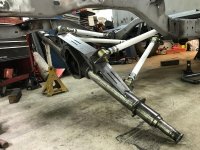
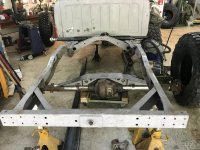
I also slung the Dana 70HD under the rear along with an Artec truss. The truss is for a Dana 60 but with a little trimming it fits great. This axle ultimately ended up being TOO WIDE for the wheels we went with but it'd be a great match for someone wanting to run H1 wheels. I have everything complete hub to hub, 4.56 gears if anyone is interested
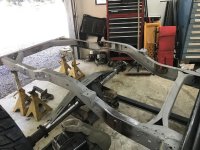

I also slung the Dana 70HD under the rear along with an Artec truss. The truss is for a Dana 60 but with a little trimming it fits great. This axle ultimately ended up being TOO WIDE for the wheels we went with but it'd be a great match for someone wanting to run H1 wheels. I have everything complete hub to hub, 4.56 gears if anyone is interested


Rock40
Active Member
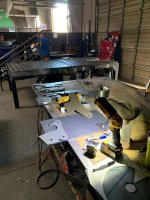
Here is the crossmember which I fabbed for the ORD Magnum. The 3/8" drilled plate comes with the Magnum, I indexed it into 1/4" wall, 2" square tubing to make it ultra strong. Poly bushings and frame plates for easy isolation and mounting.
One of my personal goals for this build was to learn TIG welding. Slow process but I'm catching on and the results are SO MUCH cleaner and nice to work with compared to MIG
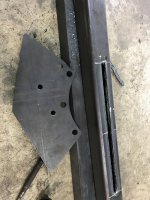
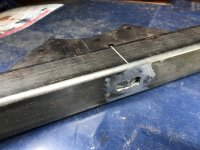
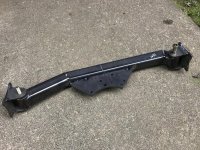
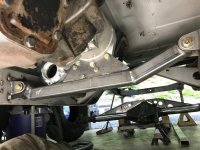
One of my personal goals for this build was to learn TIG welding. Slow process but I'm catching on and the results are SO MUCH cleaner and nice to work with compared to MIG


Rock40
Active Member
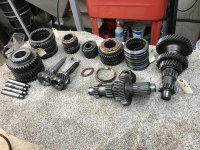
Went ahead and rebuilt/assembled an SM465 for this. Used the best internals from 4 different SM465's and also added the short output shaft from ORD.
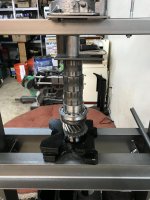
Pressing on a bearing
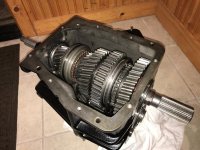
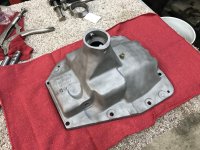
I fully tore down and replaced all the wear parts in the top shifter cover also. Media blasted it and tapped NPT threads into the stock breather location in order to run a better breather system

Pressing on a bearing


I fully tore down and replaced all the wear parts in the top shifter cover also. Media blasted it and tapped NPT threads into the stock breather location in order to run a better breather system

Rock40
Active Member
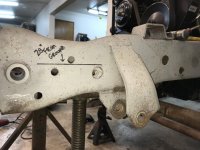
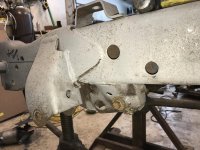
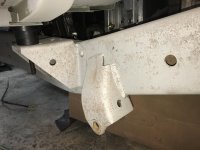
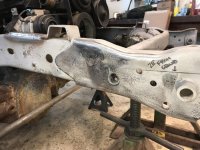
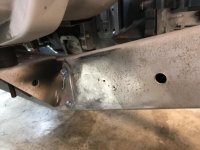
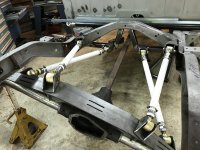
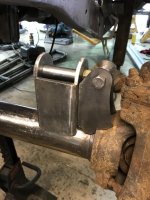
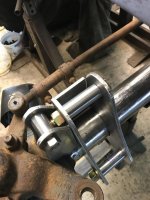
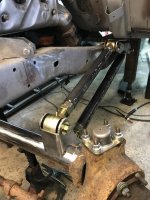
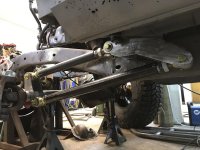
The entire rear factory crossmember right behind the cab needed to be fully gusseted and strengthened in order to handle the stress of the rear links. Slowly did a lot of boxing and welding on this before test fitting the link brackets from Barnes4WD
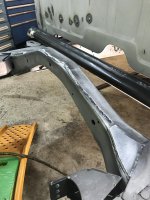
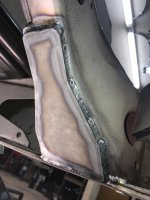
Adding the 2" square tubing for the link brackets. This will be fully boxed/gusseted with the frame later on.
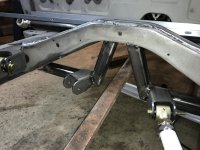
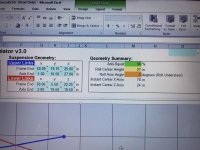
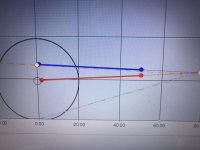
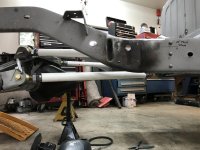
Using PVC tubing to lay out where the links will go. Very flat with nothing hanging down below the frame or axle centerline :thumb:
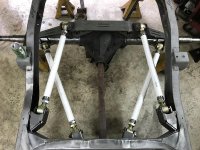


Adding the 2" square tubing for the link brackets. This will be fully boxed/gusseted with the frame later on.

Using PVC tubing to lay out where the links will go. Very flat with nothing hanging down below the frame or axle centerline :thumb:


DirtHeadDavis
Hooked
This is gonna be a beast! Nice work so far my friend!
Rock40
Active Member
This is gonna be a beast! Nice work so far my friend!
Thanks gents, more to follow...
Sent from my iPhone using WAYALIFE mobile app
Elroy231
Active Member
Sic build!!! I'll be tuned in to see where this goes. Looks awesome!
Sent from my SM-G965U using WAYALIFE mobile app
Sent from my SM-G965U using WAYALIFE mobile app
Speedy_RCW
Hooked
Very cool. That’s a pretty original build. Were you already up in AK or went up there just to get this truck?
Sent from my iPhone using WAYALIFE
Sent from my iPhone using WAYALIFE
Rock40
Active Member
Very cool. That’s a pretty original build. Were you already up in AK or went up there just to get this truck?
Sent from my iPhone using WAYALIFE
Thanks for the kind words everyone. My buddy Mark located the truck up in AK while stationed there in the military. I went up and retrieved it for the long flat tow back (I think about 2,500 miles) and then the build began. Mark is doing the heavy work of financing this and I'm the manual labor
Not that it matters but this got starting before Jeep unveiled the M715 concept truck before the release of the JT awhile back. We both looked at the concept and how similar it was to our current plan, so much for surprises.

