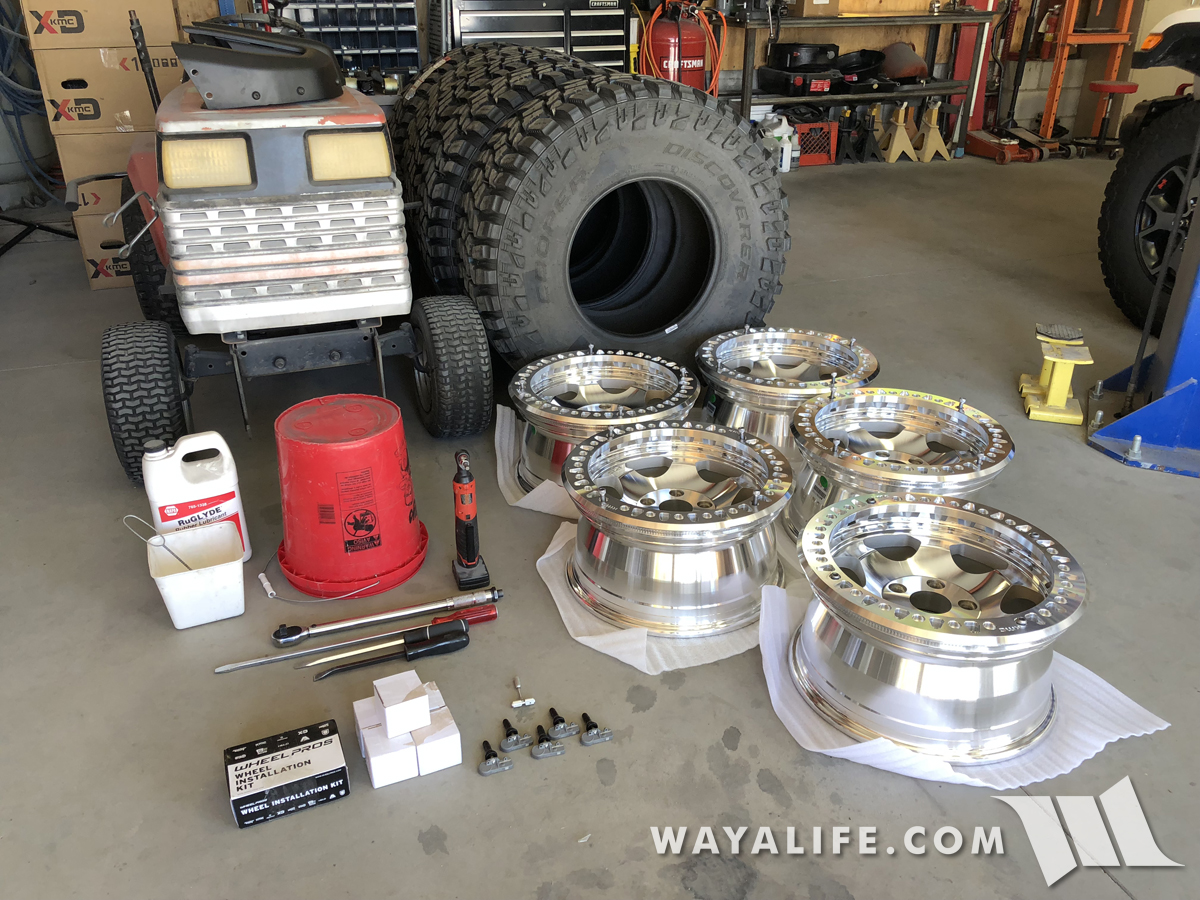
Cindy and I have been really happy with the Cooper STT Pros that we've been running on Moby and Rubicat for a while now and so it should be no surprised that we really wanted to run them on JET Li, our brand new 2018 Jeep JL Wrangler Rubicon Unlimited as well. Needless to say, we picked up a set in a 37x13.50 but the real question we needed to answer was what wheel to run them on. As luck would have it, KMC just came out with their all new XD231, Robby Gordon bead lock wheel and soon after we first saw them, we knew right away that they were going to be the wheels for us. Fortunately, they are available in a 17x8.5, come in a 5x5 bolt pattern and even have mounting holes big enough to fit the 14mm studs that now come on the JL. For our purposes, we were also happy to see that they came in a machined finish and have a nice, 4.75” of back spacing. In the following video and write-up below, you'll get to see what you'll need to do to get them installed.
What you will need
• (5) KMC XD231 RG RACE Beadlock Wheels
• (20) 14mm Lug Nuts
• (5) TPMS Sensors
• Valve Stem Install Tool
• 8mm Allen Bit
• Ratchet
• Torque Wrench
• Deadblow Hammer
• (2) Large Flathead Screwdrivers
• Ruglyde or Simple Green
• Air Compressor or Pump
• Pressure Gauge
• 5 Gallon Bucket
• (3) 24" Bar Clamps
• (3) Pieces of 2x4
Instructions
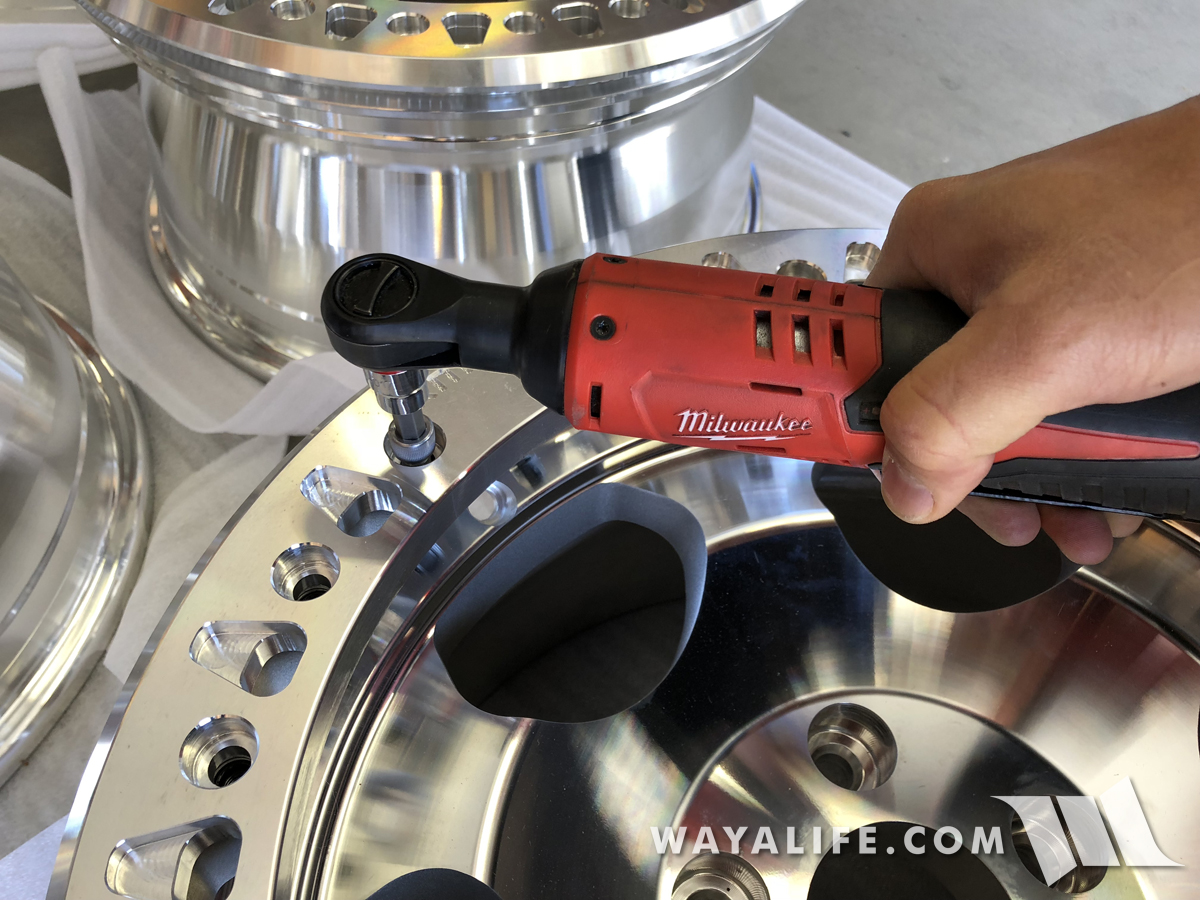
1. Using an 8mm allen bit, remove the 4 bolts securing the beadlock ring to the KMC XD231 wheel.
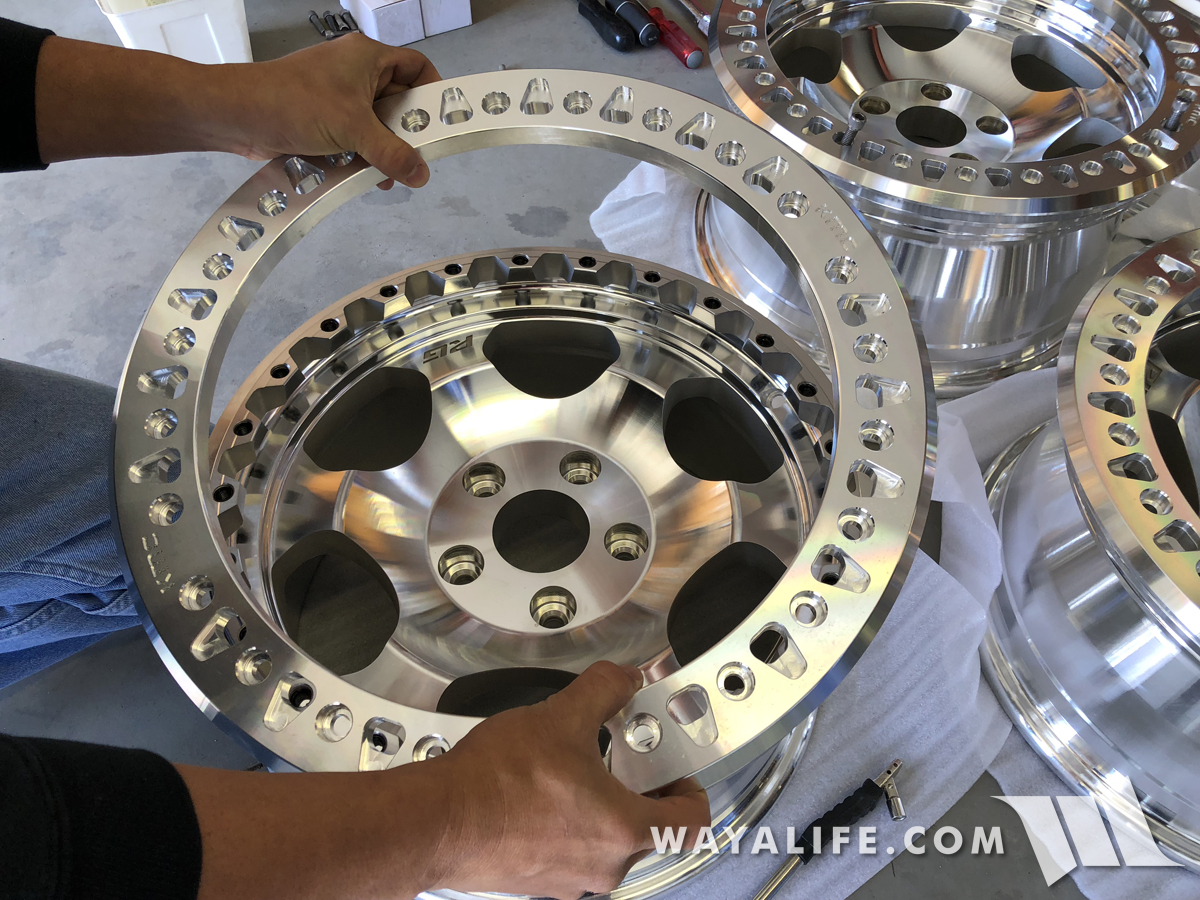
2. Remove the beadlock ring and carefully set it aside.
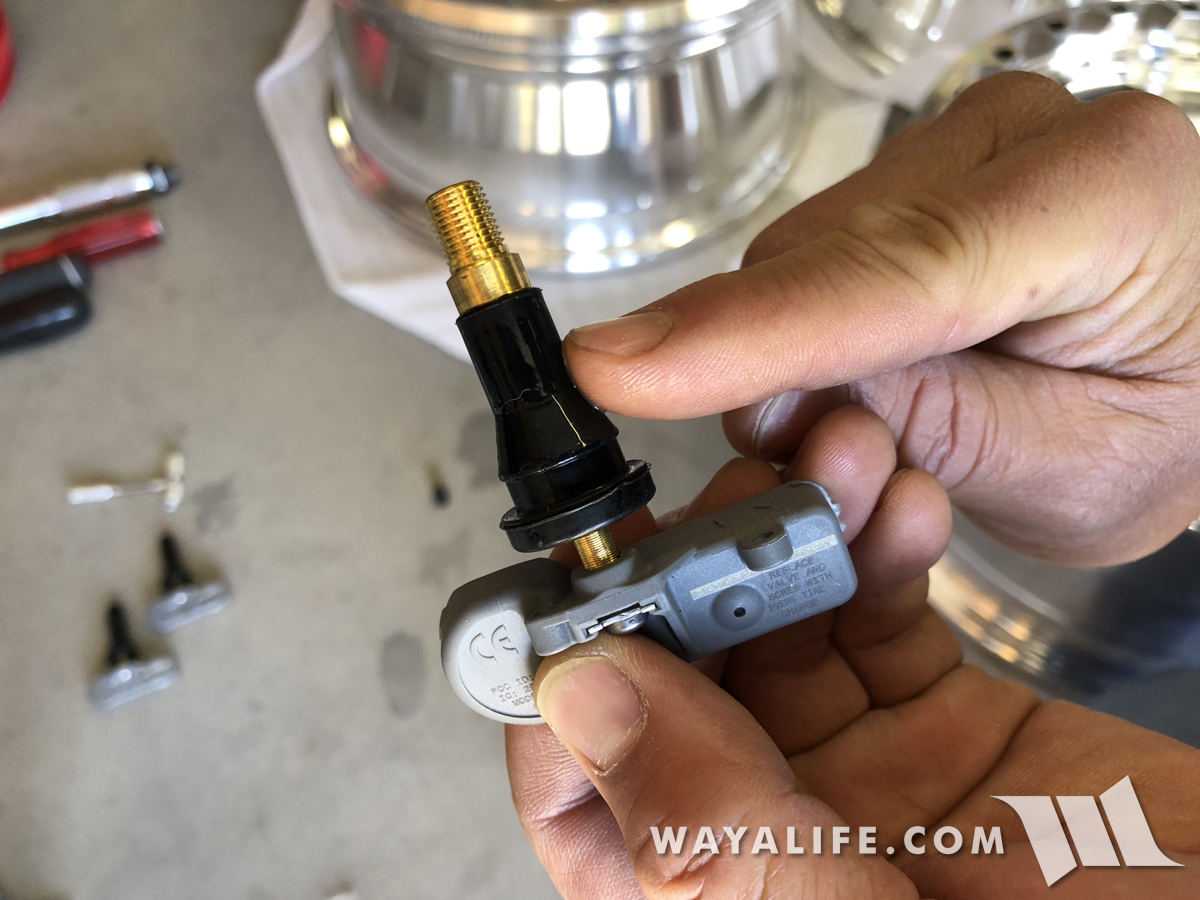
3. Take one of your TPMS sensors or valve stems, remove the cap and then apply a bit of Ruglyde or soapy water to the tapered end of it as shown.
4. Slip the valve stem through the valve stem hole on your wheel and then thread your valve stem install tool onto it.
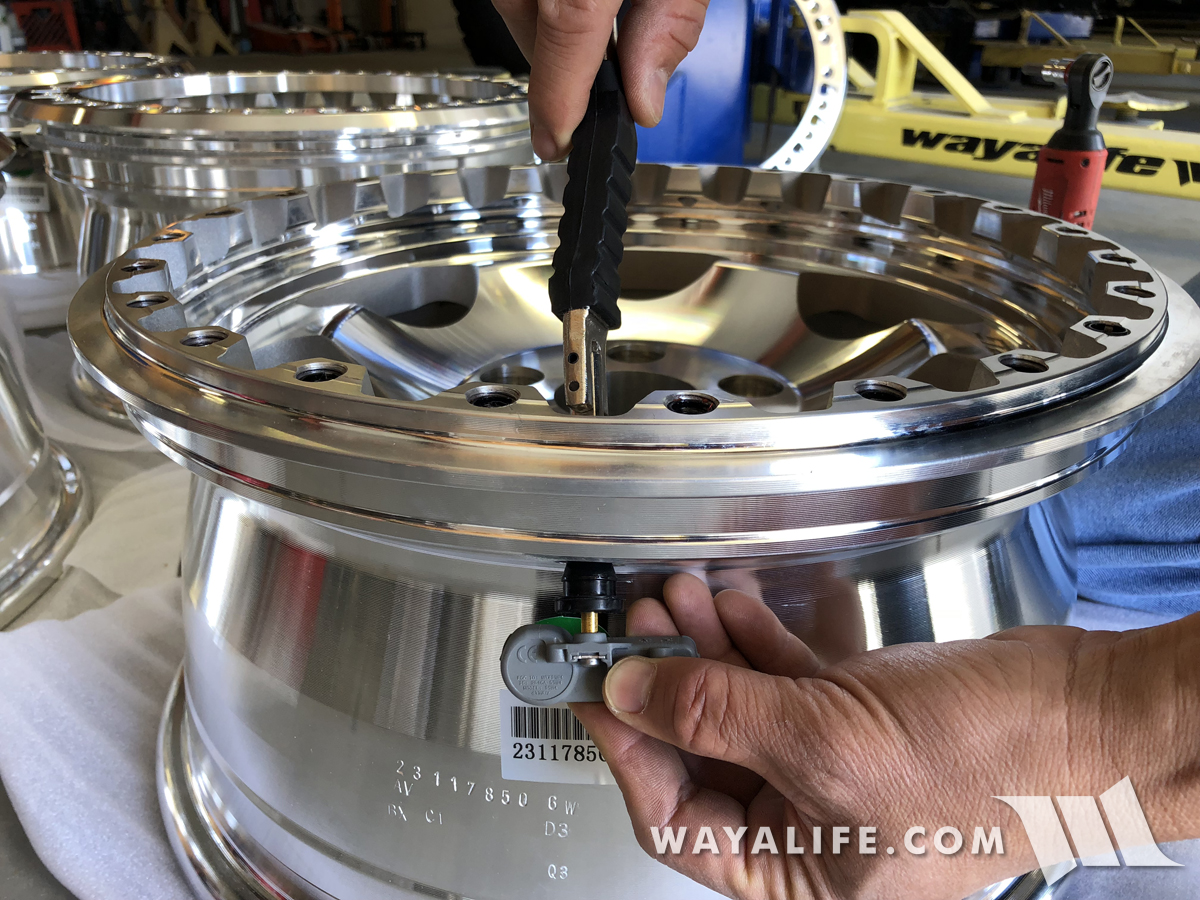
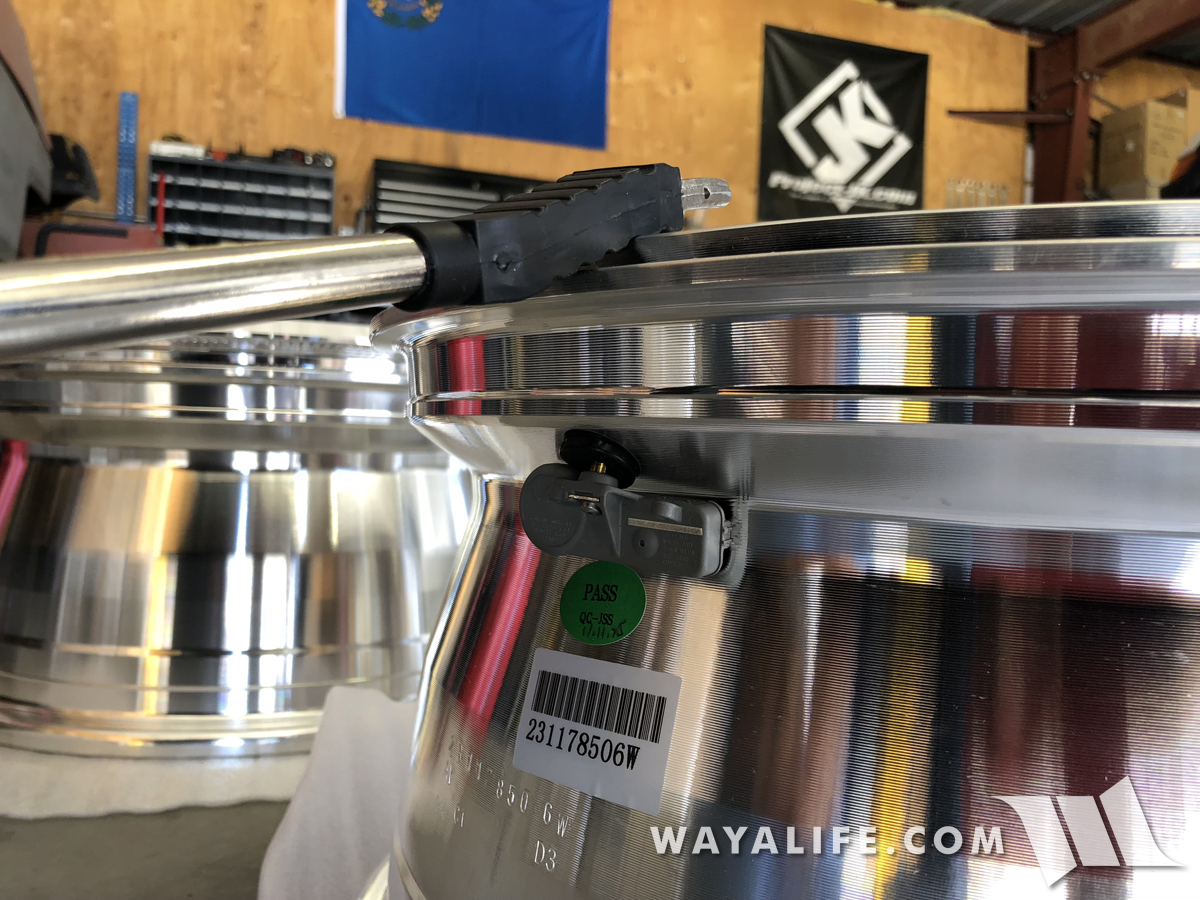
5. Slowly and carefully pull the valve stem through the hole until fully seated by leveraging the install tool on the edge of your wheel as shown.
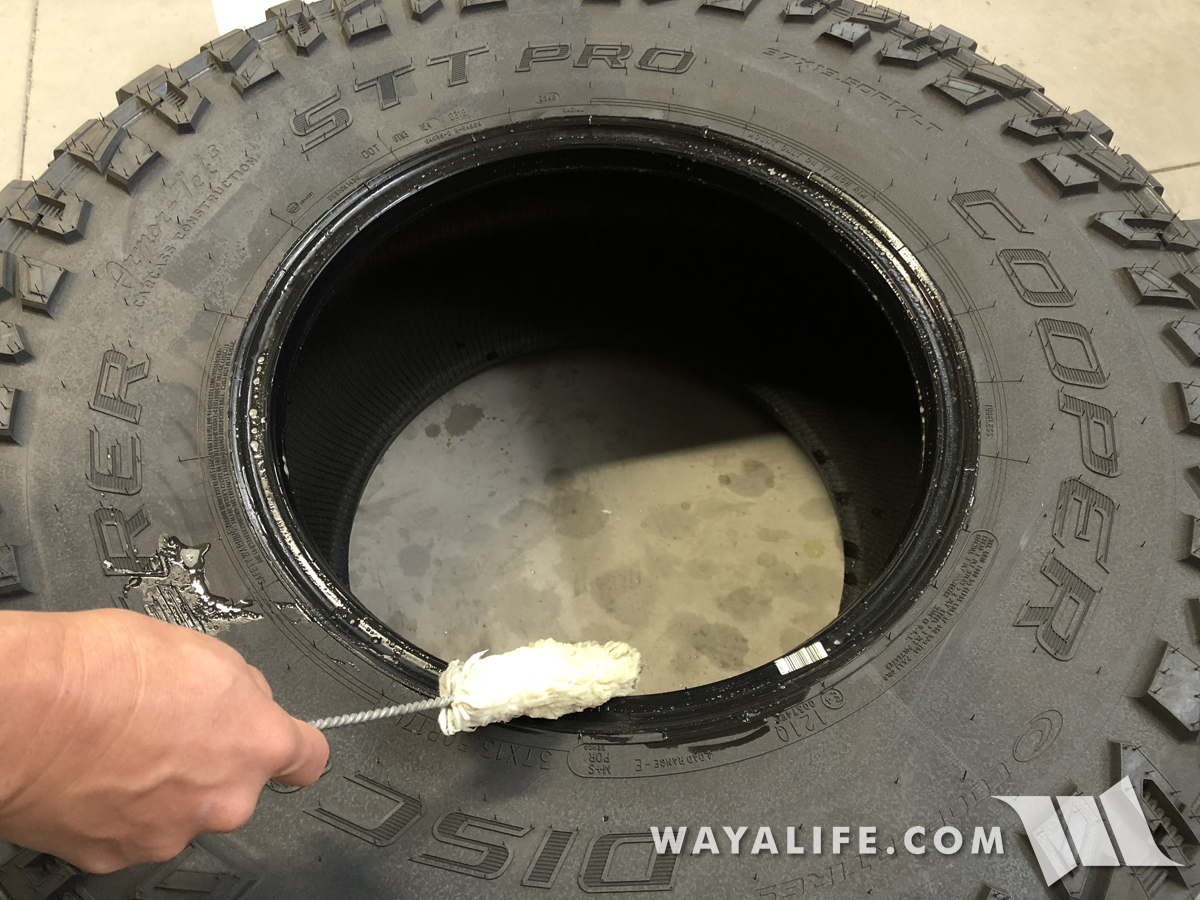
6. Lay your tire flat on the ground and then apply some Ruglyde, Simple Green or soapy water to the bead.
7. Push the mounting face of your wheel into the opening of the tire and until the center of the wheel is pressing up against the the tire bead. If necessary, kick the side of the wheel to help jam it in.
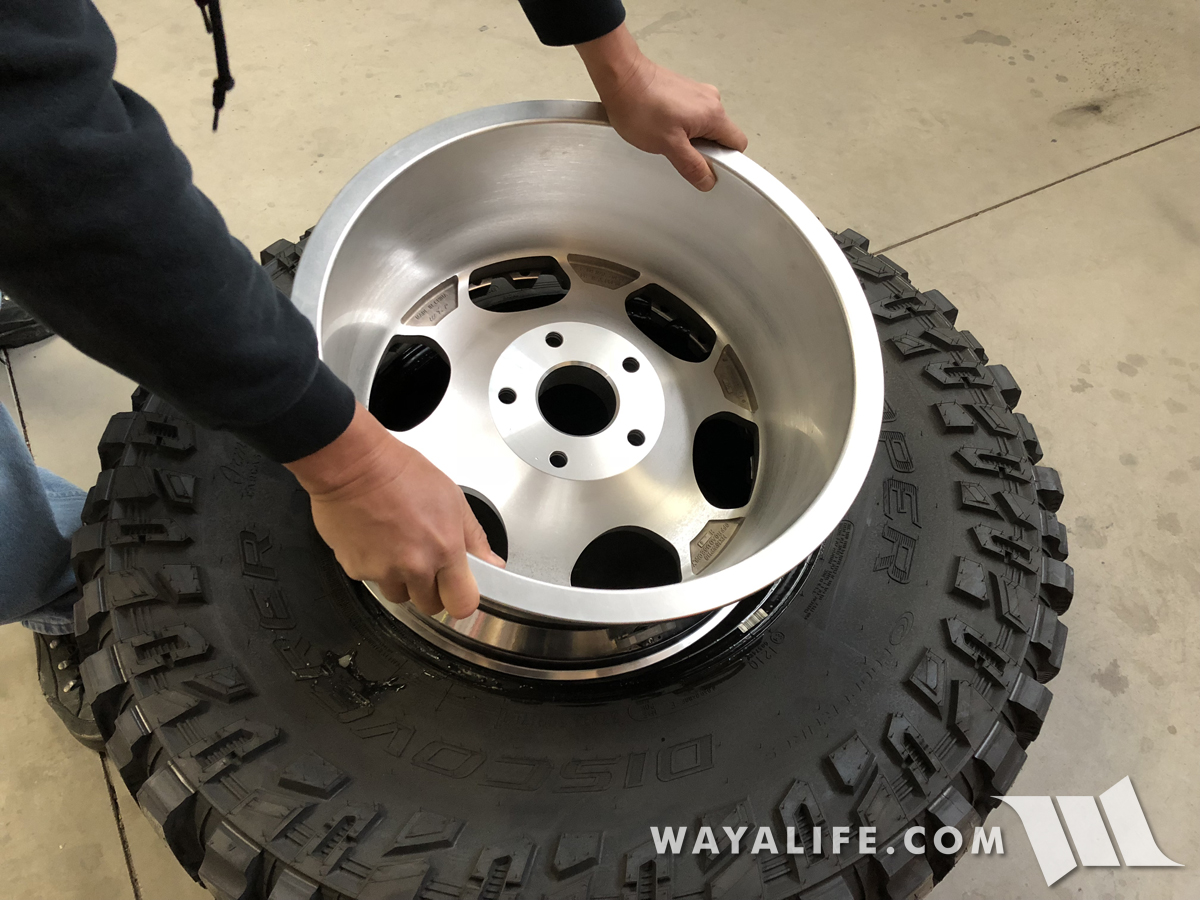
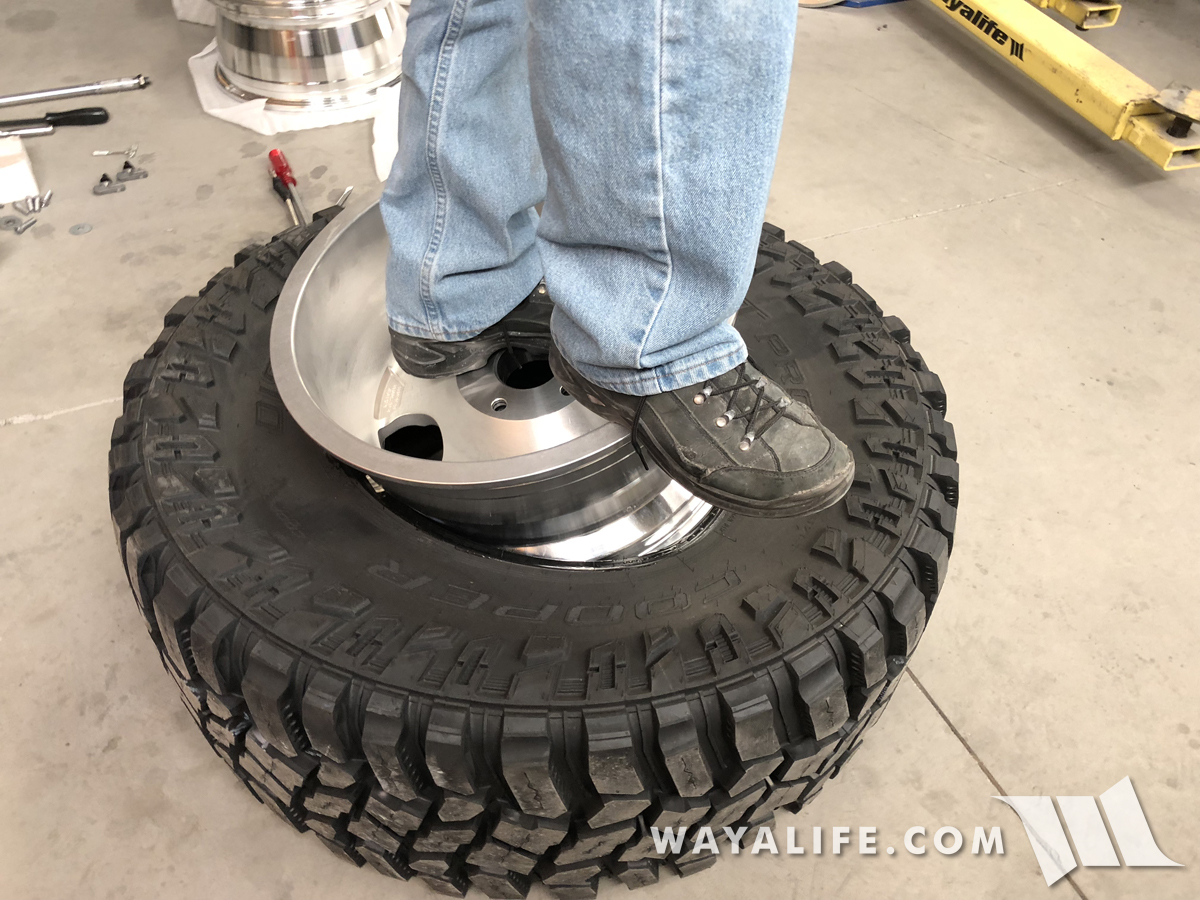
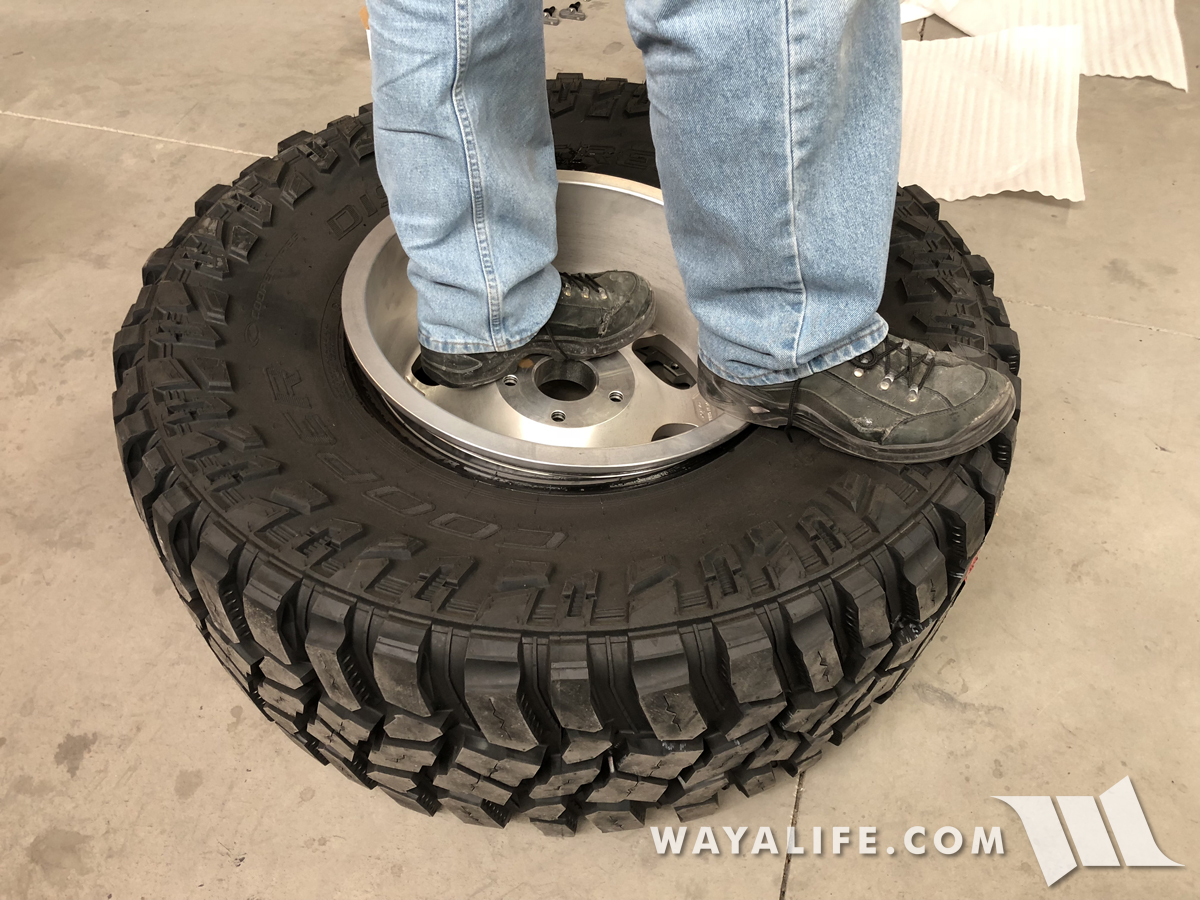
8. Stand in the center of your wheel and then stomp on the edge of it with the heal of your foot and continue doing so until the entire wheel drops into the opening.
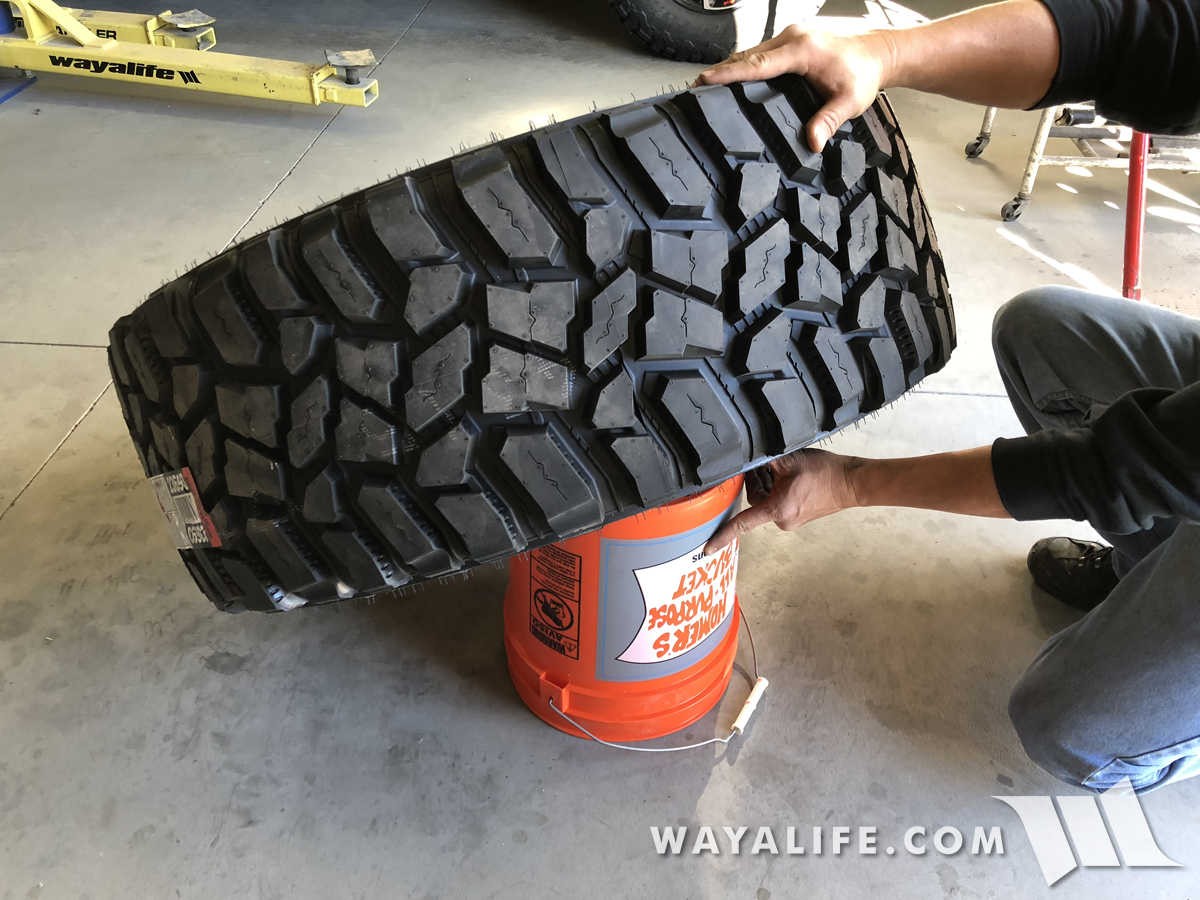
9. Place your partially installed wheel and tire on top of a 5 gallon bucket as shown so that your tire is suspended in the air. Using gravity will help make it easier to set your bead onto the mounting face of the wheel.
If you are installing your KMC XD231 beadlock wheels on tires other than a Cooper STT Pros in a 37x13.50, scroll past the special installation notes and proceed to Step #10.
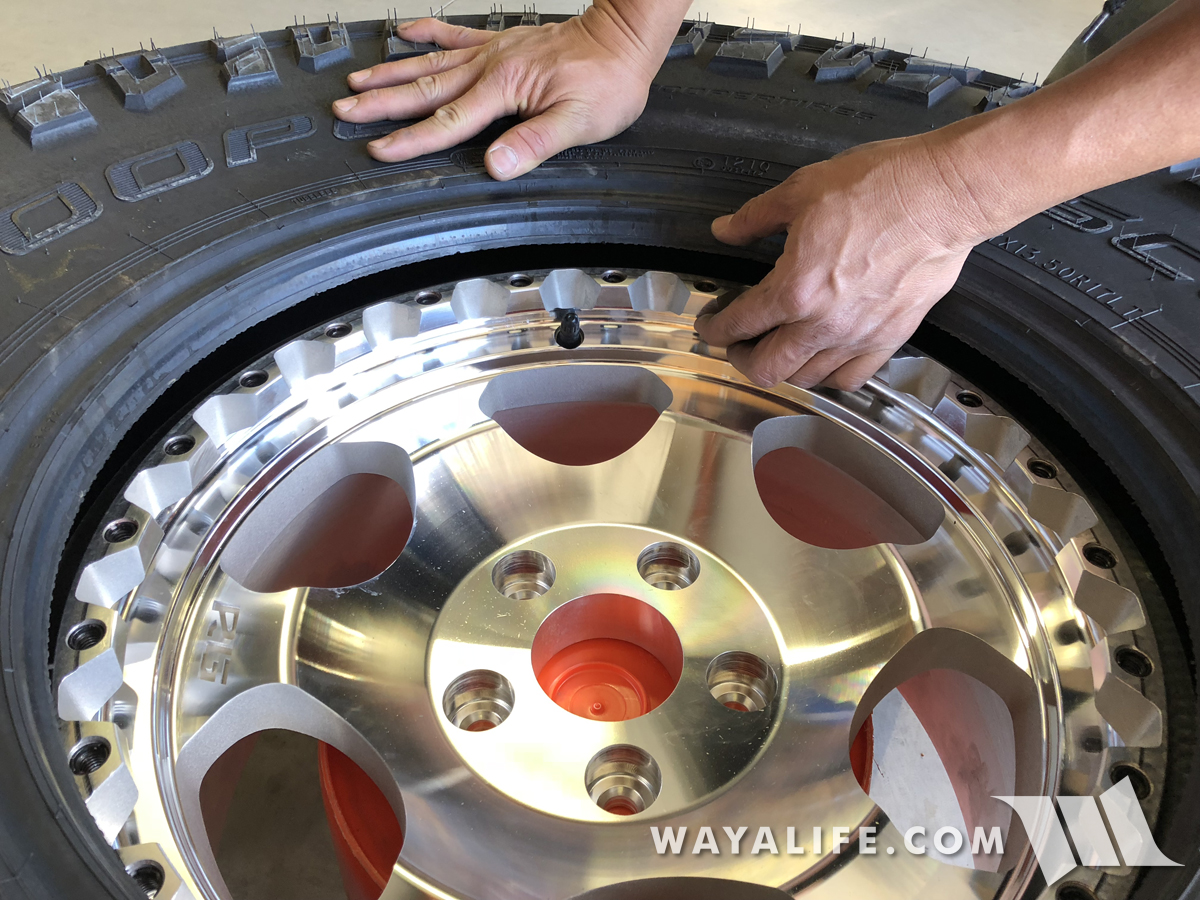
SPECIAL COOPER STT PRO 37X13.50 INSTALLATION NOTES: As you can see in the photo below, the 1" extra width of the 13.50 wide tire will prevent the outer bead from making contact with the mounting surface of the KMC XD231 beadlock wheel and this will prevent you from installing your beadlock ring.
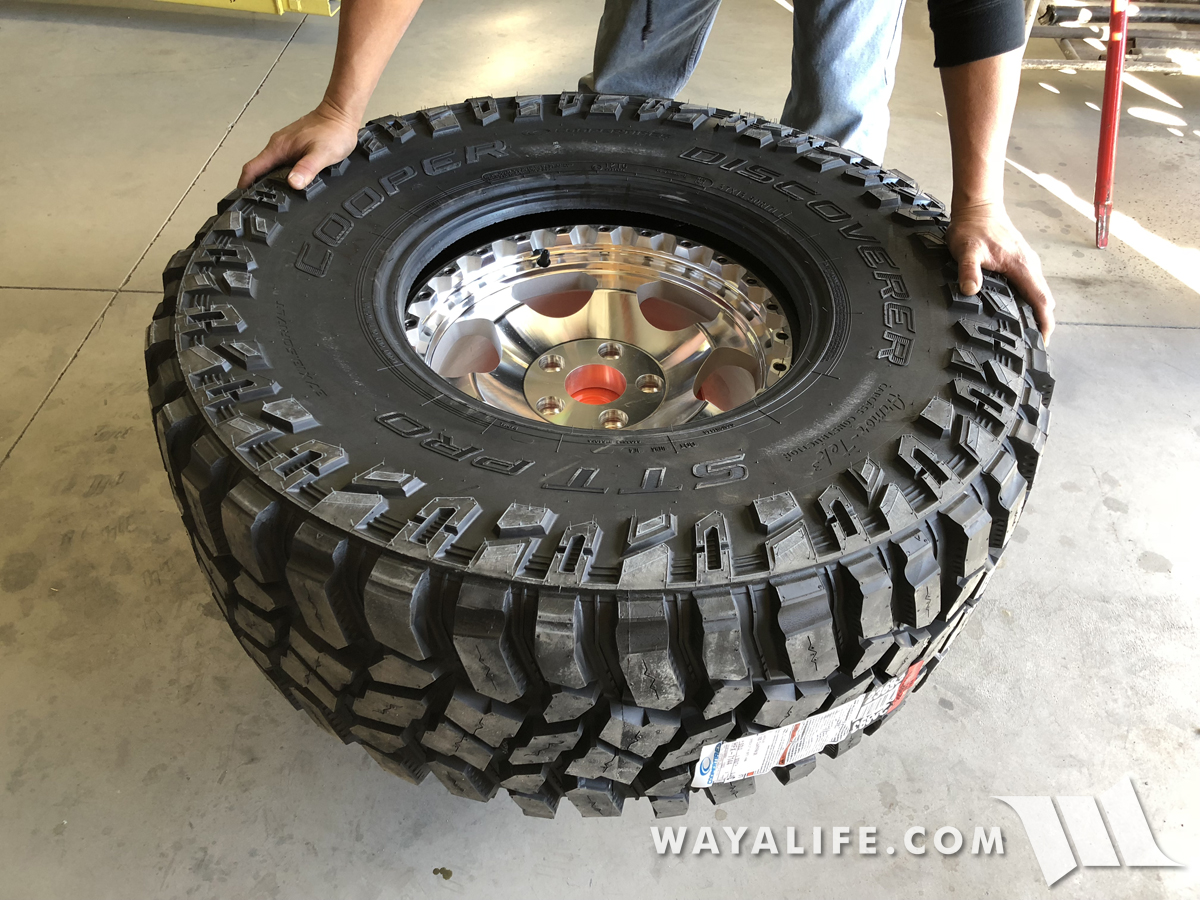
Here you can see that the distance between the tire bead and the wheel is about 3/4".
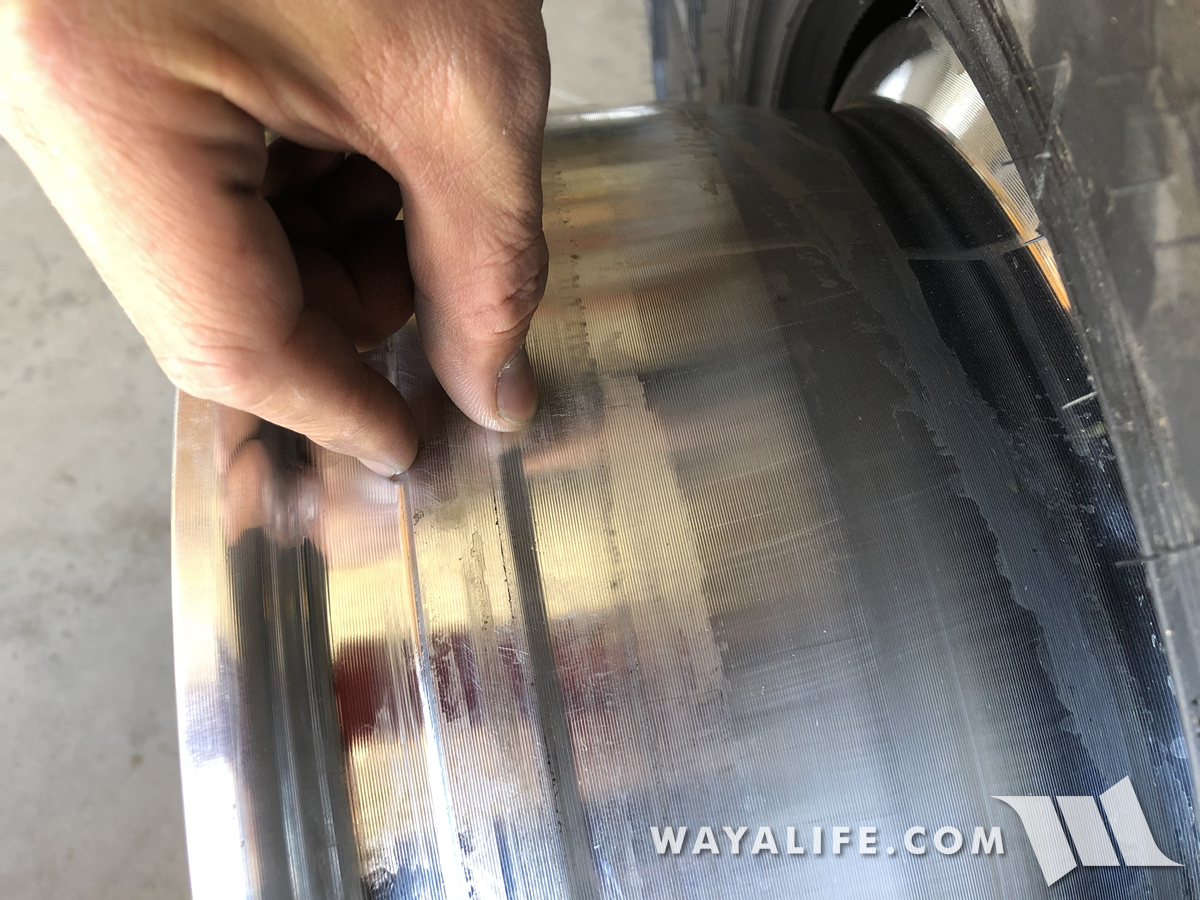
In addition to the extra inch the tire has, the KMC XD231 is only an 8.5" wide wheel and that's about a half inch narrower than something like a Chamber Pro II. However, there is one other factor that creates this gap and it's the inner safety hump. As you can see in this photo, the KMC XD231 has an inner safety hump that's about 1" wide.
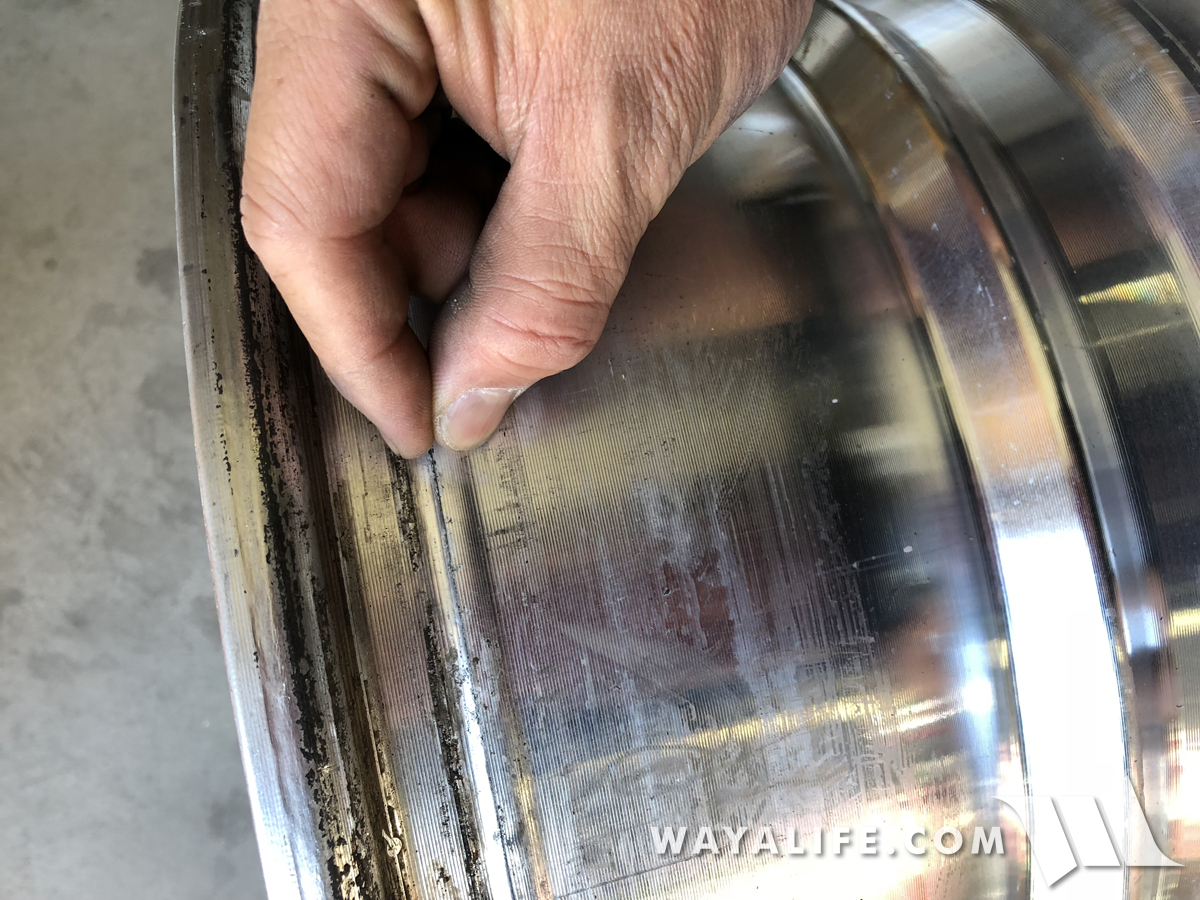
On something like a Chamber Pro II, the inner safety hump is only about 1/4" or so wide. This alone would allow the tire bead to make contact with the mounting surface of the wheel.
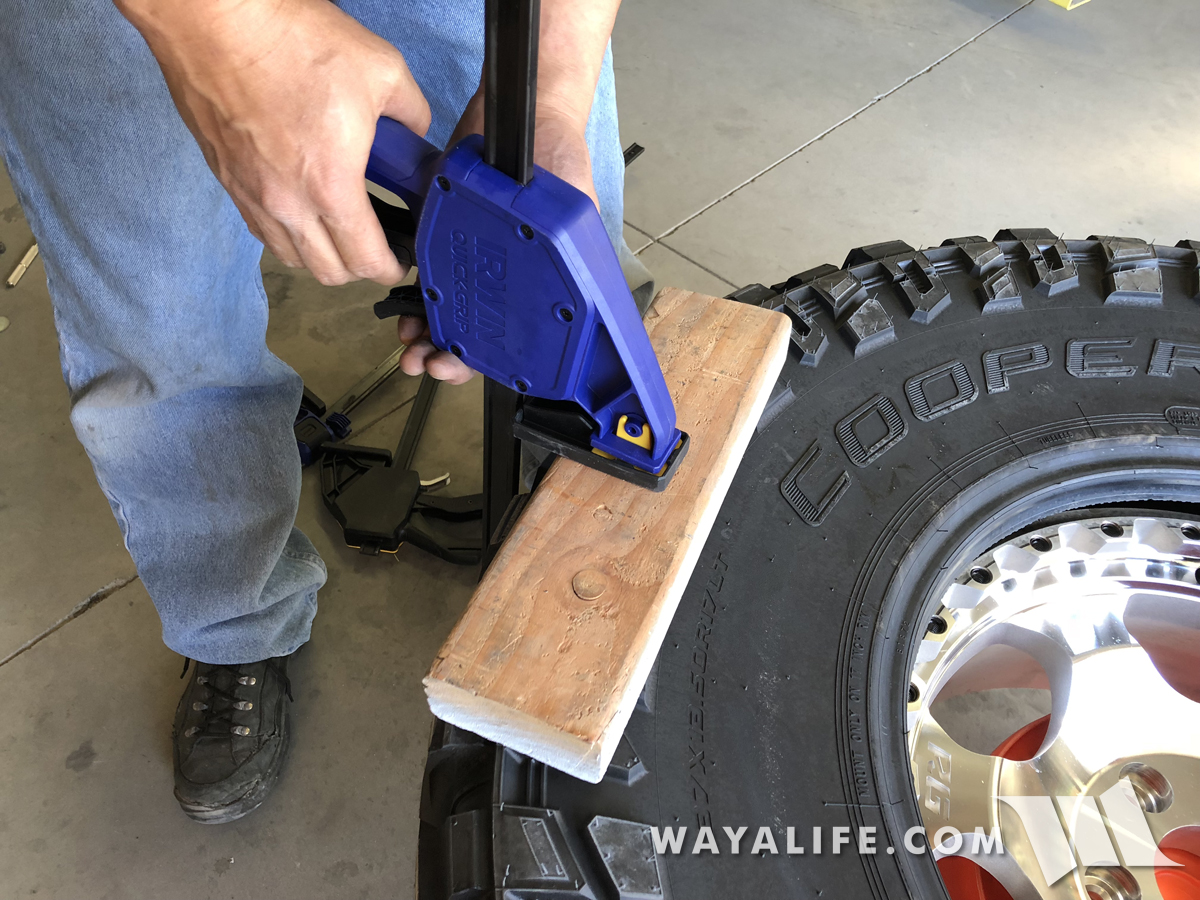
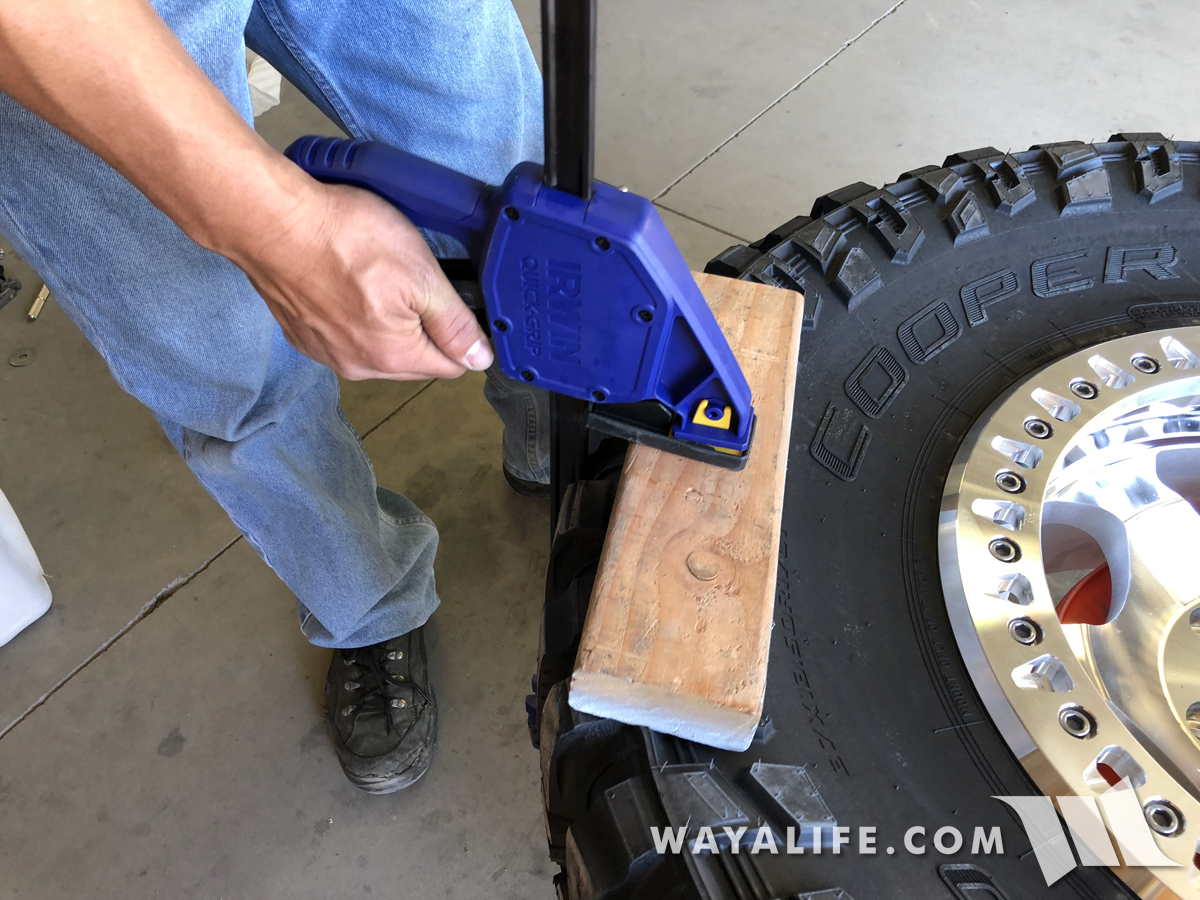
To close the gap between the tire bead and mounting surface of our KMC XD231 wheel, I used (3) 24" bar clamps and pieces of 2x4 to help squeeze things in.
This is how things should look like when all is said and done.
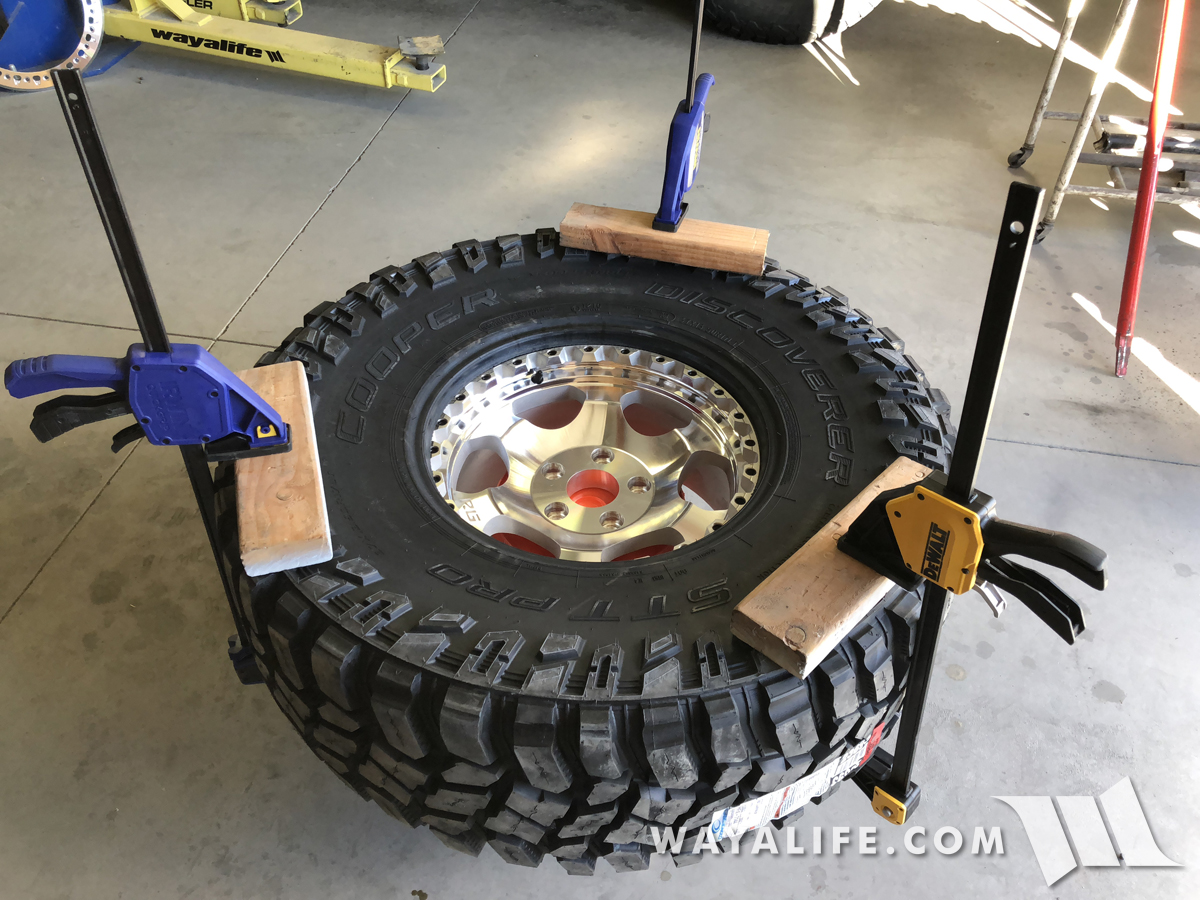
As you can see, the tire bead is now pressing on the edge of the wheel and ready to be worked in.
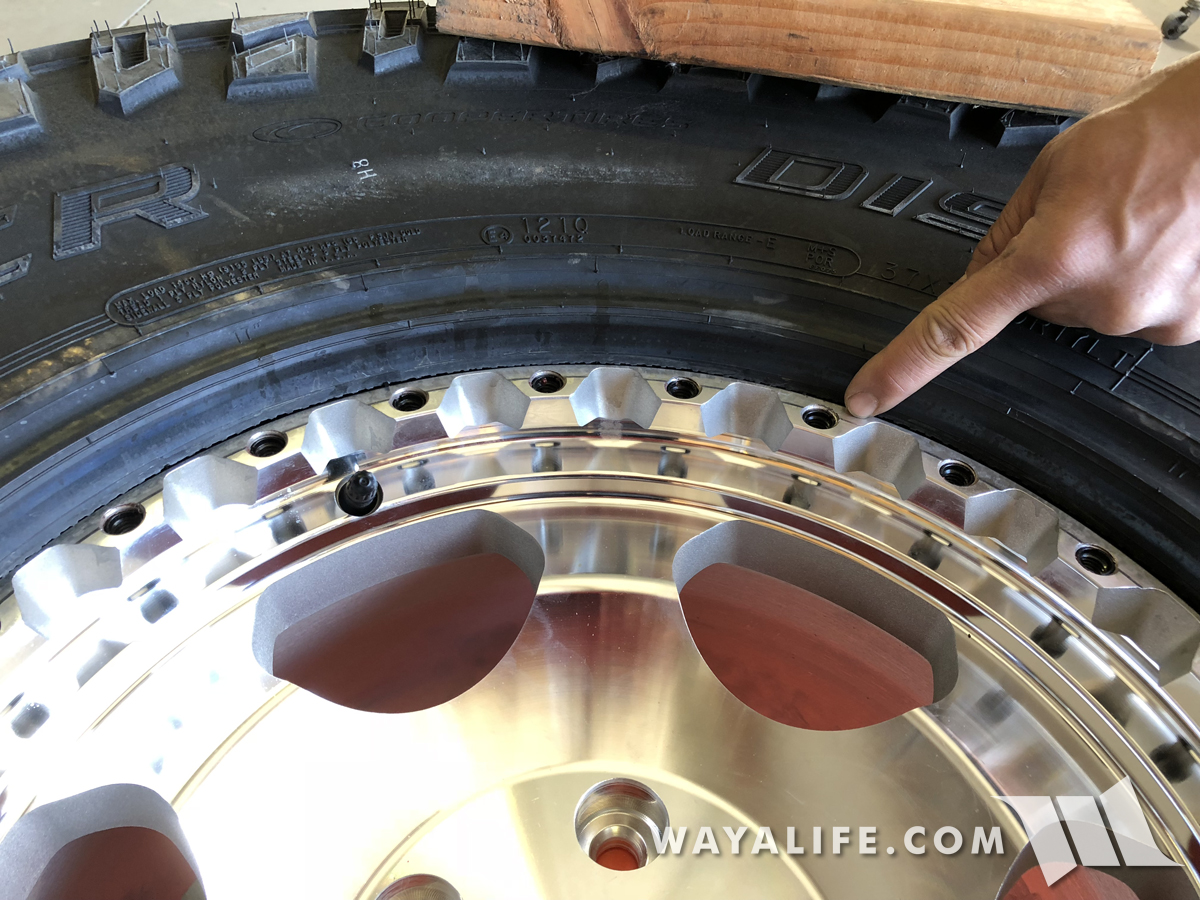
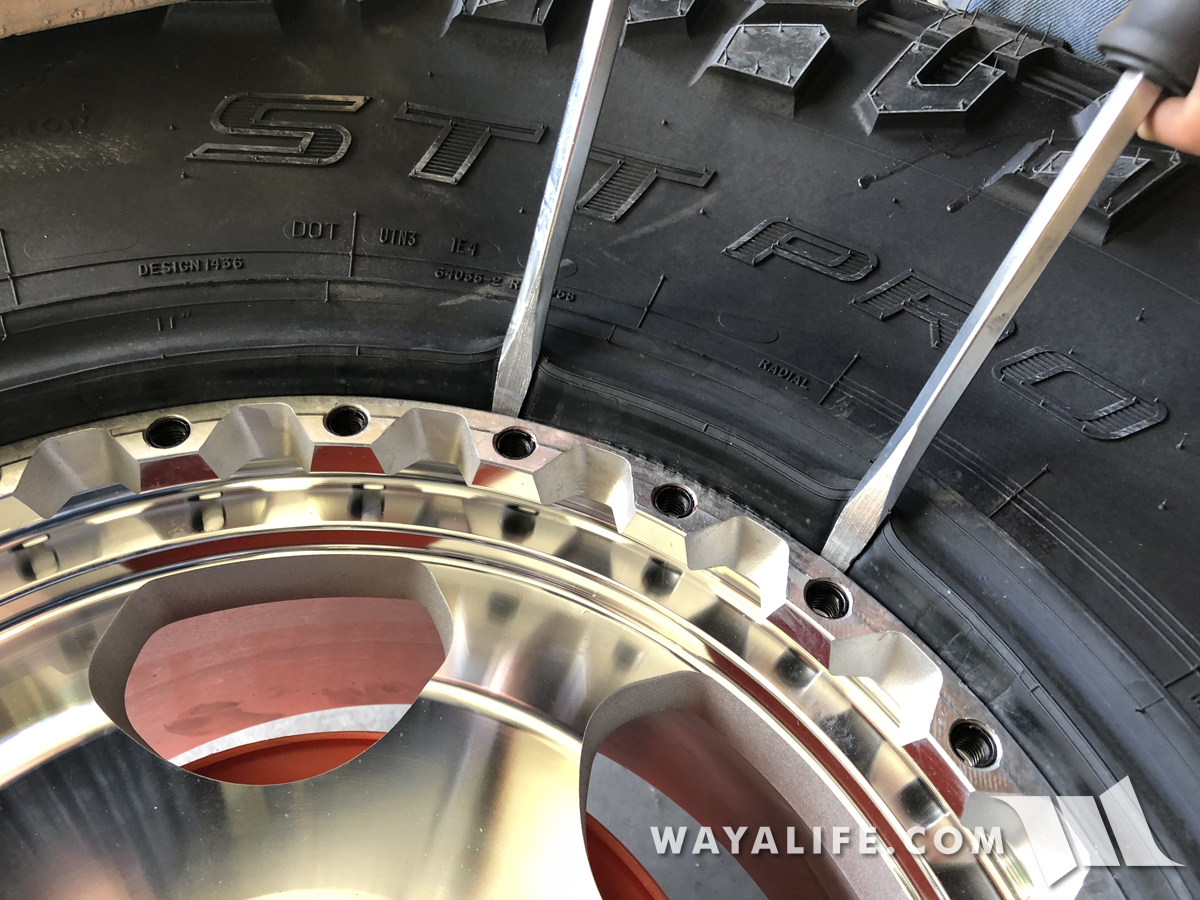
10. Using 2 large flathead screwdrivers, slowly work the bead of your tire into the mounting lip of the beadlock wheel as shown.
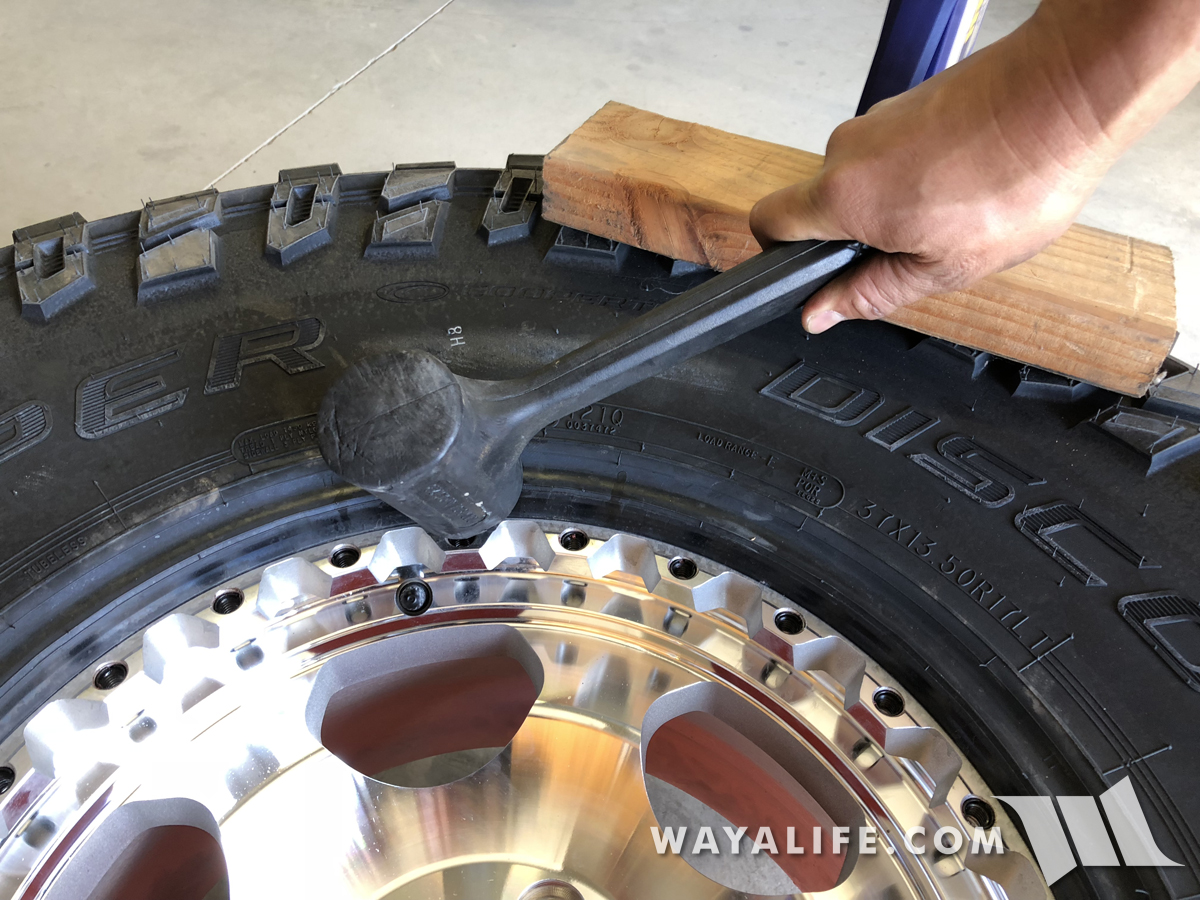
11. Once the bead is completely seated inside the mounting lip of your beadlock wheel, strike the edge of the tire bead with a dead blow hammer to help ensure it's completely seated.
12. Place your KMC XD231 beadlock ring on top of the mounting surface of the wheel and position it so that the mounting holes are aligned.
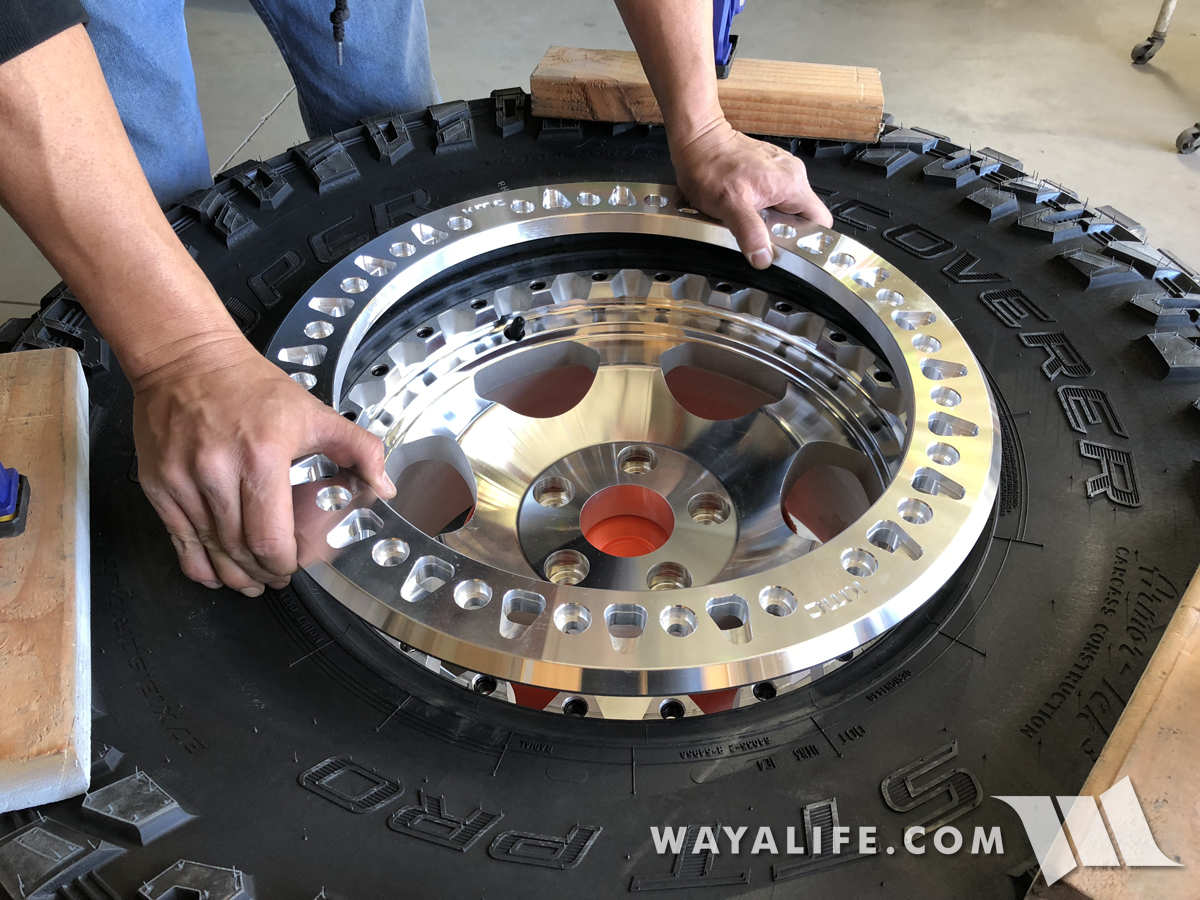
13. Install the 4 bolts opposite each other and in a 12, 3, 6 and 9 o'clock orientation.
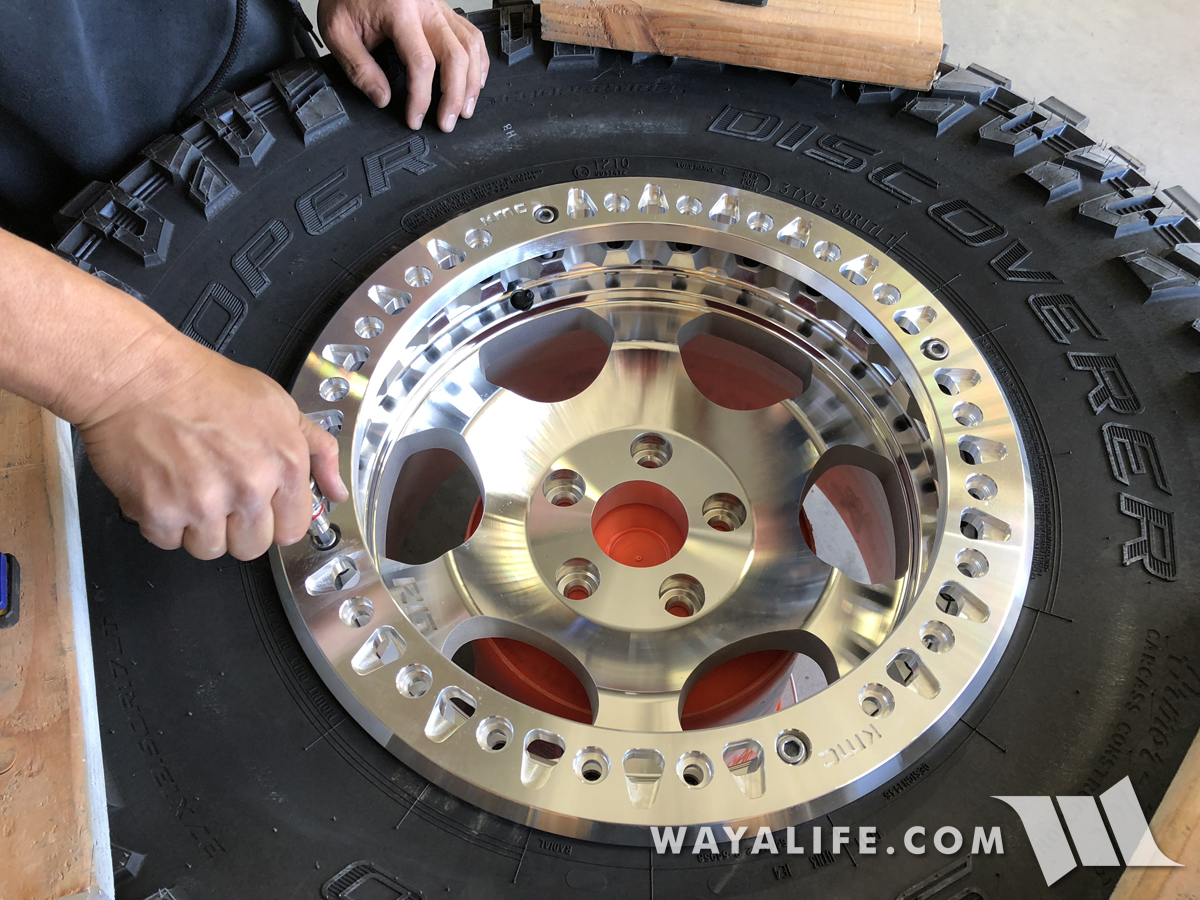
14. Using an 8mm allen bit, slowly tighten the 4 bolts in a crisscross pattern until they're sung.
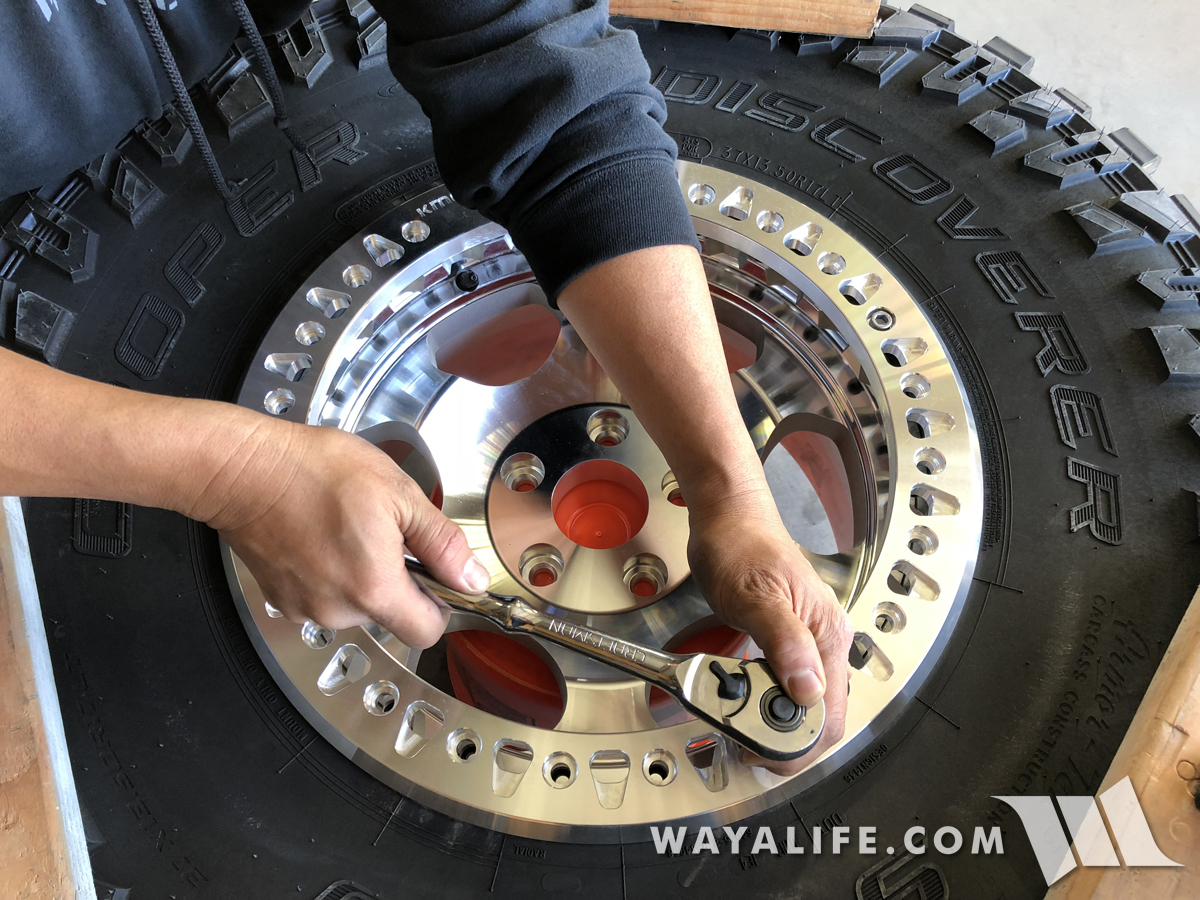
15. Thread in an additional 4 bolts spaced in between the 4 that are already installed and slowly tighten them down until their snug. Continue going around all 8 bolts until all are sung.
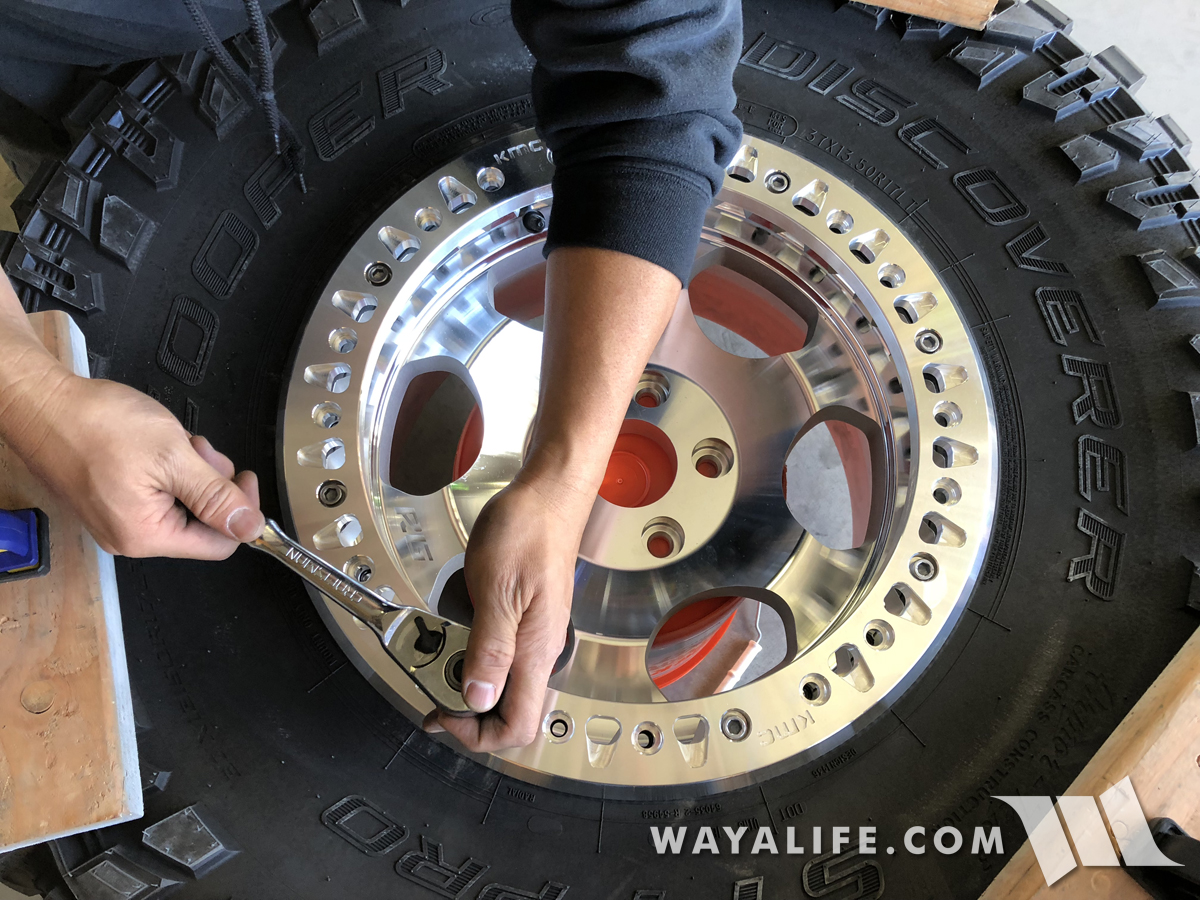
16. Thread in the remaining bolts and then lightly tighten all the bolts down in a star pattern. As you can see here, I used an electric ratchet to speed things along but you'll want to make sure that you do NOT over tighten your bolts.
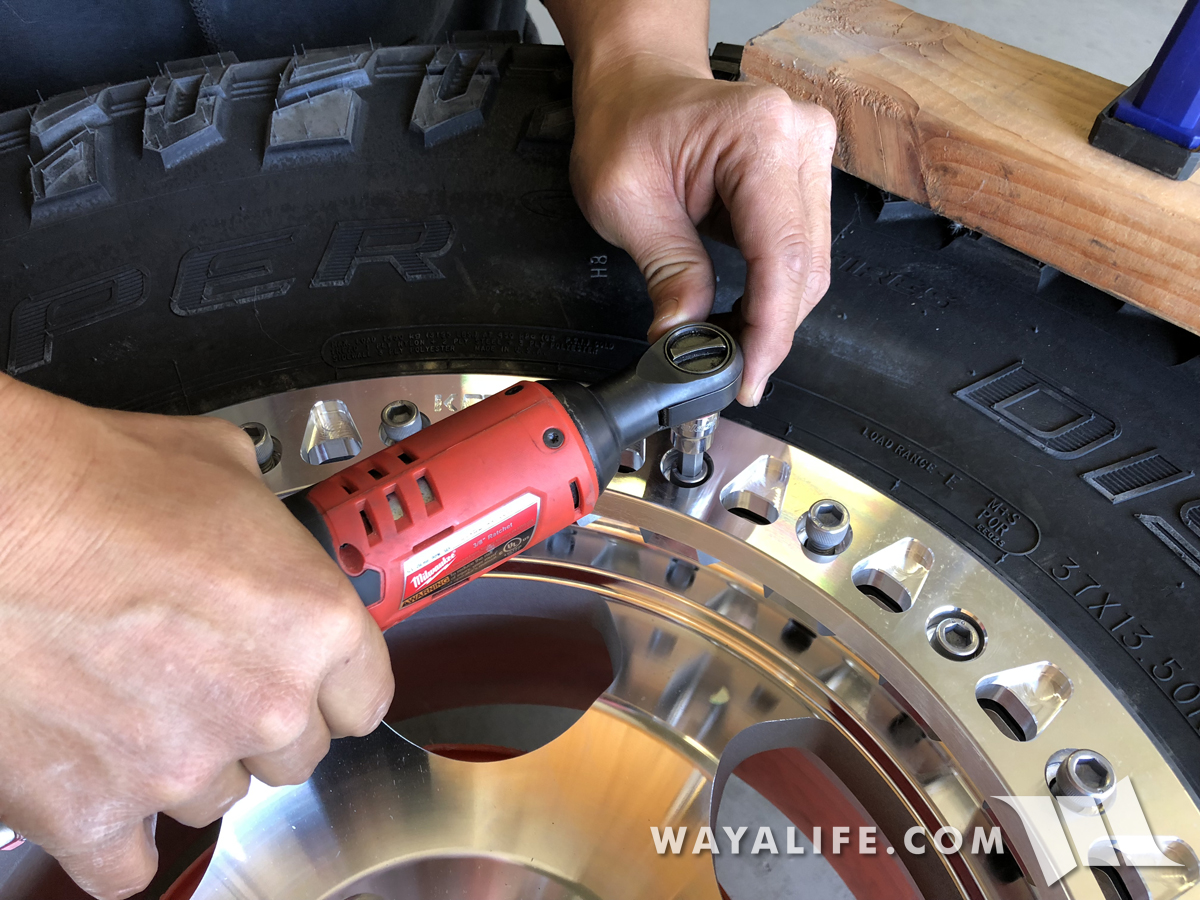
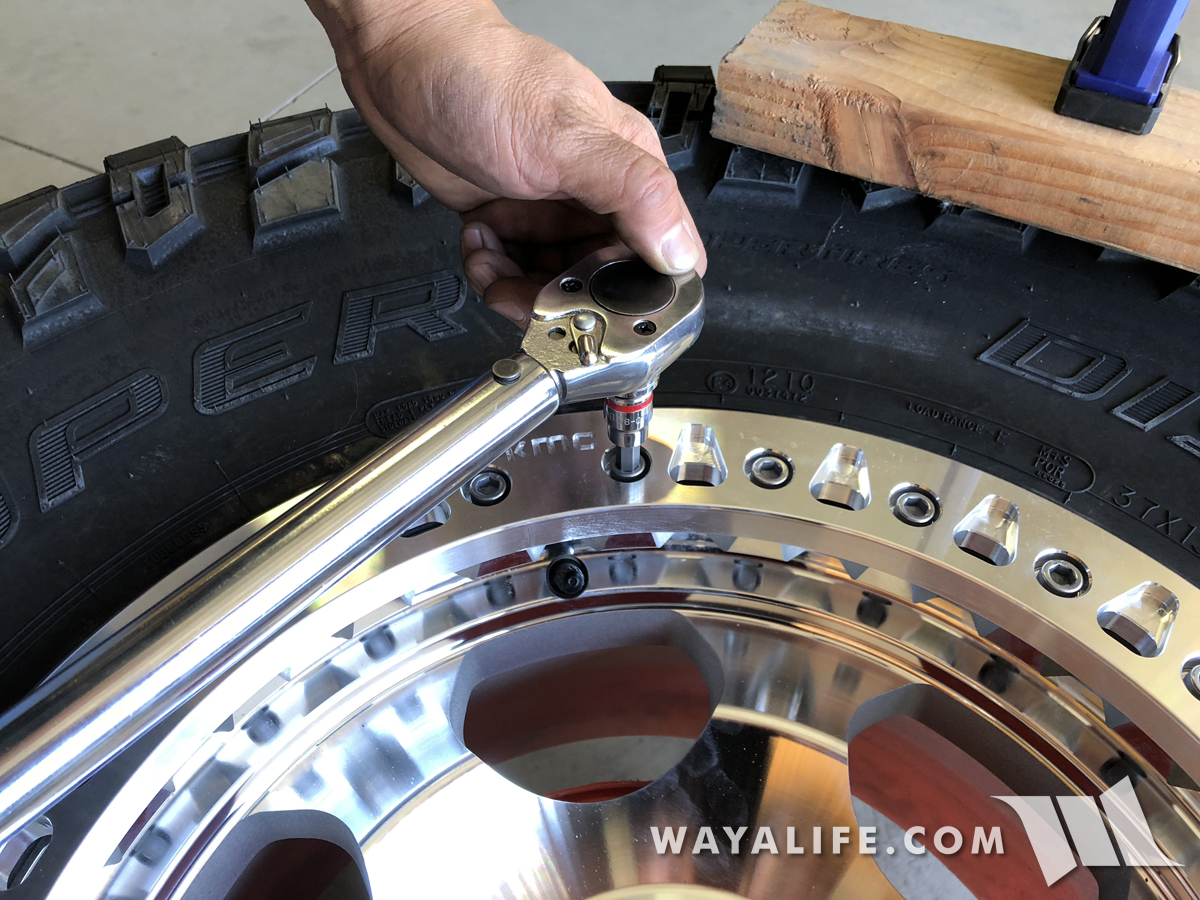
17. Slowly work your way around the beadlock ring over and over again until all the bolts have been tightened to about 20-24 ft. lbs. of torque. When completely installed, there should be very little to no gap between the beadlock ring and high points along the wheel. In between the points, there will be a small gap and that's normal.
12. You can now remove the bar clamps.
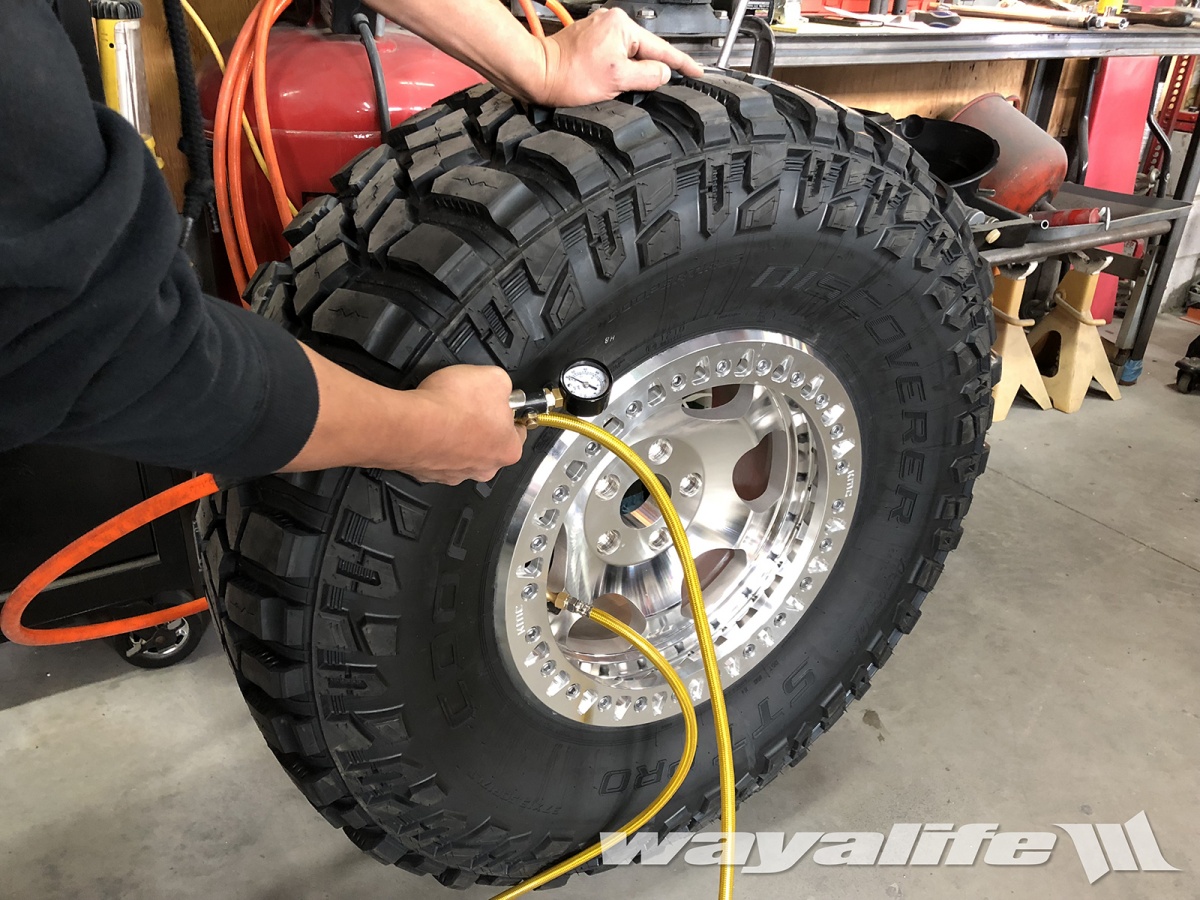
13. Standing to the side of your tire for safety, use an air compressor to inflate your tire until the bead of your tire is set on the back side of the wheel and proper operating PSI is obtained.
Here's what your KMC XD231 beadlock wheels will look like installed on your tire.
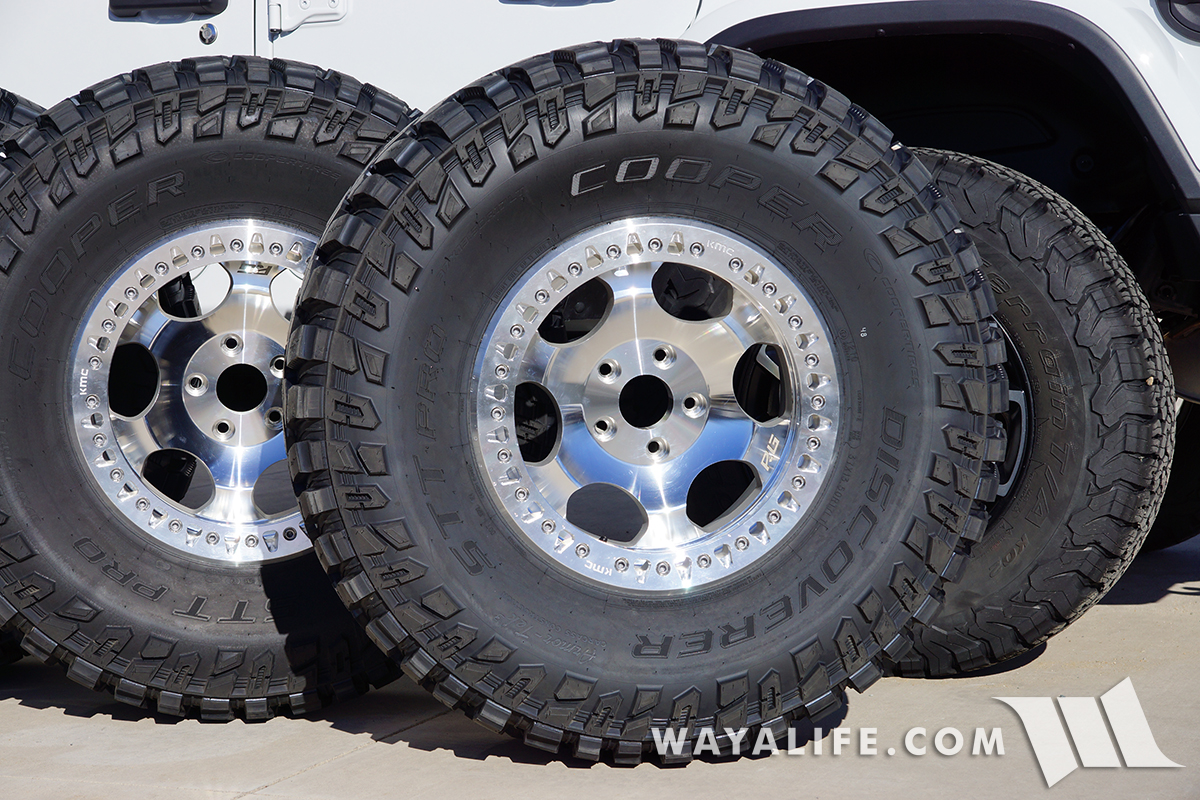
And that's what it takes to install a set of KMC XD231 beadlock wheels on 37x13.50 Cooper STT Pros. I hope you find this write-up to be helpful in getting you to install a set of your own. Please let me know if you have any questions.
