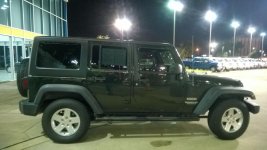
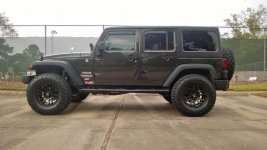
Well guys and gals I picked up my first Wrangler about 6 weeks ago. It was a pre-owned 2011 Sport Unlimited in Black Forest Green.
I had considered buying a new one but really liked the Black Forest Green color, took me three months of looking for pre-owned one to find this one.
Well it didn't stay stock for long! First thing I did was install grab handles in the rear and the front, then added some vent shades and black stubby antenna. Did the grill mod and added a K&N Air filter and rugged ridge throttle body spacer.
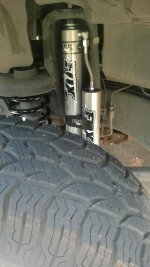
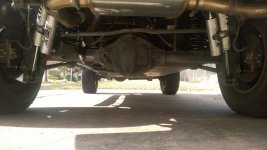
Then the Banks Power Exhaust (cat back). I also added a Teraflex 2.5" suspension lift with Fox 2.0 Reservoir shocks on all four corners. Also added the Fox 2.0 steering stabilizer. The wife and I installed the lift in the garage, it was that easy!
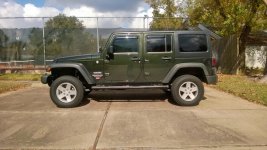
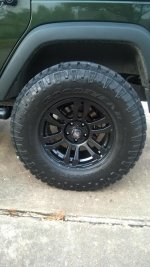
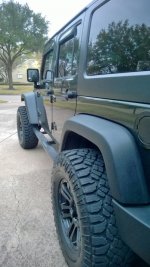
Then I finally bit the bullet and purchased the wheels and tires, I went with the Goodyear Wrangler Duratracs 315 70 R17 (34.4" Tall) I got the MB wheels from discount, I went with the black TKO with Chaos center caps, looks killer IMO.
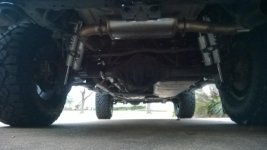
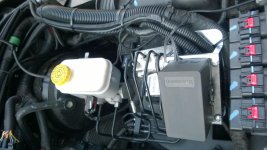
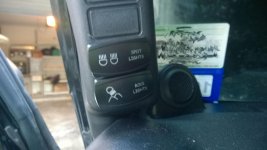
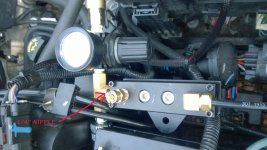
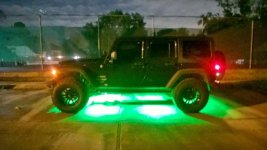
I also purchased a pre assembled Bussman fuse/relay box off Ebay and wired it in where the sPod was going to go. I decided against the sPod after seeing Switch Pros new option due out early next year, and the fact that the newest mosfet version of the sPod was still not released. So I went with this one its a 5 relay 10 fused box with 30 amp relays and 10 amp fuses. I purchased the rugged ridge a-pillar switch pod and installed the switches from Air On Board for the spot lights and the Rock lights. I could have went with white rock lights but that seemed to boring to me so I went with GREEN!!!!! They are 10w LED waterproof flood lights I mounted very securely under the JK, 6 total so 60w of green glow its awesome! A little over the top to some but man does it look awesome and make seeing what your about to roll over easy. Not to mention the light it provides if you need to see anything under the vehicle.
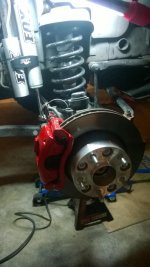
I was digging through my garage and found a can of VHT caliper paint from back in the day, so what the hell I painted the front calipers! LOL I was bored over the holidays with all the time off!
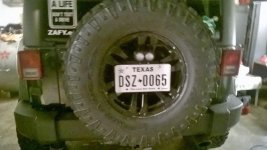
I also moved the license plate into the spare tire. I purchased a spare tire license plate bracket and fabricated up my own third brake light and plate illumination. Its a license plate holder for a motorcycle modified, came out sweet!
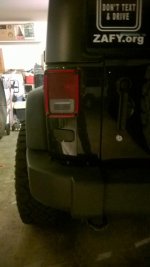
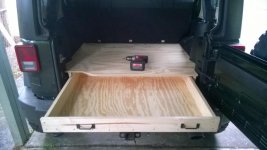
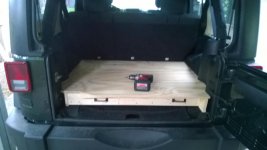
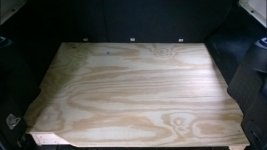
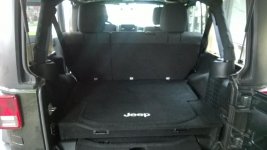
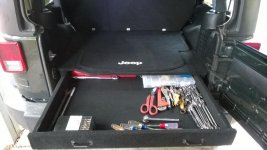
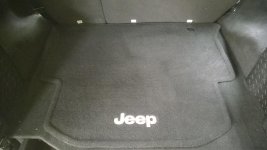
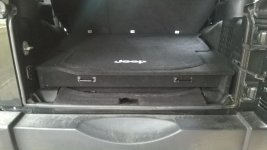
Well last weekend I added a toolbox to the rear of the Wrangler. I have looked everywhere for a small drawer type box but no luck so i decided to build my own. covered it black auto carpet and lined the drawer with black felt. Came out awesome.
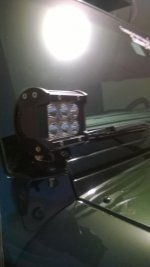
I also added the Teraflex steering stabilizer relocation kit and 18W spotlights to the KC Lights brackets on the windshield. Sorry the picture is crappy!
Well Thats it for now, I ordered the Viair JK 2 on 2 on board air system last week it should be here Friday
I'll keep you guys posted, need some gears, these new tires and 3.73's suck on the freeway!
Keep wheelin!
I had considered buying a new one but really liked the Black Forest Green color, took me three months of looking for pre-owned one to find this one.

Well it didn't stay stock for long! First thing I did was install grab handles in the rear and the front, then added some vent shades and black stubby antenna. Did the grill mod and added a K&N Air filter and rugged ridge throttle body spacer.
Then the Banks Power Exhaust (cat back). I also added a Teraflex 2.5" suspension lift with Fox 2.0 Reservoir shocks on all four corners. Also added the Fox 2.0 steering stabilizer. The wife and I installed the lift in the garage, it was that easy!


Then I finally bit the bullet and purchased the wheels and tires, I went with the Goodyear Wrangler Duratracs 315 70 R17 (34.4" Tall) I got the MB wheels from discount, I went with the black TKO with Chaos center caps, looks killer IMO.


I also purchased a pre assembled Bussman fuse/relay box off Ebay and wired it in where the sPod was going to go. I decided against the sPod after seeing Switch Pros new option due out early next year, and the fact that the newest mosfet version of the sPod was still not released. So I went with this one its a 5 relay 10 fused box with 30 amp relays and 10 amp fuses. I purchased the rugged ridge a-pillar switch pod and installed the switches from Air On Board for the spot lights and the Rock lights. I could have went with white rock lights but that seemed to boring to me so I went with GREEN!!!!! They are 10w LED waterproof flood lights I mounted very securely under the JK, 6 total so 60w of green glow its awesome! A little over the top to some but man does it look awesome and make seeing what your about to roll over easy. Not to mention the light it provides if you need to see anything under the vehicle.

I was digging through my garage and found a can of VHT caliper paint from back in the day, so what the hell I painted the front calipers! LOL I was bored over the holidays with all the time off!

I also moved the license plate into the spare tire. I purchased a spare tire license plate bracket and fabricated up my own third brake light and plate illumination. Its a license plate holder for a motorcycle modified, came out sweet!


Well last weekend I added a toolbox to the rear of the Wrangler. I have looked everywhere for a small drawer type box but no luck so i decided to build my own. covered it black auto carpet and lined the drawer with black felt. Came out awesome.


I also added the Teraflex steering stabilizer relocation kit and 18W spotlights to the KC Lights brackets on the windshield. Sorry the picture is crappy!

Well Thats it for now, I ordered the Viair JK 2 on 2 on board air system last week it should be here Friday
I'll keep you guys posted, need some gears, these new tires and 3.73's suck on the freeway!
Keep wheelin!

