TrailBear
New member
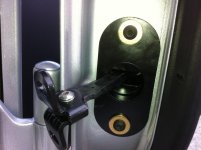
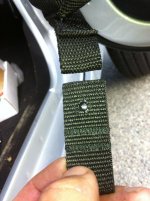
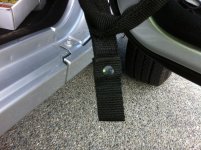
The only thing the wife didn't like with her new JK was the fact the doors just flop in the wind when open, a pain when putting the kids in the back, as soon as she said this it popped in my head a story I just read in the July 2012 copy of JP magazine.http://www.jpmagazine.com/techarticles/154_1207_jk_wrangler_smart_door_upgrade/
So I went on Northridge4x4.ca and placed an order for the four door set, shipping is fast!

So I opened it up pulled out the instructions to read up, very straight forward, and all parts were there:clap2:
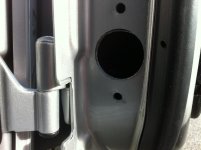
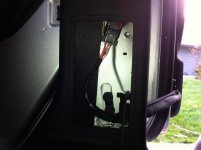
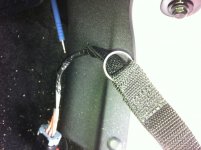
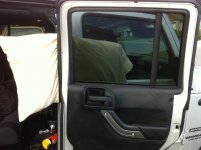
Step one unplug the door wiring, then unhook the door strap, use a pillow to go between the door and front fender, for the rear in goes between the rear door and B-pillar.
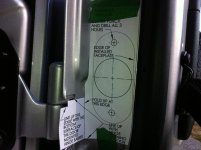
Step two cut out the template.

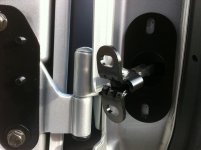
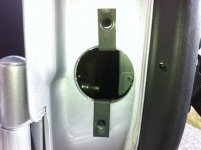
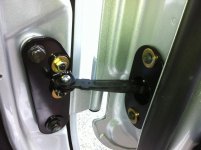
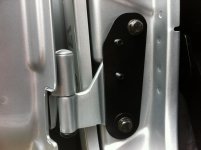
Step three bolt the plate to the lower inner hinge, remove the upper bolt first, they made the bottom hole larger so you can bolt the plate on then remove the bottom bolt and put in the bottom bolt with a spacer.(New longer bolts are provided)
So I went on Northridge4x4.ca and placed an order for the four door set, shipping is fast!

So I opened it up pulled out the instructions to read up, very straight forward, and all parts were there:clap2:
Step one unplug the door wiring, then unhook the door strap, use a pillow to go between the door and front fender, for the rear in goes between the rear door and B-pillar.

Step two cut out the template.

Step three bolt the plate to the lower inner hinge, remove the upper bolt first, they made the bottom hole larger so you can bolt the plate on then remove the bottom bolt and put in the bottom bolt with a spacer.(New longer bolts are provided)

Last edited:

