Scorpion II Build Thread

NFRs2000NYC

Caught the Bug
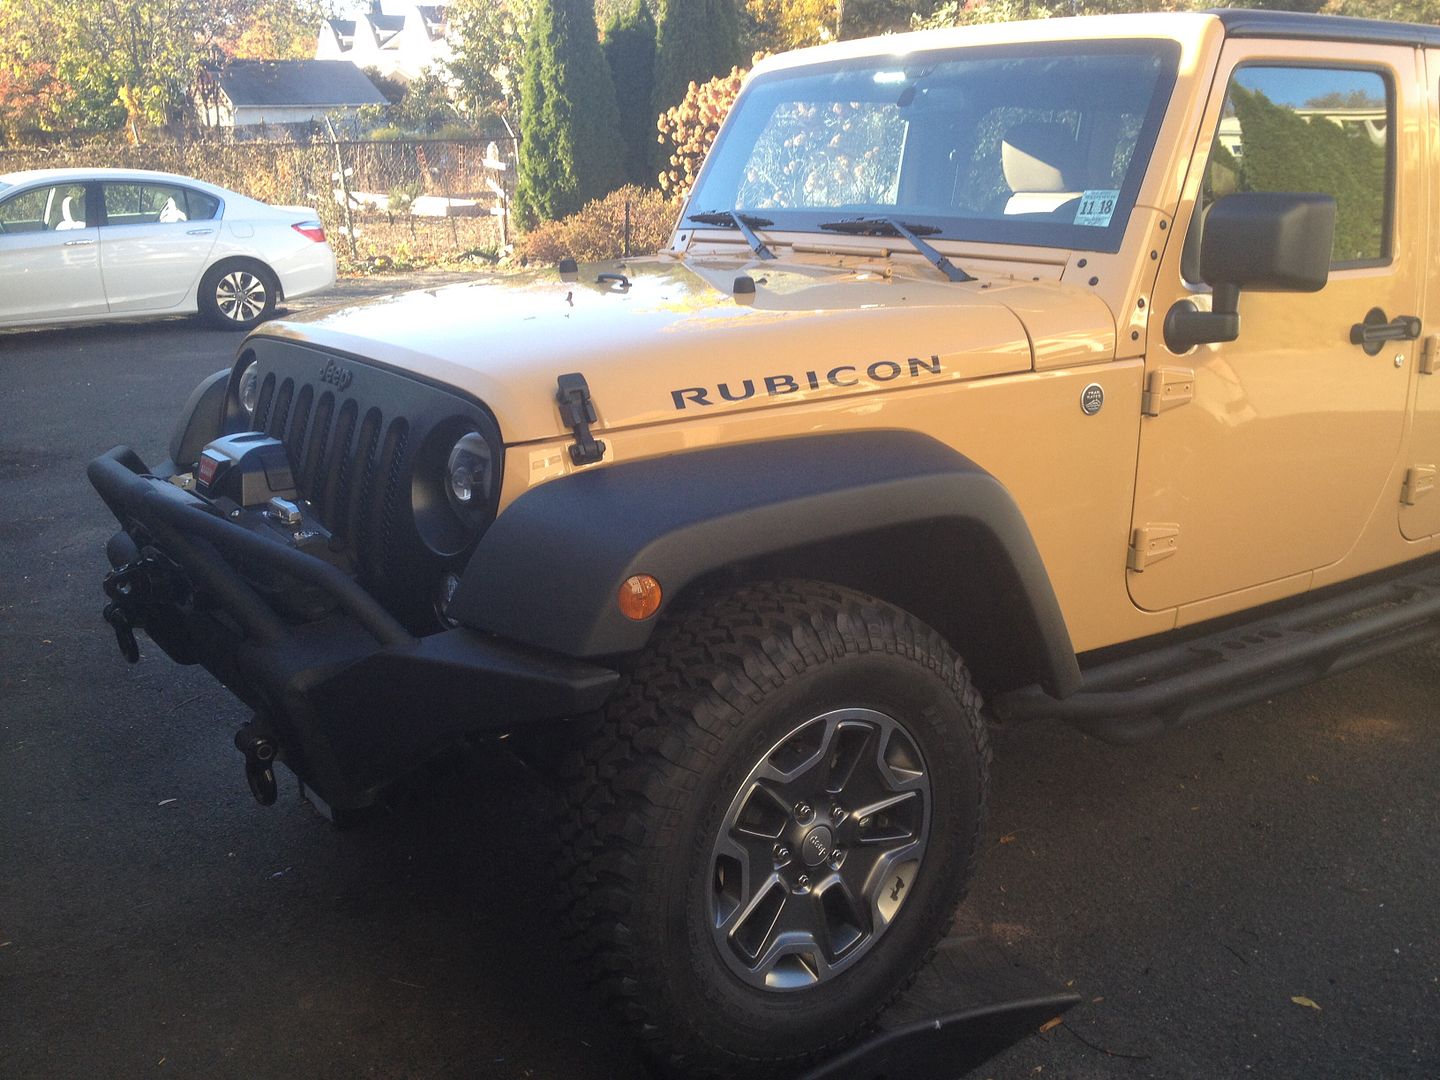
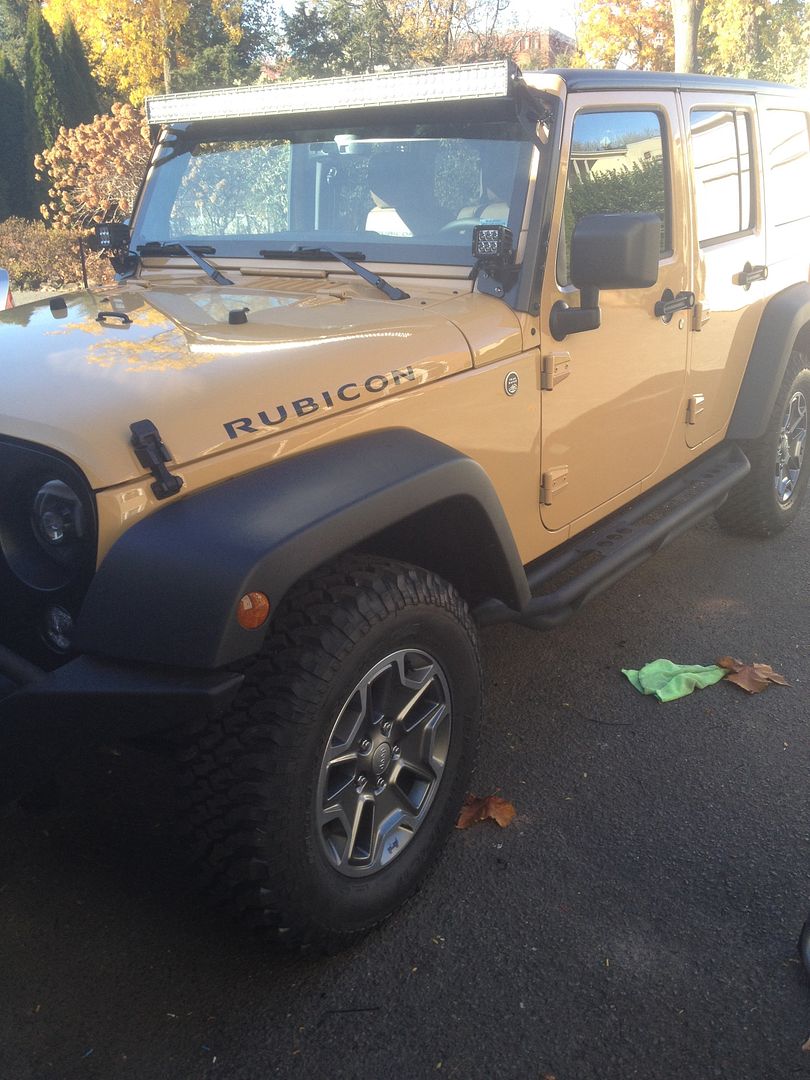
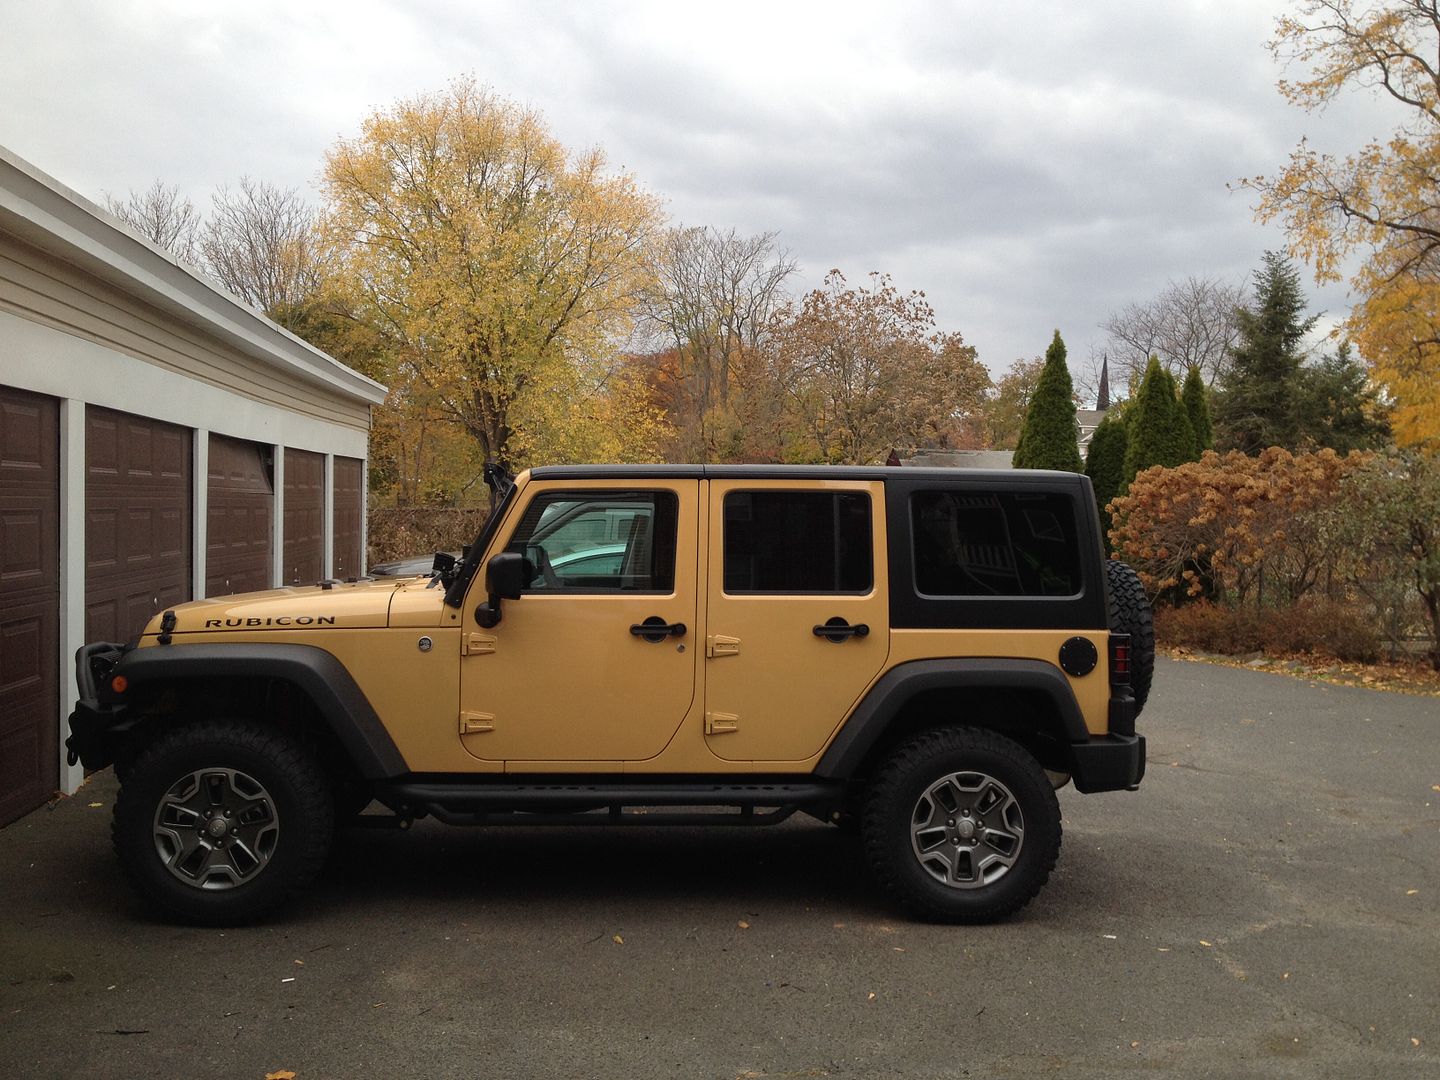
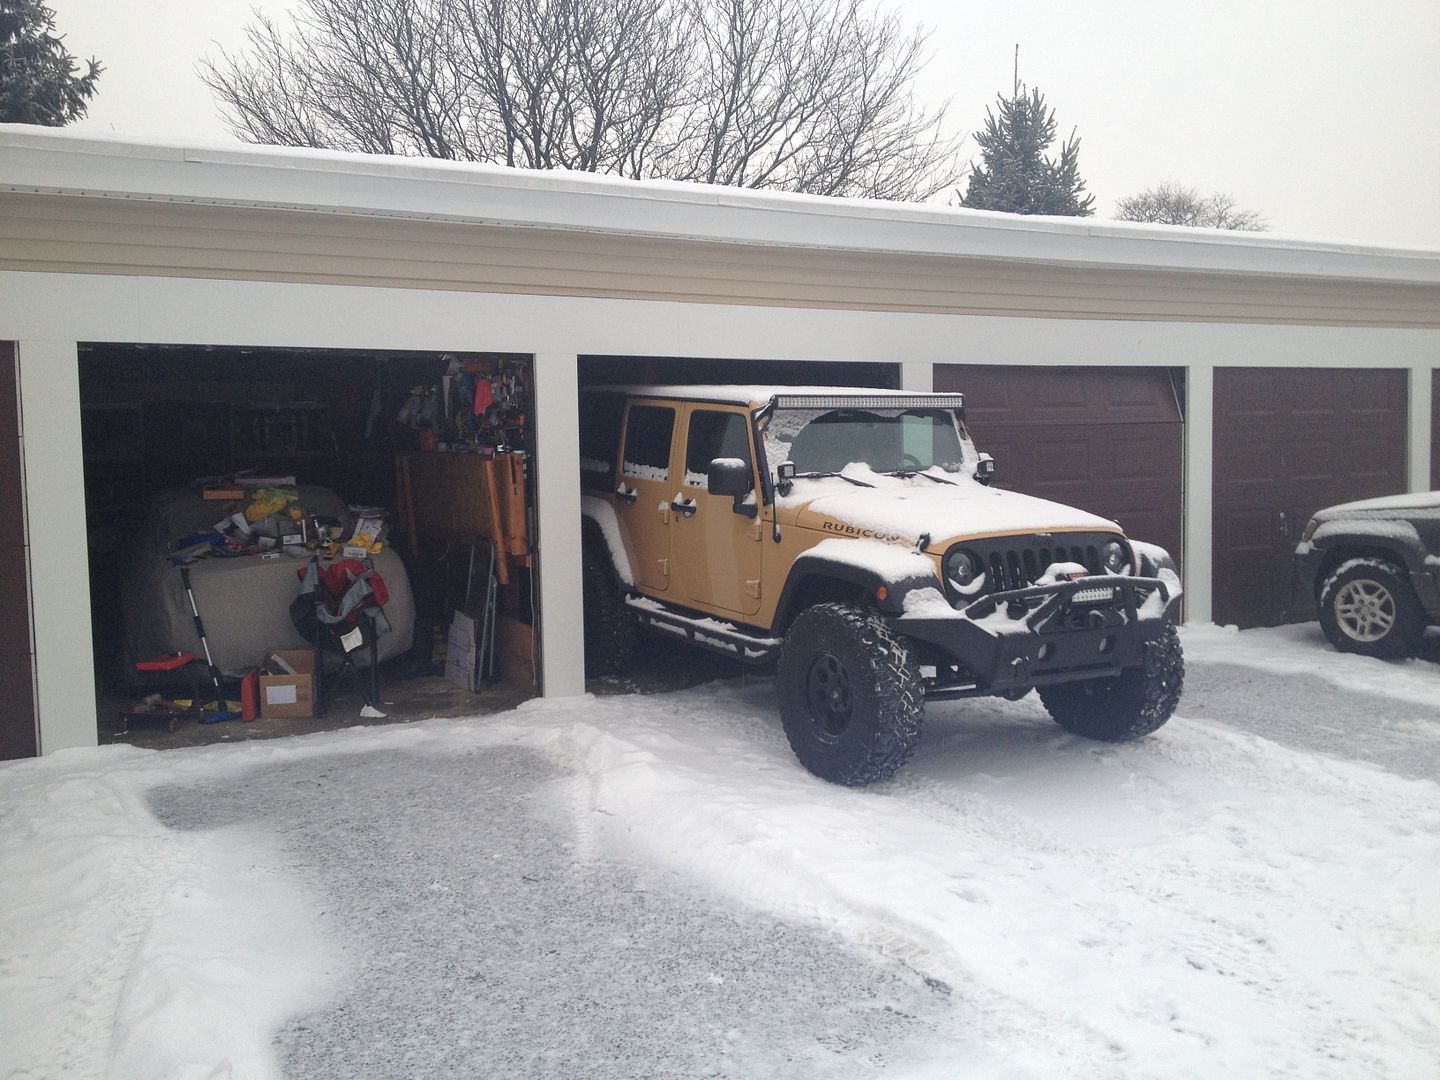
Hey guys, so finally after nearly a 2 month wait my 2014 Rubicon unlimited has arrived.

Now, before we go on to the build portion of the thread, respect must be paid to the original Scorpion. Owned it for 2 great years, clocked 23,000 miles, most of which Im happy to say have been adventure miles, taking me from Maine to Moab, to Colorado and never missed a beat. Never any issues, ran like a champ. Never let me down on the trail and always got me home. With that, we say goodbye to my first Jeep, and hope it goes to a good home. The dealer told me he has never seen a vehicle come back in such pristine shape, and pristine it was. Not a scratch inside or out. (Not sure if this is allowed, mods, feel free to remove this part if it violates any rules, but Scorpion is at Salerno Duane Jeep in Summit NJ, just in case anyone is looking for a pristine crush that was maintained better than most spinal surgery equipment.)

8733622309_882b6af77e_b.jpg


9372466635_d048050bff_b.jpg


Here it is at the dealer, saying my final goodbyes. Gone but never forgotten.
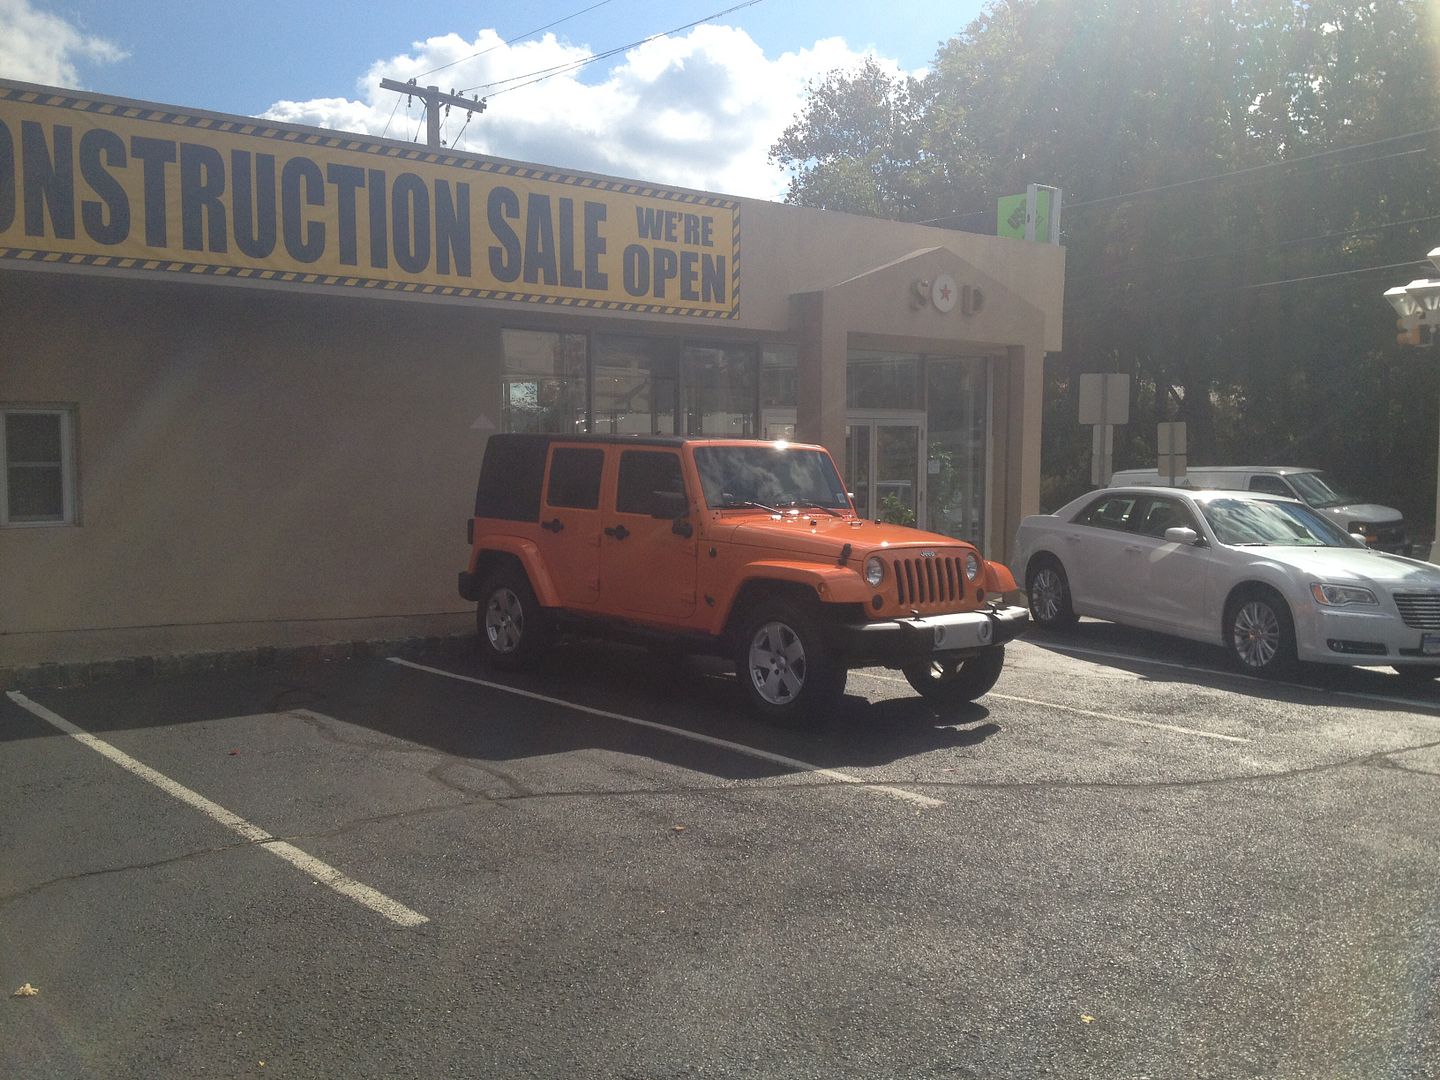

When one door closes, another one opens...
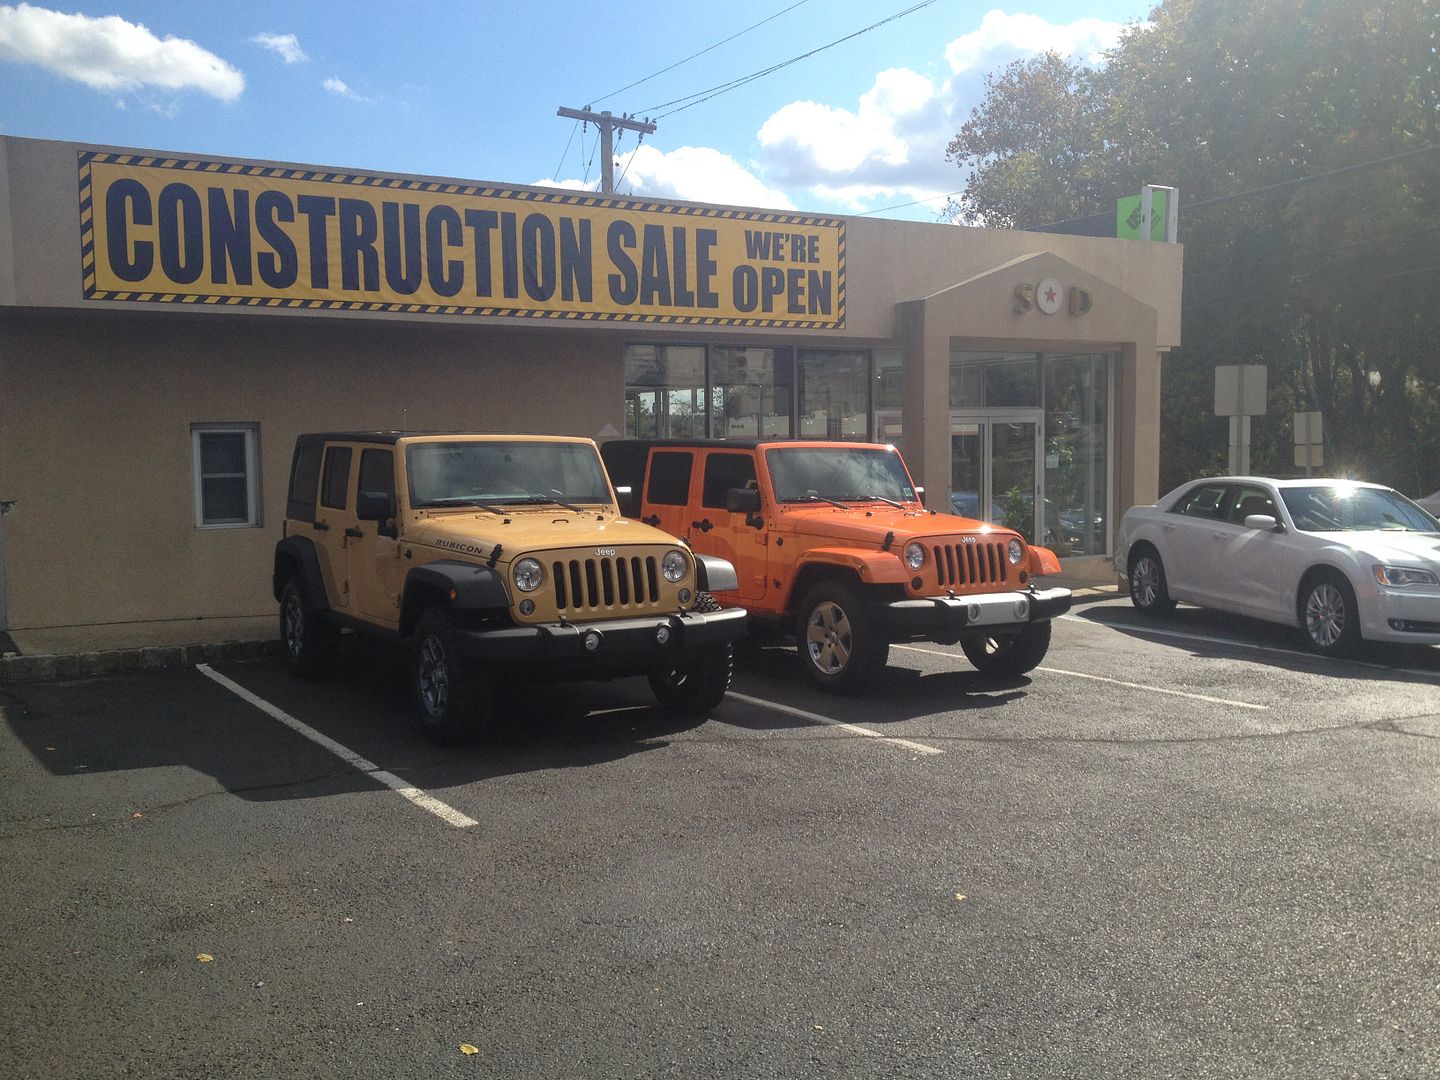


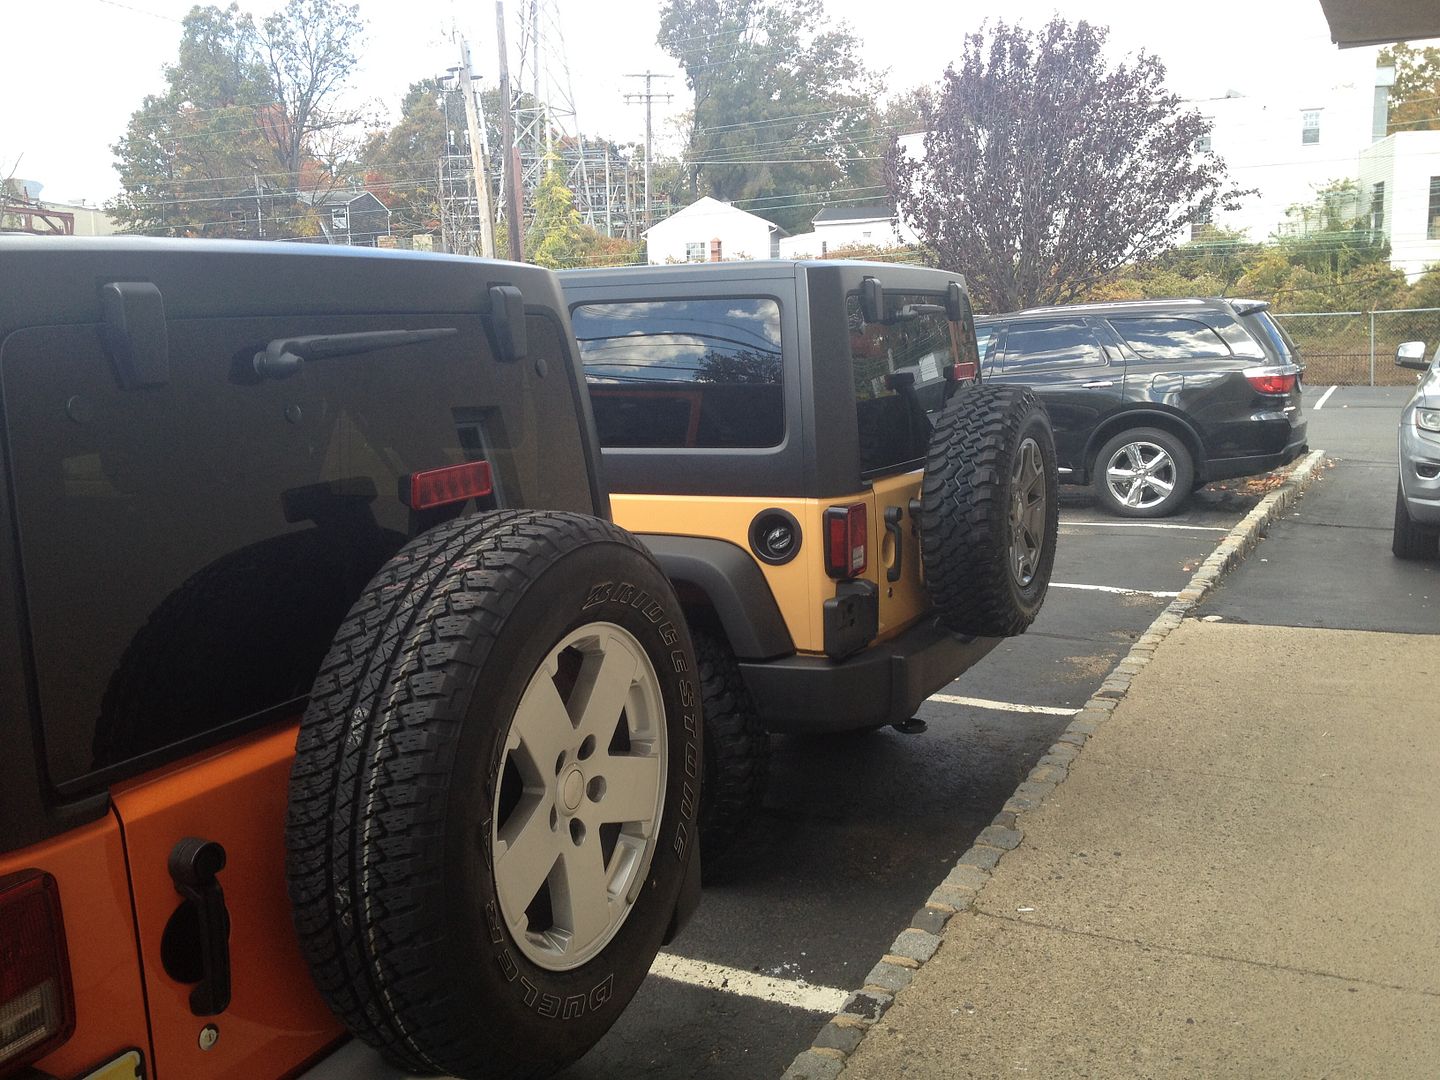
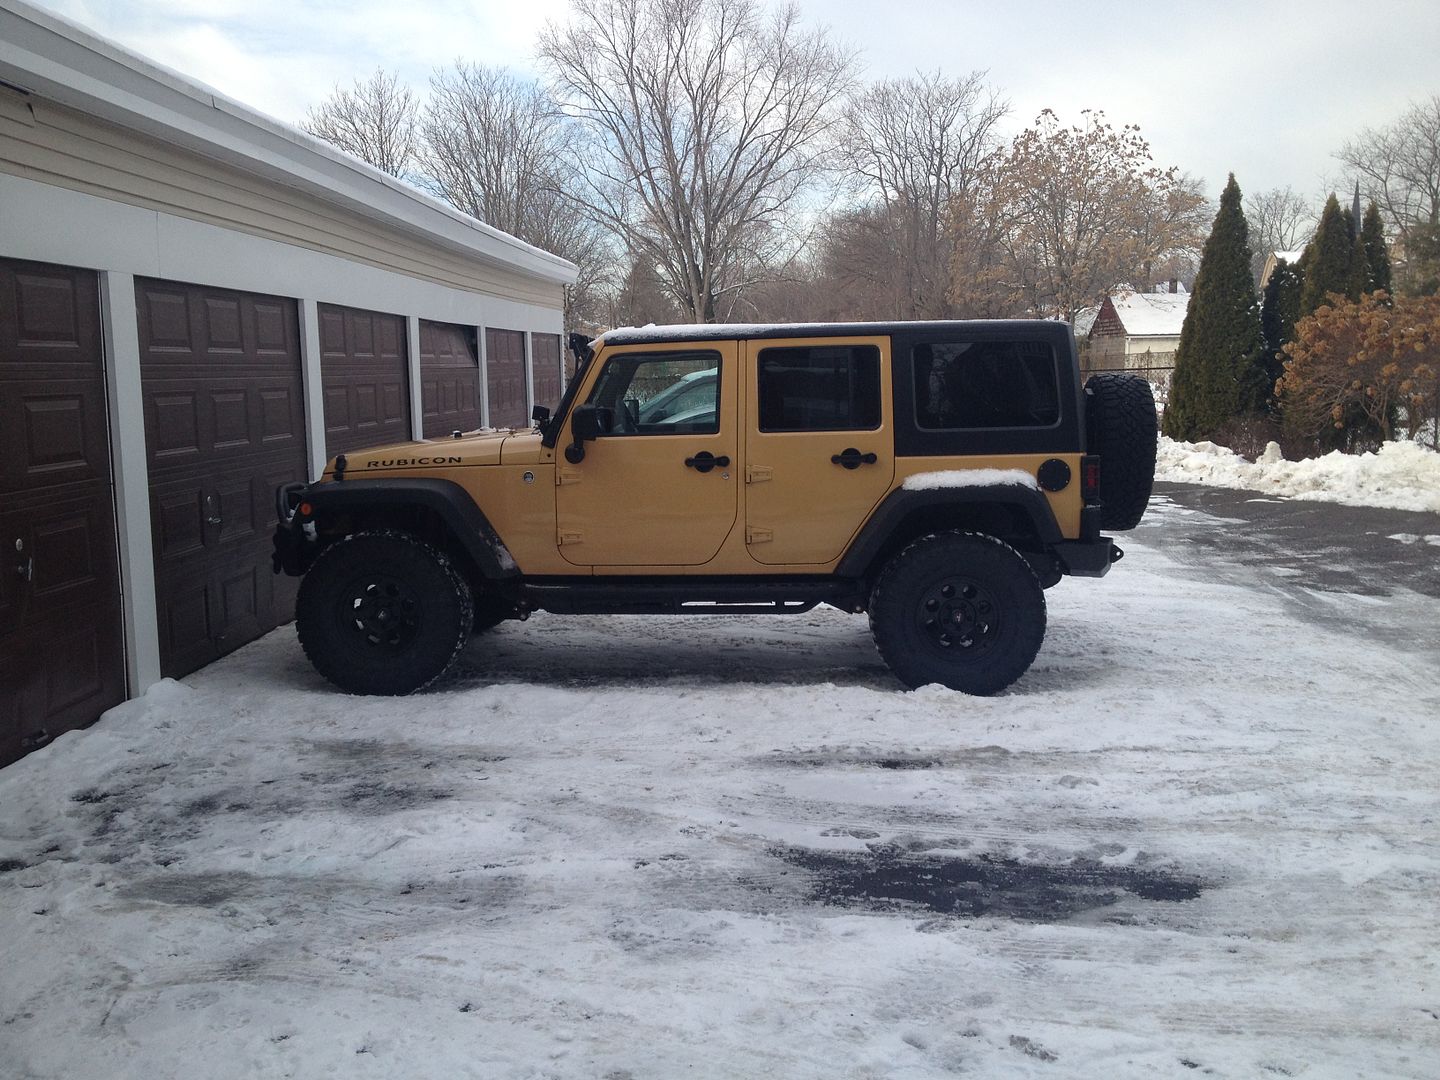
There is a clear visible height difference between the two, I'd say nearly 2"
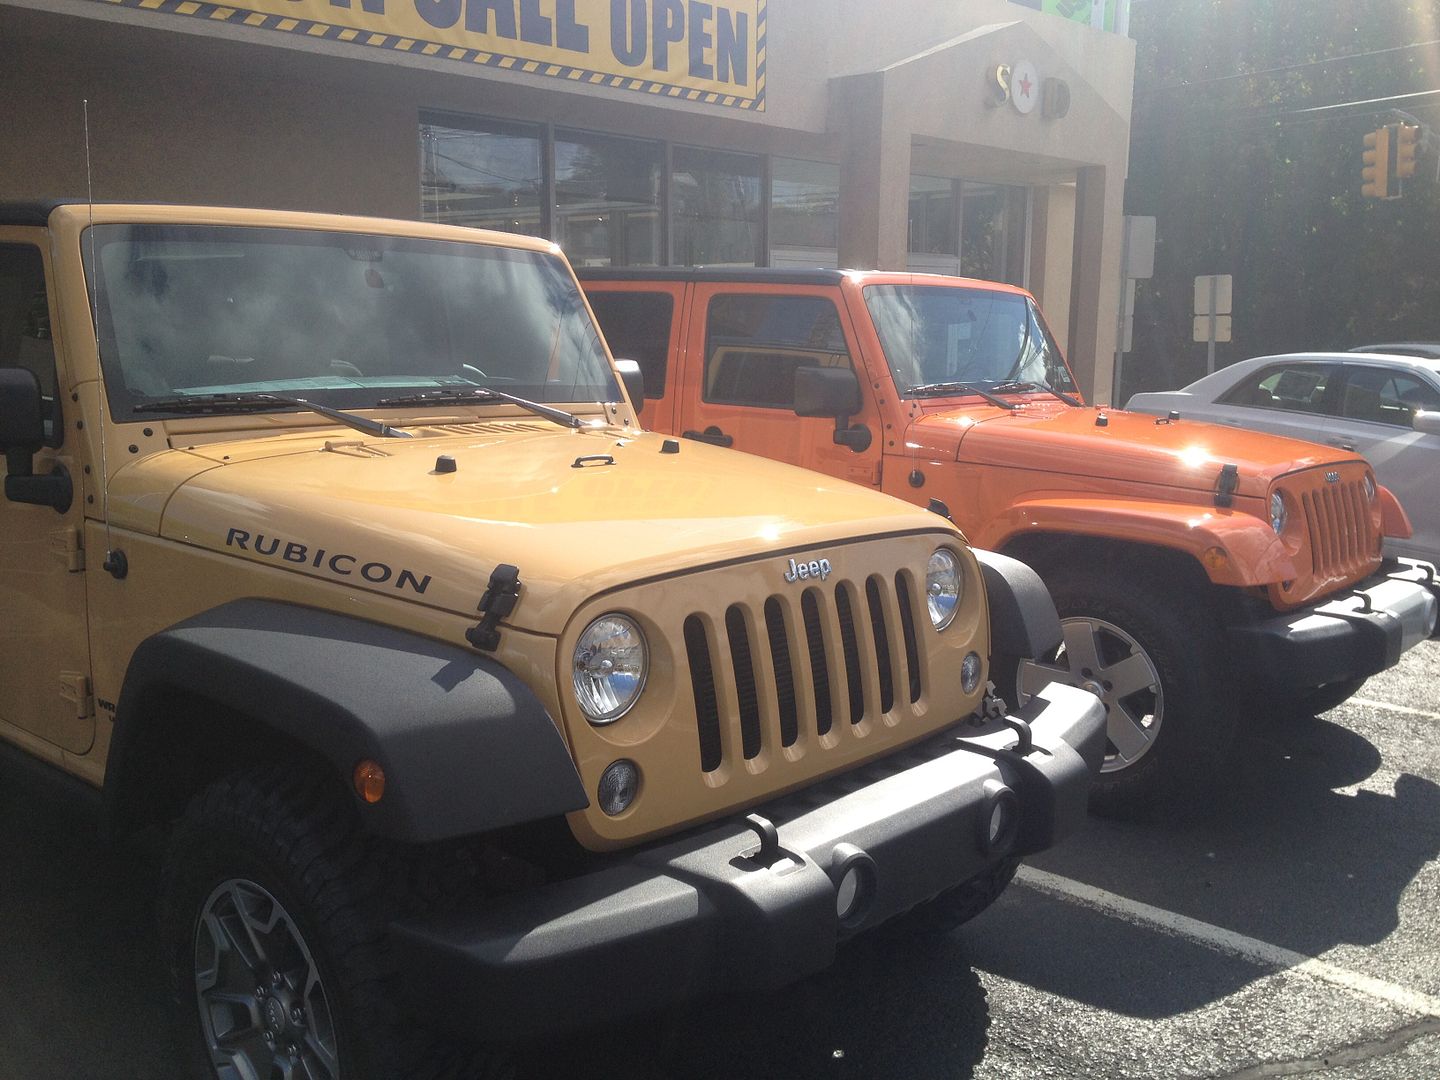


Factory fresh with only 3 miles on the clock.
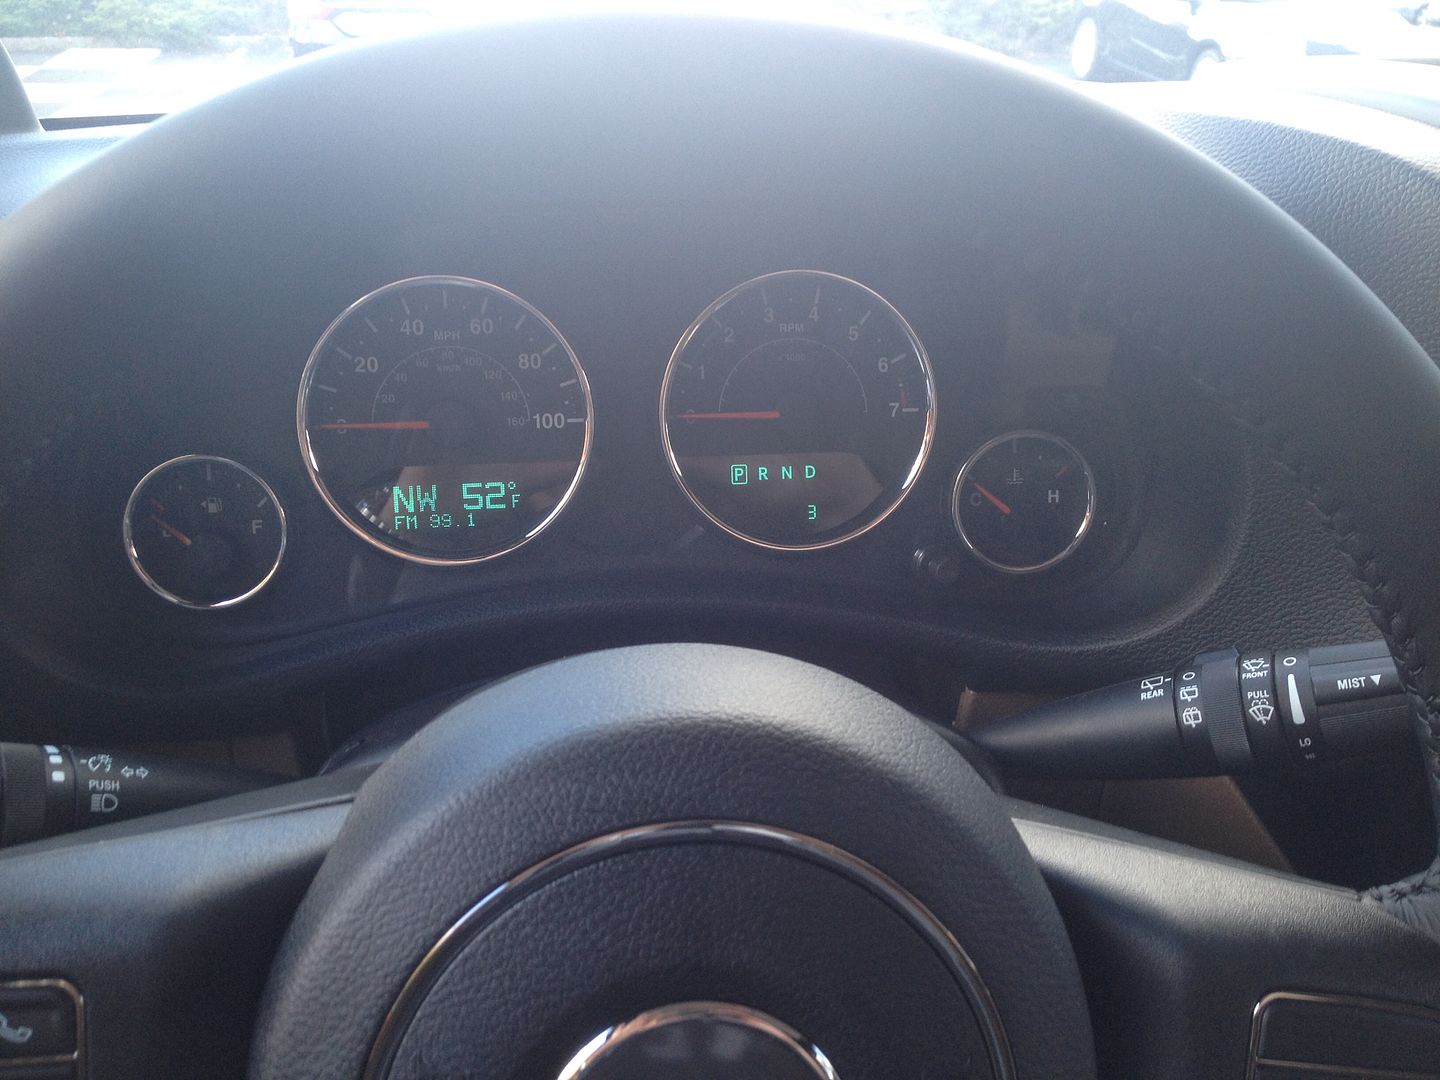

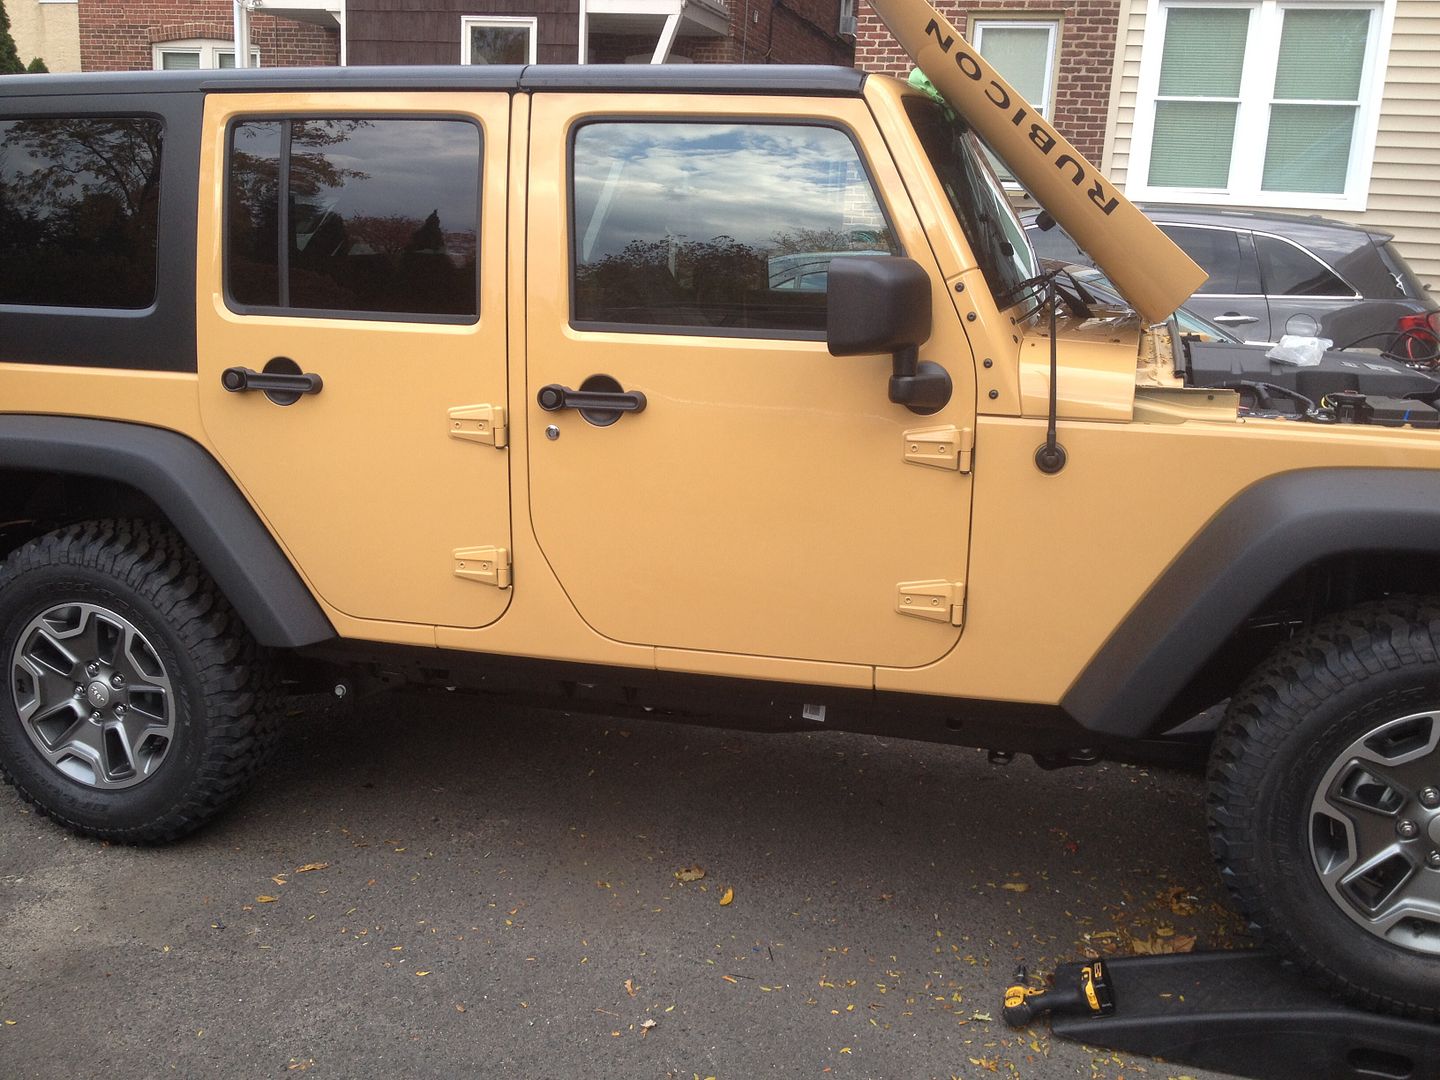
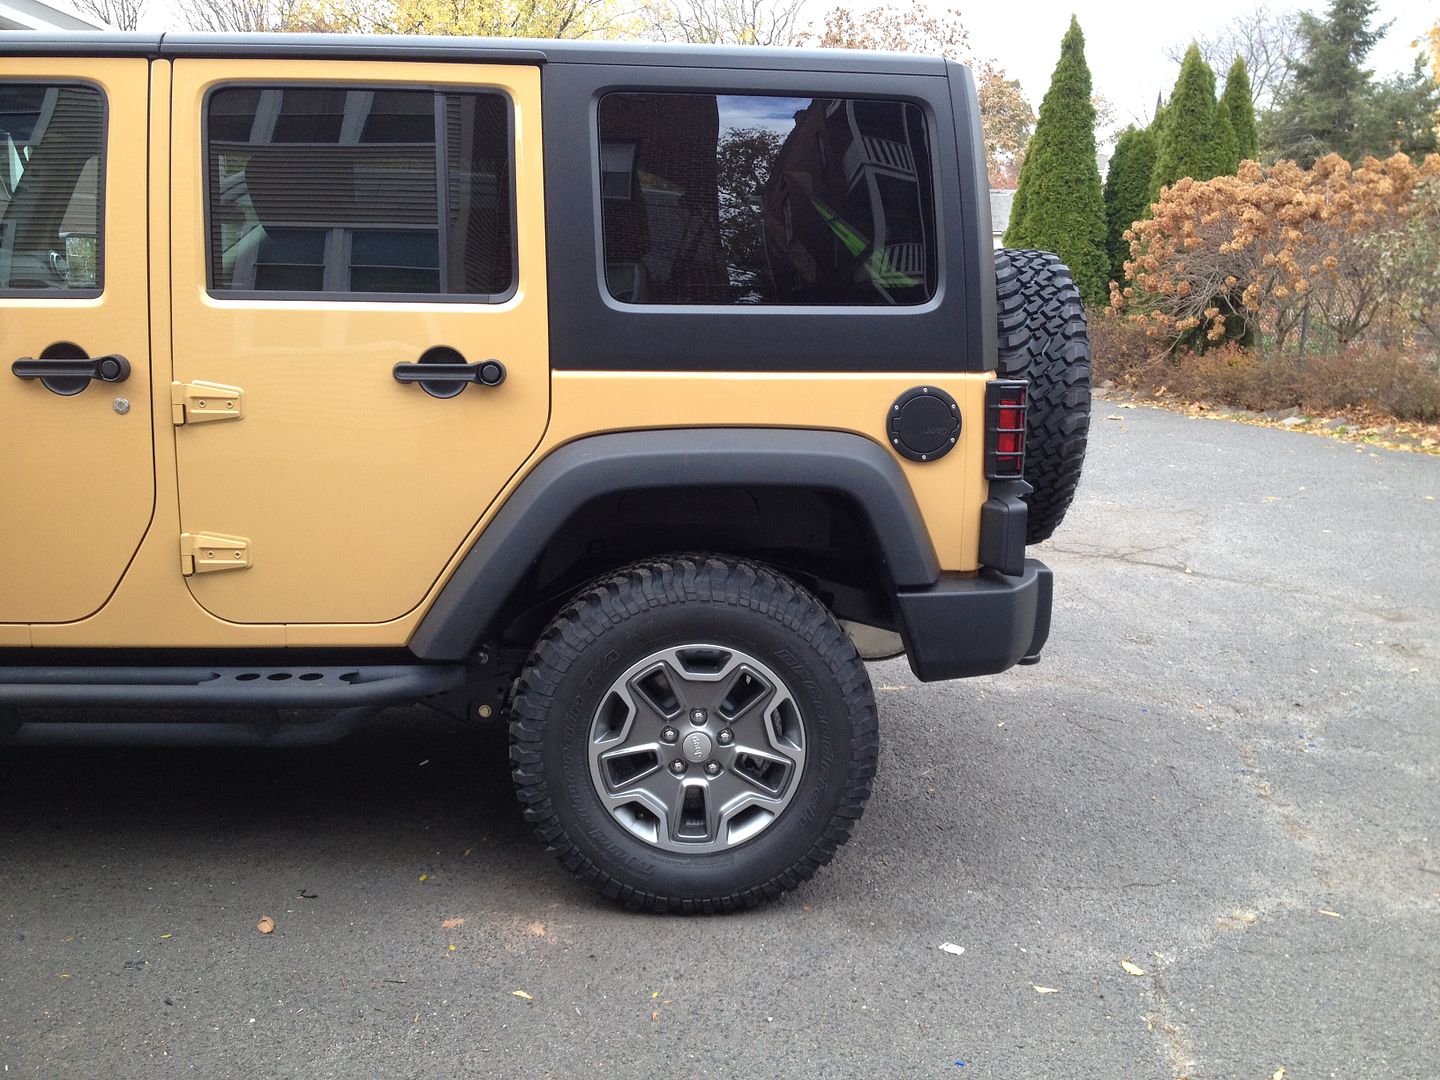
I live only two miles away from the dealer, so the rig didn't even make 5 miles before it was officially modded. Mopar door sills, rugged ridge handle guards (those black round circles behind the door handles) and a 13" AntennaX antenna.
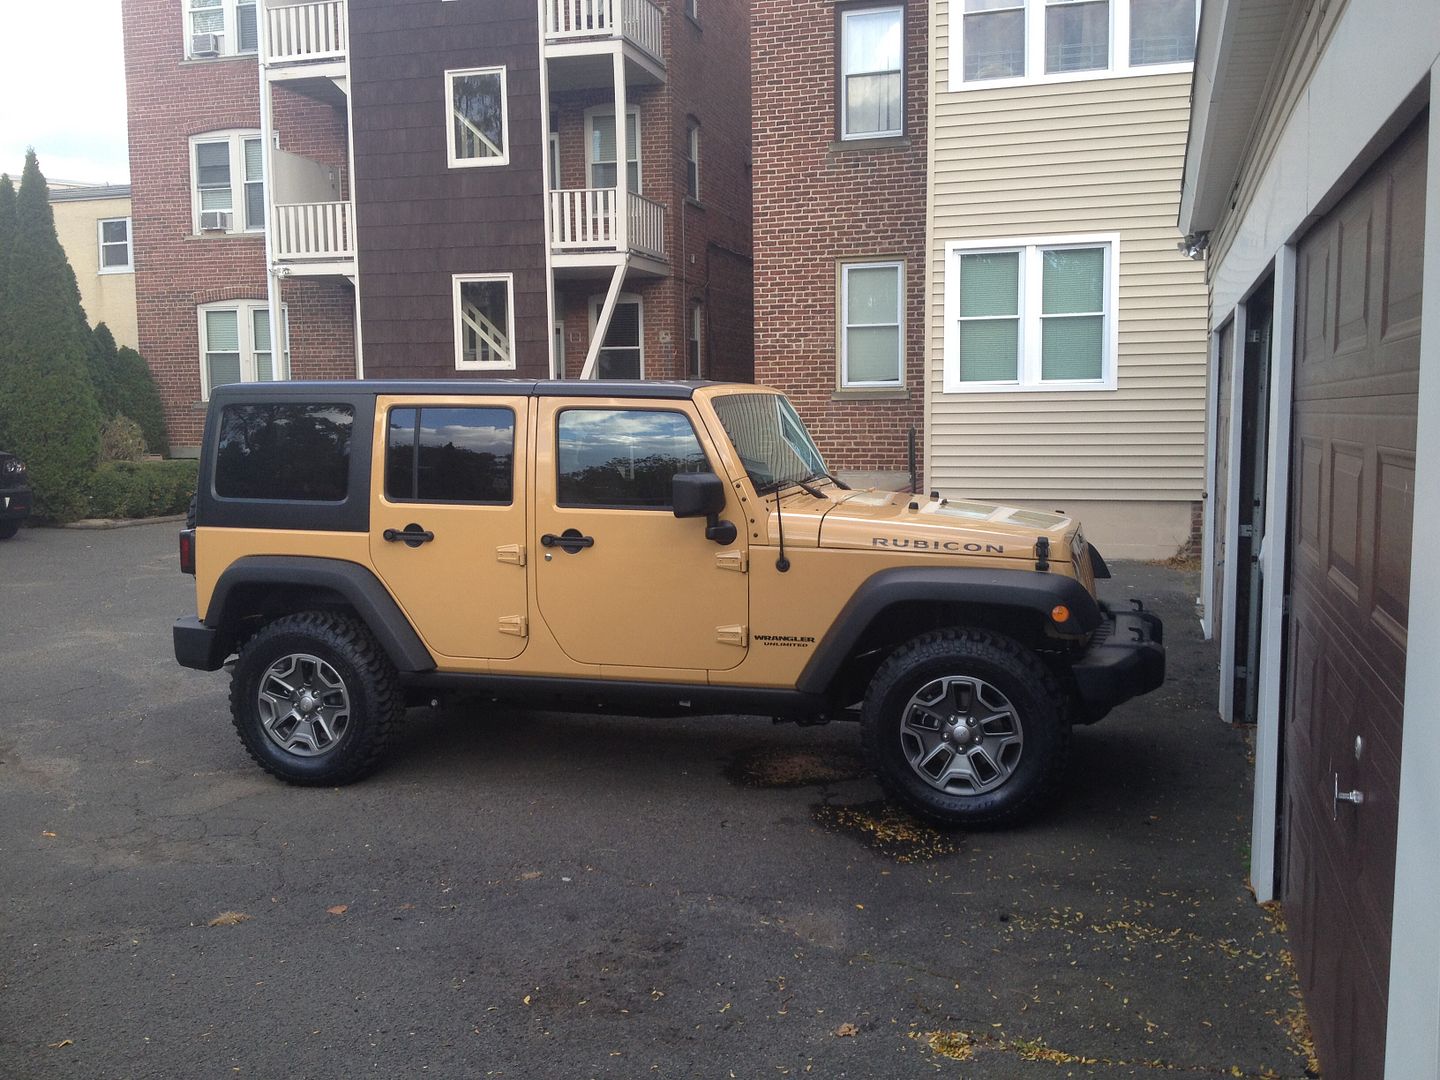
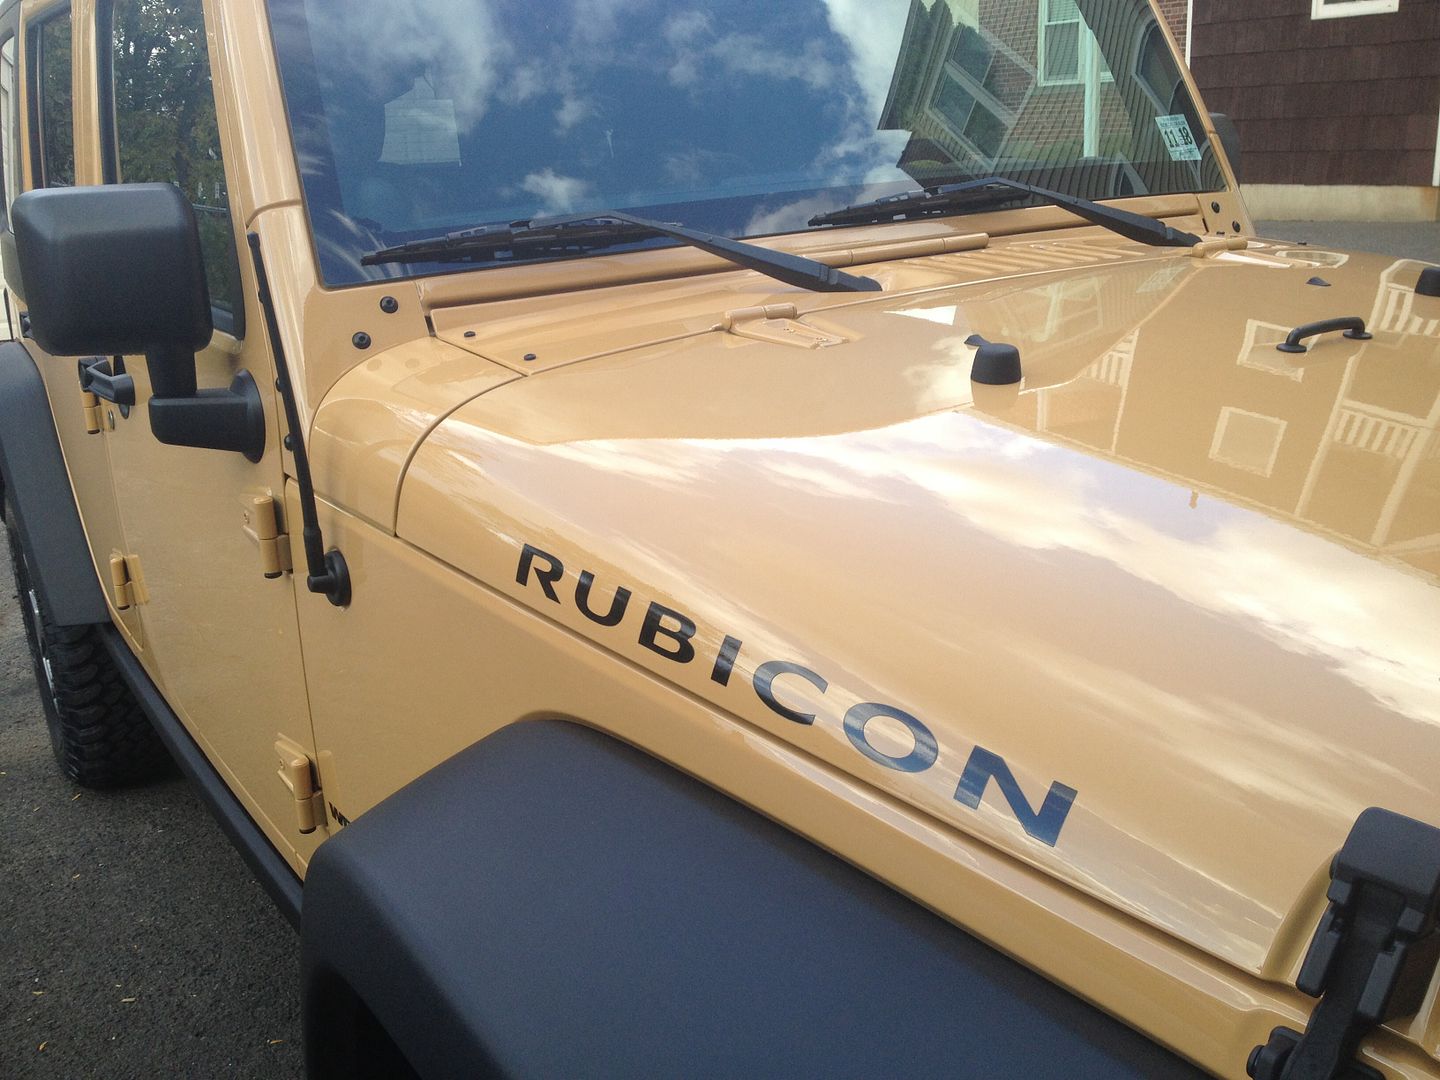


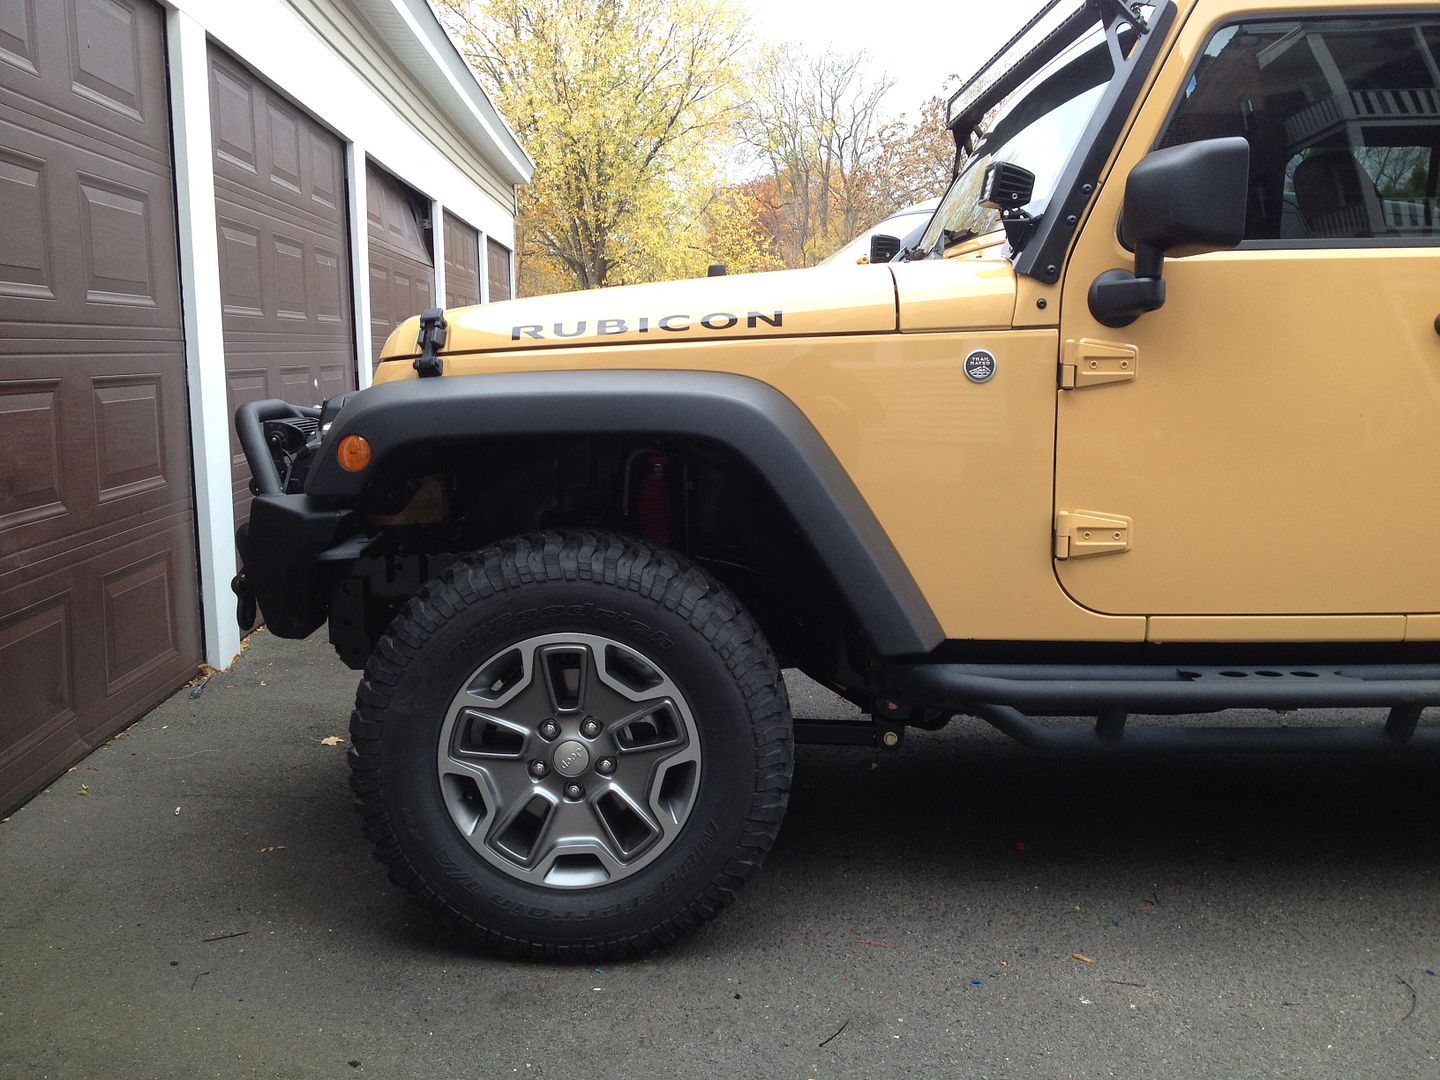
The rig was also immediately debaged (fender).

Finally, my preflight quality control checks. The freedom panels were immediately removed, and the seals we LIBERALLY greased with my favorite product, Honda Shin Etsu Grease.

G30-M_1.jpg


Honda Genuine Shin-Etsu Grease : Amazon.com : Automotive

Stuff is worth every penny. Never had so much as a drop of water enter my 2012, and don't expect to have any enter this one.

Stay tuned for more updates. This build thread is gonna move quick, as I have most of the parts already. Going to order wheels/tires (315 duratracs) on Monday, and an Expedition One Rear bumper is coming soon after. Thanks for reading, and stay tuned!
 
Last edited:
What headlights did you have on your old crush? they look great with the black grill
 
:worthless:
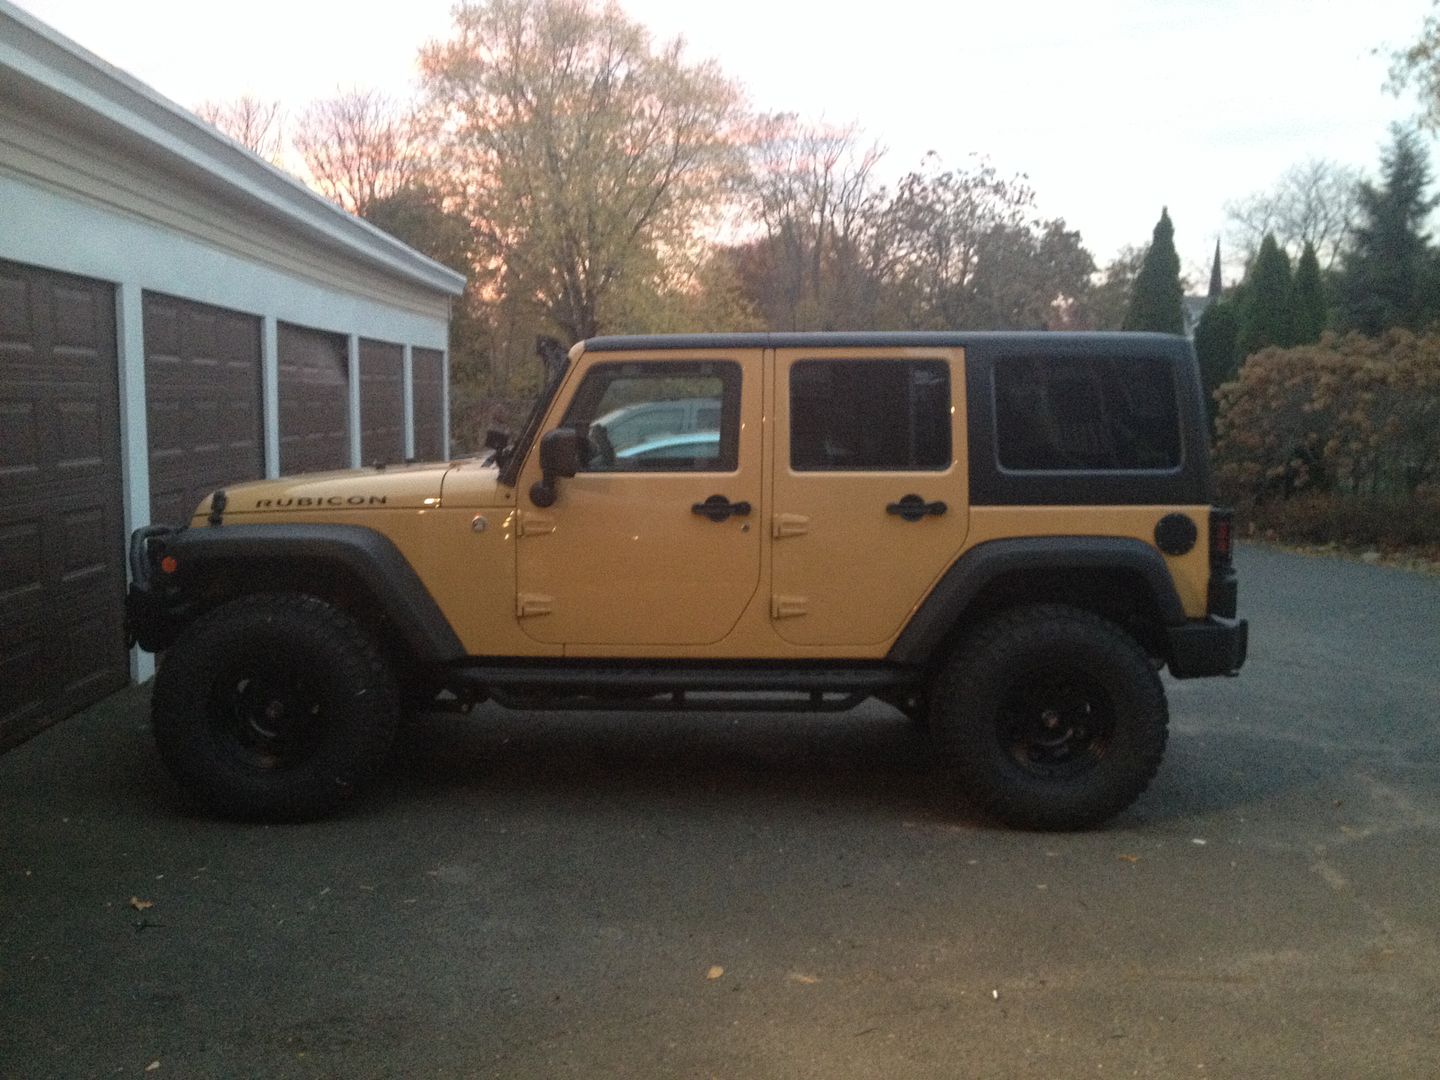
Come on, winter weather leaves plenty of time for wrenching! Let's see the newly updated beast.
 
Sorry guys....here are some updates that have been done...

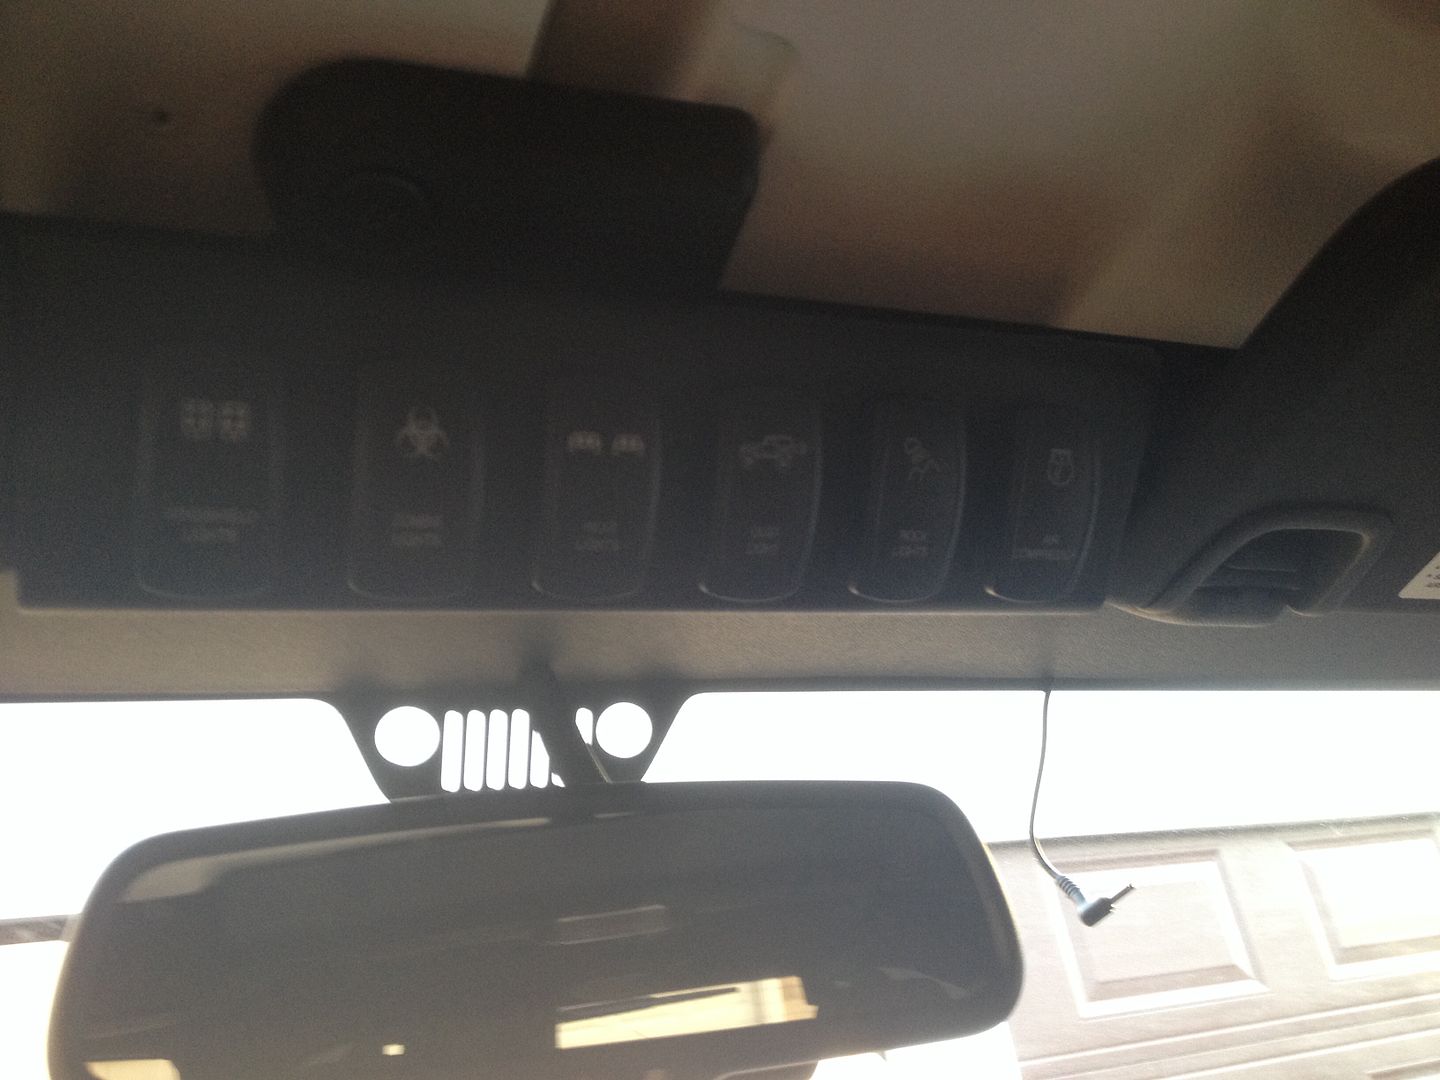
SPOD was re-installed from the last rig...

0B9FA106-A65F-4E86-AC3F-20081F0E2FD7-1128-00000156410C12FA_zps9271265b.jpg


(The following was done a while ago, so the pics are a little "out of season...."

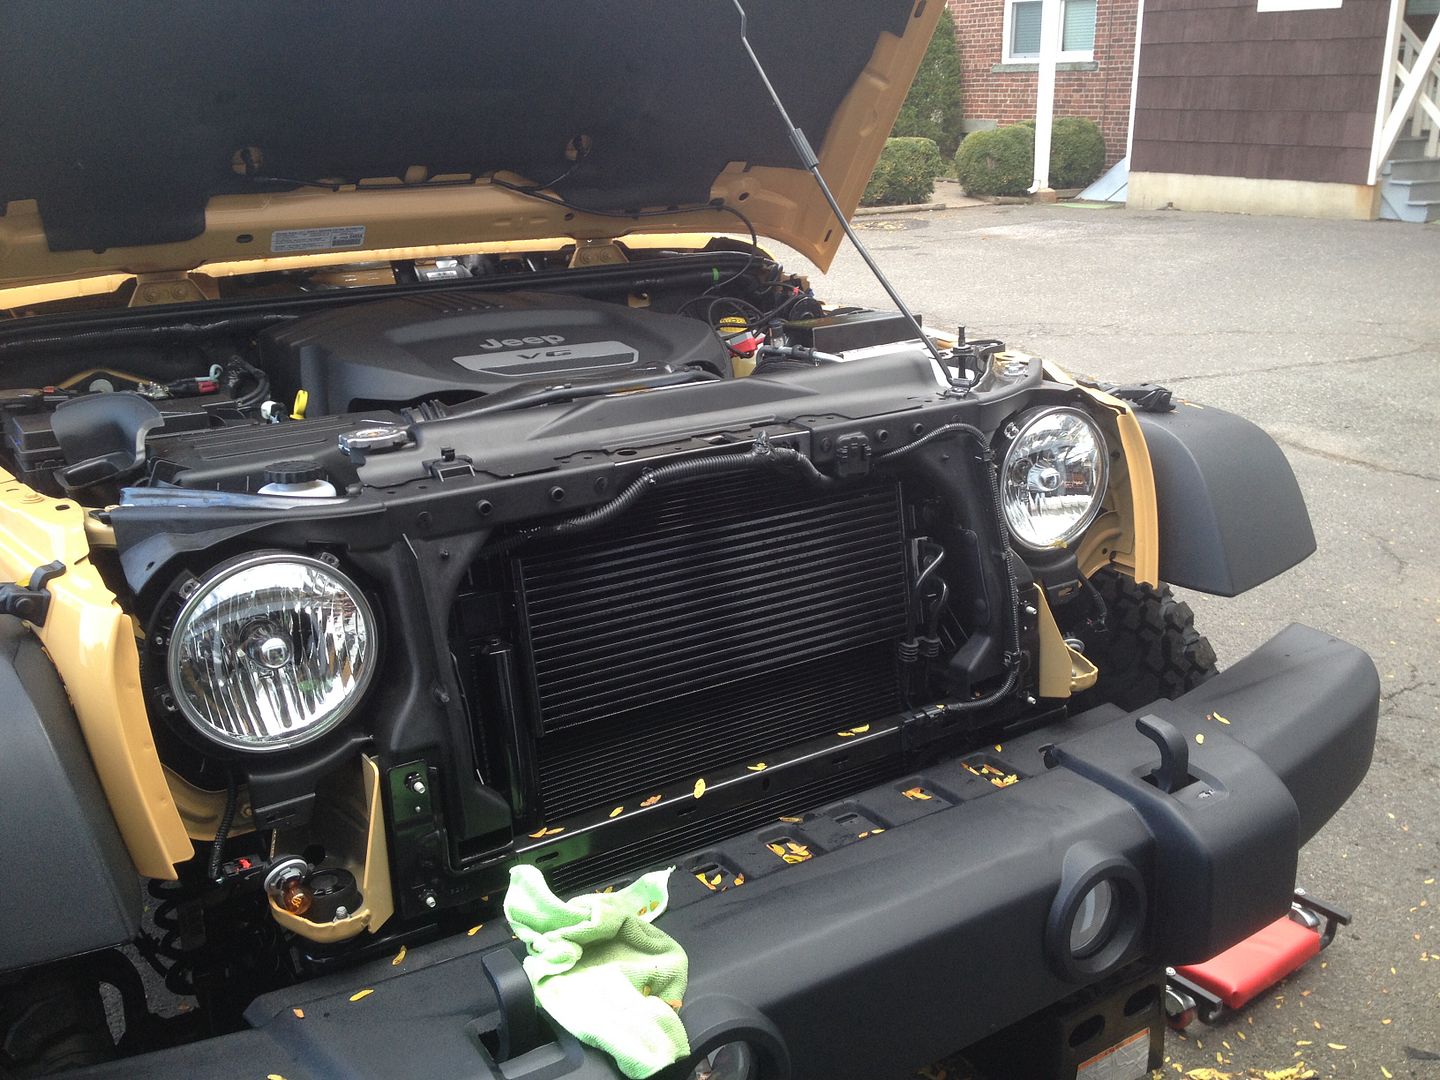
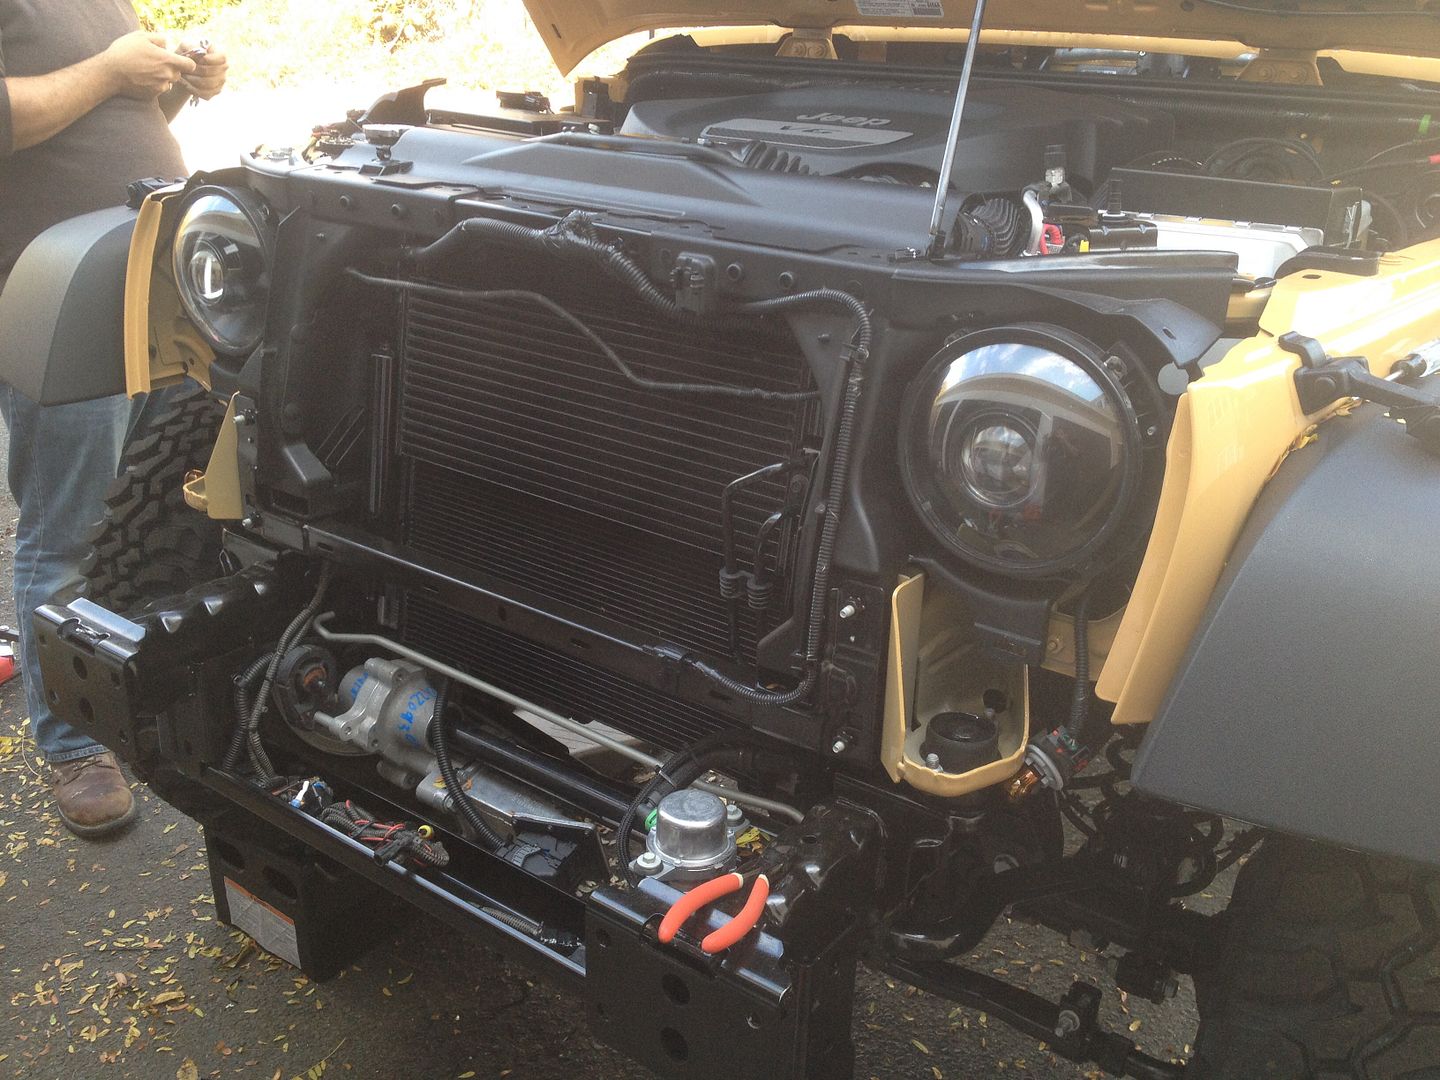
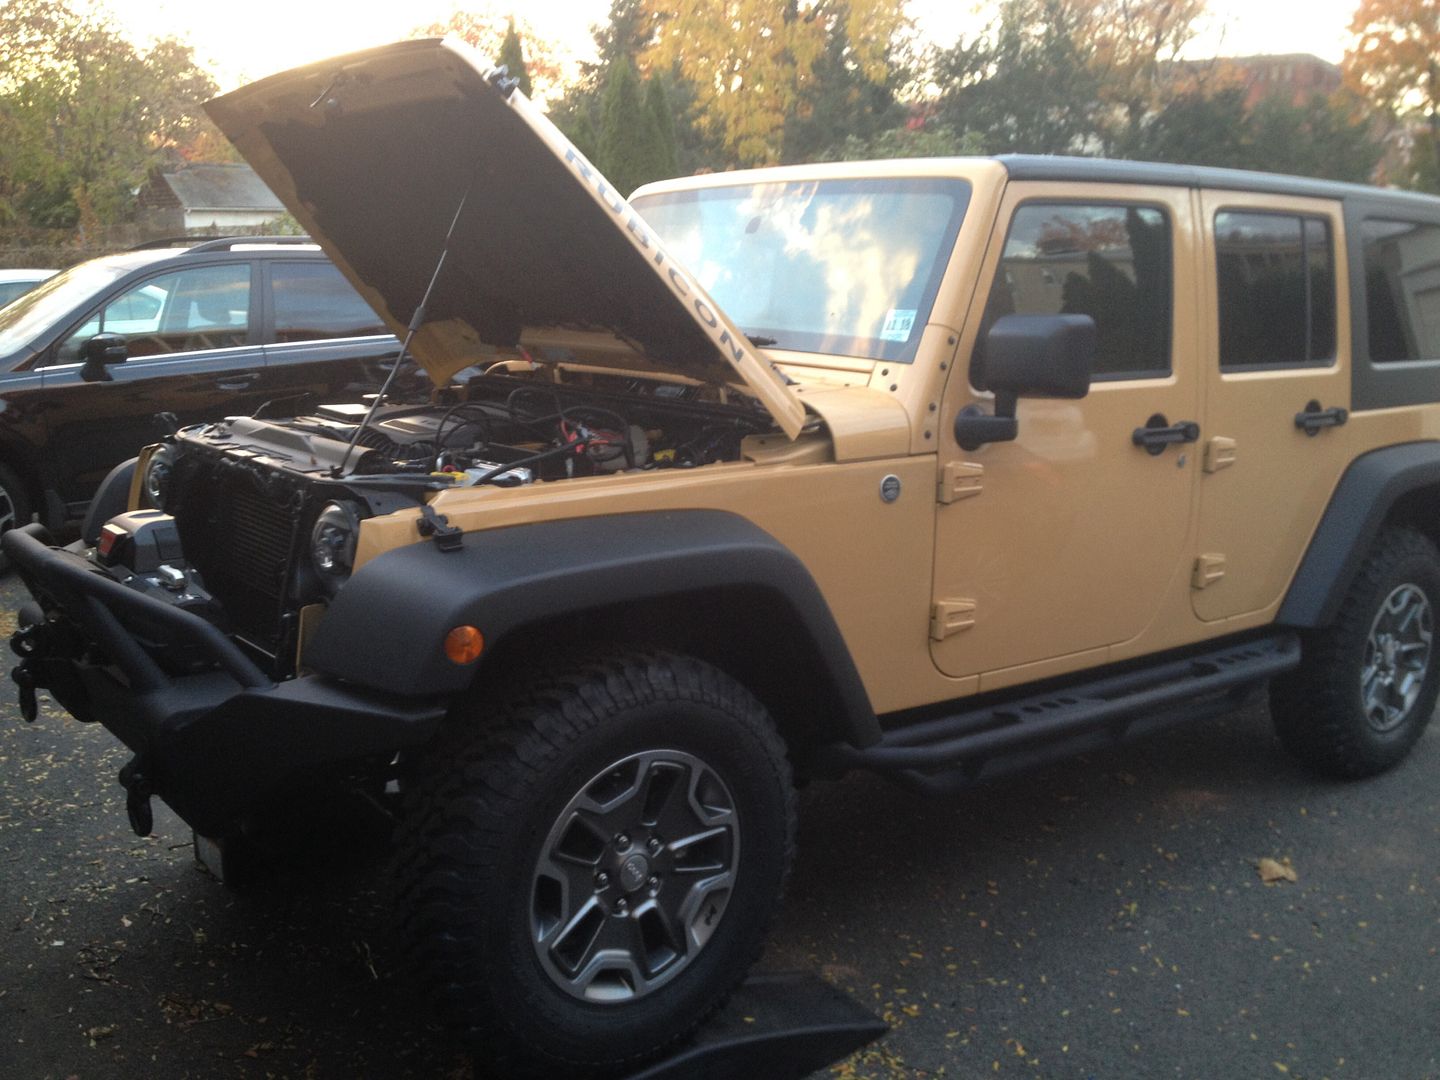
Buddy was coming over to help, so I got up early and started stripping....

D681BB3F-5FE1-40D4-88C8-9BF2F6C73EFB-7053-00000653295545FD_zps7ae81d59.jpg


Grill gets plastidipped later...

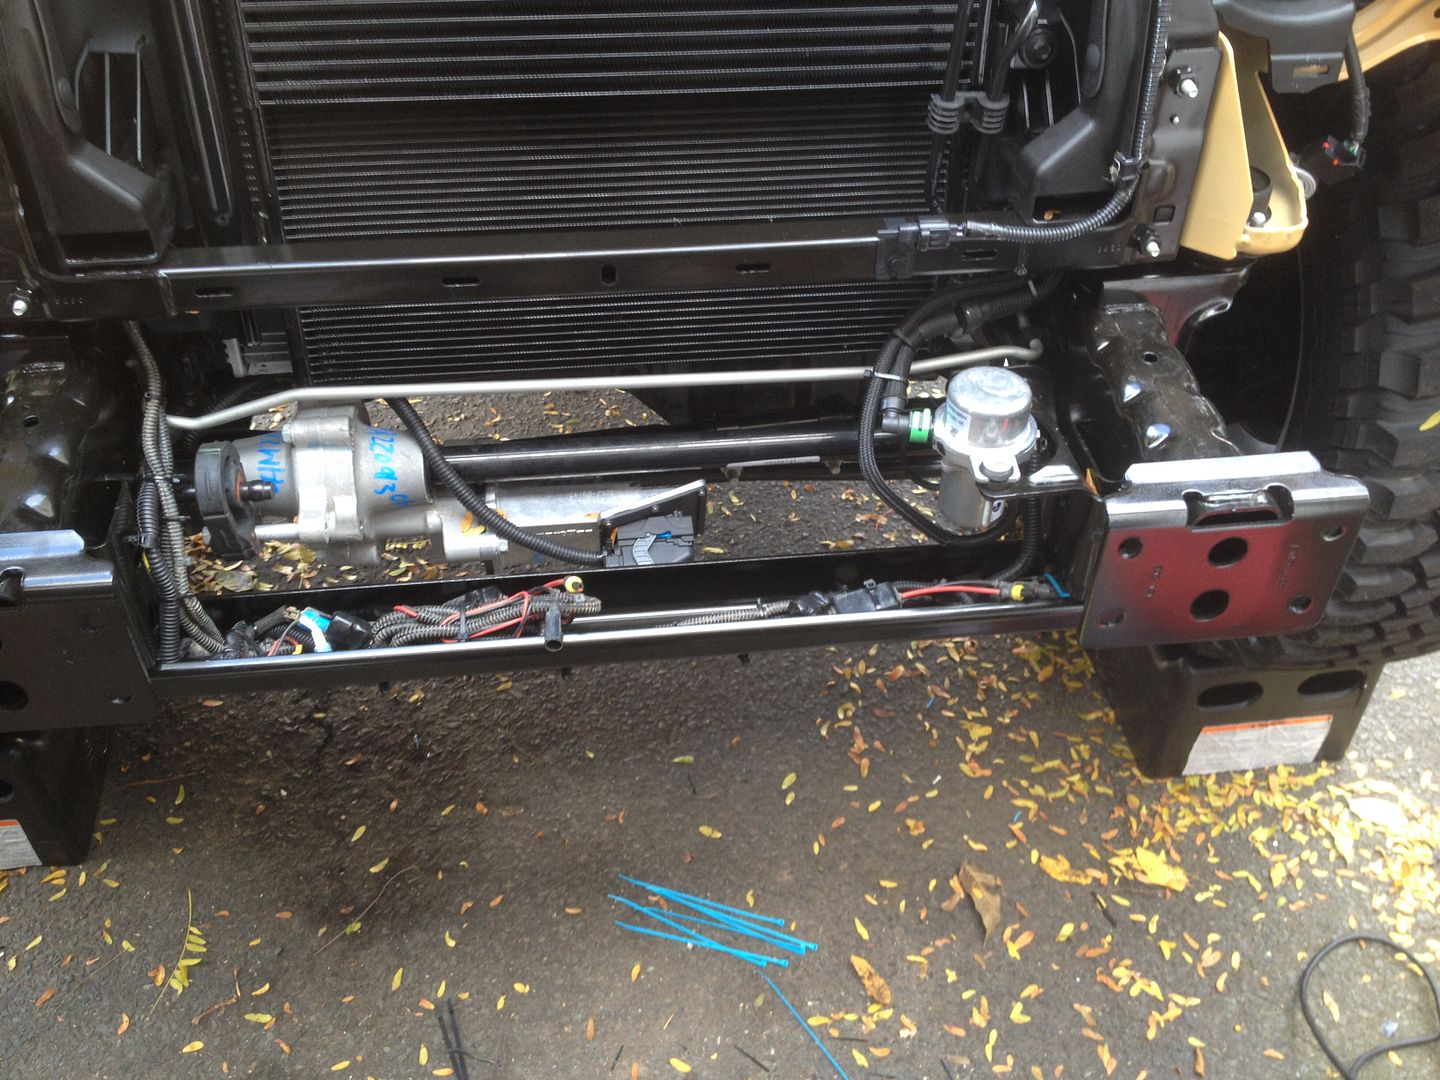
Ran all the HID stuff in the crossbeam...finally found a use for it. :D

43EB205E-9B73-4332-BDF9-964B16856D77-7053-0000065321DC0CD1_zps83189045.jpg


Bixenons back in....

ACF14952-BD8F-4419-A52C-171E15B100B2-7053-000006531250D86D_zps1069a0d4.jpg


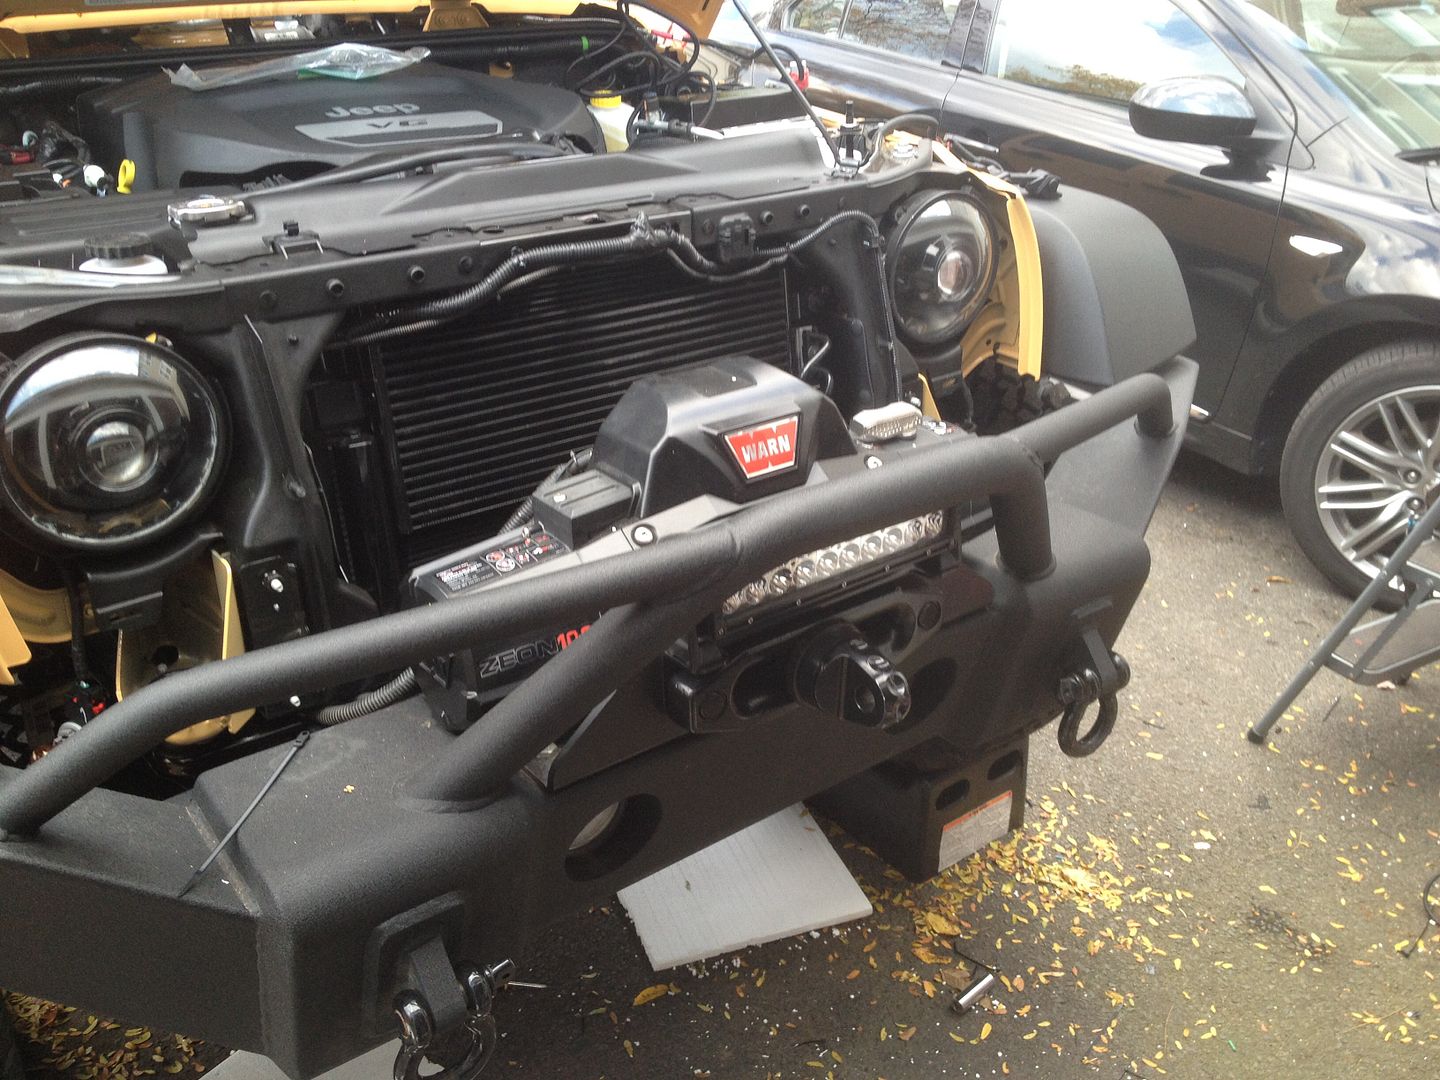
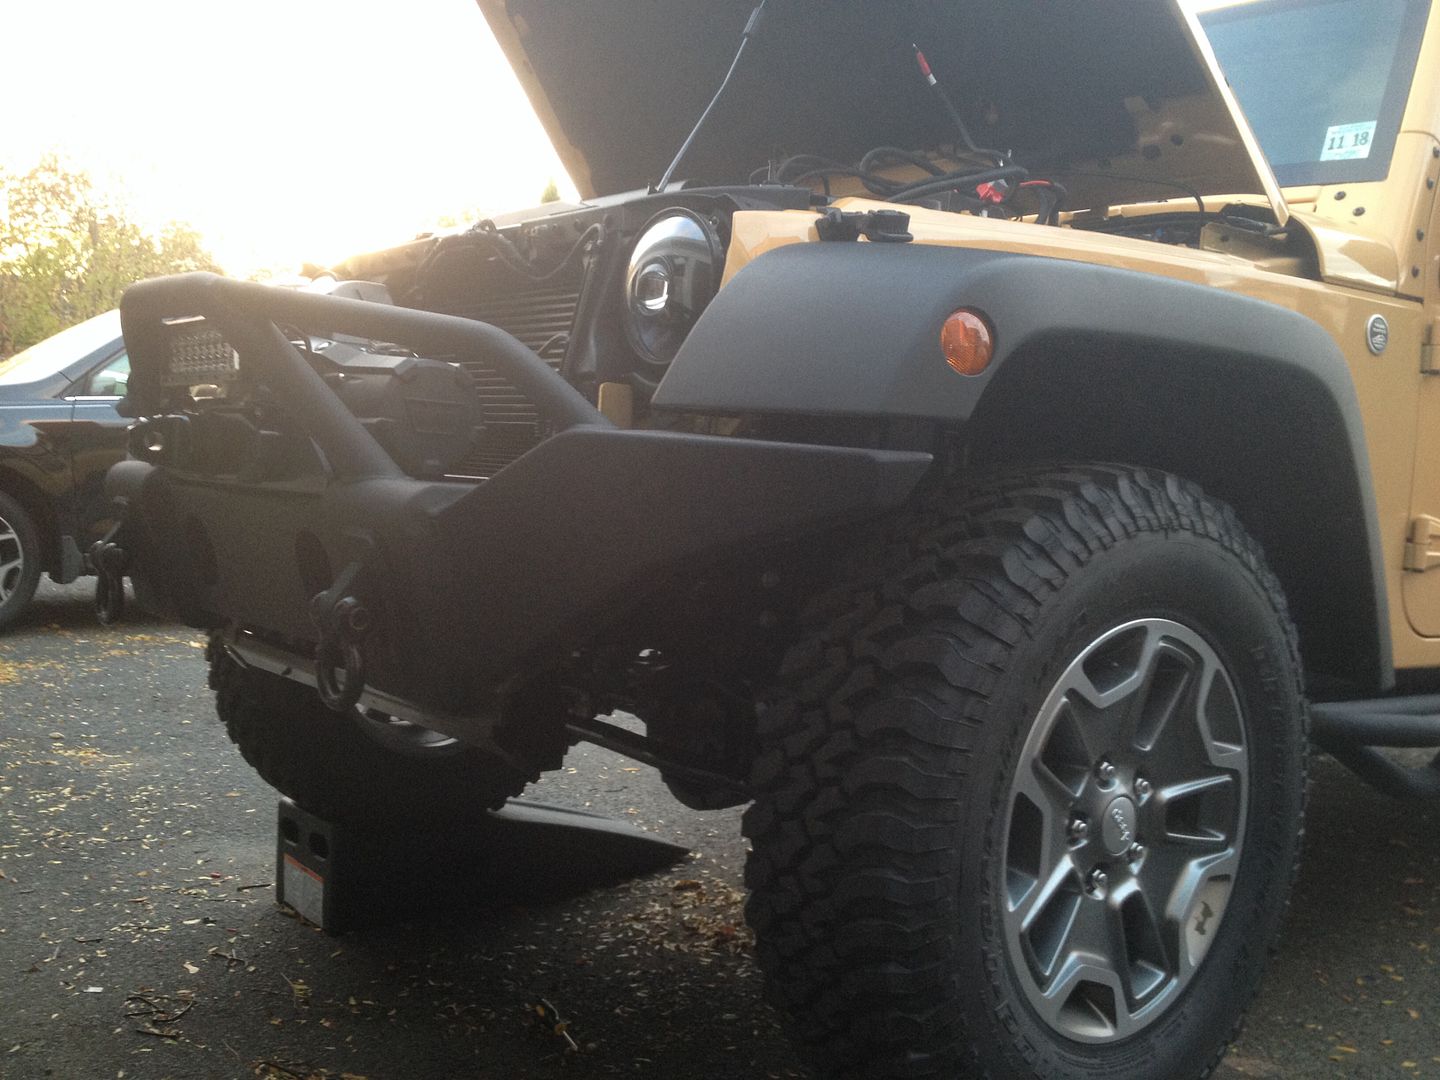
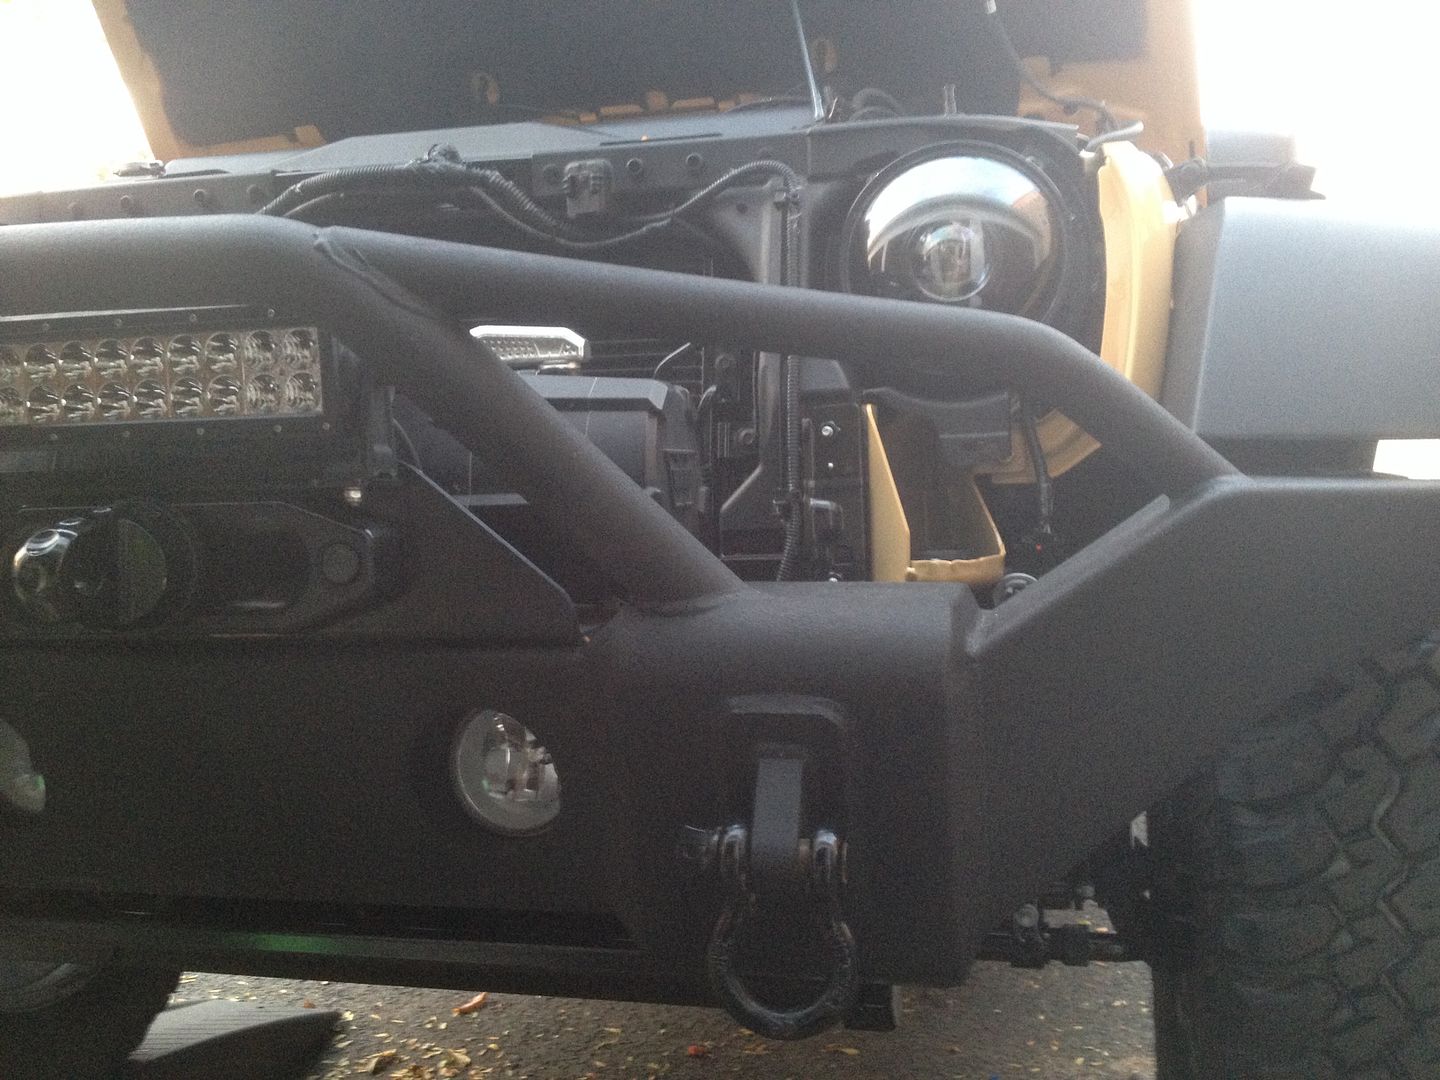
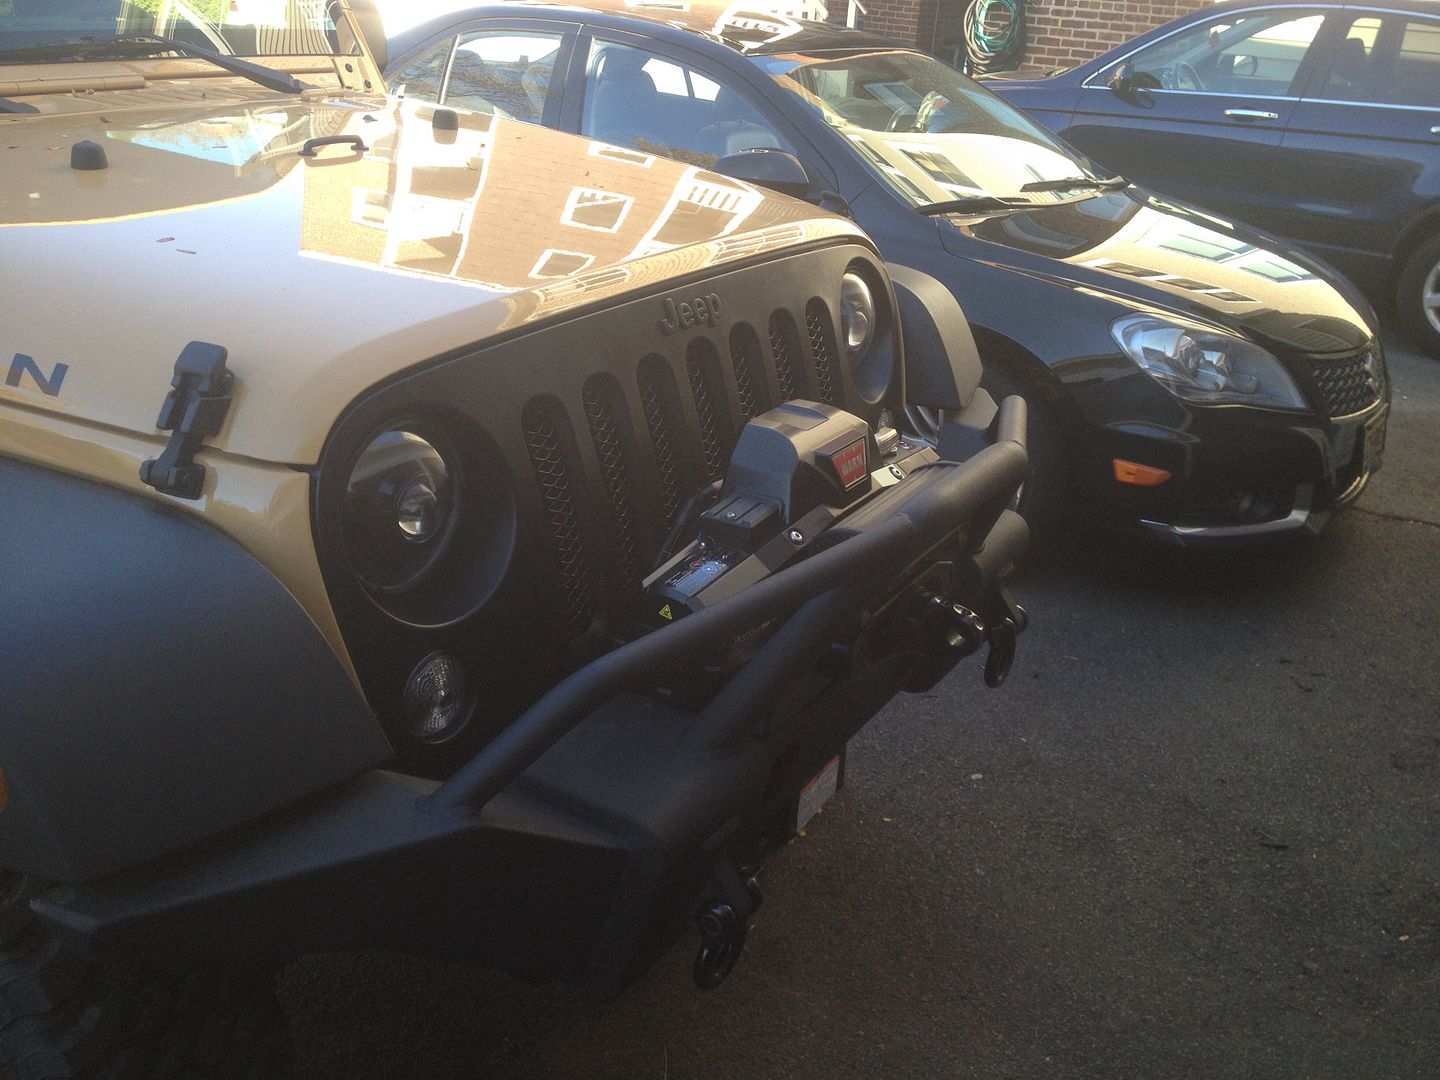
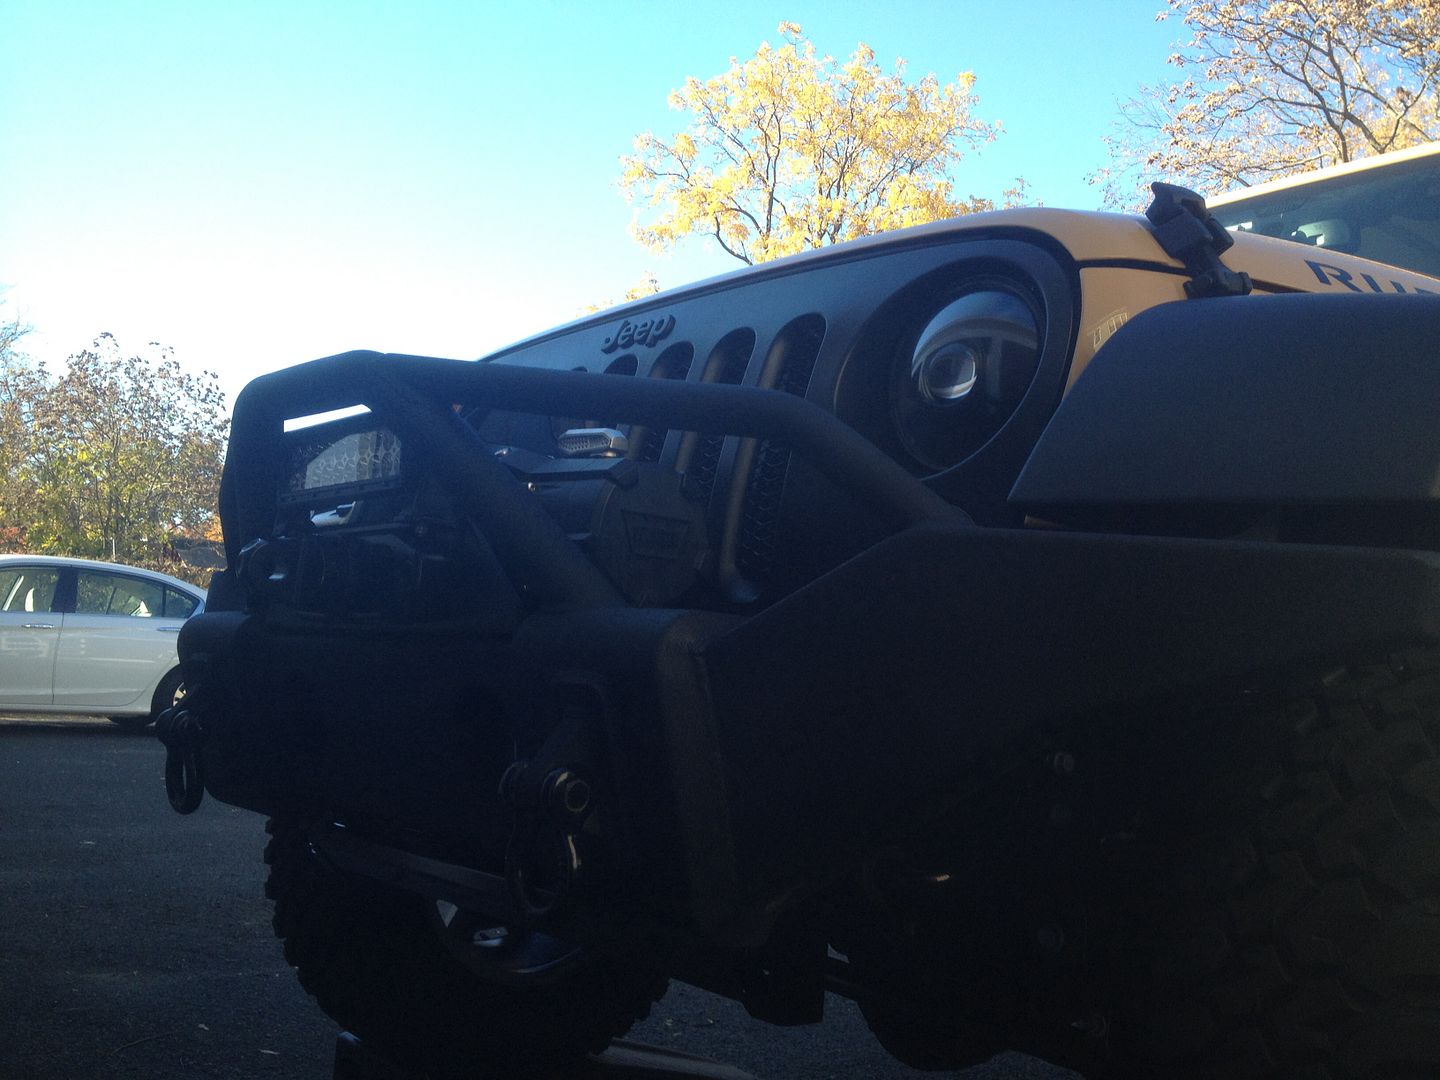
We removed the bumper in one piece from Scoripion 1 (everything was still attached...ie winch, 10" lightbar) so it was just a matter of sliding it on and bolting it up

DD6EE44B-B99B-4B32-B446-5EAE9D90767C-7053-0000065309E66BAE_zps197ab686.jpg


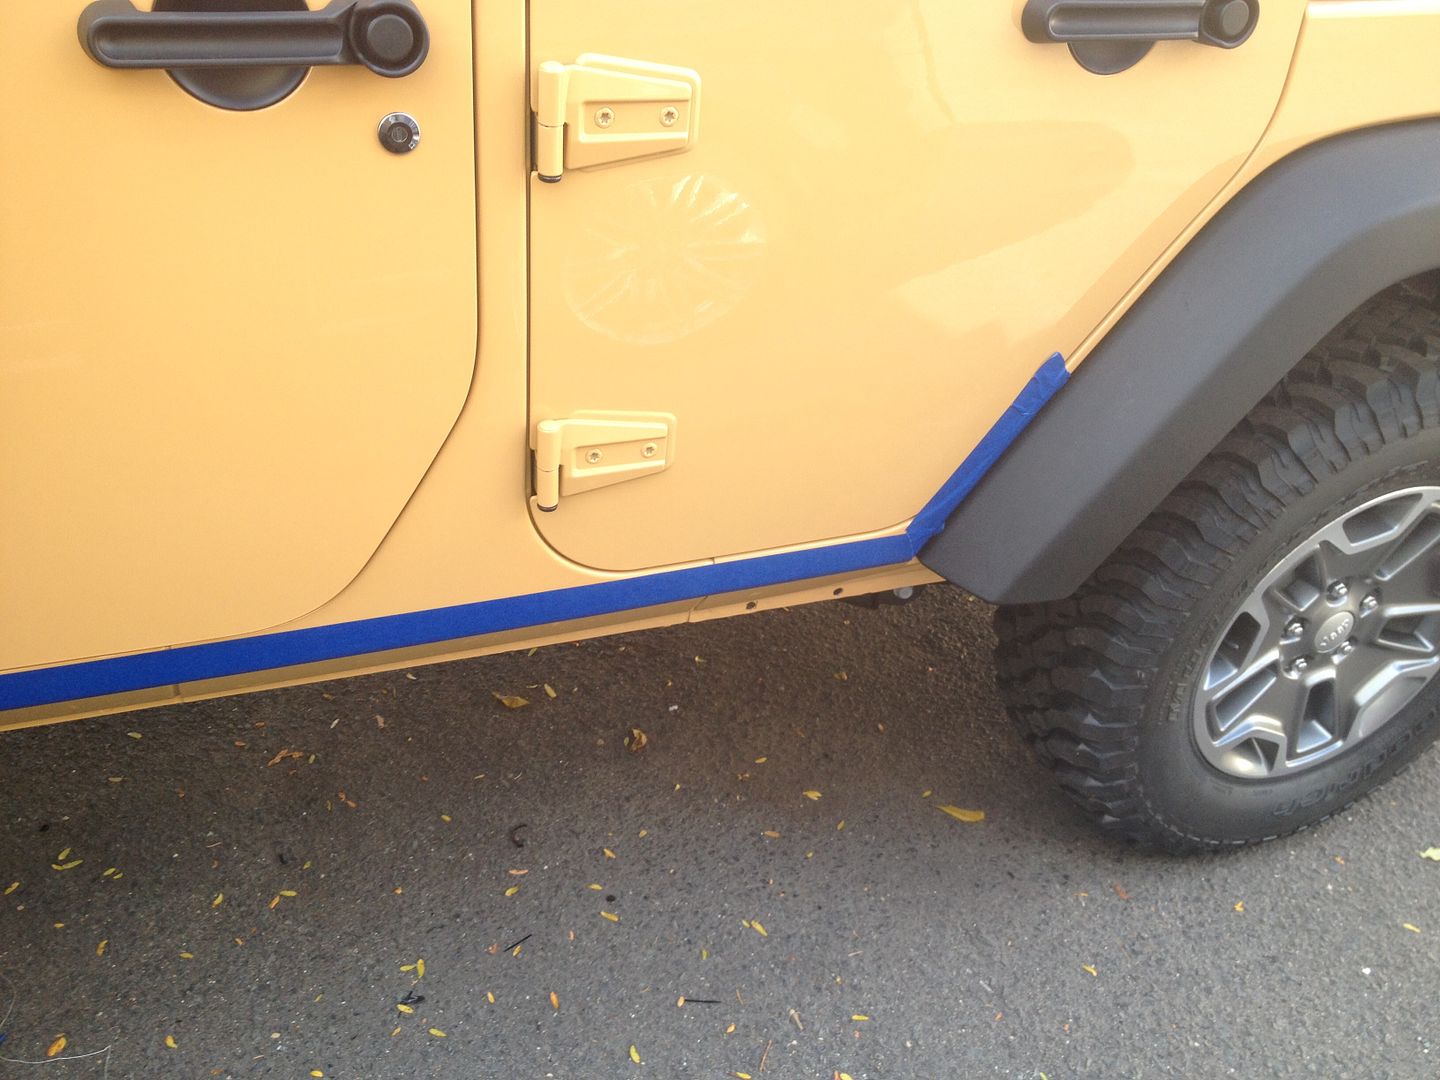
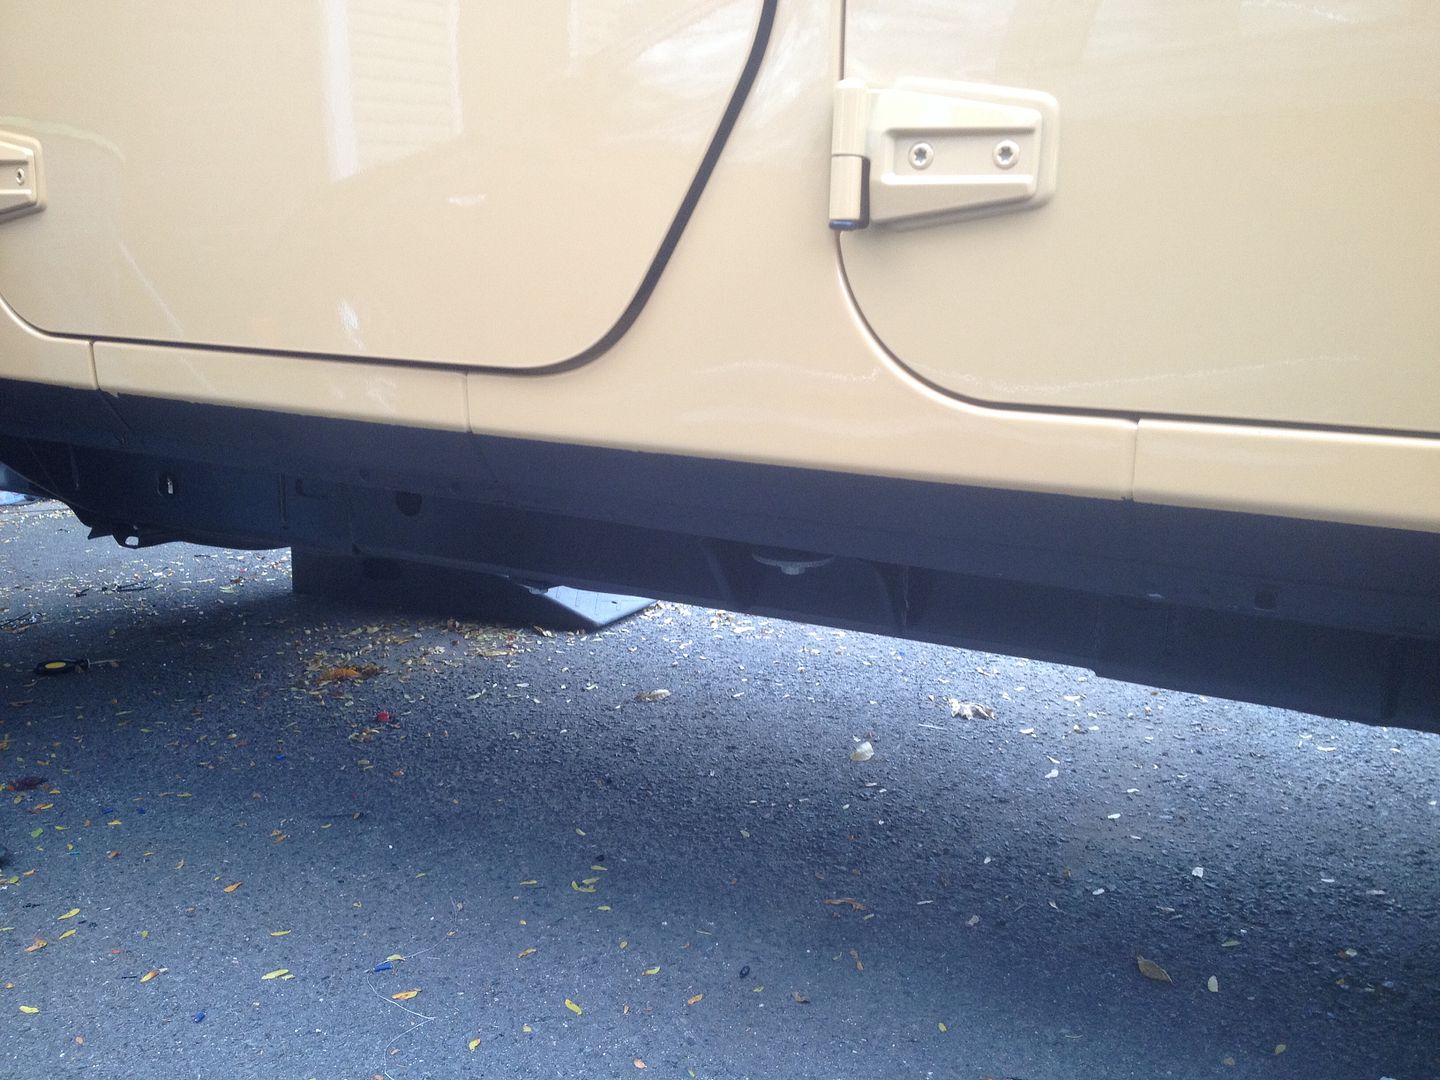
Next, removed the rubi rails, and plastidipped the pinchseam to just below the body line....this area will all be covered with Poison Spyder rocker armor, so I didn't care if it was perfect.

7EB0D2B5-9B01-41DB-9F8D-65E8CA54F55C-7053-00000653010FFCBB_zpseae3b23f.jpg


Love me my plastidip

B58276B2-1E1E-49A6-9810-4EB820CE9E5A-7053-00000652F5DF8E12_zps7e668632.jpg


Dipped all the way around, including in the fender area

D9050DD3-C2C9-4BBB-BA7F-402A0E5BCB04-7053-00000652ED2BEA63_zpsdef072d9.jpg


From a distance...looks 400% better.

C70BBFF3-DB1B-4145-8AC3-EC13B61FD9FB-7053-00000652E4F7ECAD_zps6e4e250f.jpg
 
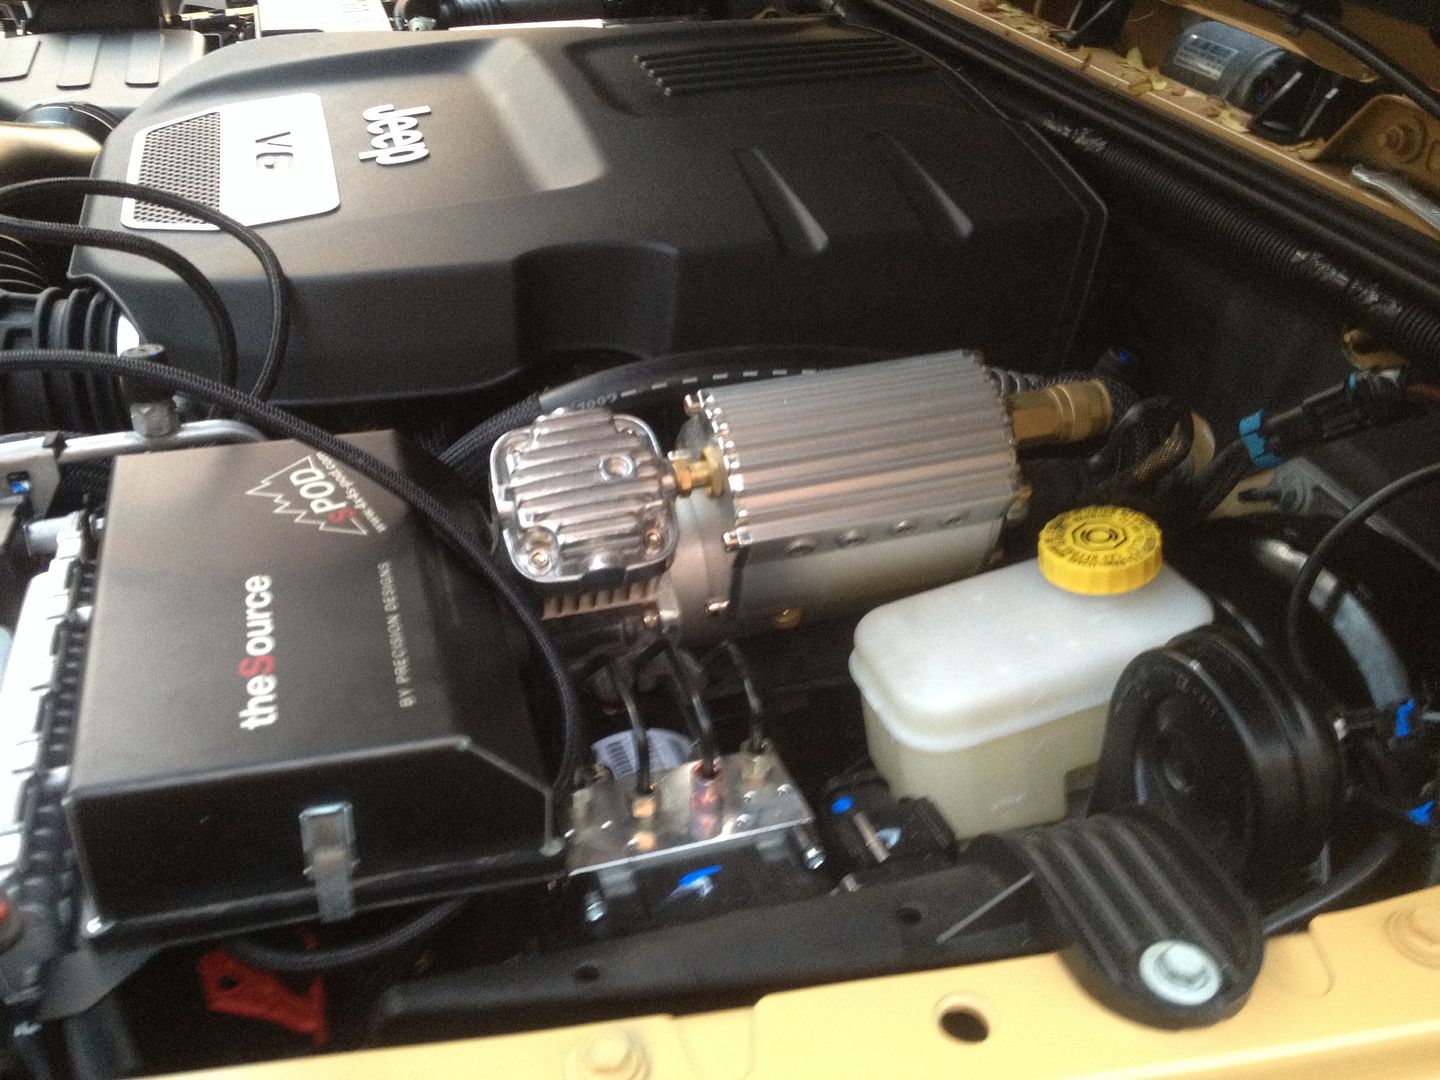
Next, installed the VIAIR onboard compressor. PITA on the 14 (and the 13s probably if they have the updated horns)....as you need to remove the horn for everything to fit properly.


8C91F67A-F67E-49E7-8167-9552BA46E05D-7053-00000652DC589DE6_zpsaba34204.jpg


All that wiring is SPOD wiring, compressor wiring, etc. I ran out of daylight, so I'll finish up later on, probably on Monday.

Side rails back on...its amazing how inconvenient things are without a place to step...I love the way the rubi rails look but not having a step sucked. Glad to have em back.

A3945371-770E-4772-9C1F-4856E9933D6F-7053-00000652D4DAFA0E_zpsec01686f.jpg


Bumper bolted back up

9592F3E7-56C3-4B4B-9153-FC7FC55D1509-7053-00000652CC7D3FB6_zps5f514b0b.jpg


022ACF4C-AB57-4587-ABD1-17DCFBE71733-7053-00000652C14860D4_zps8439a5d0.jpg
 
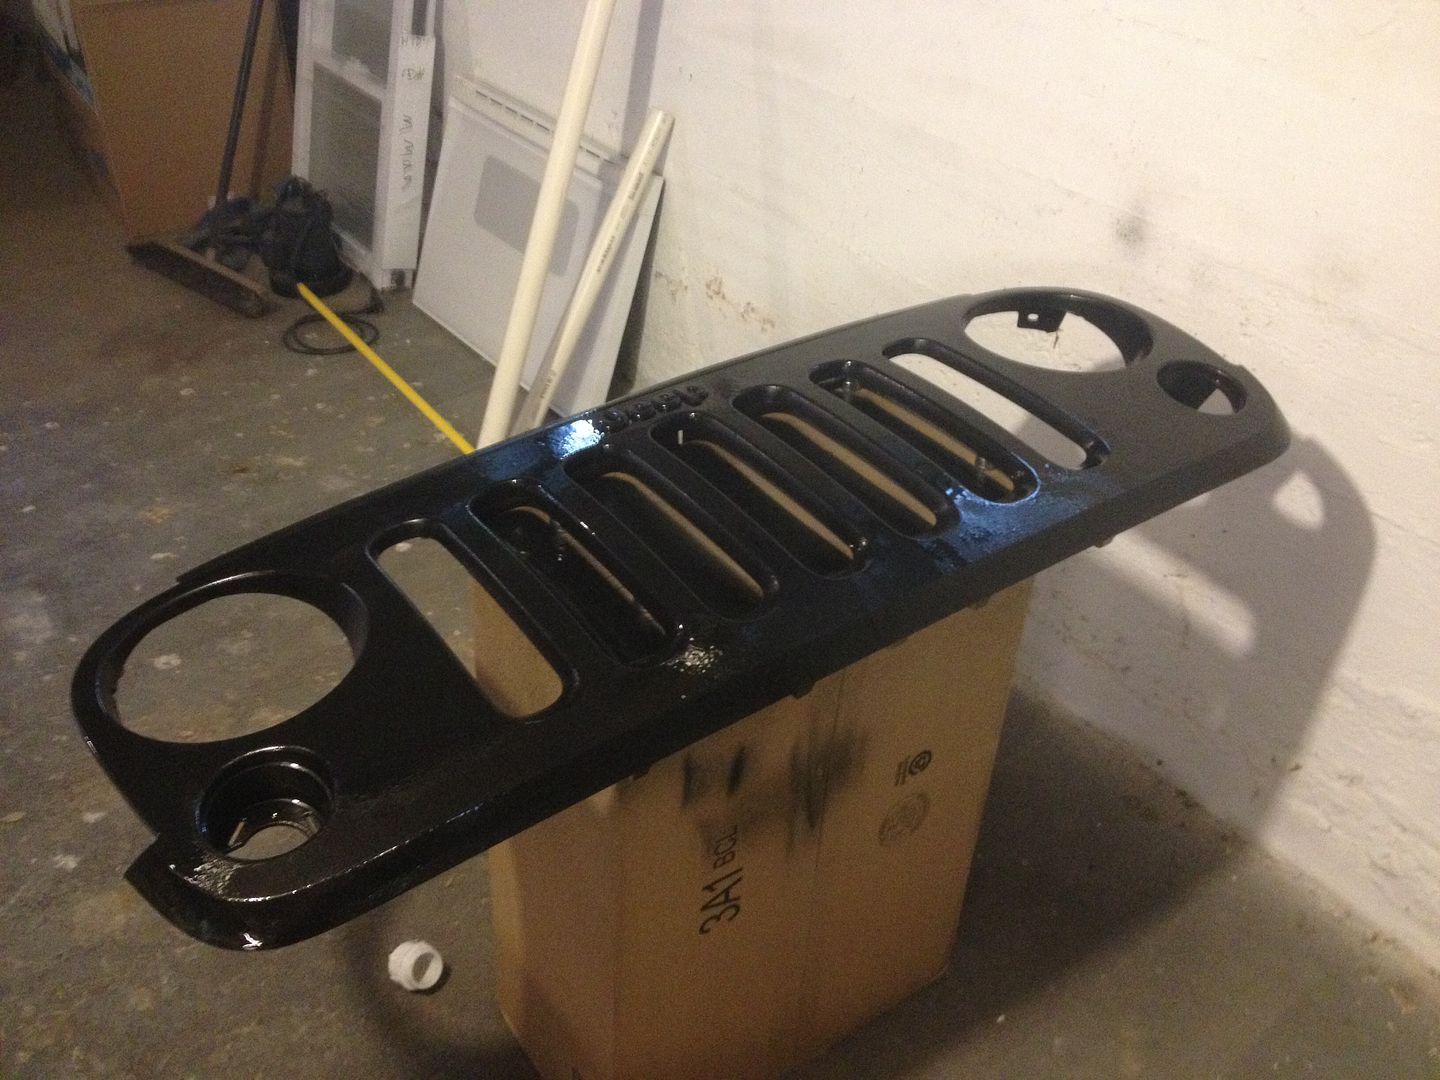
Time to plastidip the grill....

Started out in the basement because it was just too cold outside...

8663EC95-FC50-4E6A-A582-87B359D813FA-7985-0000079247D7630B_zpsb8d792f1.jpg


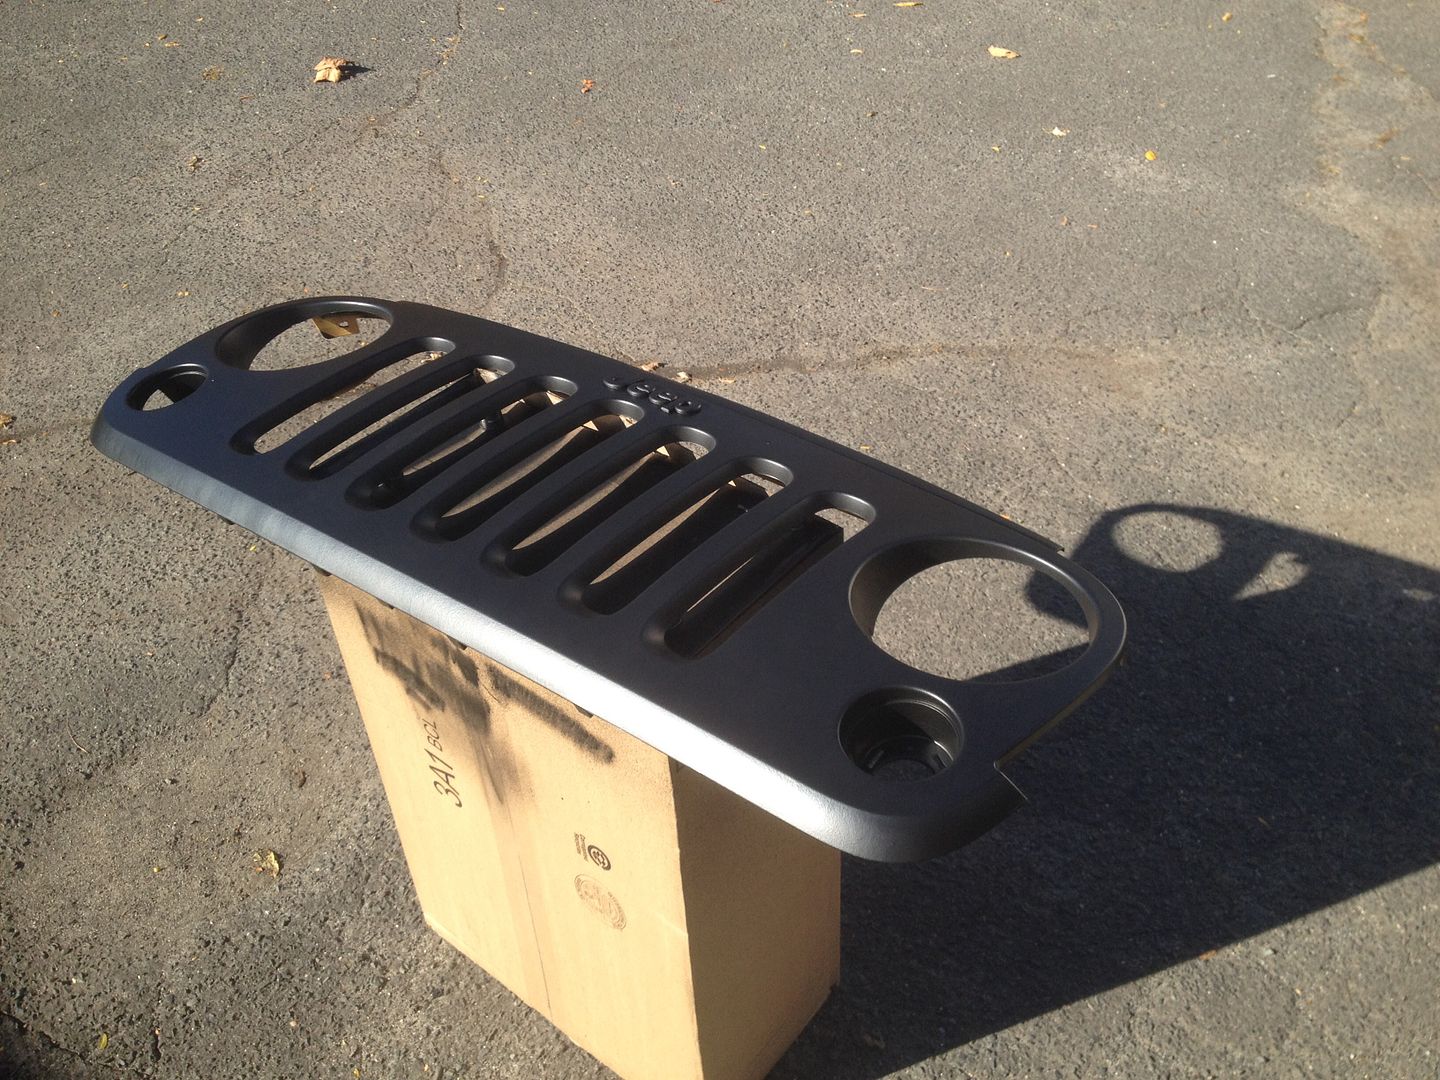
Afterwards the sun came out, and made the dip dry a lot faster so I moved the project outside. I went heavy this time...after 10 coats I forgot to keep counting, so I probably threw down 12-14 coats....I put it on HEAVY...dumped two whole cans on it.

74F7CAC6-B664-48B3-A83A-7D28C4741366-7985-000007923FDA3639_zpsfad9a0e6.jpg


Installed.

2780E1BA-68D6-4538-B1A8-843AB8157AB3-7985-00000792363E146C_zps9c284b64.jpg


31935E75-8AF1-493F-8F71-8363F5D2B3BA-7985-000007922D883A65_zps764d3309.jpg


2CEFFD7D-B6F7-492A-A80B-044F68FFC878-7985-00000792245AE34A_zps8e712a14.jpg
 
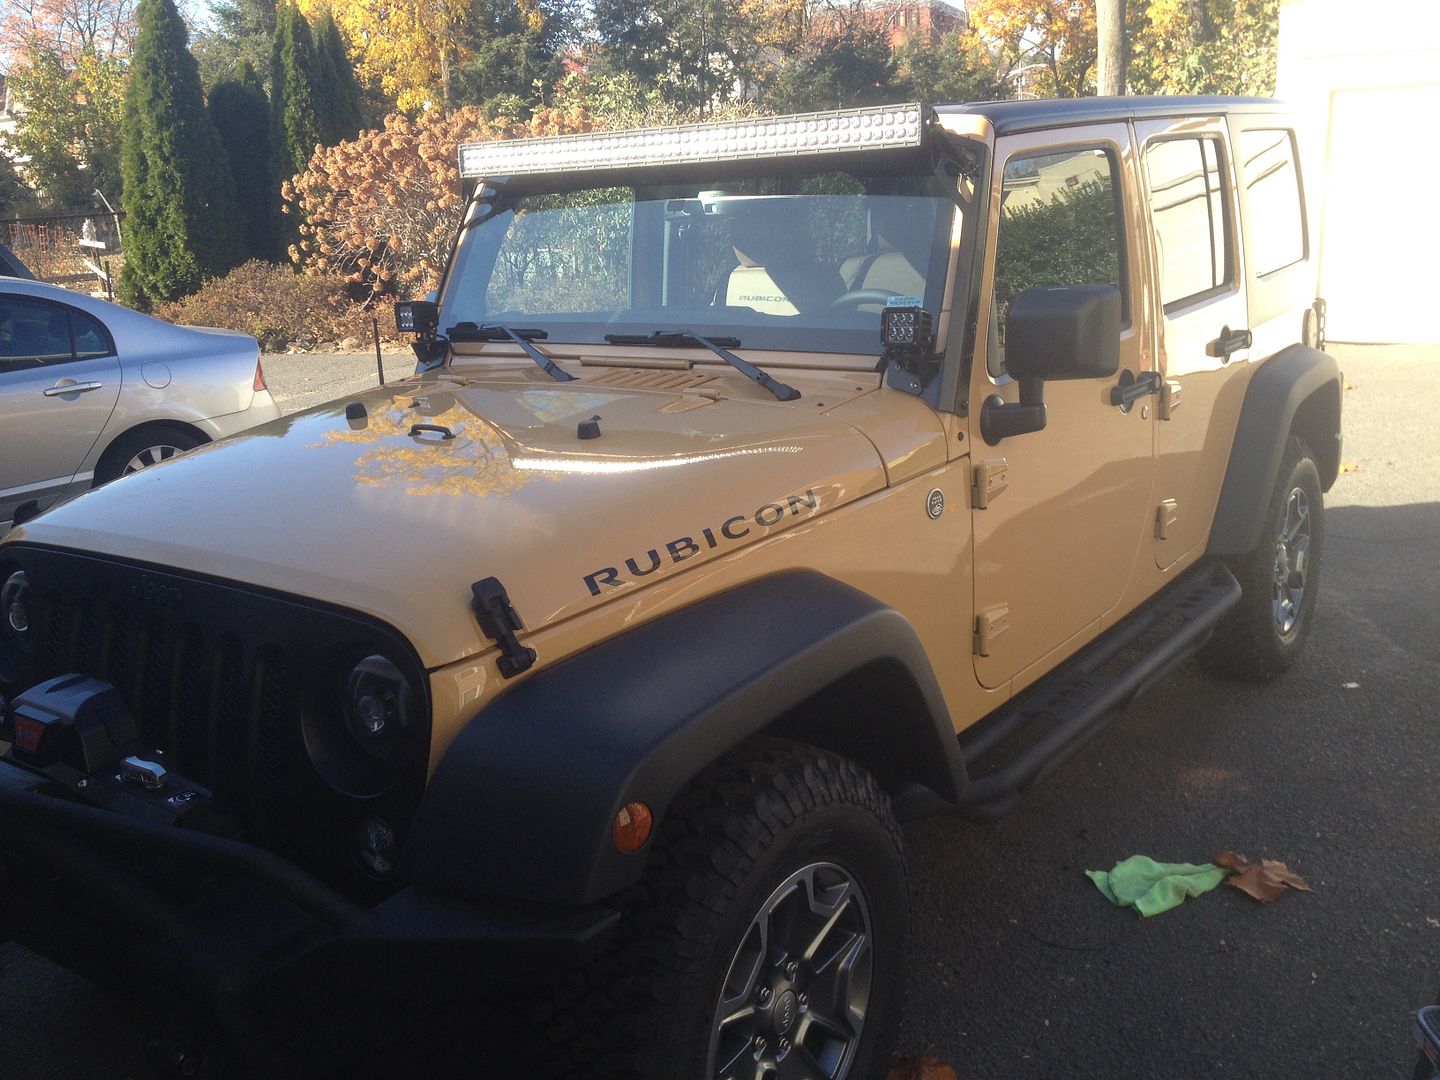
Time to bolt up some lights!

4017AF1E-8322-4EFB-8F7B-9D97D52D8C72-9502-0000087B4DF4AB96_zps6369093f.jpg


F00BC046-86A1-4397-928E-BDE94460181C-9502-0000087B57783C43_zps34489c6f.jpg


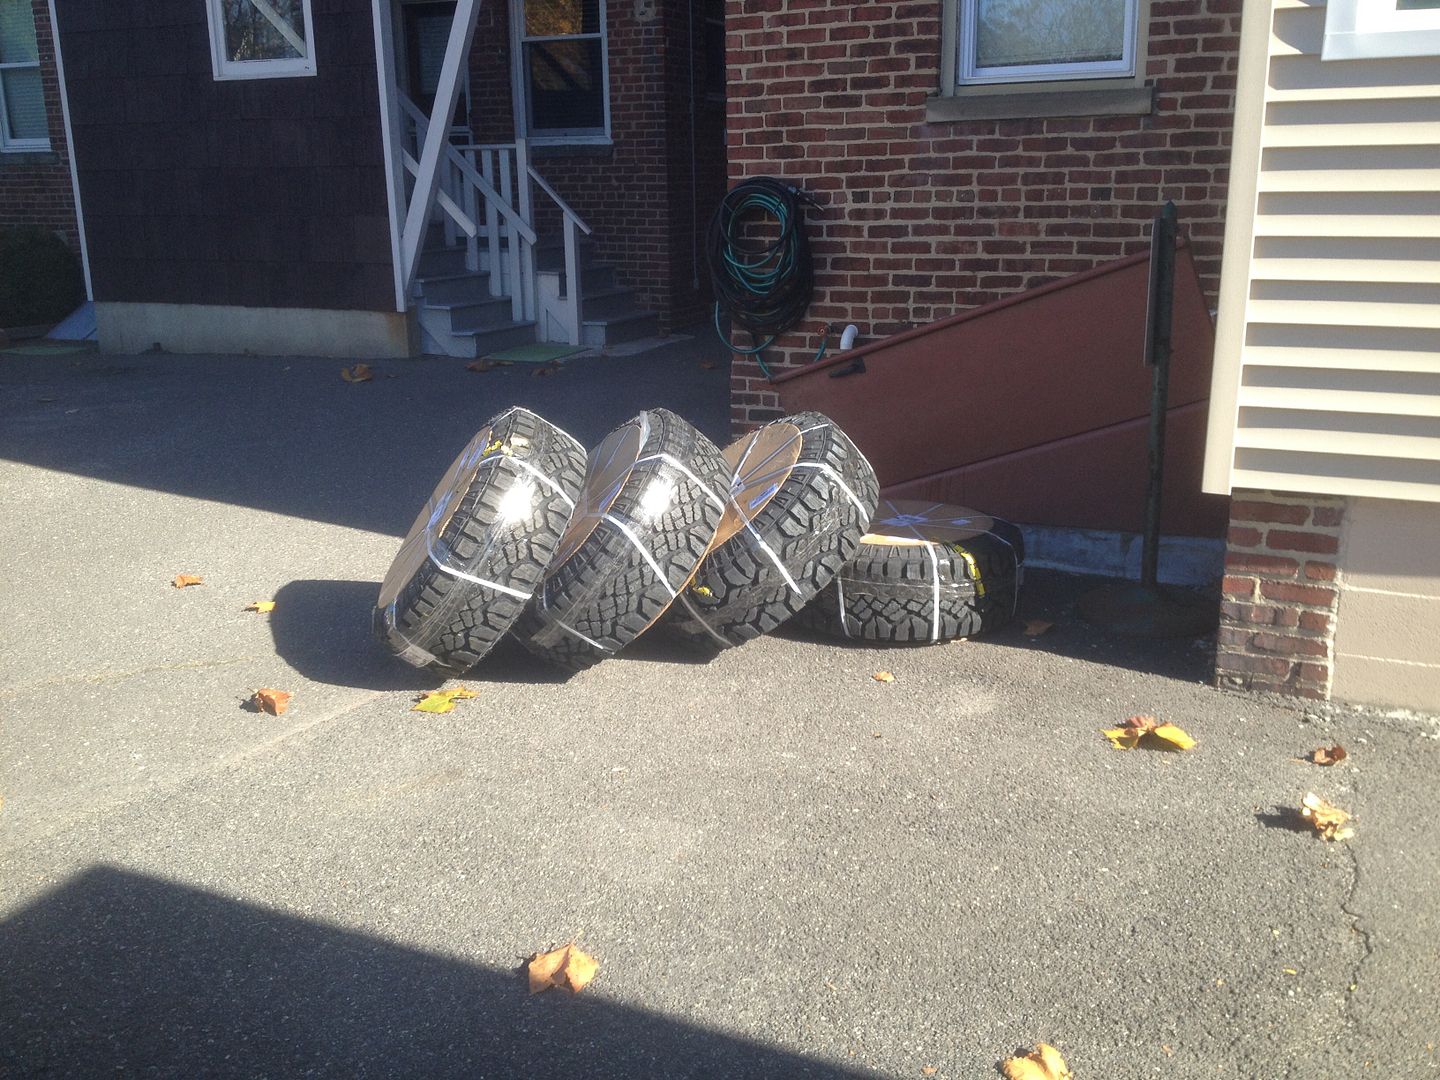
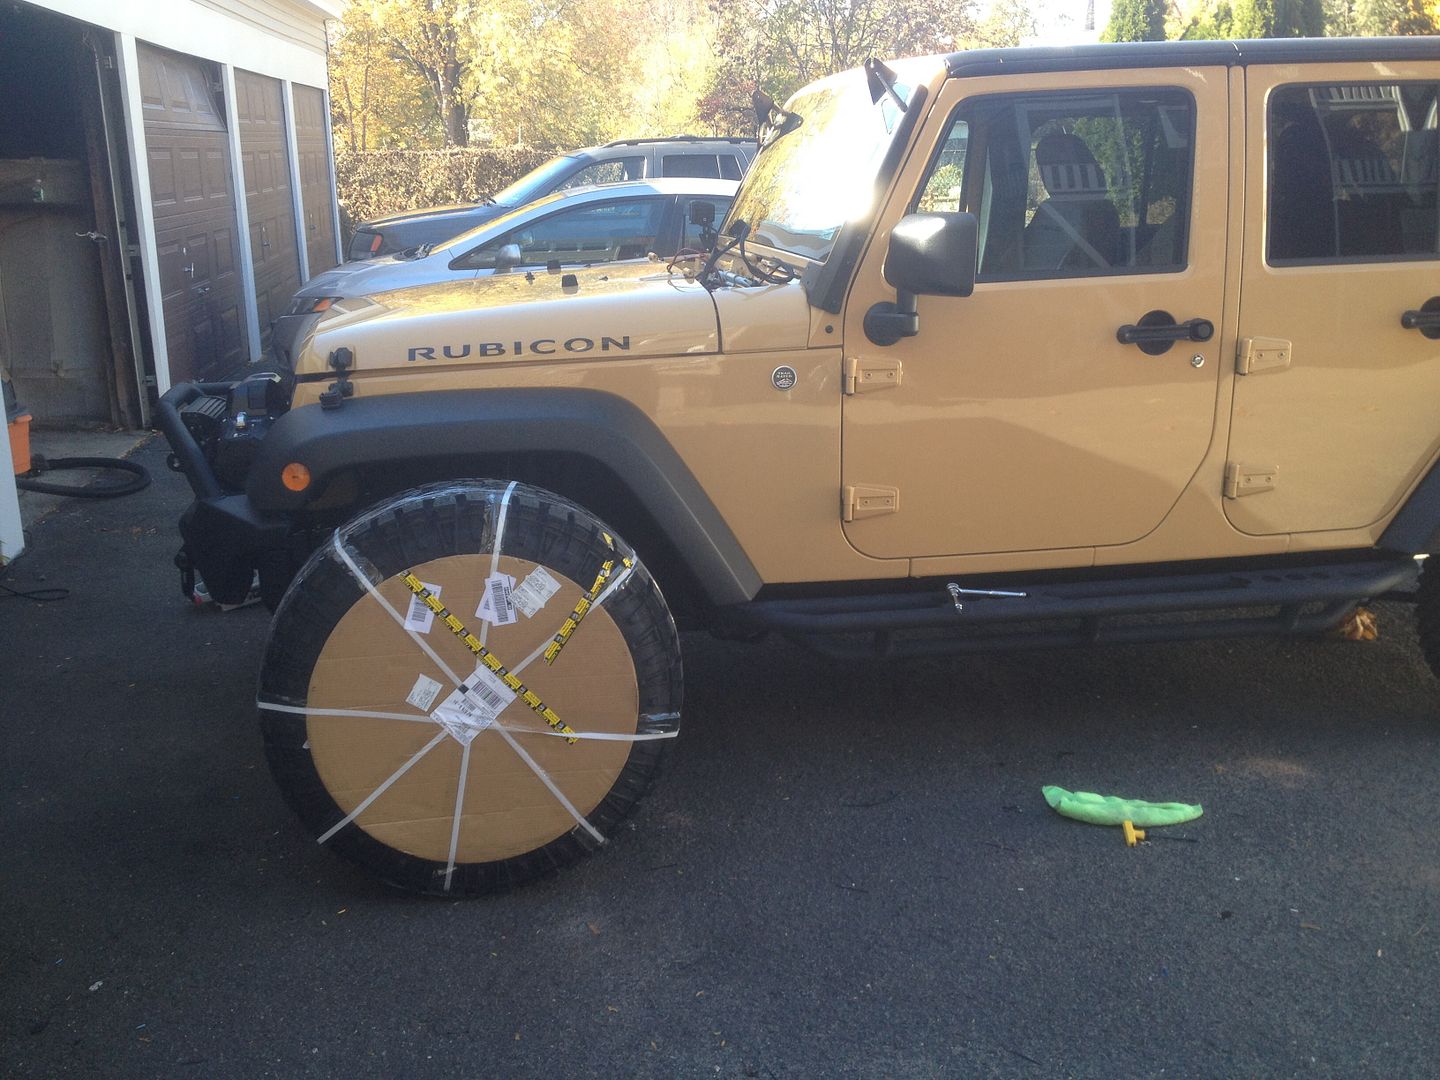
While doing that, the brown santa rolled up (thanks Discount Tire)...only 4 because the 5th was shipped from AZ and arrived later.

EABDD984-C607-44E1-8BC4-2A47218913B3-9502-0000087B73B43EAD_zpse31c5db6.jpg


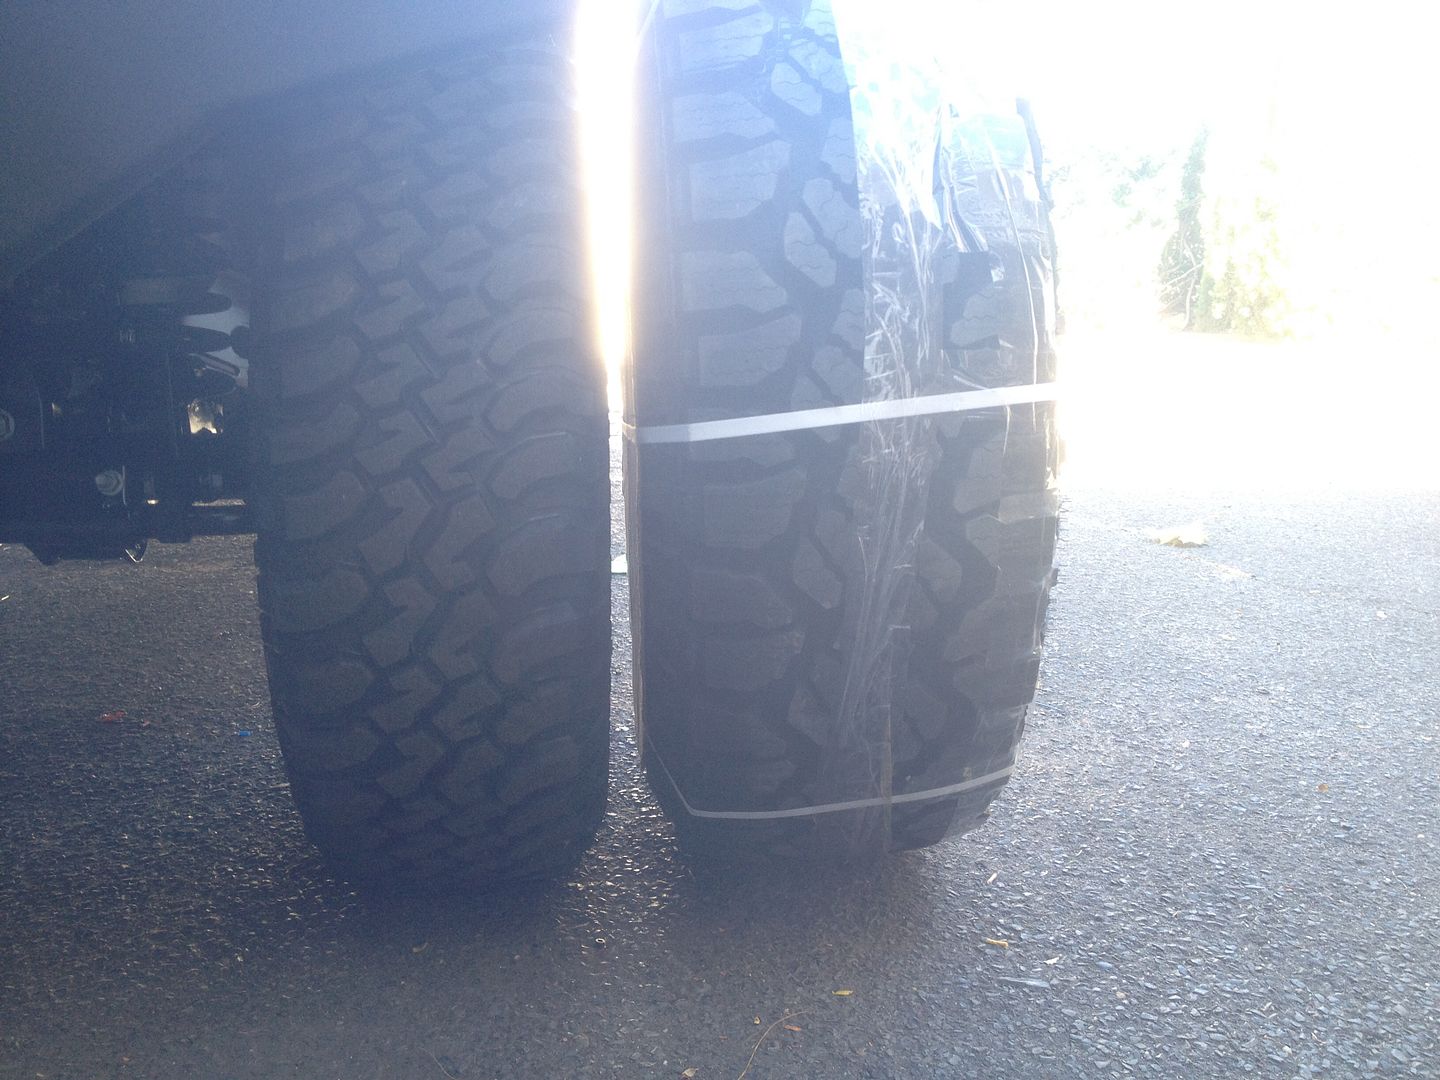
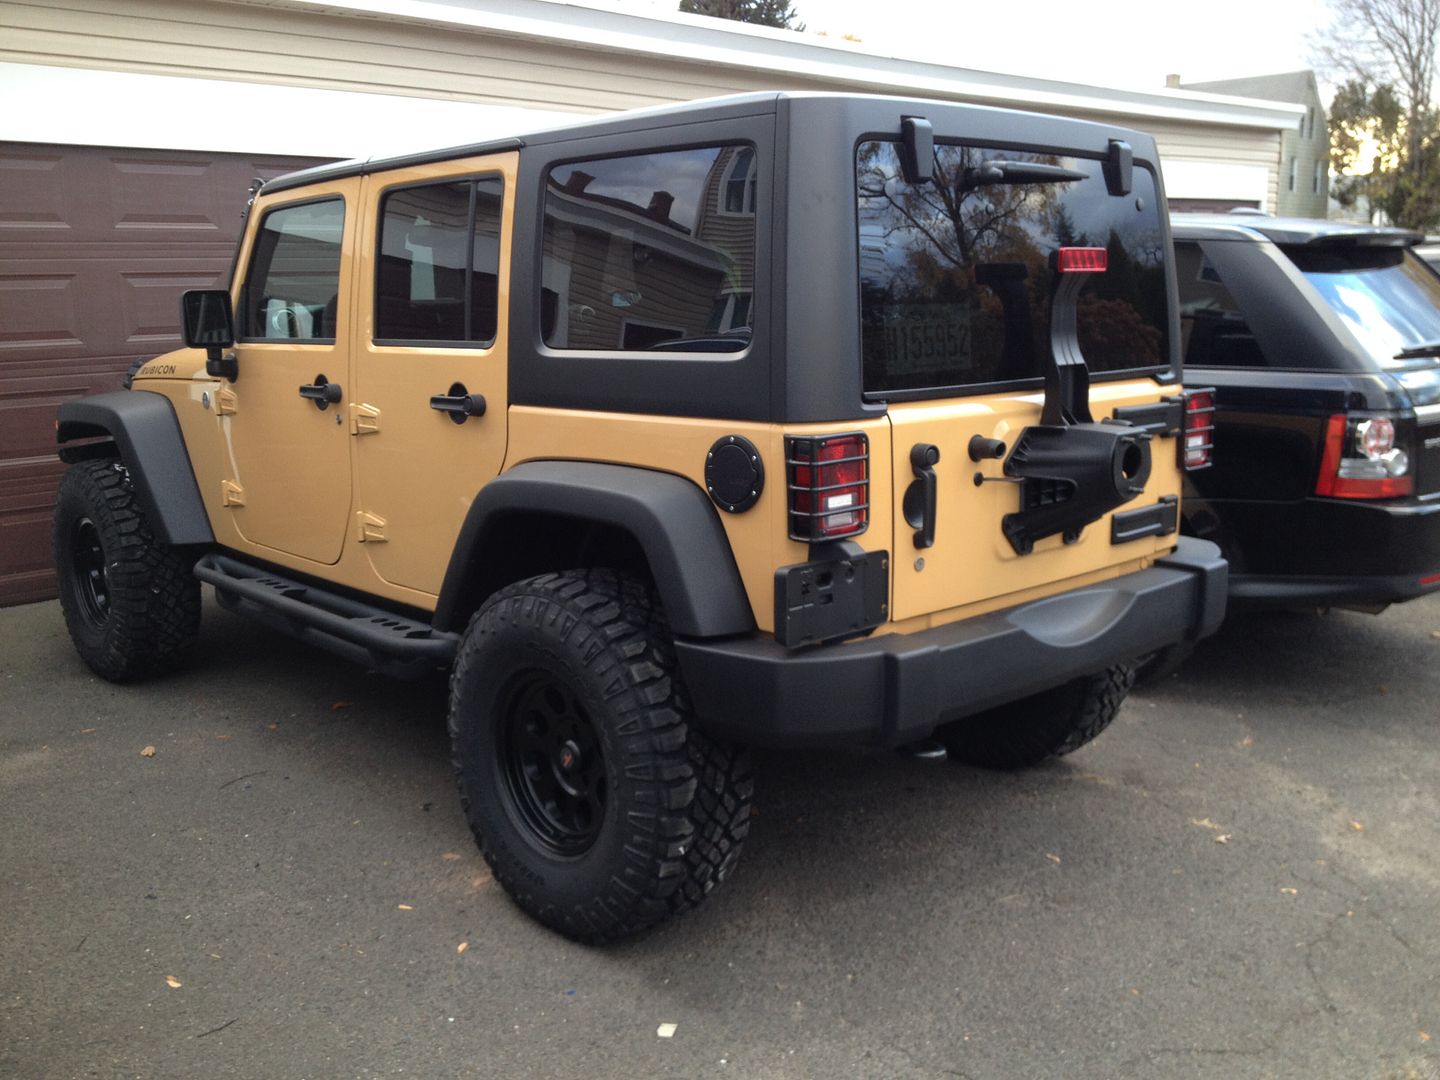
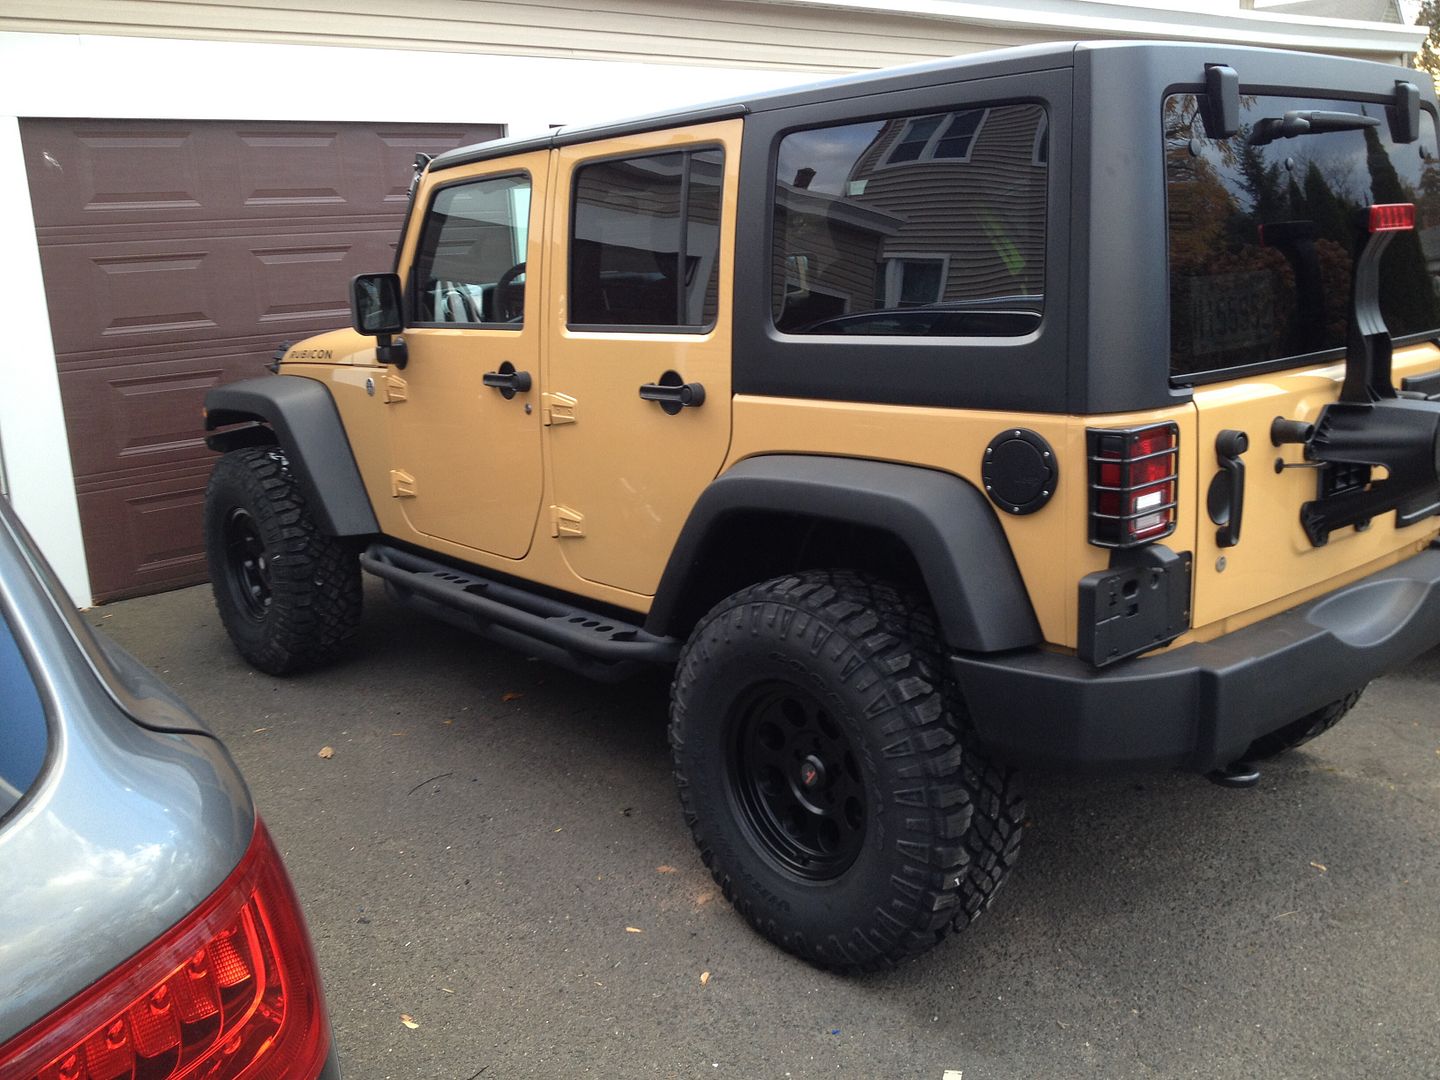
315/75/16 Duratracs on Level 8 Trackers.

582C4FA2-87DB-4231-AF61-908443615903-9502-0000087B6C095D11_zps51276495.jpg


F9443AD8-2CC7-4FF0-8D65-31171007F951-9502-0000087B60B713D5_zpsecba72a7.jpg
 
While home, I wasted no time in replacing the audio system...

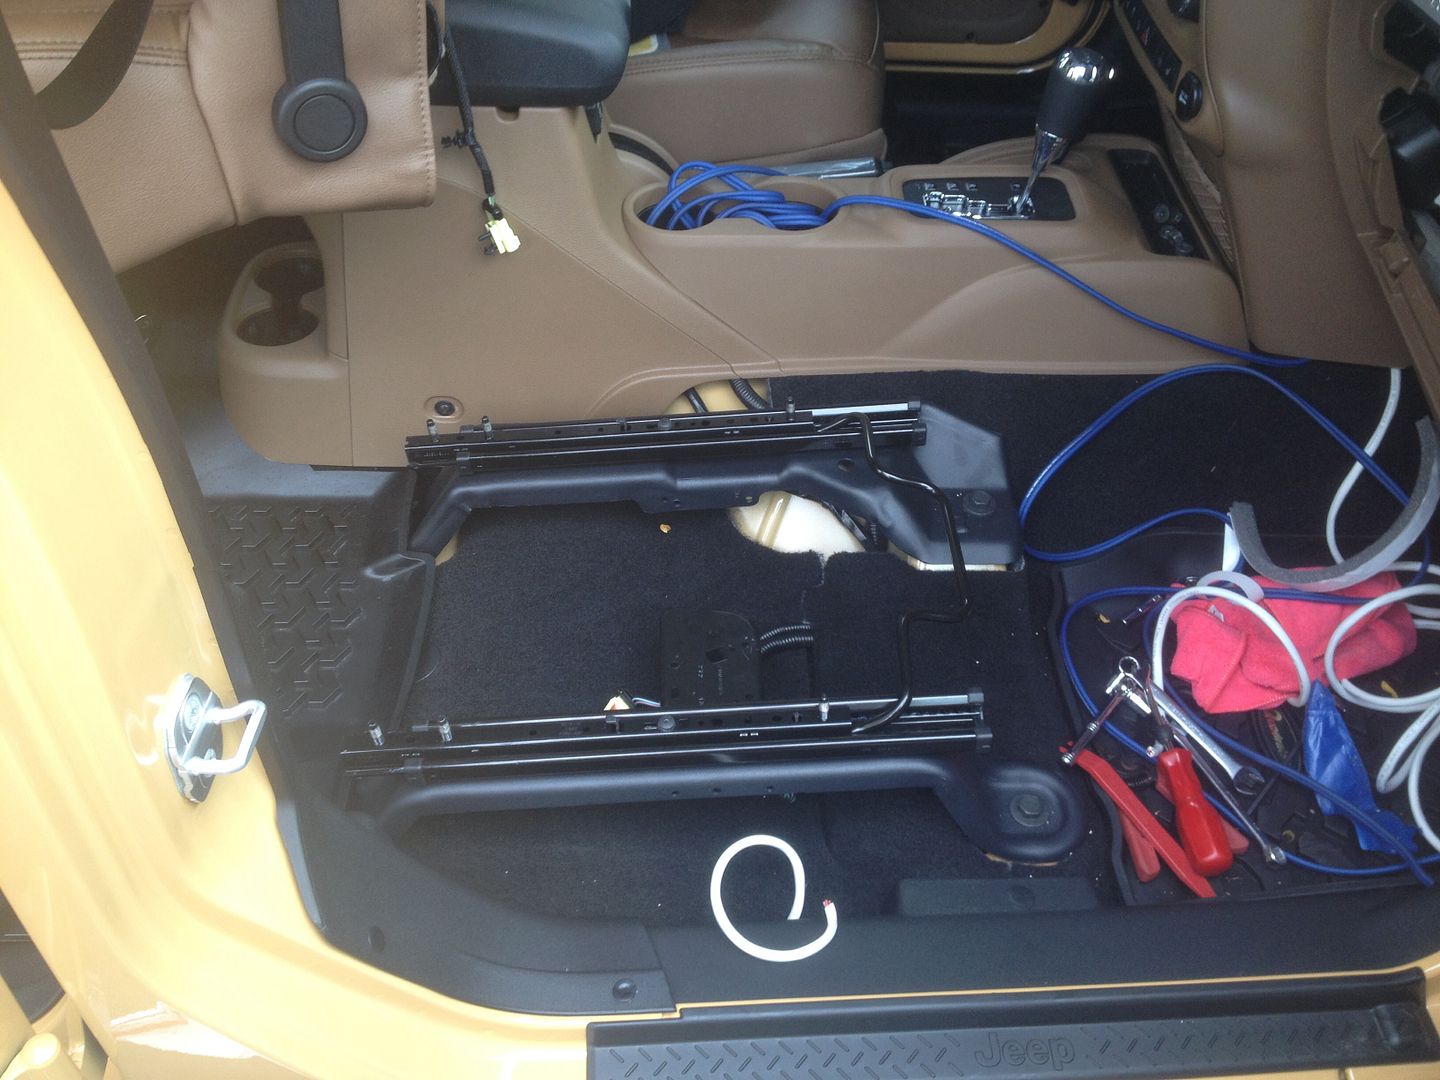
Seat out so that I can install the underseat bracket...

24926055-E237-4505-9BD4-FD8165B7BF14-187-000000061B2BBF41_zps20da3b19.jpg


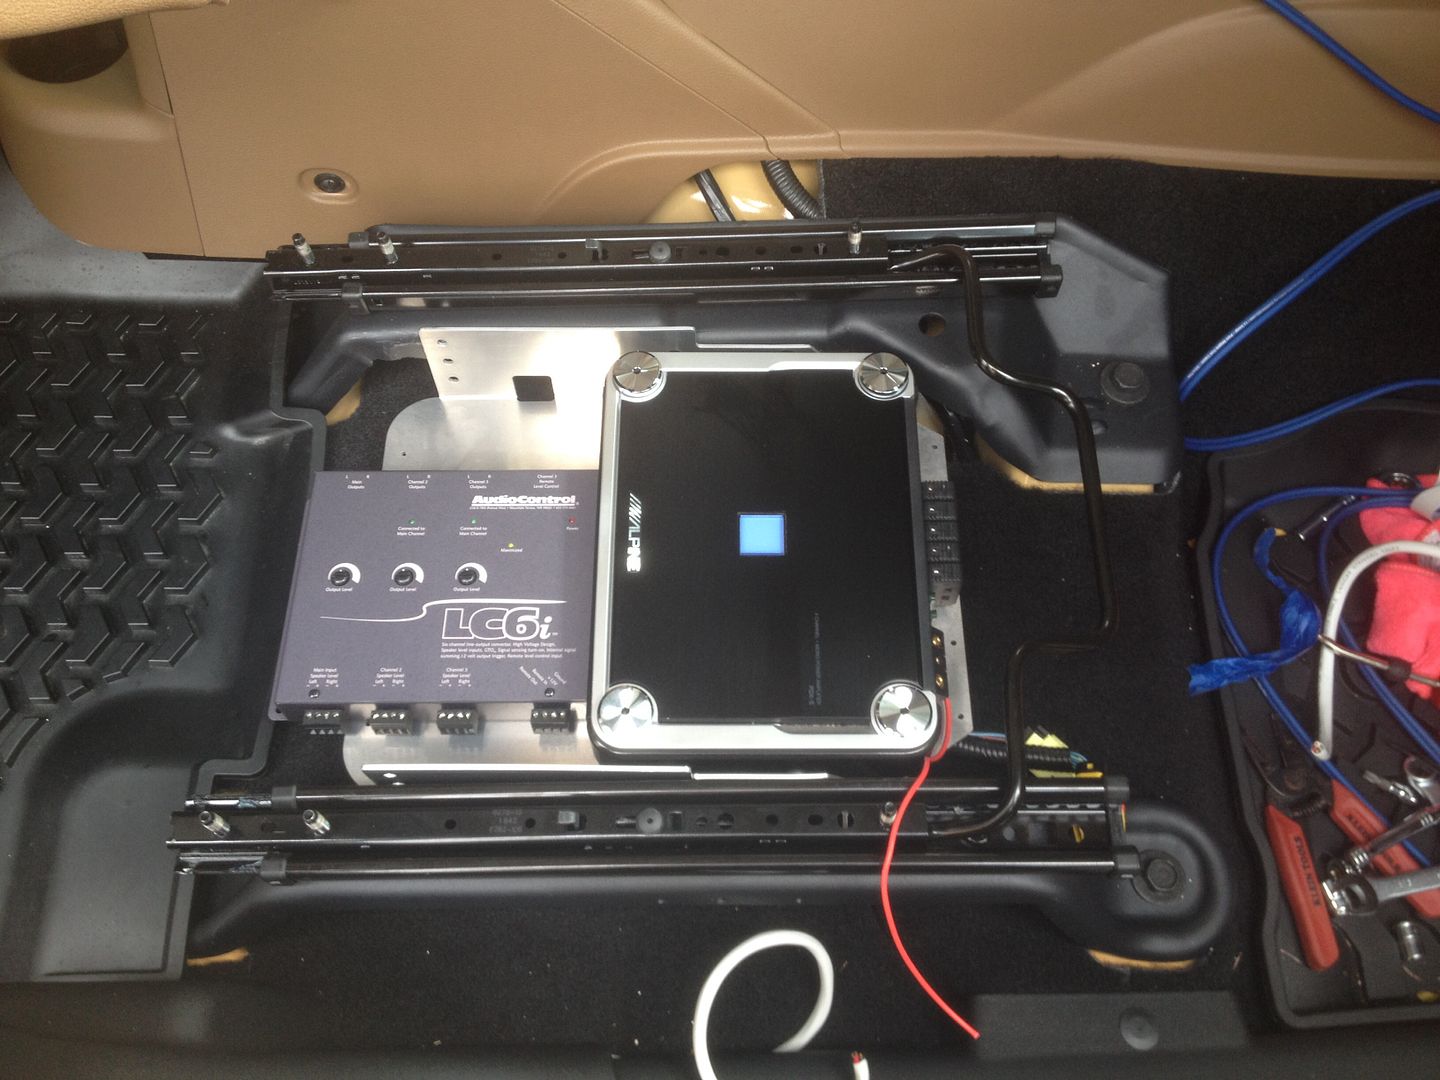
Home for the Alpine PDX5 amp and the Audiocontrol LC6i LOC

8958D1C3-5068-4299-9EA7-65EA7C5AFDFE-187-000000062438E6C0_zpse369b13a.jpg


Finally the system gets LOUD and crystal clear!
 
Finally got everything else done, the AEV 2.5" lift, AFE Y pipe, and the EVO skids.

I'll post more pics and such tomorrow (raining and dark now) but will post my initial impression...there are going to be some panties in bunches, so here we go.

The lift....on a scale of 1 to 10 out of the box, I'll give this kit a 6 at best. It is simply incomplete (for the money) and corners are cut where they shouldn't be. I have read some of AEVs responses to some issues I had prior to purchasing this kit, and they are bullsh!t. Please also remember that AEV did NOT engineer this lift. AEV bought the company that originally made these lifts (Nth Degree, which is now defunct) so that is something to remember. I'm going to post what I think would make this lift a 8 or 10 out of 10, so that members can truly see the ACTUAL cost of this lift when done right. Now remember, you and I might have a very definition of what is "right" so you can choose to listen to my advice/opinion or flat out ignore it. Its your Jeep and your money.

1) Front Sway bar brackets...stupid piece and a cut corner. I knew it wasn't the right way to do things, so I prepared for it. You never want to put a extra joint in a piece like a sway link, so this is the first thing that is not "right" for me. I ordered a set of rear JK sway links (made by crown, mopars were out of stock on Qtec) and used those instead, not using the OEM+brackets. 1001 people will tell you the brackets are fine, I personally don't think so and refused to run them.

2) Brake lines. Metalcloak comes with new brake lines. AEV just tells you to unbolt and break off the bottom bracket and use zipties. While I understand the ziptie thing, the kit should have come with new lines.

3) Rear speed sensor wires. You need to unclip them when installing, but the instructions dont tell you what to do with them, and when put back into the stock locations they are tight when the rig is just standing on a level surface. Seems like something else is missing.

4) Front adjustable track bar. IMHO, a kit of this price should come with a front track bar. I purchased a Teraflex monster bar, and everything is dialed in 100%. Axle is dead center. Happy about that.

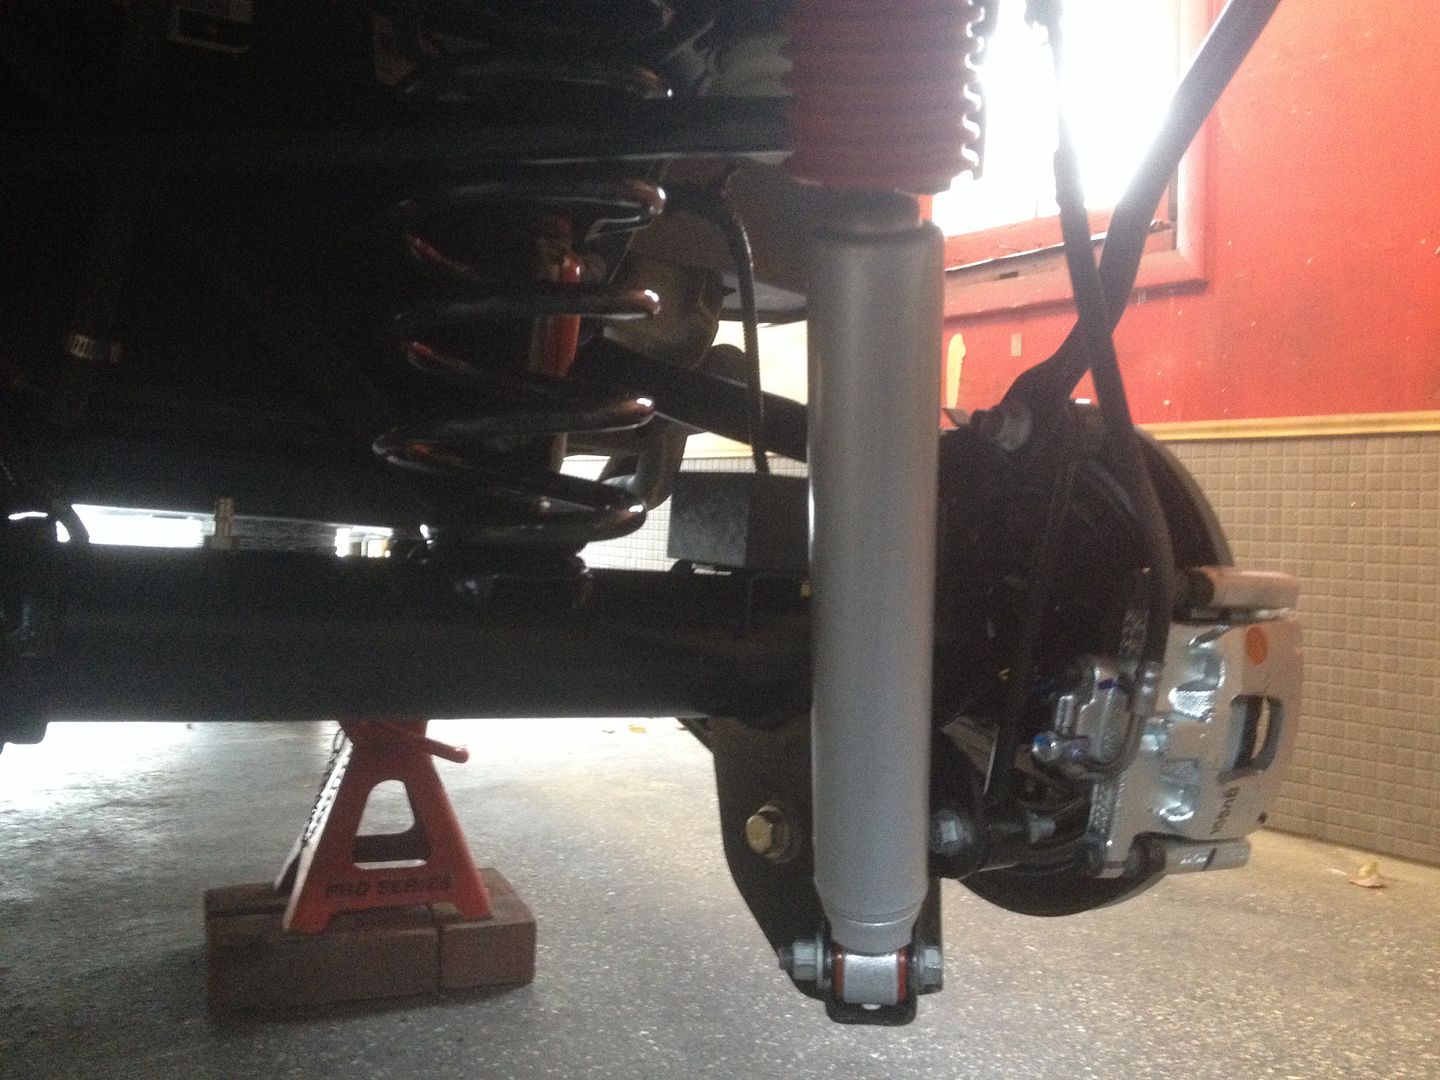
I'm also running Rancho 9000s instead of the bilsteins. I heard the bilsteins ride rough, and didn't want to find out how rough. The 9000s set on 3 feel EXACTLY like OEM rubi shocks. Very happy.

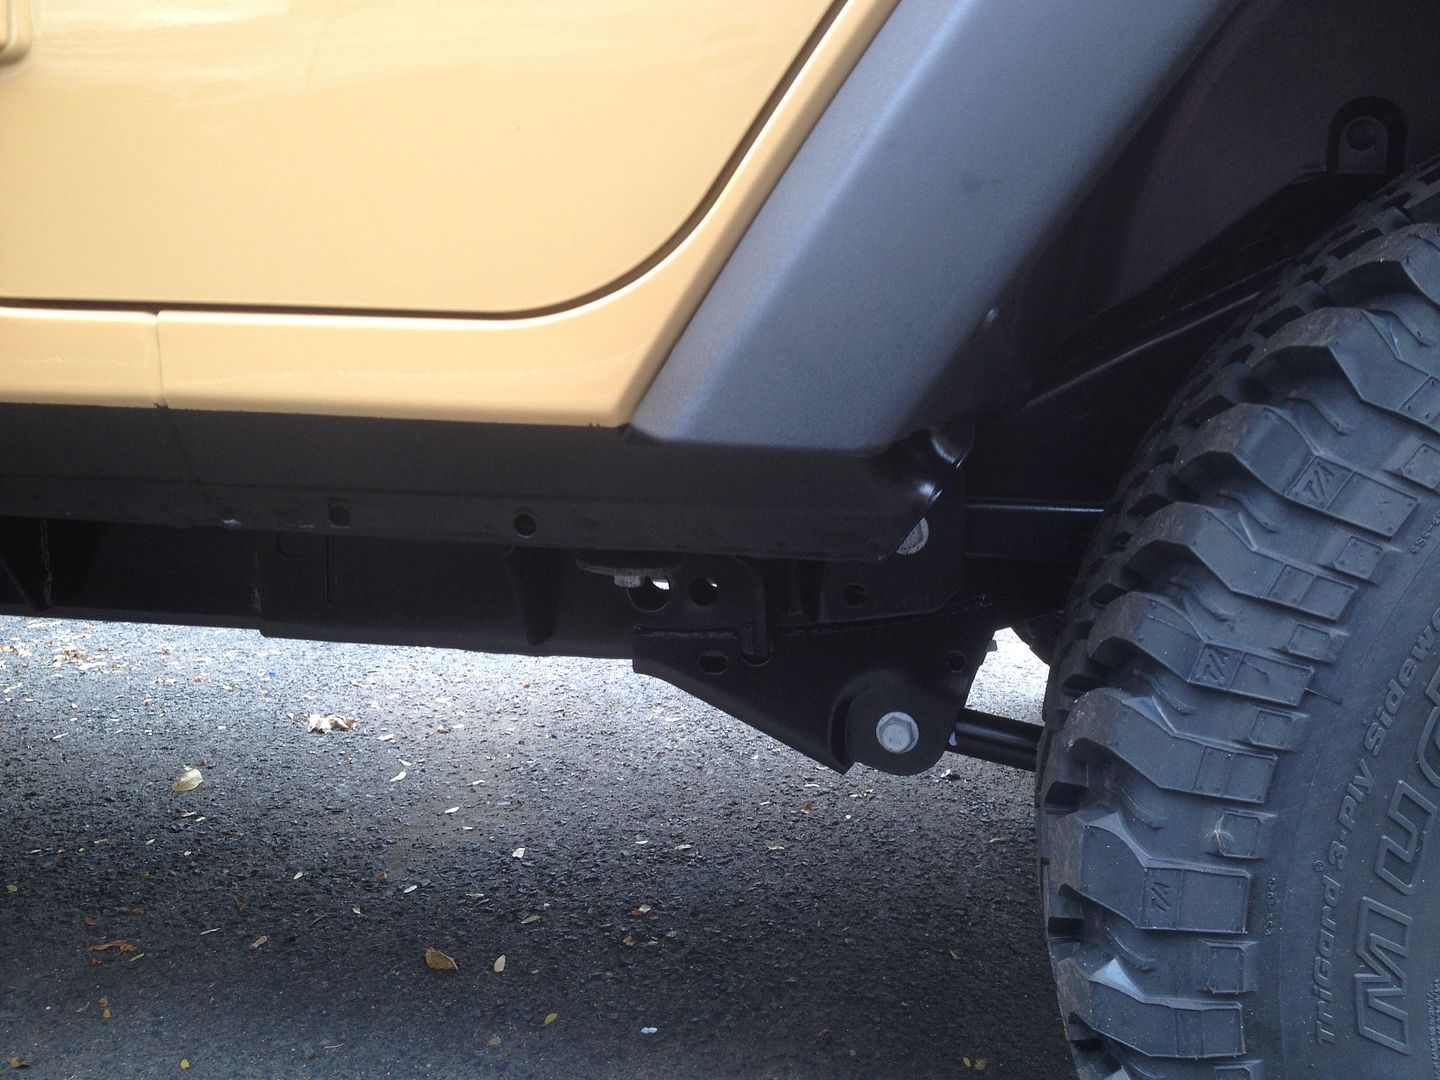
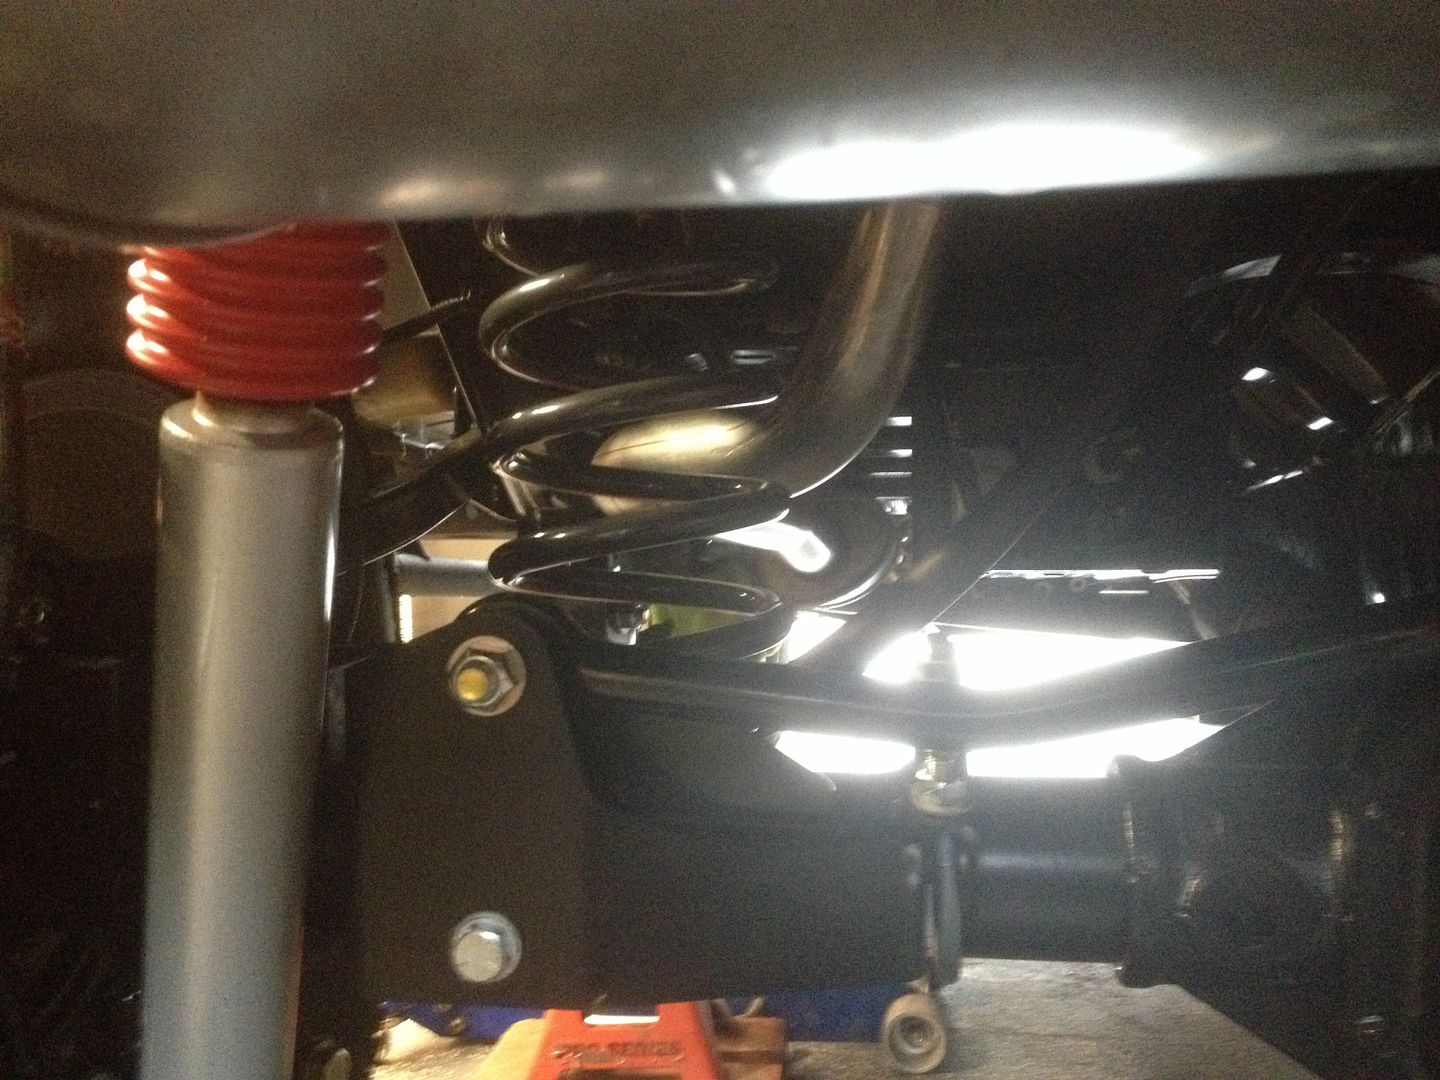
Now for the high note....the Rancho drop brackets. First of all, these things are made from beef, lead and granite. They are SOLID. I INSTANTLY noticed a lack of nosedive under braking, and Im talking about STOCK--->Lifted, not lifted with no brackets to lifted with brackets. Great improvement. Excellent product. Will post assorted pics tomorrow.

Rancho 9000 in the rear....these puppies are FAT.

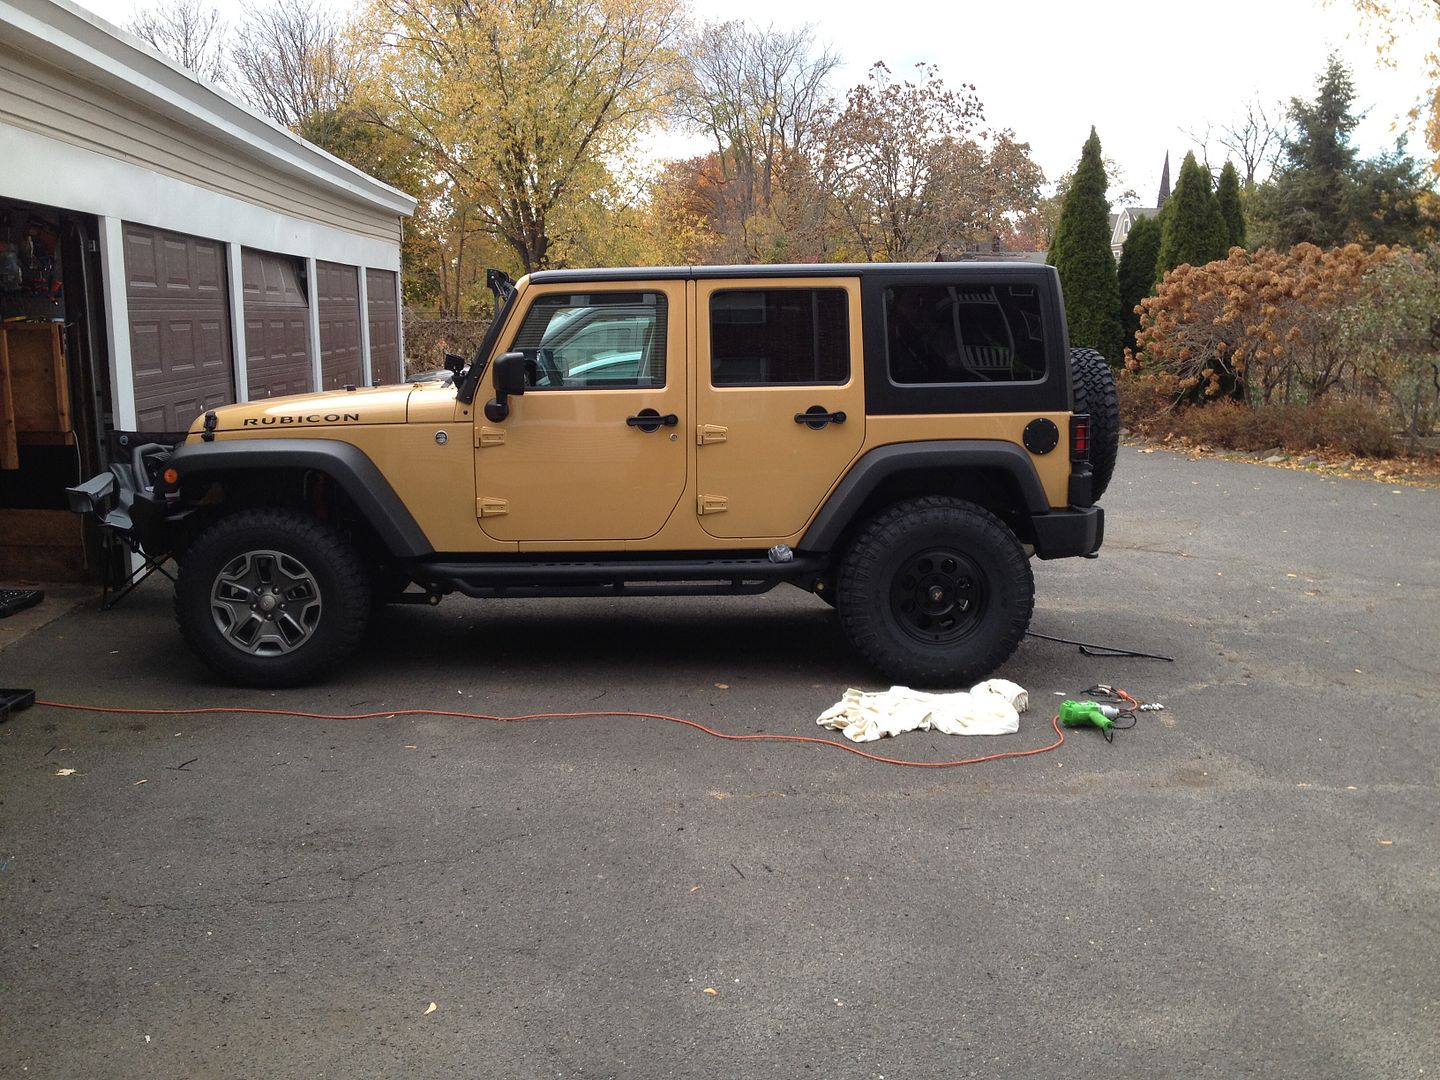
With stock wheels and tires.

81309694-3A70-4F37-BCD5-7405CF26B636-1984-000002D906C00FFD_zpsc031964a.jpg


9967F955-DEFA-4B89-BBD8-2020890EA905-1984-000002D910650042_zps50134324.jpg


2BE83392-D7F8-4550-B8F6-B0E29796558C-2871-000003F3EA2F4B0C_zpsb2eb1fb1.jpg


8765E7C7-09B9-4F54-B8A5-C777E30EB02C-2871-000003F3E13DCBBD_zps49975ca1.jpg


02CF9BB9-EAD7-46F7-BE0B-306E8AF77656-2871-000003F3D6F9E5FA_zps80f7f1ed.jpg


With new meats

F218BBD8-02F1-4955-8505-62C07D57BB27-2871-000003F3CE6BE6E5_zps28d1d71f.jpg


Installed....

08C2FF91-F033-4F95-9828-465E5E39CADB-2871-000003F3C637521E_zpse39e6ebb.jpg


No spare because I didnt have a carrier yet...

DA65C828-DF6D-4FAB-88DD-B22B5016CF69-2871-000003F3BE4D5243_zpsae8f849e.jpg


054E4C0C-3888-4082-9AED-FCCB7A59230F-2871-000003F3B49A32E4_zps1d8dd166.jpg


D9B0D88E-5BB5-48C1-8691-D91C6238DC4B-2871-000003F3AC038A12_zpscd79c67e.jpg


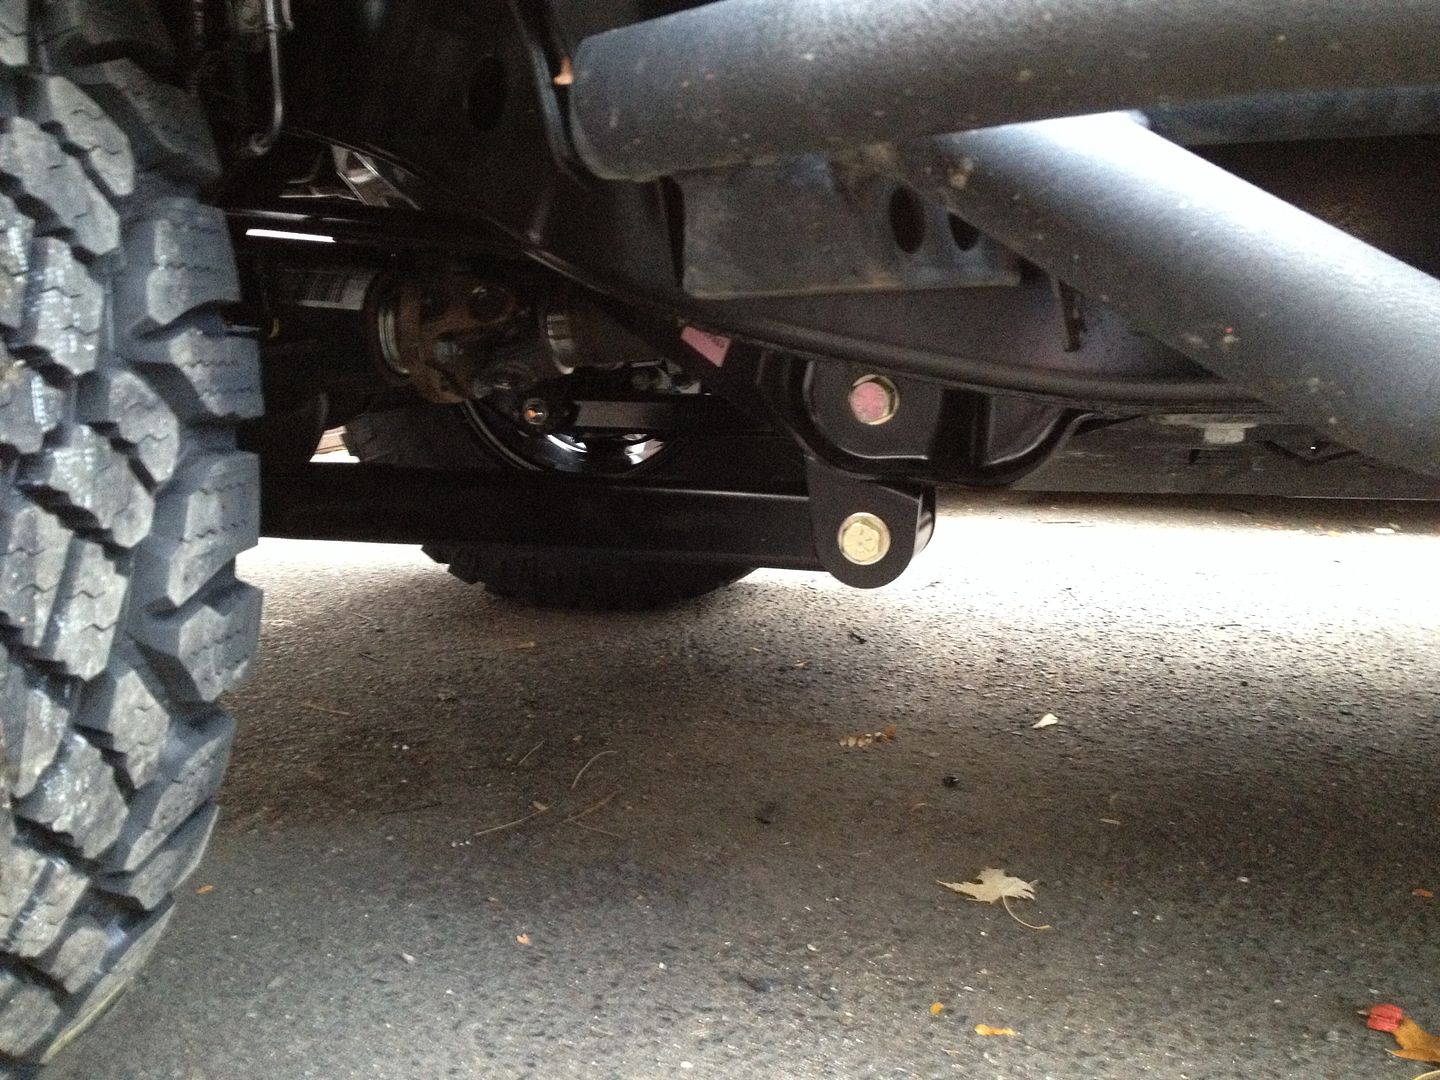
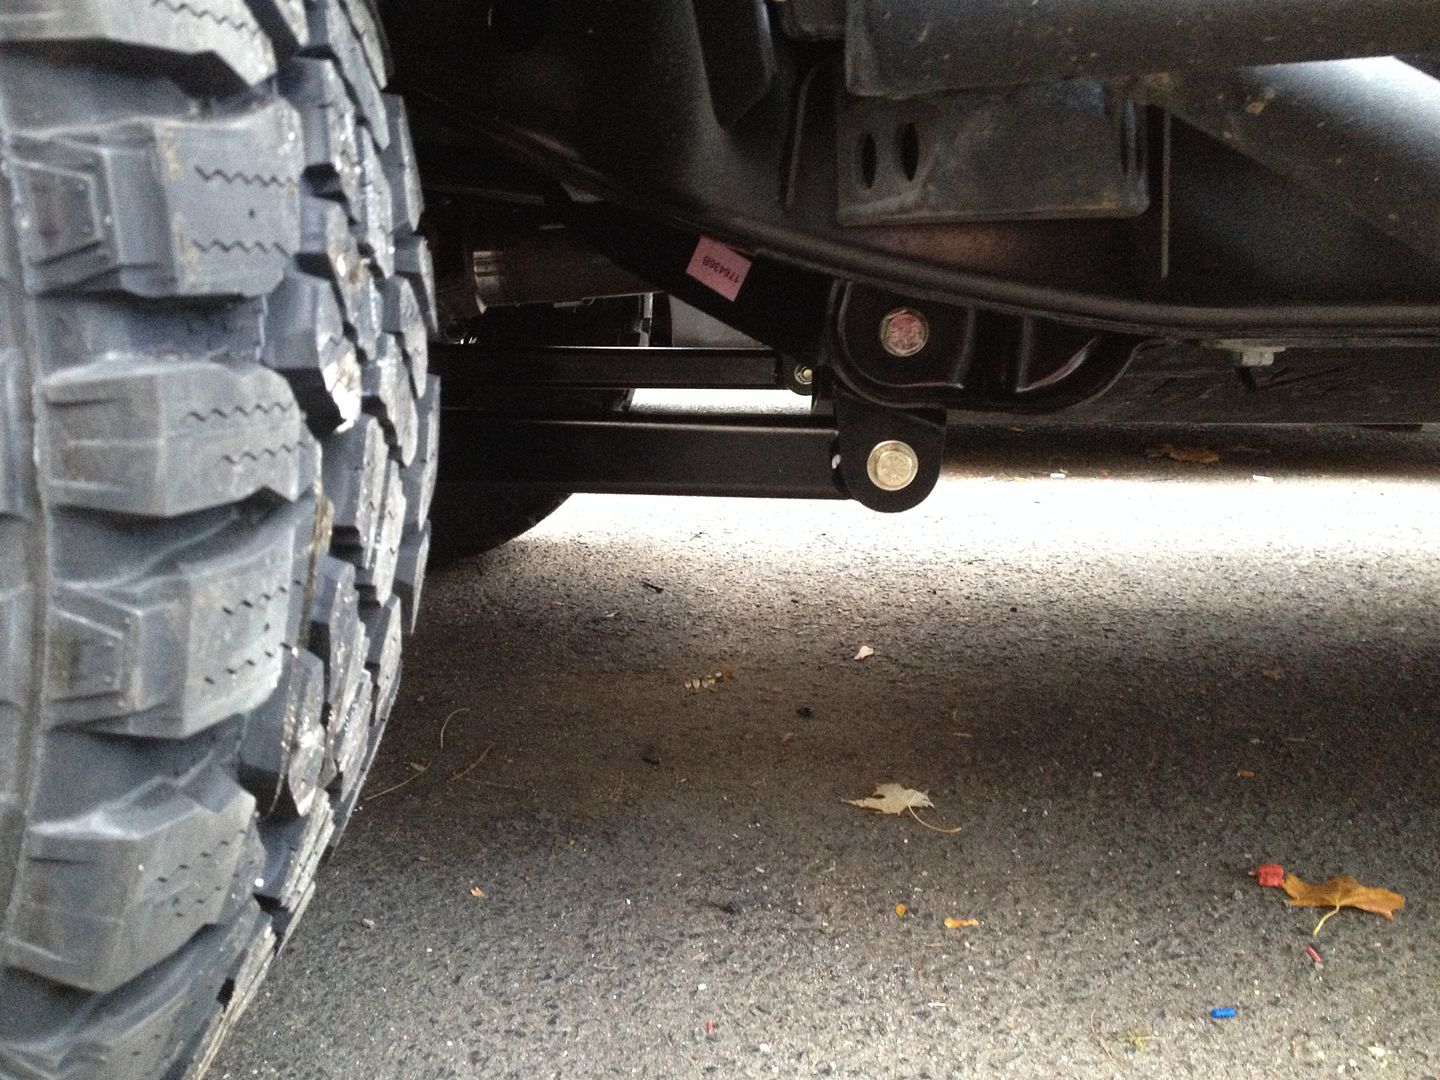
I also have the rancho drop brackets. For the type of wheeling I do, they are a non issue, but those that often play on the rocks, they can be...they are MUCH MUCH beefier than the AEV units.

Control Arms relative to the ground.

4C5FFA61-0D03-4301-9A10-ED69063E810F-2871-000003F39A14C26F_zps55fa09ea.jpg


DB49BAD4-8119-4B40-B22C-E80F5C6FE31E-2871-000003F3A3E51CF8_zps27bfd0aa.jpg


Sorry the photo is dark, sun was setting...

770955CB-EC6E-43DA-9995-9195E13F9629-3969-0000054CDEFD708B_zps3dd06447.jpg
 
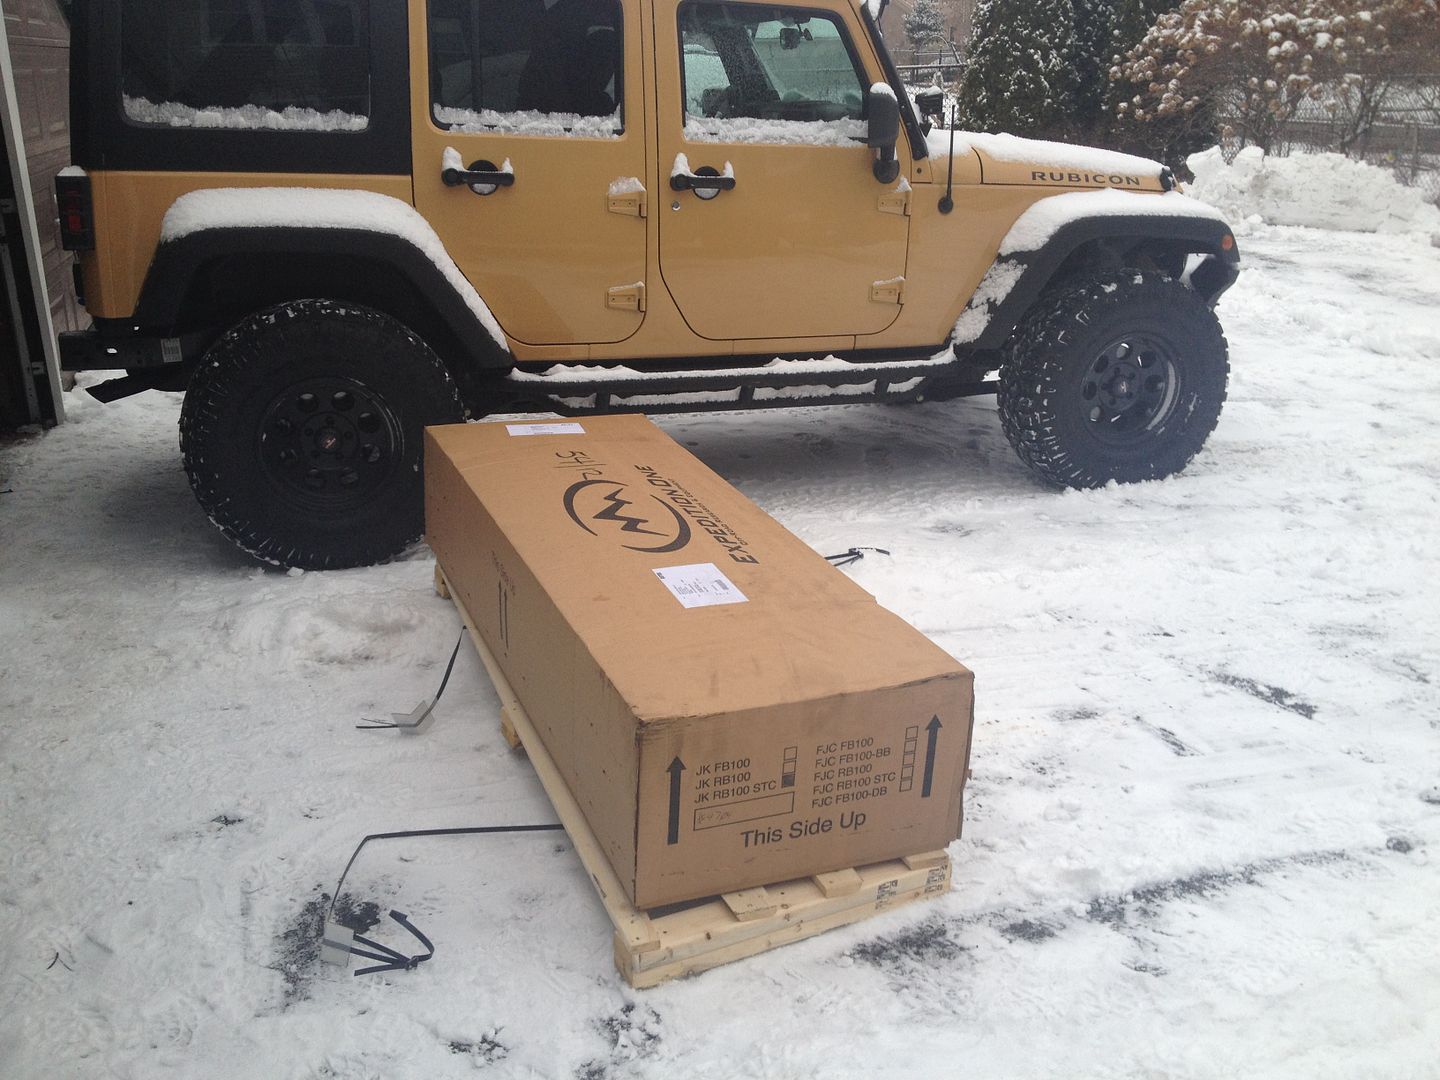
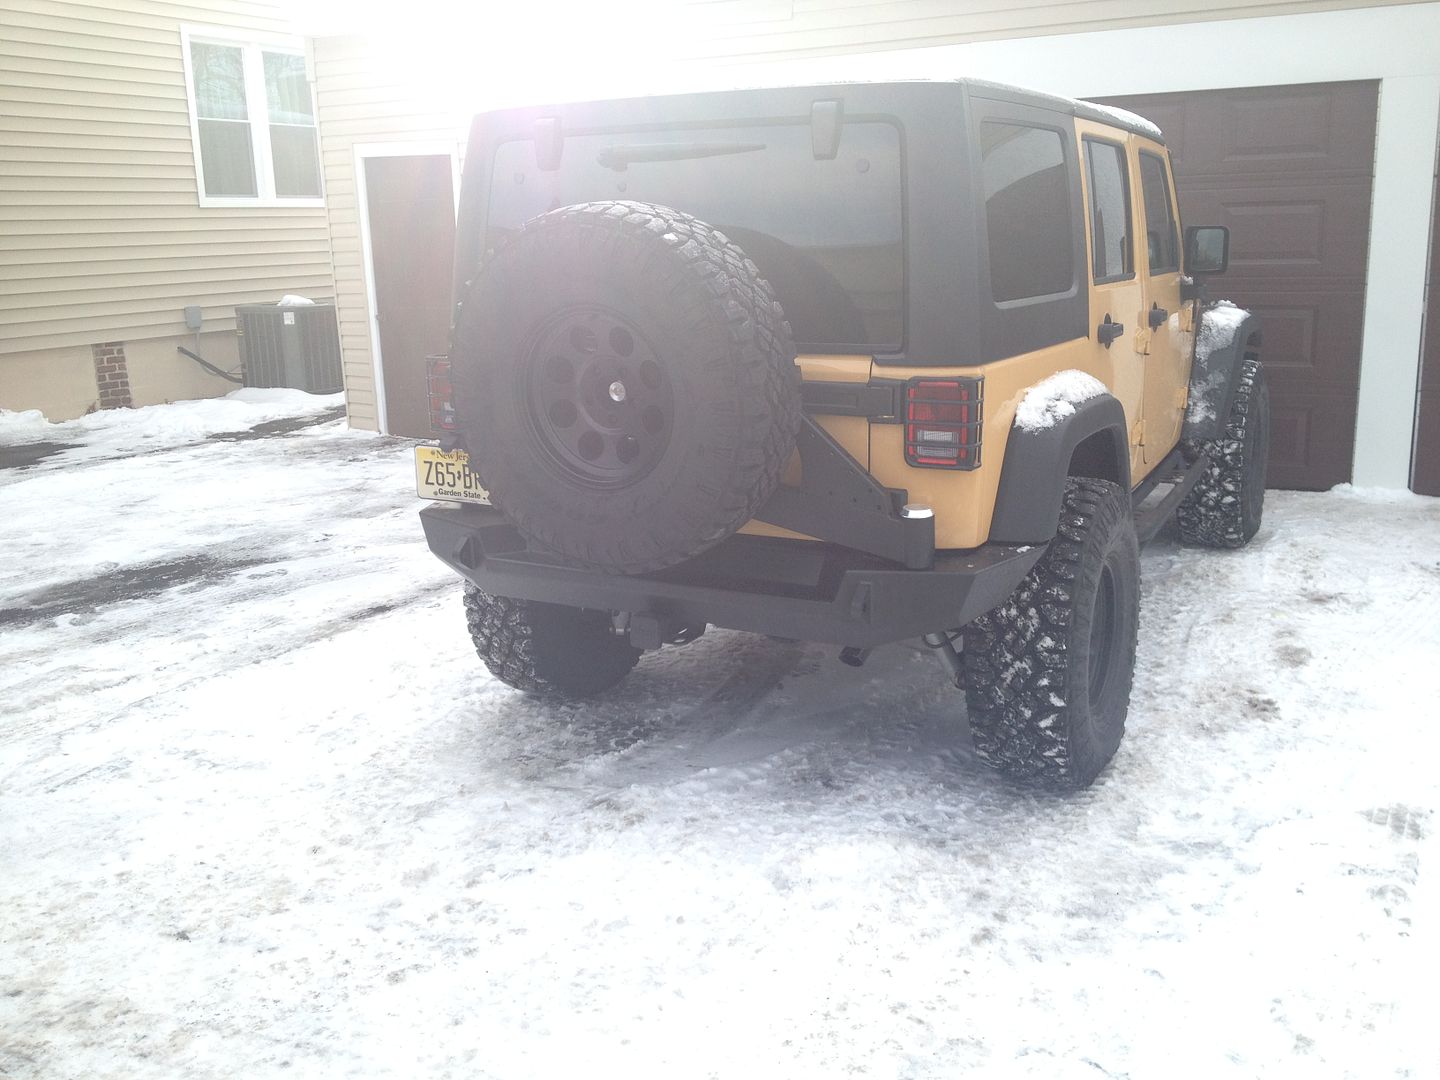
Finally, after over a month of waiting, I get my bumper from Northridge....

2777849F-7454-435C-BC6B-2C4AD31C2808_zpsdn2jyo8m.jpg


Now, before we go any futher, understand...this is one of the most expensive rear bumpers available for the JK. It is $1400 by the time you touch it. This is NOT a cheap piece, made in the USA, blah blah blah. My front bumper is a Chinese rampage.

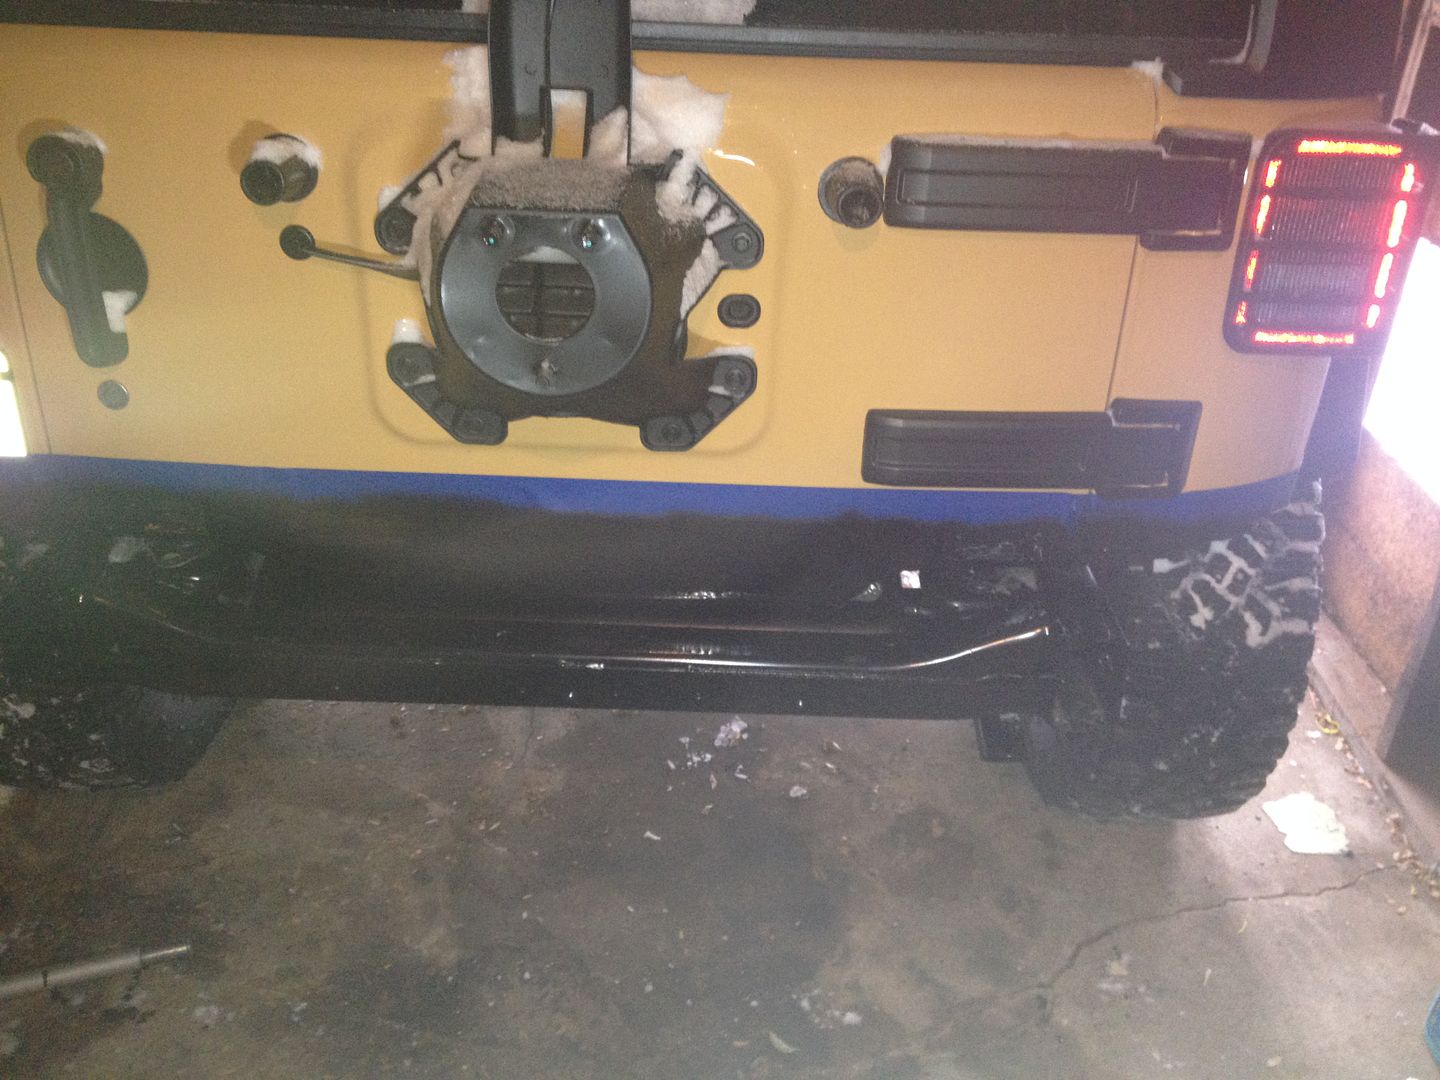
I removed the stock bumper, and wanted to clean up the area under the tailgate..it looks a lot cleaner when blacked out so....

10CD627E-6F1E-4FFD-846A-02546CF9DFBA_zpsgylctnzu.jpg


Tape it off and plastidip away
263547AE-410B-4D68-AB41-4AFC17E51E49_zpsmyuluy7n.jpg


Clean clean clean
35A1399E-DF87-4219-BE4B-1300A148BC61_zpsstgfi96e.jpg


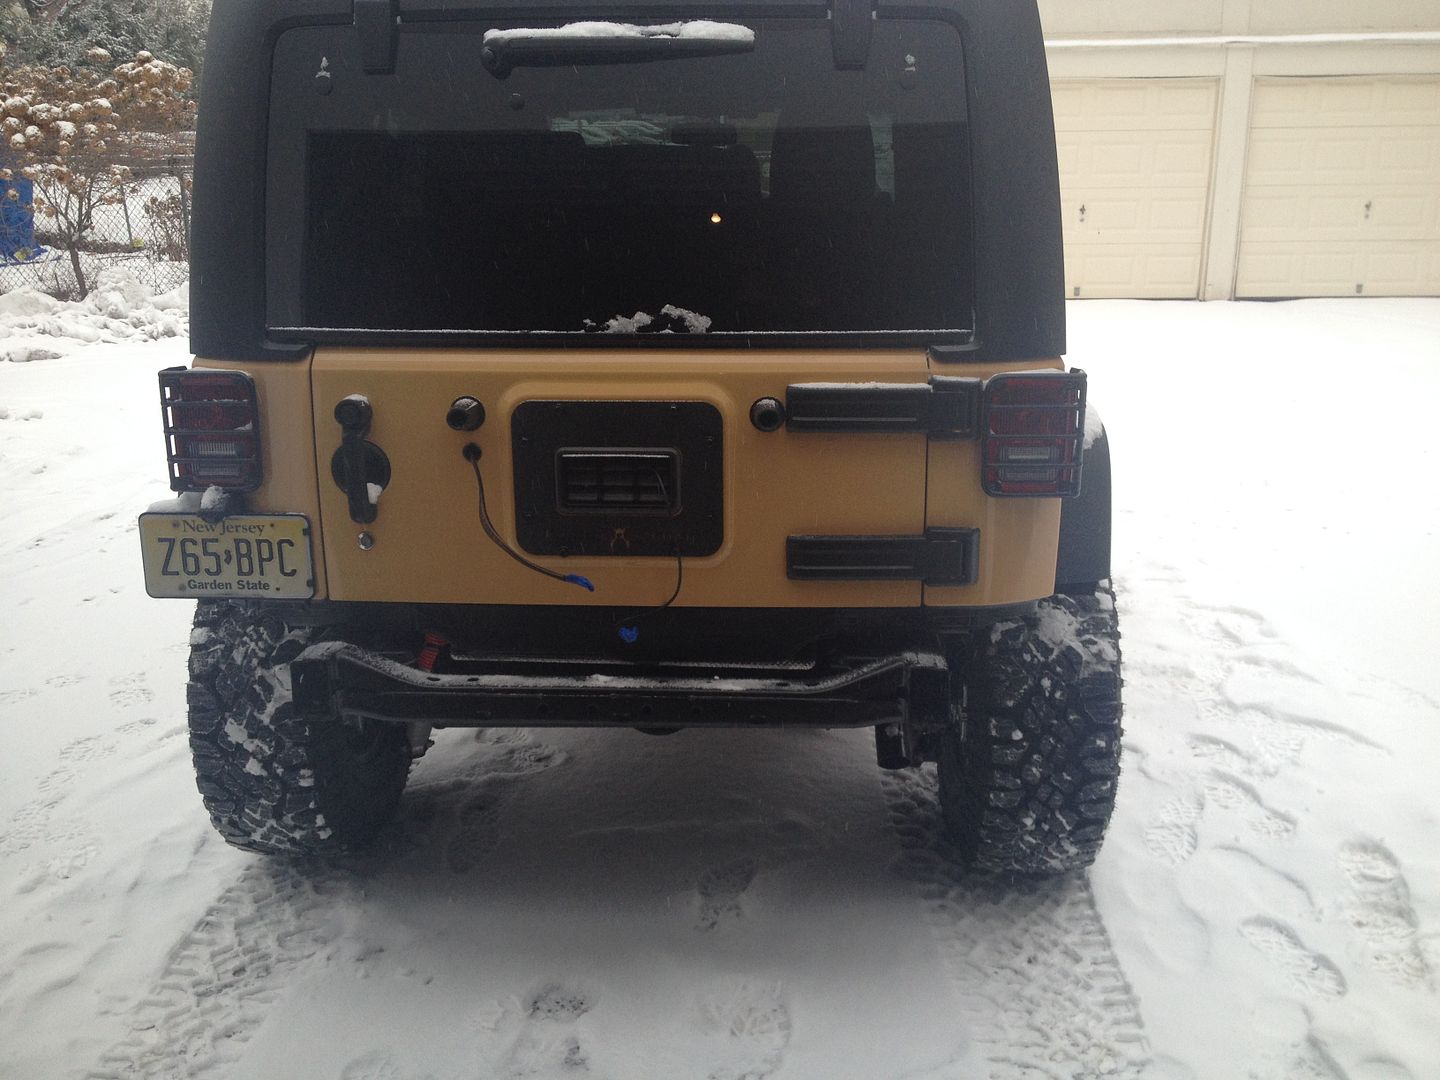
See how much cleaner it looks with that part cleaned up and blacked out? It was EXTREMELY cold that day, and the plastidip wasn't drying. I needed to break out the heat gun and force it to dry. Working all day in 12 degree temps got a bit frosty.

B7C5C571-C09D-4E28-A538-2420057472C3_zpsamd8ssw5.jpg


Now, I love love love love the way this bumper looks. IMHO, it is the best looking rear bumper for the JK. Paying $1400 for it I expected absolute perfection (considering my $400 rampage has been faultless through two jeeps already....and fits like an oiled glove) but sadly, my expectations weren't met.

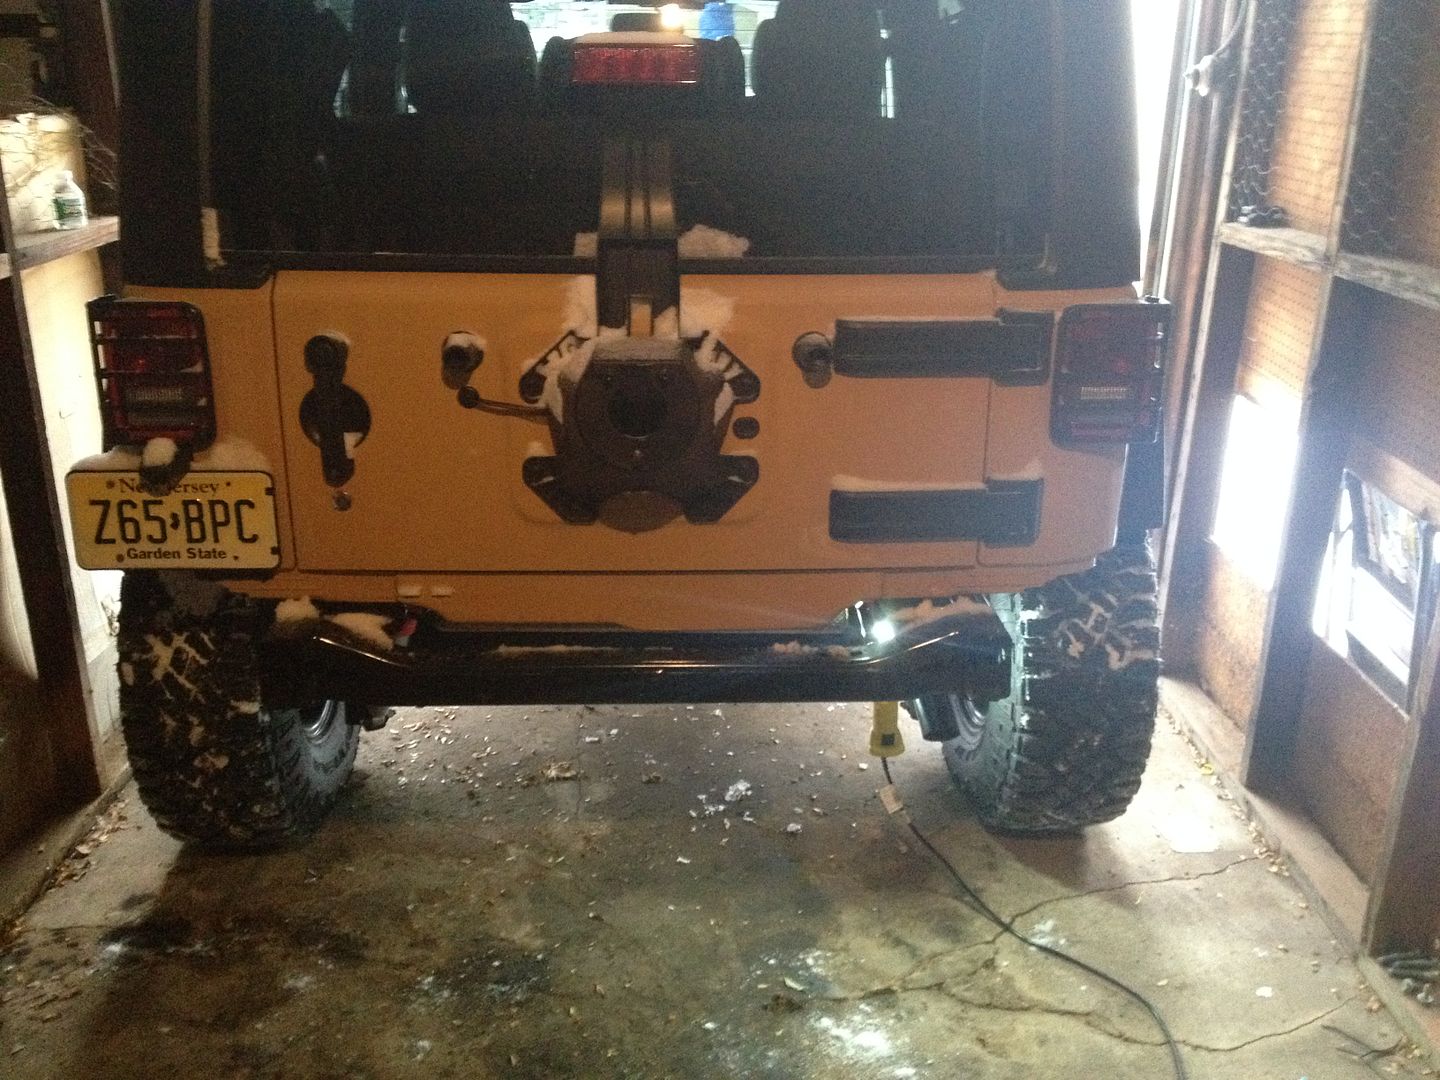
The bumper is designed to SUCH tight tolerances (we are talking about millimeters, and on a vehicle like a JK, where you can have 1/4" variances, thats a huge problem. The bumper refused to go on properly. It required sledgehammering, kicking, jacking it up, etc etc etc, to get it 95% on. I couldn't even install the L bracket frame bolts because I just can't get the bumper to sit correctly. This is unacceptable for a bumper that costs $1400. Since it arrived freight, Im sure returns are not going to be easy at all. I have emailed ExpeditionONE with my complaints and I'm curious to see how they handle it. Want to know how tight the bumper is? I can use it as a jacking point to lift up the entire rear of the jeep WITHOUT PUTTING IN ANY BOLTS TO HOLD IT IN PLACE. Not thrilled with made the usa product...seems like I overpaid and got Smittybilt quality fitment.

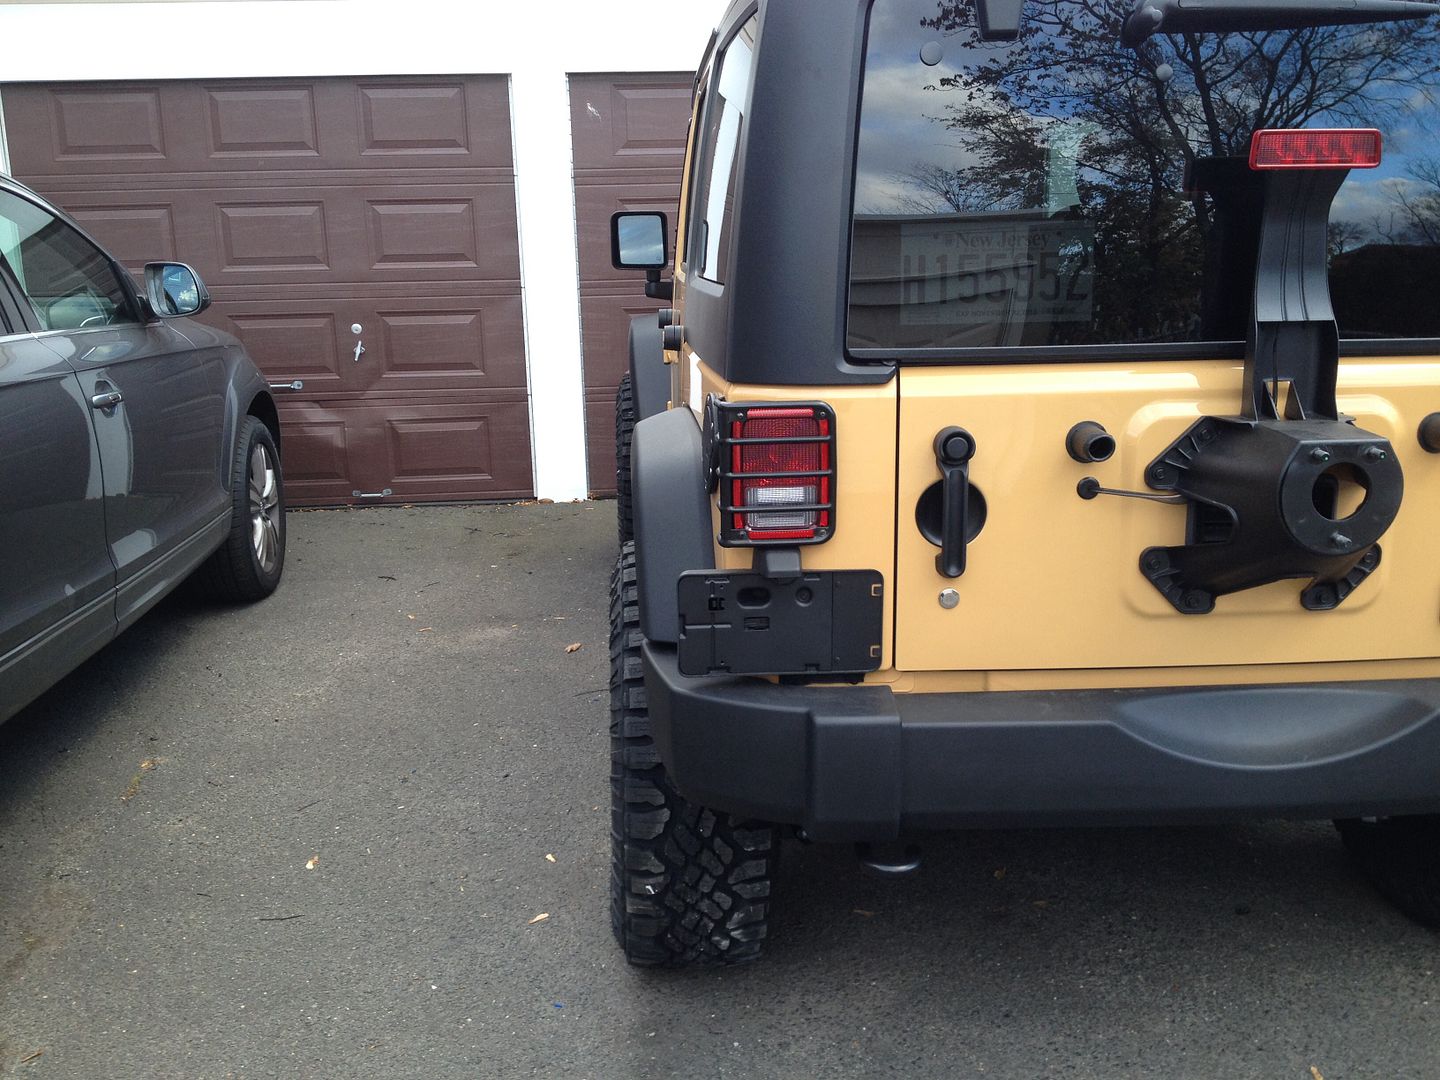
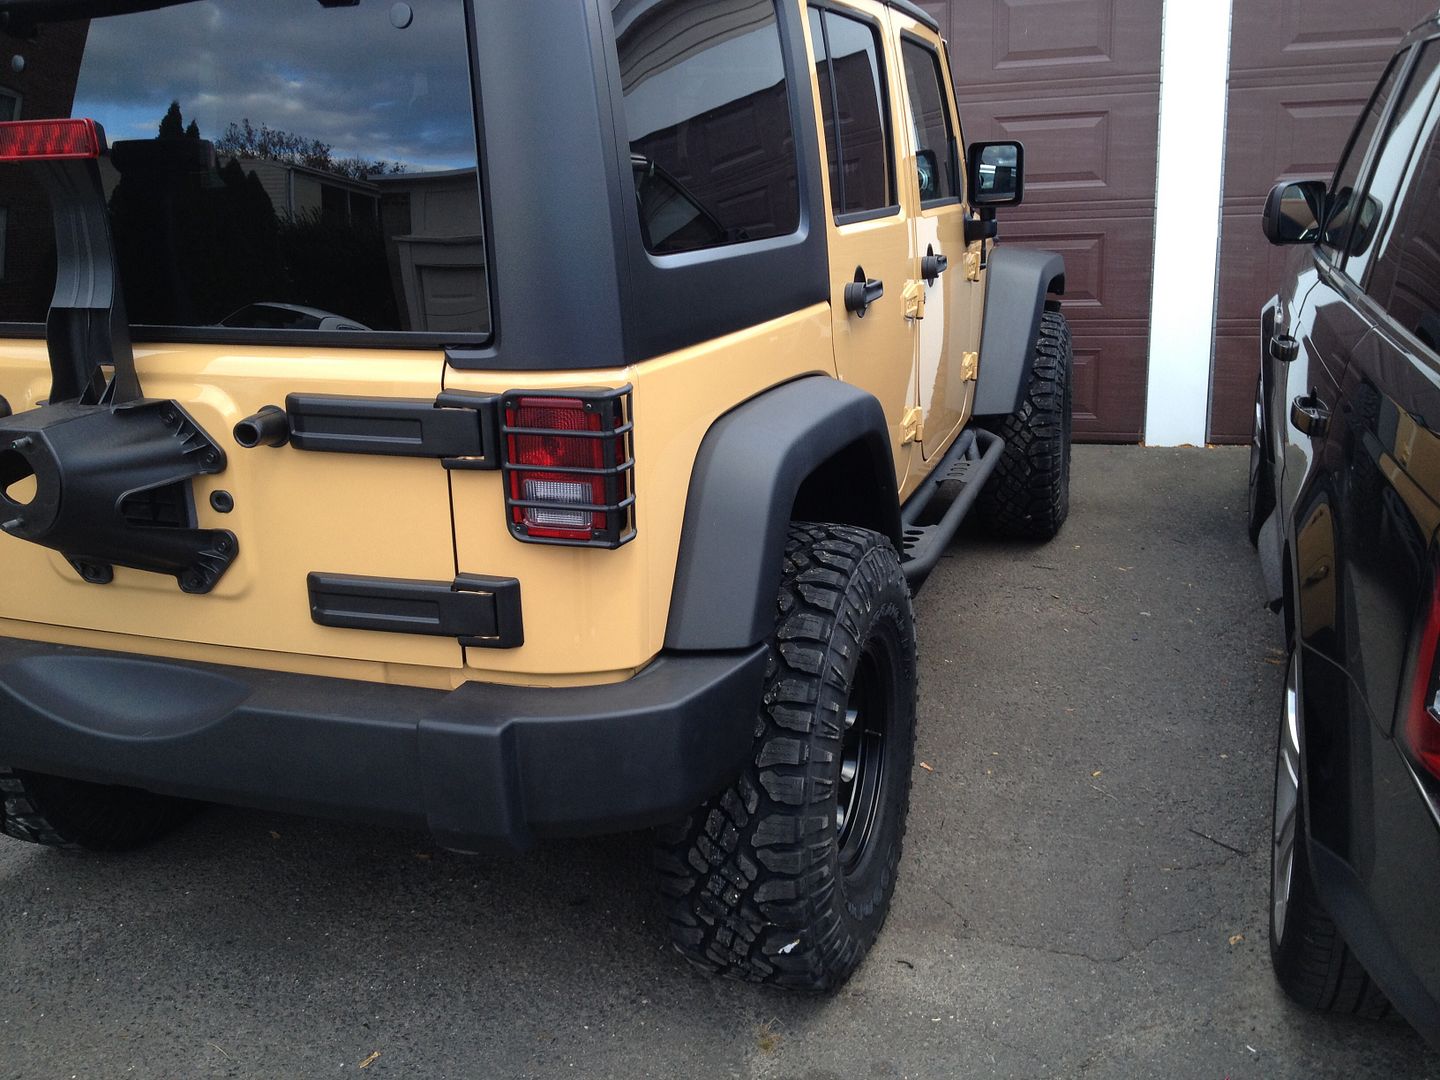
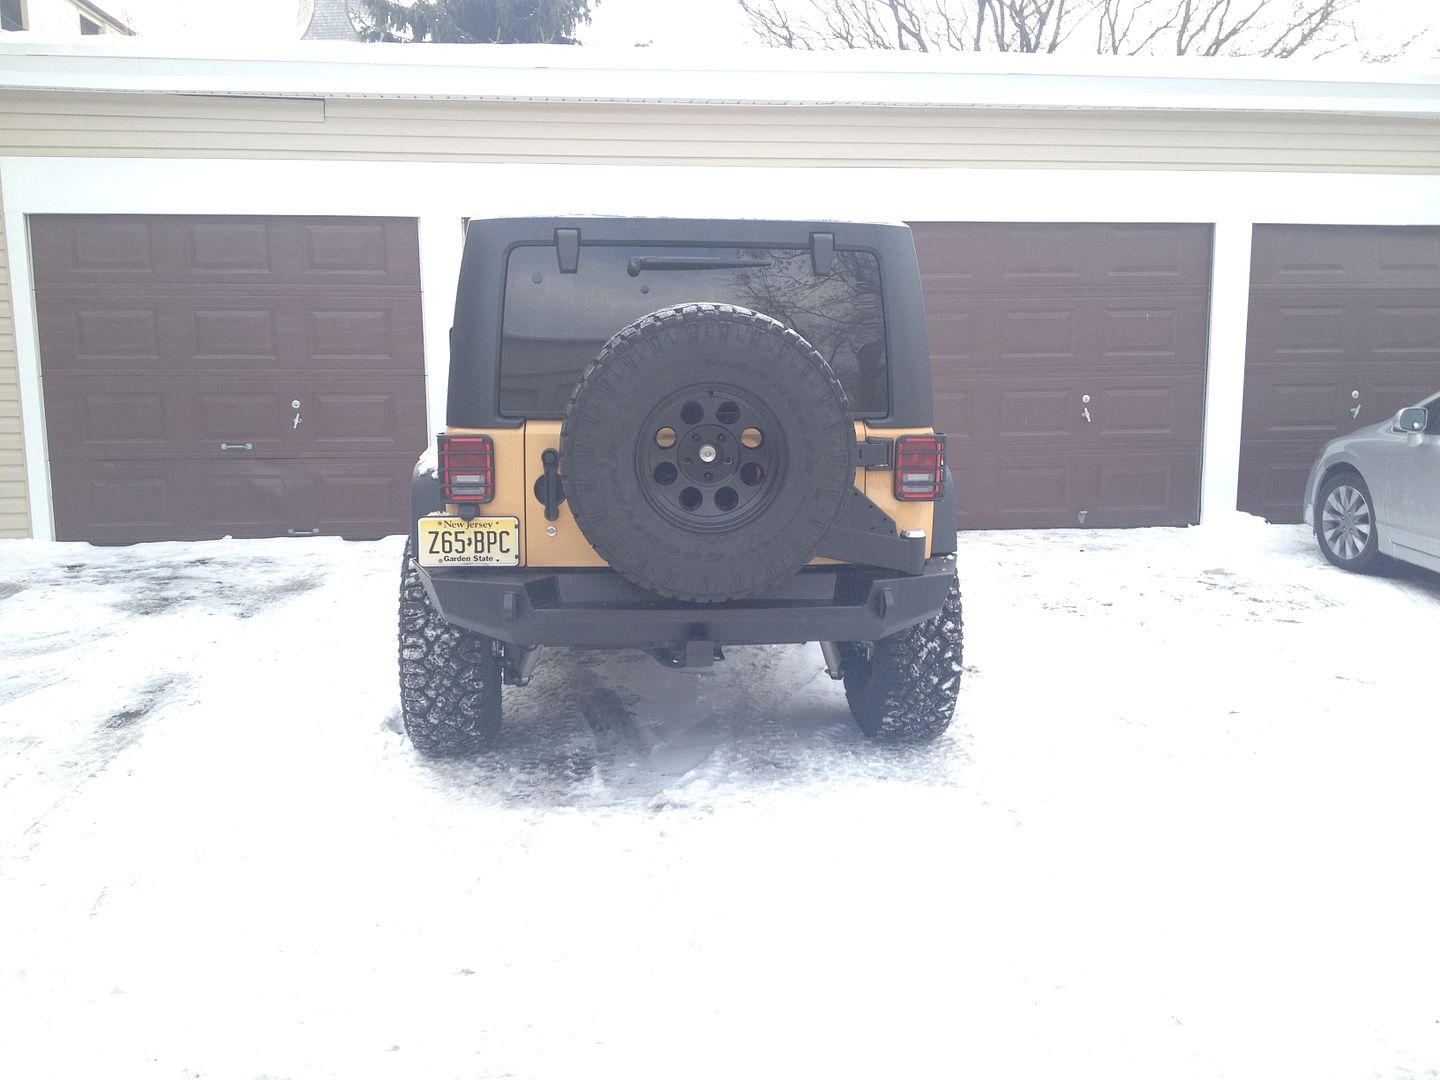
After getting everything installed, the top of the carrier wasn't contacting the provided bumpstop properly, so I had to add 3/4" of bumpstop. I must say, I love the way the bumper looks and functions (the carrier is a masterpiece, truly)

E408B038-74C5-44AC-A556-79FE6123836D_zpslfs7mdbz.jpg


9127762B-FC7A-4704-BC7B-CB2C7752E00D_zps4jgcb2yh.jpg


Now the rig sits perfectly...AEV 2.5" with full weight front/rear.

2ADE749A-4F24-4F73-91AE-3D3F7BBB24C4_zps13wrsfyd.jpg


(Update on the bumper)

I spoke to the guys at EXP1 and here is what they told me...the rear bumper is designed using OEM Jeep CAD specs, so the tolerances are to the MM. As a result, unless you put it on perfectly, it will bind and not go on properly. I had my neighbor help me lift it on during a snow storm basically, so maybe we didn't take the care we needed to install it properly. Im man enough to admit my own mistake, and as of this moment, I will say it is user error.....having said that, when I get a litte time, Im going to take a ride to my buddie's garage, we are going to remove it, and try again. If we can't get it on properly, then I will switch the blame from myself to the bumper itself and their fitment.

Having said that, I still think a "sloppy" vehicle like a jeep should not have parts with tolerances that tight. This isn't a race-car where every part is to the 1/10th of a millimeter.

Still have lots of mods and a few things to take care of, and will do that once the weather cooperates.

Thanks for reading, and I'll update as I move along!
 
Looking good brother! I won't say I like hearing about your challenges and disappointments, but I do appreciate the honesty. Hopefully Exp. 1 takes care of you assuming the fitment problems continue.

Are you still working out the kinks with your lift or are you done for now with it?
 
Time to bolt up some lights!

4017AF1E-8322-4EFB-8F7B-9D97D52D8C72-9502-0000087B4DF4AB96_zps6369093f.jpg


F00BC046-86A1-4397-928E-BDE94460181C-9502-0000087B57783C43_zps34489c6f.jpg


While doing that, the brown santa rolled up (thanks Discount Tire)...only 4 because the 5th was shipped from AZ and arrived later.

EABDD984-C607-44E1-8BC4-2A47218913B3-9502-0000087B73B43EAD_zpse31c5db6.jpg


315/75/16 Duratracs on Level 8 Trackers.

582C4FA2-87DB-4231-AF61-908443615903-9502-0000087B6C095D11_zps51276495.jpg


F9443AD8-2CC7-4FF0-8D65-31171007F951-9502-0000087B60B713D5_zpsecba72a7.jpg

What is the true size of the 315/75/16 duratraks
 
Thanks! I was looking forward to your updates. Looks great so far!!!

Sent via secret squirrel underground network.
 
Top Bottom