While we don’t usually make it a habit to purposefully go wheeling at night, there are many times that getting off the trail before dark is inevitable. And, on those occasions, there’s nothing worse than trying to spot a Jeep with it’s headlights blazing in to your eyes. Of course, the driver of the Jeep need to have some kind of illumination to see where they are going so, what do you do? Install a set of rock lights!
Rock lights are essentially small lights that you can mount under your fenders and behind the grill so that they can effectively illuminate the ground immediately in front of your tires but without blinding your spotter. Right now, LED lights seem to be all the rage but, most are either cheap and unreliable or, are way too expensive for my taste. And, even the more expensive ones suffer from putting out way too little useable light. And, that’s why I decided to install a set of Walmart Platinum Burners.
At about $18 a pair, the Platinum Burners are cheap, easy to find just about anywhere, are super simple to install and work surprisingly well. More than any other rock light I have seen, these things put out a really nice spread of very usable clean light. Of course, if one goes bad, replacing it just requires you to located a nearby Walmart. I have been running these on Moby Dick (our white JK) for a little over two years now and have love them. Of course, the write-up below details the installation of a set I put on Nemo.
What you will need
• Platinum Burner Series Lights
• 10mm Socket & Wrench
• Ratchet
• Wire Stripper/Cutter/Crimpper
• Ring Terminal Connectors
• Wire Coat Hanger
• Masking Tape
• Daystar Switch Panel
• Daystar Switches (optional)
• Utility Knife
• Trim Pry Tool
Instructions
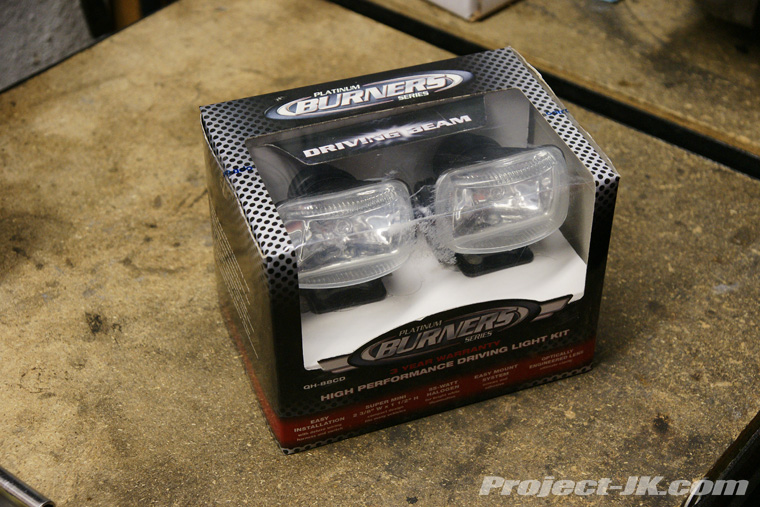
This is a shot of what the Platinum Burner Series Light box looks like. In addition to the pair of lights, it also comes with wiring, a fuse, a switch, mounts and miscellaneous pieces to help you to complete your installation.
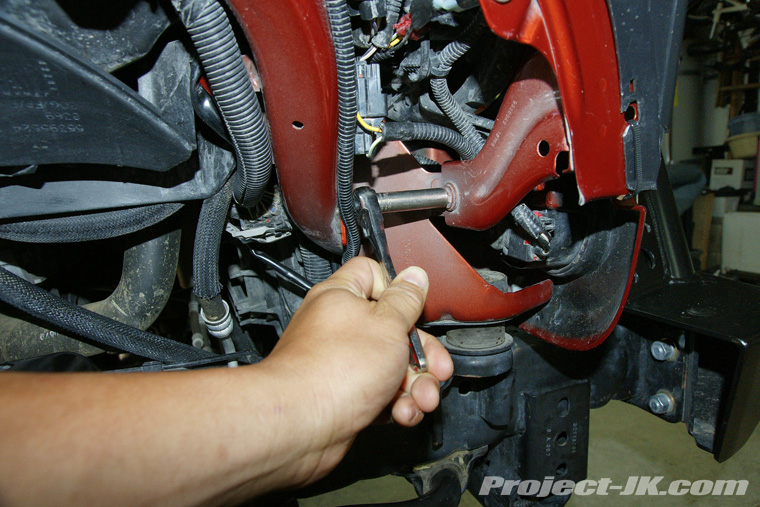
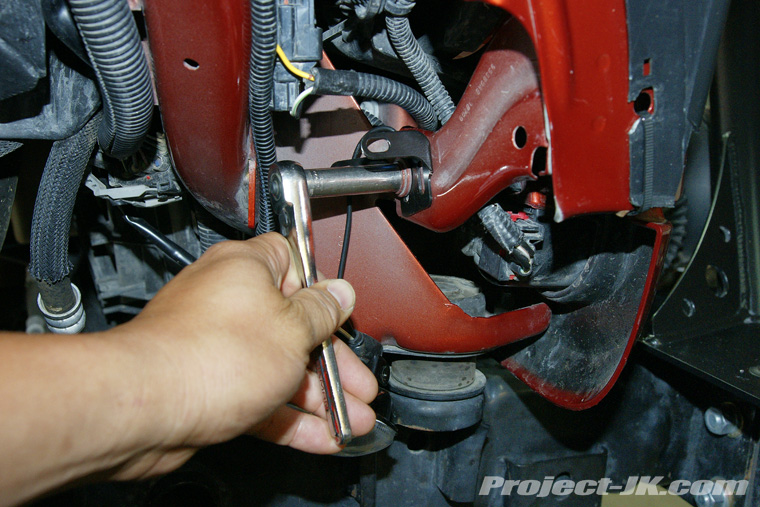
1. Begin the installation of your rock lights by removing the bolt securing the grill support to the sub-structure of your JK’s body.
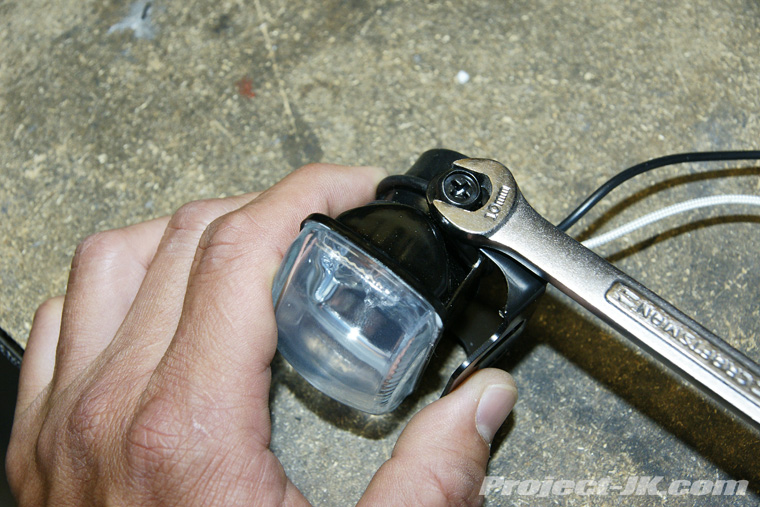
2. Using a 10mm wrench, remove the 2 bolts securing the Platinum Burner light to the mount.
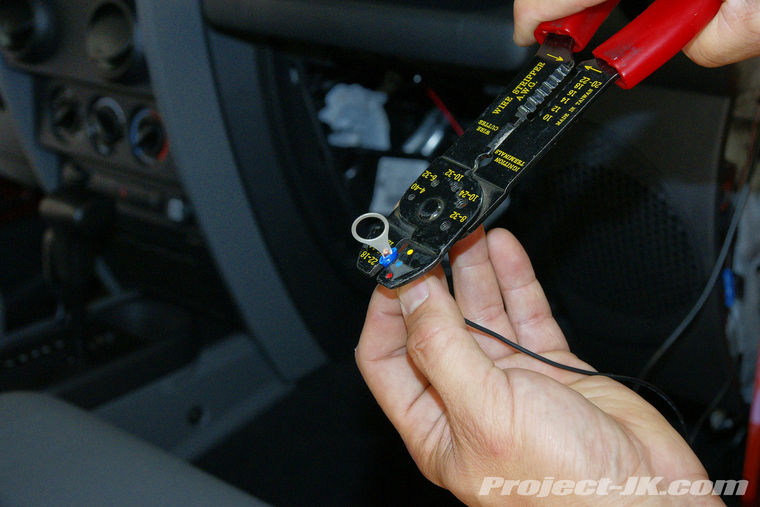
3. The ring terminals leads provided are too small and so you will need to cut the black ground wire next to the connector plug as shown.
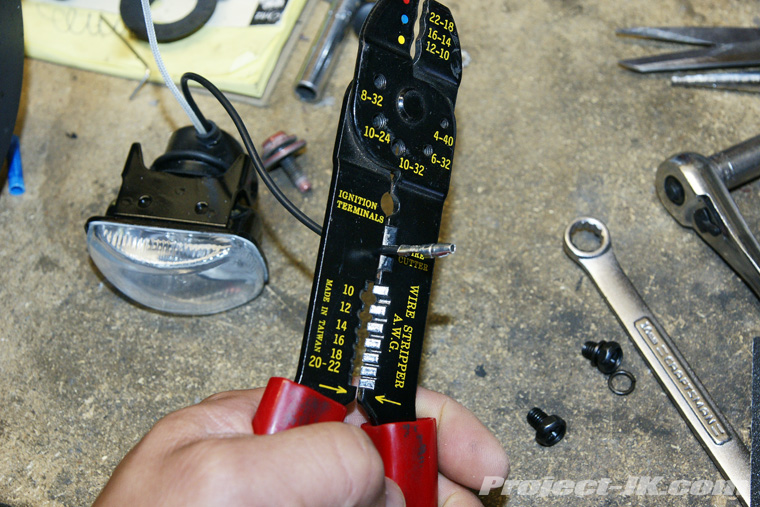
4. Strip the black ground wire and then, using a solderless connector crimp tool, attach a ring terminal to the end of the wire.
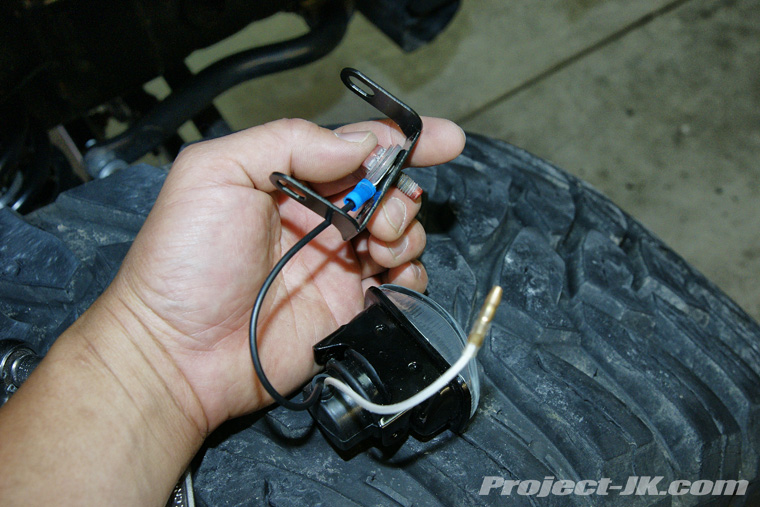
5. Slip the ground wire ring terminal onto the sub-frame bolt and then insert both through the Platinum Burner light mount as shown.
6. Using a 10mm socket, install the Platinum Burner light mount onto the sub-frame of your JK body.
7. Using a 10mm wrench and the bolts that came with the kit, install the Platinum Burner lights onto the mounts.

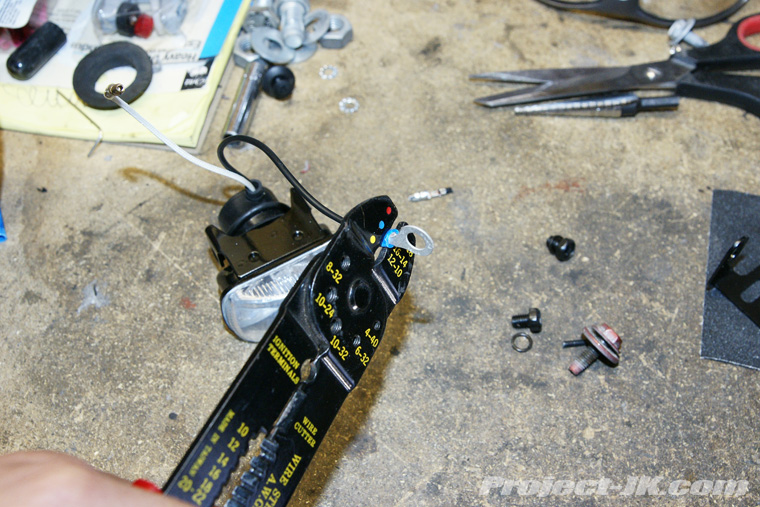
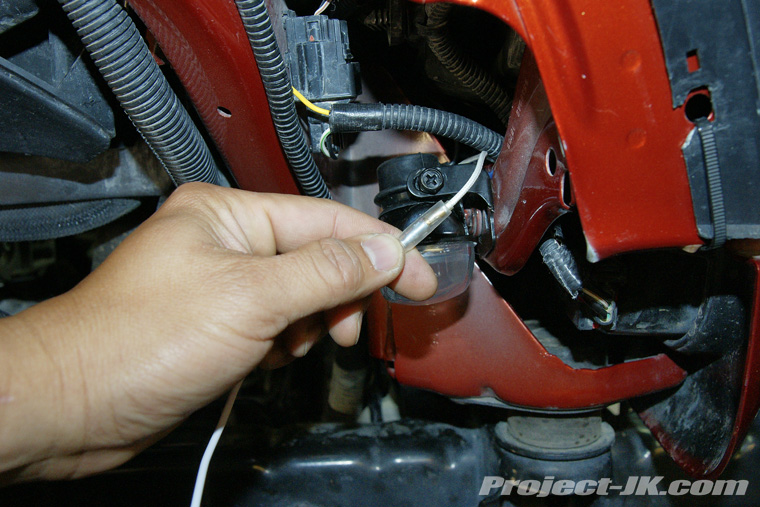
8. Connect the shorter pre-terminated wires provided with the kit onto the leads extending from the Platinum Burner lights.
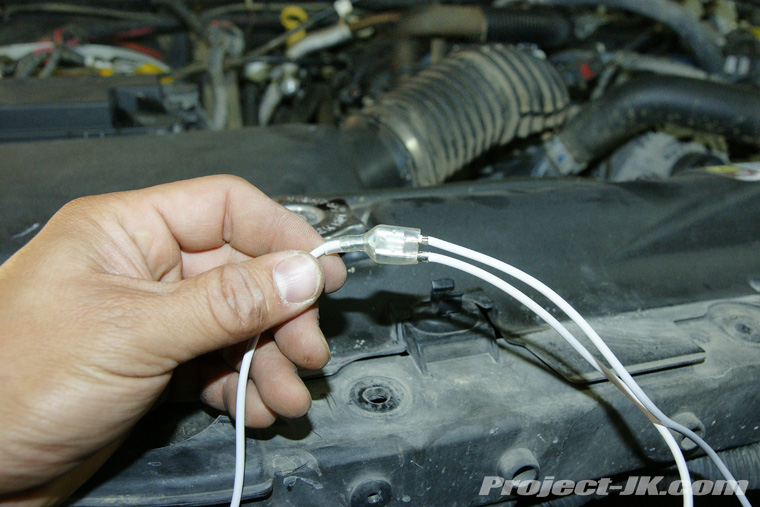
9. Connect the 2 white wires extending from both Platinum Burner lights into the coupling attached to the long white wire provided as shown.
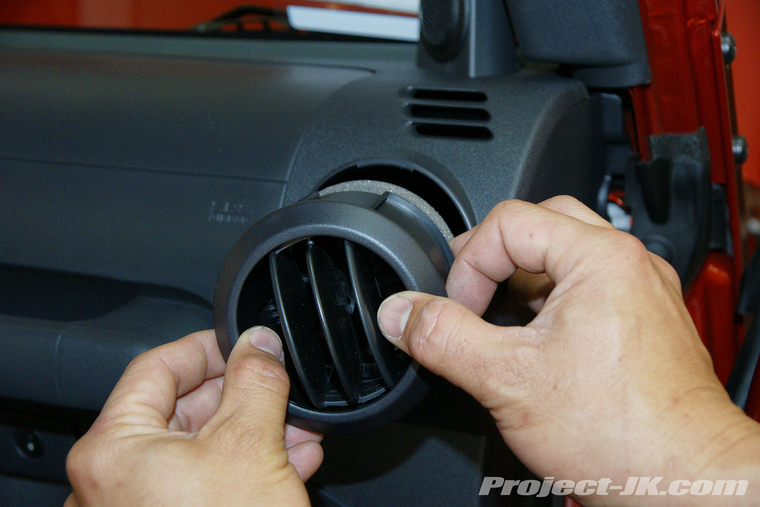
10. Open the passenger side door and remove the air vent baffles by rotating the outer ring and pulling it out as shown. Set the baffles aside. If you have a 2011 or newer JK, you will need to skip this step.
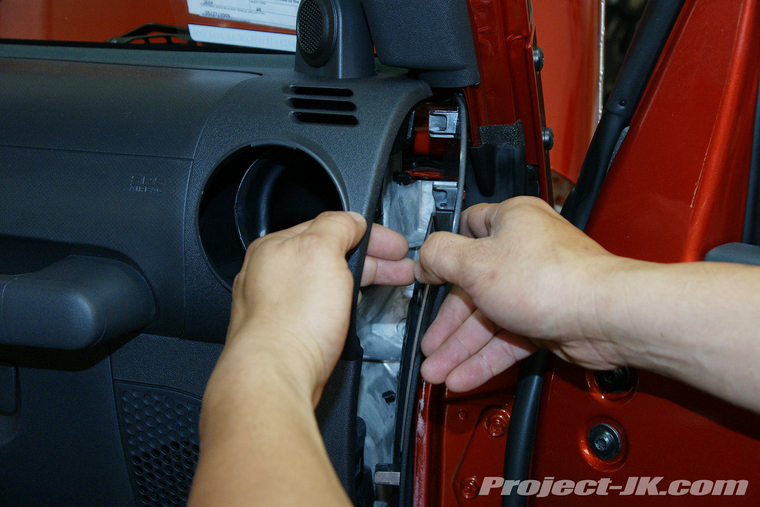
11. Reach through the air vent hole and push out the side panel of your dash as shown. Remove the panel and set it aside. If you have a 2011 or newer JK, simply use a trim pry tool to remove this panel.
12. Push a straightened out wire coat hanger all the way through the foam filled hole located on your JK’s firewall next to the door jam as shown in this pic.
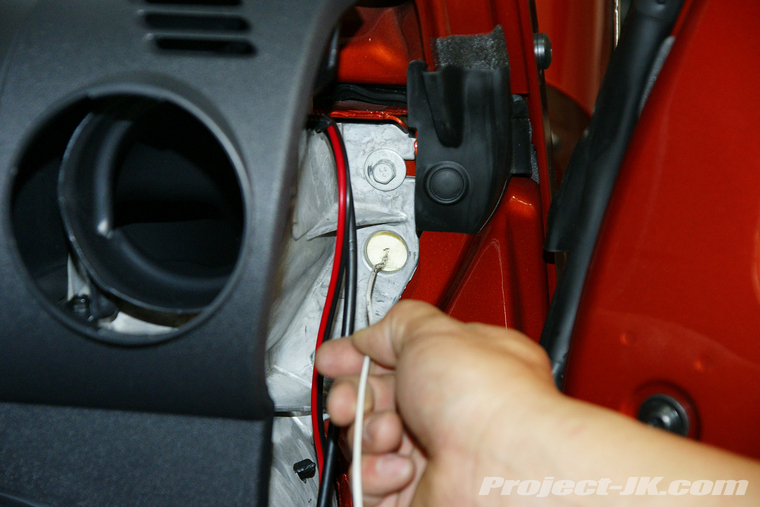
13. Tape the opposite end of the long white wire on to it as shown and then pull the coat hanger back through so that the wire comes inside the cab of your JK.
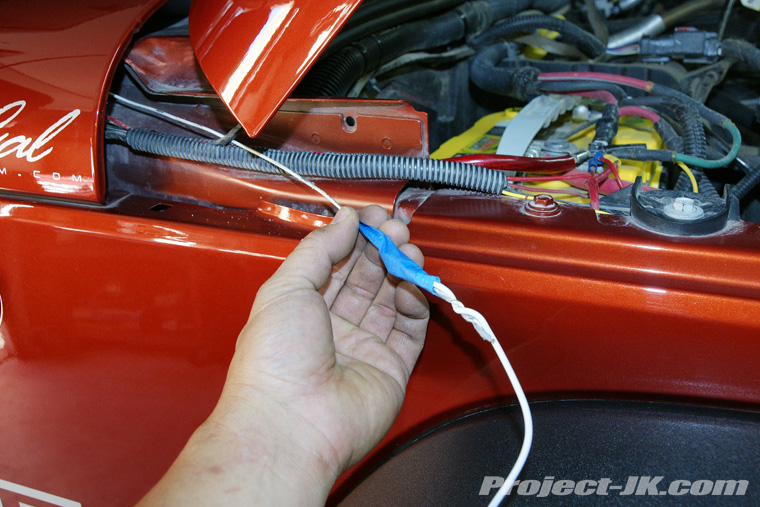
14. Reverse steps 12-13 using the red wire with inline fuse provided so that the longer end of it ends up inside the engine compartment of your JK.
15. Cut off and attach a new larger solderless ring connector to the end of the red wire so that it will fit onto the positive battery terminal bolt.
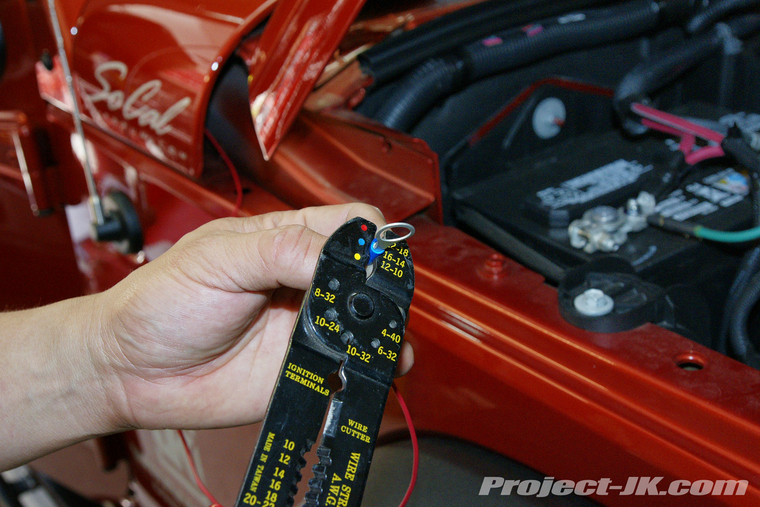
16. Cut off and attach a new larger solderless ring connector to the end of the last remaining black ground wire provided with the kit.
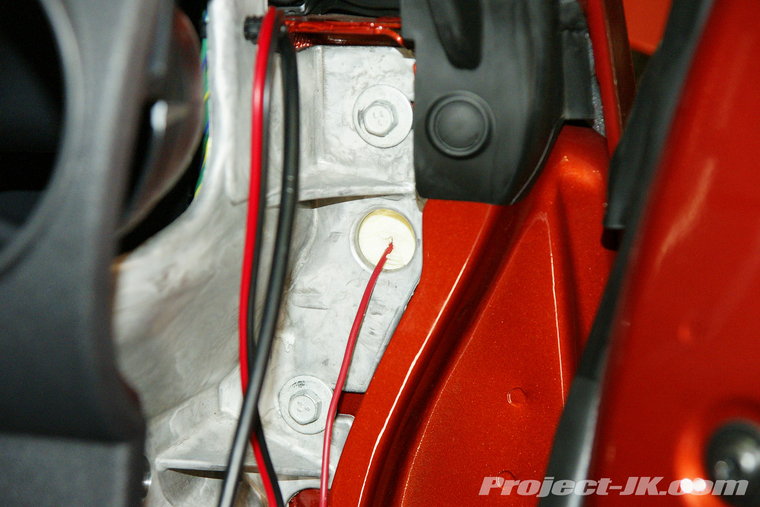
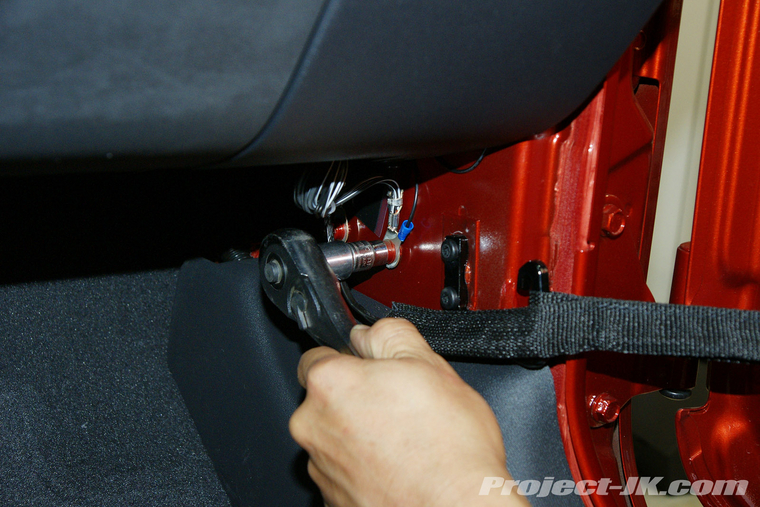
17. Using a 10mm socket, remove the ground nut located on the passenger side foot well as shown. Attach the black ground wire with ring connector to the stud and then secure it in place using the factory nut.
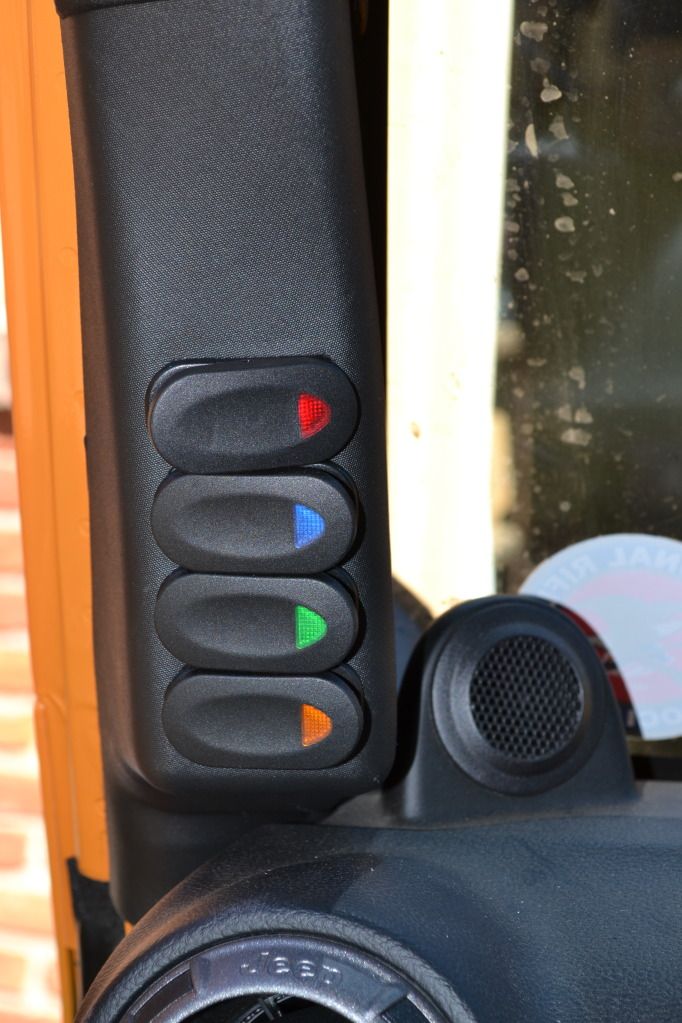
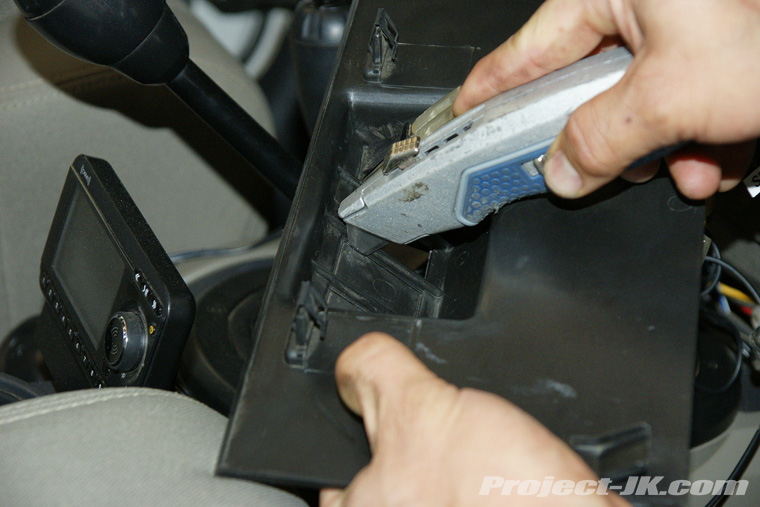
18. If you are using a Daystar Dash Panel, use a utility knife to cut out one of the light switch ports.
19. The switch that comes with the kit is on the narrow side and will not fit in the Daystar Switch Panel ports. So, I bought and installed a new switch that would fit.
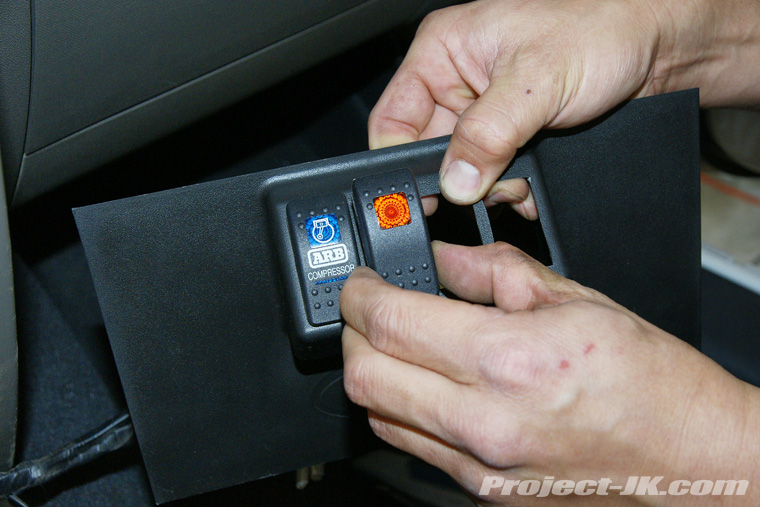
20. Connect the pre-terminated red wire with inline fuse attached to the (+) terminal, the black to the (-) and then white wire to the one in between.

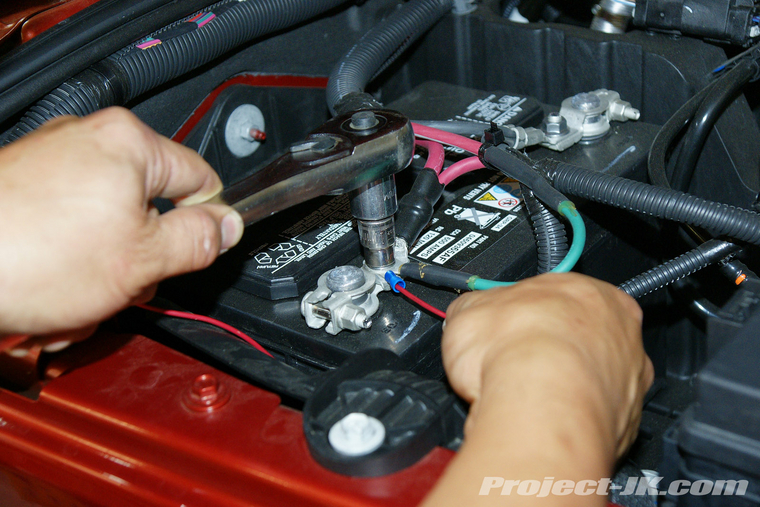
21. Using a 10mm socket, remove the nut on top of the positive terminal on your battery, attach the red wire ring connector on to the stud and secure it back in place using the factory nut.
22. Flip the switch to the on position and check to see if your lights are on. If they are, you are done. If not, double check your ground wire connections.
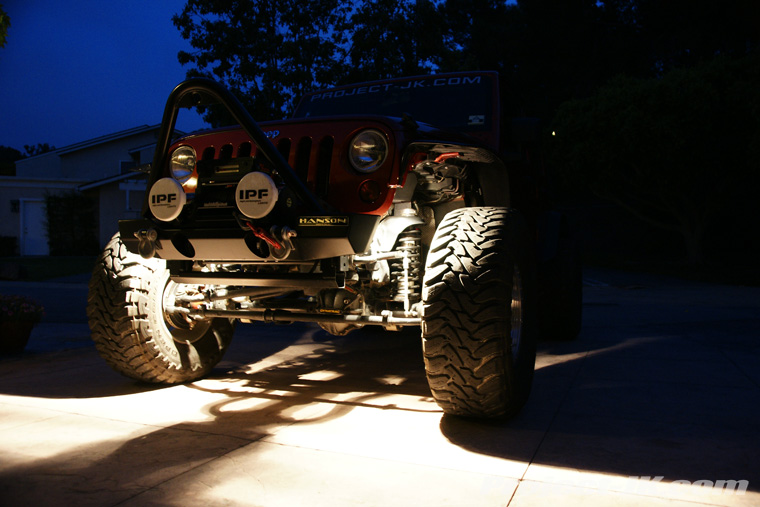
That’s all there is to it, your Jeep JK Wrangler is now equipped with rock lights and you’ll now be able to spare your spotters eyes as you play on the rocks at night.
Rock lights are essentially small lights that you can mount under your fenders and behind the grill so that they can effectively illuminate the ground immediately in front of your tires but without blinding your spotter. Right now, LED lights seem to be all the rage but, most are either cheap and unreliable or, are way too expensive for my taste. And, even the more expensive ones suffer from putting out way too little useable light. And, that’s why I decided to install a set of Walmart Platinum Burners.
At about $18 a pair, the Platinum Burners are cheap, easy to find just about anywhere, are super simple to install and work surprisingly well. More than any other rock light I have seen, these things put out a really nice spread of very usable clean light. Of course, if one goes bad, replacing it just requires you to located a nearby Walmart. I have been running these on Moby Dick (our white JK) for a little over two years now and have love them. Of course, the write-up below details the installation of a set I put on Nemo.
What you will need
• Platinum Burner Series Lights
• 10mm Socket & Wrench
• Ratchet
• Wire Stripper/Cutter/Crimpper
• Ring Terminal Connectors
• Wire Coat Hanger
• Masking Tape
• Daystar Switch Panel
• Daystar Switches (optional)
• Utility Knife
• Trim Pry Tool
Instructions
This is a shot of what the Platinum Burner Series Light box looks like. In addition to the pair of lights, it also comes with wiring, a fuse, a switch, mounts and miscellaneous pieces to help you to complete your installation.
1. Begin the installation of your rock lights by removing the bolt securing the grill support to the sub-structure of your JK’s body.
2. Using a 10mm wrench, remove the 2 bolts securing the Platinum Burner light to the mount.
3. The ring terminals leads provided are too small and so you will need to cut the black ground wire next to the connector plug as shown.
4. Strip the black ground wire and then, using a solderless connector crimp tool, attach a ring terminal to the end of the wire.
5. Slip the ground wire ring terminal onto the sub-frame bolt and then insert both through the Platinum Burner light mount as shown.
6. Using a 10mm socket, install the Platinum Burner light mount onto the sub-frame of your JK body.
7. Using a 10mm wrench and the bolts that came with the kit, install the Platinum Burner lights onto the mounts.
8. Connect the shorter pre-terminated wires provided with the kit onto the leads extending from the Platinum Burner lights.
9. Connect the 2 white wires extending from both Platinum Burner lights into the coupling attached to the long white wire provided as shown.
10. Open the passenger side door and remove the air vent baffles by rotating the outer ring and pulling it out as shown. Set the baffles aside. If you have a 2011 or newer JK, you will need to skip this step.
11. Reach through the air vent hole and push out the side panel of your dash as shown. Remove the panel and set it aside. If you have a 2011 or newer JK, simply use a trim pry tool to remove this panel.
12. Push a straightened out wire coat hanger all the way through the foam filled hole located on your JK’s firewall next to the door jam as shown in this pic.
13. Tape the opposite end of the long white wire on to it as shown and then pull the coat hanger back through so that the wire comes inside the cab of your JK.
14. Reverse steps 12-13 using the red wire with inline fuse provided so that the longer end of it ends up inside the engine compartment of your JK.
15. Cut off and attach a new larger solderless ring connector to the end of the red wire so that it will fit onto the positive battery terminal bolt.
16. Cut off and attach a new larger solderless ring connector to the end of the last remaining black ground wire provided with the kit.
17. Using a 10mm socket, remove the ground nut located on the passenger side foot well as shown. Attach the black ground wire with ring connector to the stud and then secure it in place using the factory nut.
18. If you are using a Daystar Dash Panel, use a utility knife to cut out one of the light switch ports.
19. The switch that comes with the kit is on the narrow side and will not fit in the Daystar Switch Panel ports. So, I bought and installed a new switch that would fit.
20. Connect the pre-terminated red wire with inline fuse attached to the (+) terminal, the black to the (-) and then white wire to the one in between.
21. Using a 10mm socket, remove the nut on top of the positive terminal on your battery, attach the red wire ring connector on to the stud and secure it back in place using the factory nut.
22. Flip the switch to the on position and check to see if your lights are on. If they are, you are done. If not, double check your ground wire connections.
That’s all there is to it, your Jeep JK Wrangler is now equipped with rock lights and you’ll now be able to spare your spotters eyes as you play on the rocks at night.
")