gtony12
Caught the Bug
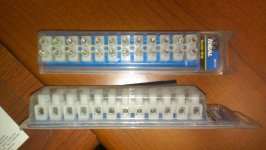
Power Block for accessories.
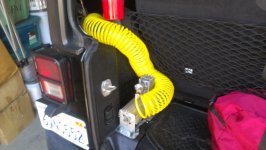
Rear compartment Compressor install, this setup can be used with all your accessories (lights, compressor, etc...). For now I am using the compressor.
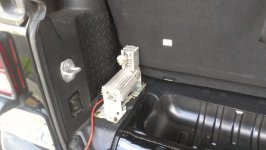
1. Locate compressor mounting point.
2. Wire type and route.Compressor wire will be #10 awg because of the amps running in wire. Using a fish tape (used for fishing wiring in the walls of house or in conduit) thru the frame from just above and front of the body mounting point just behind the passenger front fender, there is a small hole on top of frame. To the rear end frame at the last body mounting point behind the rear passenger fender. (small hole on top of frame) Leave plenty of slack at both end to be able to connect and tidy of the wires.
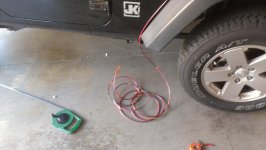
3. From the rear frame run the wire thru the drain plug on bottom of jack basin. Located under the jack, make a small hole just big enough to pull the two wires thru. Pull enough wire to the compressor location for connection. Route the wire under the door seal to the drivers side rear panel. Drill small hole near compressor mounting location and pull wire thru. Add connector to wires and heat shrink.
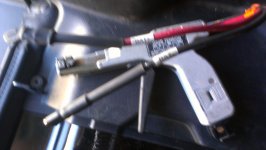
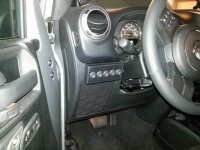
4. Connect wires to switch and Mount compressor as wanted ( I used 4 self tapping screws into rear floor panel).

5. Looking down on the left side of battery you should be able to see frame and wires, Using fish tape or pushing wire route up to engine compartment leaving enough wire to give your self a service loop and connections.
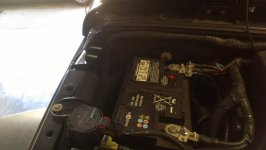
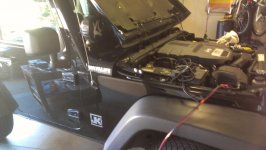
Service loop is used to be able to have enough slack in wire to remove block and bracket for battery replacement.
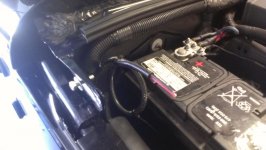
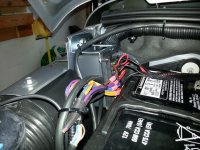
6. Add mounting bracket and power block. use existing hole and then drill 1 new hole as needed.
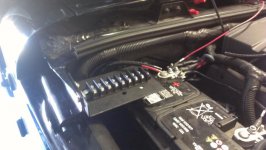
7. Using #10 awg wire RED and BLACK, cap one end of wire with wire cap to keep from arcing. Cut 2 pieces of wire about 2 feet long. Add connectors and heat shrink to one end use round connectors at battery and fork style at power block. Connect red to (+) side of battery and black (-) side of battery. Add wire wrap for clean look. Run wires along existing wire wrap adding
zip tie were needed. Connect the red wire to far left terminal screw and black to far right terminal screw. Use fork style connectors at this end. At this point added connectors and connect the compressor wires (red) to first far left terminal screw opposite side of power block. and (black) wire to far right opposite side of power block.
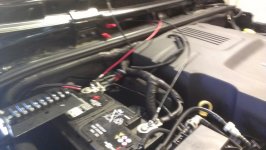
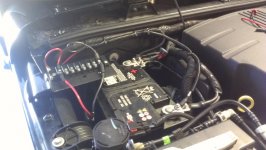

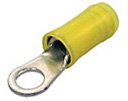
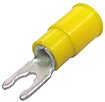
8. To add more power connection points for other accessories you will need to add jumpers (+) and (-) for ground you can also connect directly to frame or grounded body parts. For jumpers take a #10 awg wire about 3" inches long add fork style connectors to both ends of wire and heat shrink. Flip connector over and install under connector coming from battery then connecting other end to next terminal screw. Now the terminal screw on opposite side will be hot and ready for connection repeat for black wire. You can add more jumper as needed. That's it you are ready to added lights etc.....
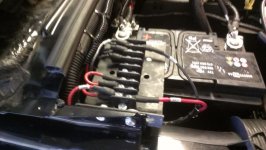
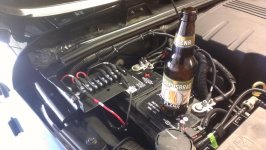
Hope this helps you!!! Compressor is ready to use....

Rear compartment Compressor install, this setup can be used with all your accessories (lights, compressor, etc...). For now I am using the compressor.
1. Locate compressor mounting point.

2. Wire type and route.Compressor wire will be #10 awg because of the amps running in wire. Using a fish tape (used for fishing wiring in the walls of house or in conduit) thru the frame from just above and front of the body mounting point just behind the passenger front fender, there is a small hole on top of frame. To the rear end frame at the last body mounting point behind the rear passenger fender. (small hole on top of frame) Leave plenty of slack at both end to be able to connect and tidy of the wires.

3. From the rear frame run the wire thru the drain plug on bottom of jack basin. Located under the jack, make a small hole just big enough to pull the two wires thru. Pull enough wire to the compressor location for connection. Route the wire under the door seal to the drivers side rear panel. Drill small hole near compressor mounting location and pull wire thru. Add connector to wires and heat shrink.

4. Connect wires to switch and Mount compressor as wanted ( I used 4 self tapping screws into rear floor panel).


5. Looking down on the left side of battery you should be able to see frame and wires, Using fish tape or pushing wire route up to engine compartment leaving enough wire to give your self a service loop and connections.


Service loop is used to be able to have enough slack in wire to remove block and bracket for battery replacement.

6. Add mounting bracket and power block. use existing hole and then drill 1 new hole as needed.

7. Using #10 awg wire RED and BLACK, cap one end of wire with wire cap to keep from arcing. Cut 2 pieces of wire about 2 feet long. Add connectors and heat shrink to one end use round connectors at battery and fork style at power block. Connect red to (+) side of battery and black (-) side of battery. Add wire wrap for clean look. Run wires along existing wire wrap adding
zip tie were needed. Connect the red wire to far left terminal screw and black to far right terminal screw. Use fork style connectors at this end. At this point added connectors and connect the compressor wires (red) to first far left terminal screw opposite side of power block. and (black) wire to far right opposite side of power block.


8. To add more power connection points for other accessories you will need to add jumpers (+) and (-) for ground you can also connect directly to frame or grounded body parts. For jumpers take a #10 awg wire about 3" inches long add fork style connectors to both ends of wire and heat shrink. Flip connector over and install under connector coming from battery then connecting other end to next terminal screw. Now the terminal screw on opposite side will be hot and ready for connection repeat for black wire. You can add more jumper as needed. That's it you are ready to added lights etc.....


Hope this helps you!!! Compressor is ready to use....

Last edited:

