10frank9
Web Wheeler
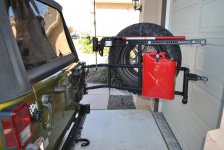
This write is for the installation of the OR-Fab Tire/Can Carrier for the JK or JKU. This is my first official write up and I did this install by myself so please be kind. I dont have photos of every step but I took photos of some of the things I know I had questions on before I started the install. Hope you all find this usefull.
This is a list of the tools and hardware I needed to complete this install.
Angle drill
Corded or cordless drill
Torx T50
Die grinder or Dremel with a grinding stone
Phillips head screwdriver
13mm wrench
19mm wrench
13mm socket
19mm socket
½ inch drill bit
3/8 inch drill bit
1/8 inch drill bit
1 inch hole saw
Rubber hammer
Lithium Grease
RTV Silicone sealant
To attach the Hi-Lift jack:
2 - 3/8 inch x 1 ½ inch bolts and washers
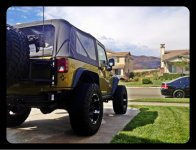
Before:
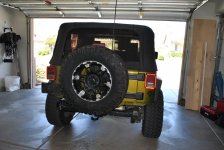
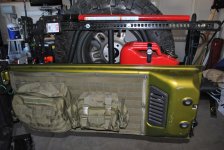
First, off you have to remove your spare tire and any accessories you may have attached to your rear tailgate. I had a CB antenna with a bracket mounted to the stock spare tire carrier. I also had the Smittybilt G.E.A.R. tailgate cover installed. All of this came off before I started the install.
I removed the stock spare tire carrier and 3rd brake light. I also removed both taillights. (I didnt remove my rear bumper for this install, I run this way 365).
Remove the plastic hinge covers. Just use two hands and pull firmly to the left and towards you and they should pop off. Be sure to take note or mark, which one is upper and lower. The upper is shallower than the lower.
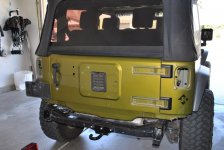
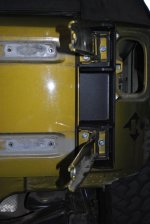
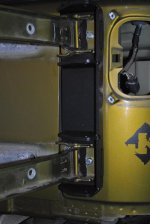
Next remove the four screws that attach the tailgate hinges to the tailgate using a 13mm socket. Be sure to support the bottom of the tailgate on the side you just removed the hinges from as it sags a bit. Also as a precautionary measure, lock the tailgate with the key so as to prevent any dumb mistakes.
Also remove the hinges from the body using the Torx T50. (not pictured)
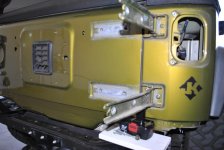
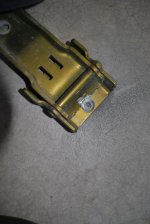
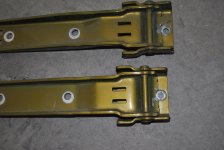
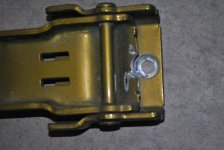
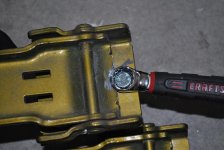
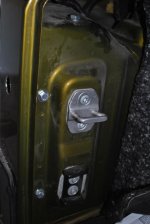
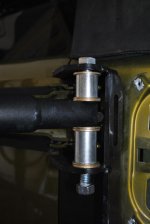
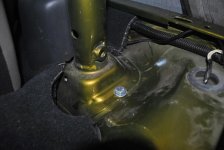
Once the hinges have been removed, again be sure to take note or mark which is the upper and lower as this does make a difference when re-installing (found out the hard way). Use a die grinder (preffered) or in my case a Dremel with a grinding stone to grind down the center section of the hinge where it pivots around the third bolt (pictured). This allows clearance when opening the tailgate when the new hardware is installed.
This is a list of the tools and hardware I needed to complete this install.
Angle drill
Corded or cordless drill
Torx T50
Die grinder or Dremel with a grinding stone
Phillips head screwdriver
13mm wrench
19mm wrench
13mm socket
19mm socket
½ inch drill bit
3/8 inch drill bit
1/8 inch drill bit
1 inch hole saw
Rubber hammer
Lithium Grease
RTV Silicone sealant
To attach the Hi-Lift jack:
2 - 3/8 inch x 1 ½ inch bolts and washers
Before:

First, off you have to remove your spare tire and any accessories you may have attached to your rear tailgate. I had a CB antenna with a bracket mounted to the stock spare tire carrier. I also had the Smittybilt G.E.A.R. tailgate cover installed. All of this came off before I started the install.
I removed the stock spare tire carrier and 3rd brake light. I also removed both taillights. (I didnt remove my rear bumper for this install, I run this way 365).
Remove the plastic hinge covers. Just use two hands and pull firmly to the left and towards you and they should pop off. Be sure to take note or mark, which one is upper and lower. The upper is shallower than the lower.

Next remove the four screws that attach the tailgate hinges to the tailgate using a 13mm socket. Be sure to support the bottom of the tailgate on the side you just removed the hinges from as it sags a bit. Also as a precautionary measure, lock the tailgate with the key so as to prevent any dumb mistakes.
Also remove the hinges from the body using the Torx T50. (not pictured)

Once the hinges have been removed, again be sure to take note or mark which is the upper and lower as this does make a difference when re-installing (found out the hard way). Use a die grinder (preffered) or in my case a Dremel with a grinding stone to grind down the center section of the hinge where it pivots around the third bolt (pictured). This allows clearance when opening the tailgate when the new hardware is installed.

Last edited:

