My billet rubi build

utiadam

LOSER
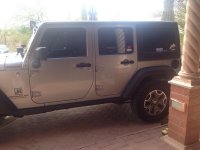
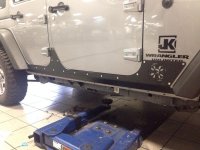
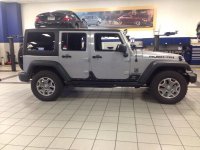
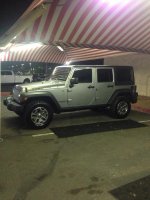
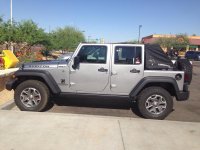
I've had my '13 rubi almost a year and a half. I'm always doing something to it so I figured it's time for a build thread 😁

April 16, 2013 - about to drive off the lot
ImageUploadedByWAYALIFE1407679329.928060.jpg
ImageUploadedByWAYALIFE1407679344.028859.jpg
ImageUploadedByWAYALIFE1407679233.564415.jpg
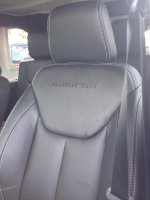
I love these seats
ImageUploadedByWAYALIFE1407679369.752434.jpg
 
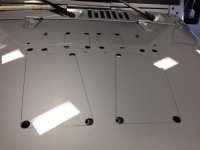
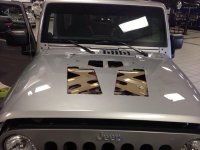
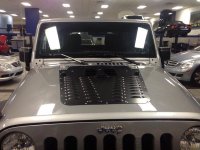
A week later I installed the Poison Spyder hood louvers as my first mod.
ImageUploadedByWAYALIFE1407679449.775407.jpg
ImageUploadedByWAYALIFE1407679473.178469.jpg
ImageUploadedByWAYALIFE1407679492.650315.jpg
ImageUploadedByWAYALIFE1407679514.045558.jpg

Next I painted the calipers to gain me 10hp! 😜
ImageUploadedByWAYALIFE1407679544.247447.jpg

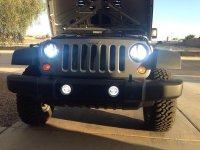
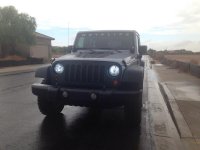
Installed HID headlights
ImageUploadedByWAYALIFE1407679605.813171.jpg
 
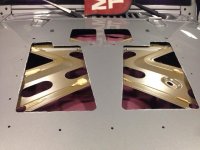
Ahh, the sweet feeling of cutting straight, virgin sheet metal! That is commitment to your hobby, glad to see the build thread is underway :thumb:
 
Nice, looking good. There's not many people that are brave enough to cut into a new hood. Came out great tho
 
Then the stereo installation started.

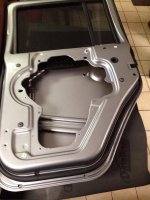
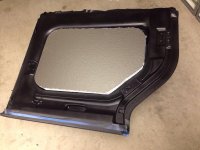
I began by removing all the doors.
ImageUploadedByWAYALIFE1407679877.672478.jpg
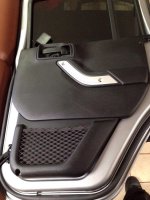
Removed the door panels
ImageUploadedByWAYALIFE1407679932.506283.jpg
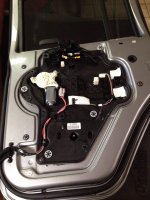
Then the window regulator assembly
ImageUploadedByWAYALIFE1407679972.745357.jpg
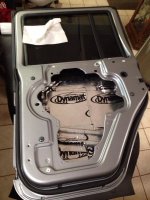
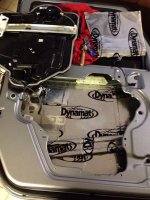
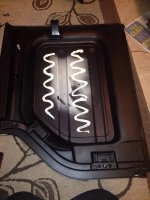
Started applying Dynamat extreme to the inside.
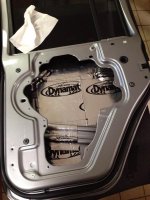
ImageUploadedByWAYALIFE1407680021.520021.jpg
ImageUploadedByWAYALIFE1407680036.147047.jpg
ImageUploadedByWAYALIFE1407680051.696683.jpg
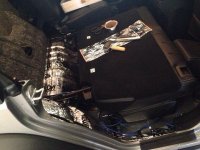
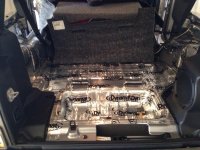
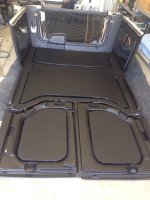
Then applied Dynamat extreme under the carpeting
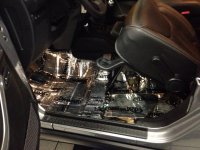
ImageUploadedByWAYALIFE1407680103.680120.jpg
ImageUploadedByWAYALIFE1407680127.836699.jpg
ImageUploadedByWAYALIFE1407680171.781111.jpg
Then Dynaliner on top of the Dynamat extreme
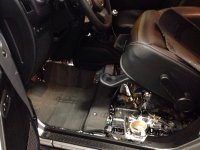
ImageUploadedByWAYALIFE1407680215.868288.jpg
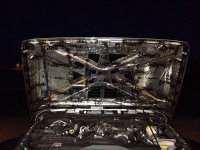
Leftovers went on under the hood
ImageUploadedByWAYALIFE1407680265.868652.jpg

Now time to install some speakers
JL Audio ZR series tweeters next to the OEM tweeters
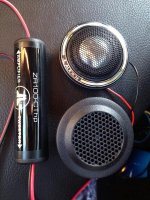
ImageUploadedByWAYALIFE1407680479.163751.jpg
Mounted ZR tweeters in the rear sound bar as well
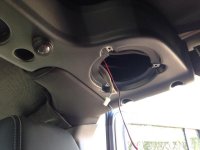
ImageUploadedByWAYALIFE1407680702.264281.jpg
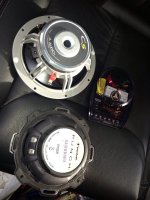
JL Audio C5 mids and crossovers going in front and rear
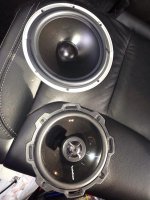
ImageUploadedByWAYALIFE1407680548.668555.jpg
ImageUploadedByWAYALIFE1407680630.997343.jpg

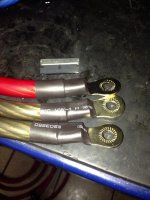
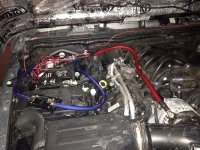
Did the big 3 wiring upgrade under the hood
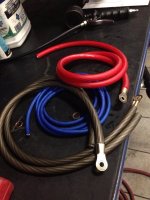
ImageUploadedByWAYALIFE1407680759.535822.jpg
ImageUploadedByWAYALIFE1407680807.413916.jpg
ImageUploadedByWAYALIFE1407680839.515433.jpg
(The wiring didn't stay all messy like that for long)
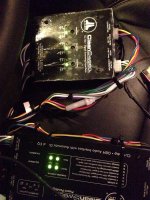
JL Audio Cleansweep and Summing module going in
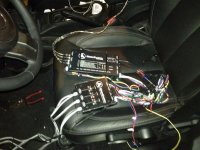
ImageUploadedByWAYALIFE1407680907.650520.jpg
 
Ahh, the sweet feeling of cutting straight, virgin sheet metal! That is commitment to your hobby, glad to see the build thread is underway :thumb:

Thanks! I did make a mistake of not covering the windshield from the sparks and got some minor pitting. Nothing visible but you could feel it.

Nice, looking good. There's not many people that are brave enough to cut into a new hood. Came out great tho

Thanks, guys at my work couldn't believe what I was doing
 
All green lights and the cleansweep is calibrated
ImageUploadedByWAYALIFE1407681114.631265.jpg
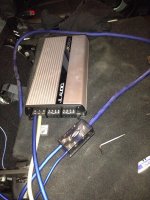
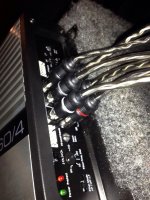
Amps going in
ImageUploadedByWAYALIFE1407681159.100009.jpg
ImageUploadedByWAYALIFE1407681200.812361.jpg
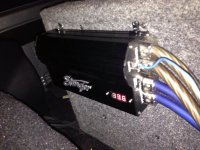
Stinger 10 farad capacitor
ImageUploadedByWAYALIFE1407681228.868627.jpg
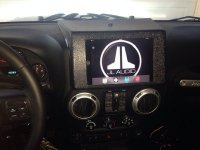
iPad mini 64gb controlling everything
ImageUploadedByWAYALIFE1407681574.747396.jpg

Spiderweb Shade installed
ImageUploadedByWAYALIFE1407681298.319742.jpg
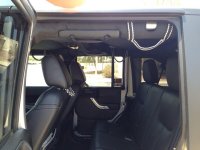
Paracord grab handles
ImageUploadedByWAYALIFE1407681379.797480.jpg
 
Damn that's some nice audio work, you do that professionally? Noticed your from Maricopa CO. Used to live in Prescott Valley, wife worked at the courthouse on whiskey row :yup;
 
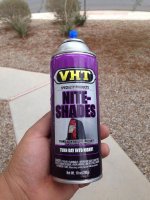
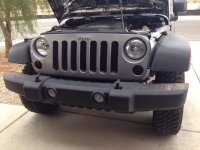
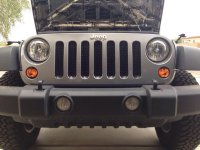
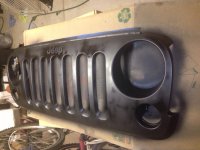
Removed front grille to smoke turn signals and install grille inserts
ImageUploadedByWAYALIFE1407681779.639637.jpg
ImageUploadedByWAYALIFE1407681840.868230.jpg
ImageUploadedByWAYALIFE1407681903.615882.jpg
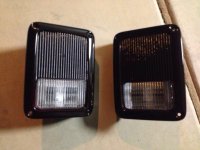
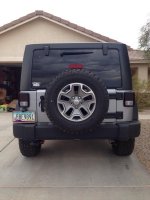
Smoked tail lights as well
ImageUploadedByWAYALIFE1407681947.263539.jpg
I did do the 3rd brake light too but don't have a pic
ImageUploadedByWAYALIFE1407682010.035345.jpg
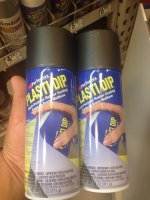
I should've plasti-dipped the grille when it was off the first time without inserts but I wasn't thinking
ImageUploadedByWAYALIFE1407682071.147696.jpg
ImageUploadedByWAYALIFE1407682137.404551.jpg
ImageUploadedByWAYALIFE1407682170.773533.jpg
 
Damn that's some nice audio work, you do that professionally? Noticed your from Maricopa CO. Used to live in Prescott Valley, wife worked at the courthouse on whiskey row :yup;

No, I'm a Mercedes Benz technician. I'm from Tucson originally but I found a great deal on a house in Maricopa and it's not too far from my work in Chandler. I know where Prescott is but I've never been there.

Looks great! Do you like the dynamat under the carpet?

The dynamat made a huge difference. Before you could feel heat coming in through the carpeting but not anymore. The dynamat in the doors made them sound really nice when they close. It's a solid thud on the front doors when you close them now.
 
No, I'm a Mercedes Benz technician. I'm from Tucson originally but I found a great deal on a house in Maricopa and it's not too far from my work in Chandler. I know where Prescott is but I've never been there.

Check it out if you ever get a chance, lots of history there. Pretty cool town, reminds of the old cowboy days.
 
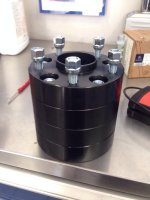
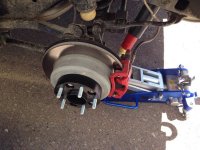
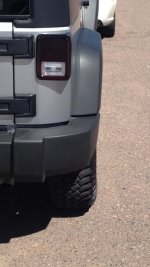
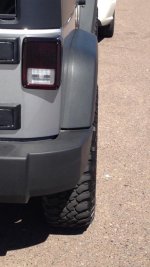
Next up was a set of Poison Spyder wheel spacers
ImageUploadedByWAYALIFE1407682533.058627.jpg
ImageUploadedByWAYALIFE1407682586.202113.jpg
Before
ImageUploadedByWAYALIFE1407682615.963159.jpg
After
ImageUploadedByWAYALIFE1407682657.330117.jpg

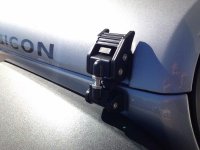
New hood latches
ImageUploadedByWAYALIFE1407682697.864343.jpg

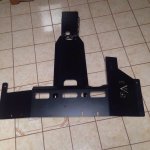
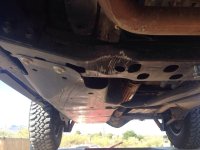
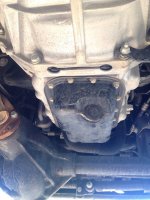
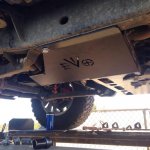
I found an awesome deal on some never installed Evo Protek skids on Craigslist.
ImageUploadedByWAYALIFE1407682734.021262.jpg
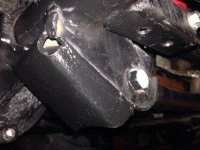
Of course I would find them the weekend after denting my crossmember
ImageUploadedByWAYALIFE1407682791.897713.jpg
ImageUploadedByWAYALIFE1407682860.651248.jpg
ImageUploadedByWAYALIFE1407682889.372828.jpg
ImageUploadedByWAYALIFE1407682919.965090.jpg
 
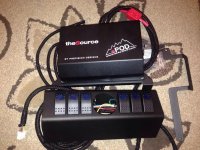
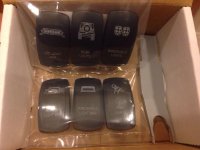
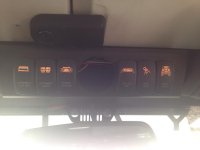
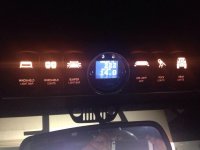
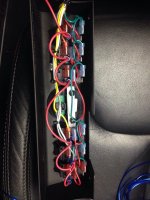
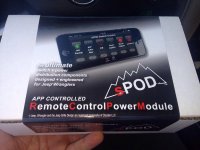
Needed some switches for the lights that were going on
ImageUploadedByWAYALIFE1407683188.197579.jpg
ImageUploadedByWAYALIFE1407683268.257044.jpg
ImageUploadedByWAYALIFE1407683359.479105.jpg
ImageUploadedByWAYALIFE1407683409.712938.jpgImageUploadedByWAYALIFE1407683427.020311.jpg
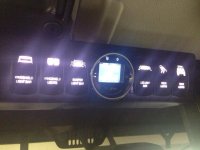
I wasn't a fan of the incandescent lights in the switches so I changed them to white LED
ImageUploadedByWAYALIFE1407683498.432635.jpg
I also wired the bottom lights into ignition power.
ImageUploadedByWAYALIFE1407683560.166558.jpg
Added Bluetooth module just for fun
ImageUploadedByWAYALIFE1407683635.502707.jpg
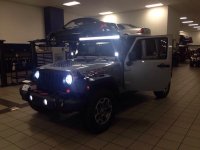
Then came the lights
ImageUploadedByWAYALIFE1407683683.446844.jpg
ImageUploadedByWAYALIFE1407683736.926051.jpg
 
ImageUploadedByWAYALIFE1407683906.477178.jpg
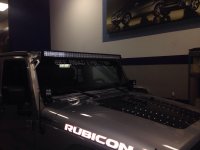
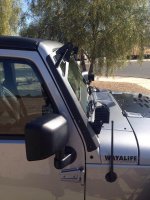
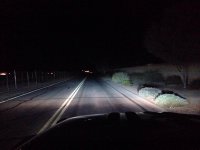
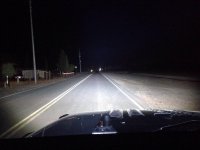
Rigid Duallies on the pillars only
ImageUploadedByWAYALIFE1407683965.300665.jpg
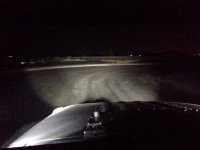
HID only
ImageUploadedByWAYALIFE1407684018.762431.jpg
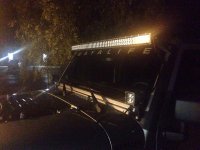
50" only
ImageUploadedByWAYALIFE1407684060.213485.jpg
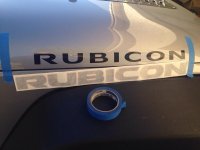
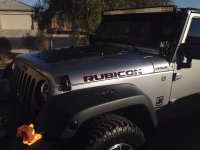
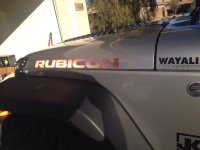
New hood decals
ImageUploadedByWAYALIFE1407684132.747882.jpg
ImageUploadedByWAYALIFE1407684160.918015.jpg
They are reflective red and reflective black
ImageUploadedByWAYALIFE1407684207.447485.jpg

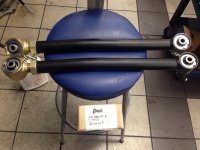
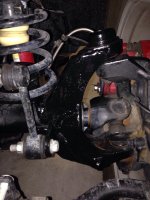
Currie adjustable front lower control arms
ImageUploadedByWAYALIFE1407684242.330631.jpg
 
These were next up to arrive. They have been sitting at the house far too long waiting to be installed.
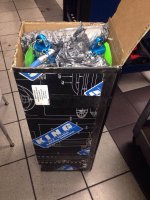
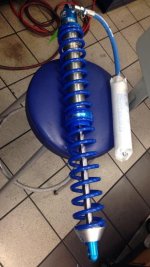
Evo front bolt on coilover kit
ImageUploadedByWAYALIFE1407684334.166103.jpg
ImageUploadedByWAYALIFE1407684406.461779.jpg
ImageUploadedByWAYALIFE1407684429.714018.jpg
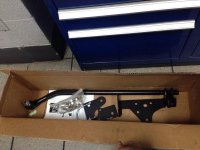
Evo drag link flip kit
ImageUploadedByWAYALIFE1407684488.352426.jpg
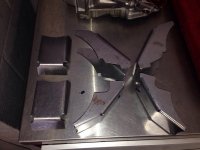
Evo lower control arm skids and c gussets
ImageUploadedByWAYALIFE1407684538.336614.jpg
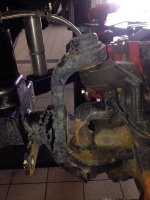
Before
ImageUploadedByWAYALIFE1407684592.137245.jpg
ImageUploadedByWAYALIFE1407684626.381127.jpg
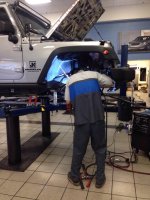
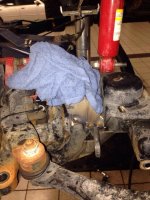
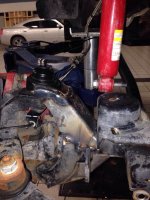
Cooling down the ball joints
ImageUploadedByWAYALIFE1407684646.821779.jpg
ImageUploadedByWAYALIFE1407684679.580979.jpg
ImageUploadedByWAYALIFE1407684698.880681.jpg
ImageUploadedByWAYALIFE1407684728.144778.jpg
 
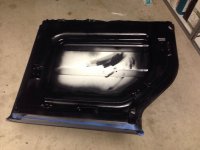
My hardtop insulation project
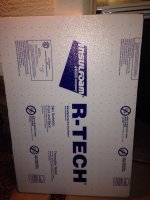
1" foam insulation board
ImageUploadedByWAYALIFE1407684817.777082.jpg
Black vinyl to match the leather seats
ImageUploadedByWAYALIFE1407684865.962675.jpg
Rustoleum bed liner
ImageUploadedByWAYALIFE1407684916.596764.jpg
Cut to fit recessed areas
ImageUploadedByWAYALIFE1407684954.350683.jpg
Liquid nails to glue insulation
ImageUploadedByWAYALIFE1407685002.063908.jpg
Completed
ImageUploadedByWAYALIFE1407685062.853400.jpg
 
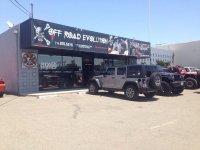
My trip to Off Road Evolution
ImageUploadedByWAYALIFE1407685188.029558.jpg
Also got a chance to meet up with a couple other Wayalife members at a GenRight meet.
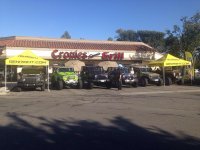
ImageUploadedByWAYALIFE1407685552.397917.jpg
Cracked the windshield on the trip so it got replaced. 60% tint on the whole windshield and 20% visor strip on top
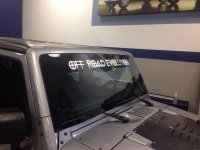
ImageUploadedByWAYALIFE1407685266.881393.jpg
While the light mounts were off I decided to strip them down to bare aluminum. The left is what the mounts look like without any sanding. I wasn't going for chrome or anything but I didn't want them to look that rough.
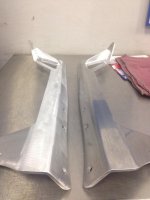
ImageUploadedByWAYALIFE1407685650.136939.jpg
ImageUploadedByWAYALIFE1407685395.837321.jpg
The mounts blend in with billet silver almost perfectly
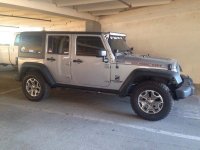
ImageUploadedByWAYALIFE1407685486.914071.jpg
 
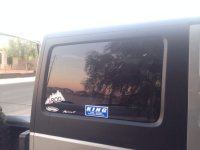
I decided that my tint wasn't dark enough so I added 5% on top of what the dealer had on the hard top and small windows on the rear doors.
ImageUploadedByWAYALIFE1407685764.261056.jpg
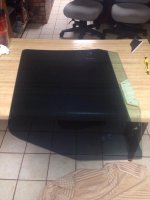
All the glass was removed from the doors and received 20% tint
ImageUploadedByWAYALIFE1407685852.628448.jpg
Finished
ImageUploadedByWAYALIFE1407685901.745864.jpg

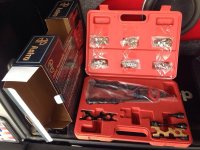
Thanks to everyone who recommended the Astro 1442! This is the best tool ever made 😃
ImageUploadedByWAYALIFE1407685939.964006.jpg
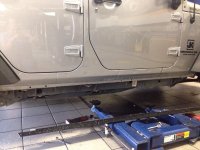
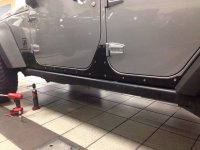
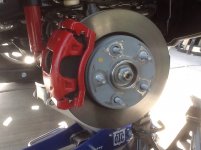
Evo Rock Skins going on
ImageUploadedByWAYALIFE1407686006.669529.jpg
ImageUploadedByWAYALIFE1407686045.635781.jpg
ImageUploadedByWAYALIFE1407686059.802214.jpg
ImageUploadedByWAYALIFE1407686086.339602.jpg
ImageUploadedByWAYALIFE1407686115.418452.jpg
 
Top Bottom