More times than not, the best line you can take through a technical section of trail will require you to use your tires to climb up and over big obstacles. Of course, by doing this, your rocker panels quickly become the lowest point on your Jeep JK Wrangler and if left unprotected, you leave the door wide open for significant body damage. It is for this reason that I always recommend a good set of rocker guards or, “rock sliders” as a must have upgrade and only second to a set of tow points front and rear.
Designed to mount directly to the frame rails of your Jeep JK Wrangler, the LoD Signature Series Rock Sliders are without a doubt one of the best rocker guards available on the market today. I have personally run a set on my White JK for over a year and can tell you that in addition to them being incredibly strong and capable of taking punishing abuse, they are also very stylish and work great as a side step.
The step by step write-up below will show you just how easy the LoD Signature Series Rock Slider are to install. Please note that I've done this install a few times and so some of the photos featured will be form different color Jeeps.
What you will need
• 10,13,18mm Socket & Wrench
• 5/8″ Socket & Wrench
• Ratchet
• Floor Jack
• Center Punch
• Hand Drill
• 1/8″ Metal Drill Bit or Unibit
• 7/16″ NF20 Drill & Tap Set
• Cutting Oil
Installation Instructions
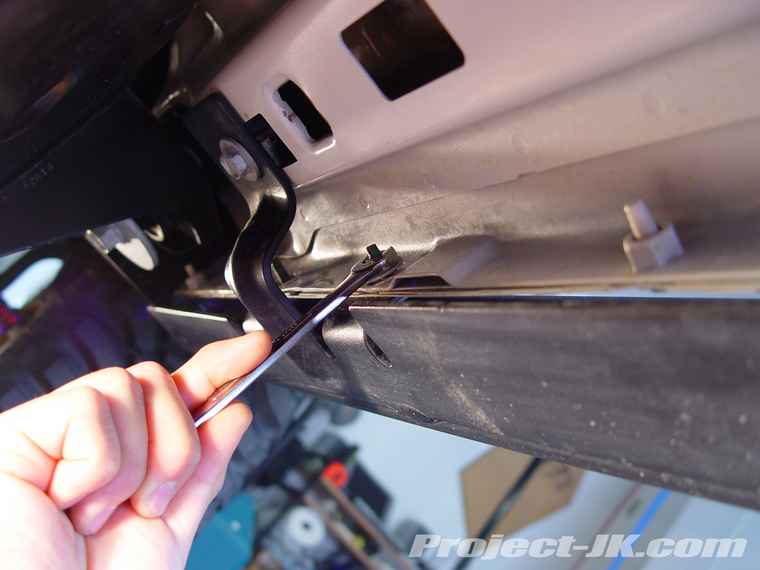
1. To remove either the Jeep JK Wrangler Unlimited Rubicon rocker guards or Sahara running boards, use a 10mm wrench to remove the 3 pairs of nuts securing them to the body pinch seam.
2. Using a 13mm socket, remove the 3 bolts securing the Rubicon factory rocker guards or Sahara running boards to the bottom of the body.
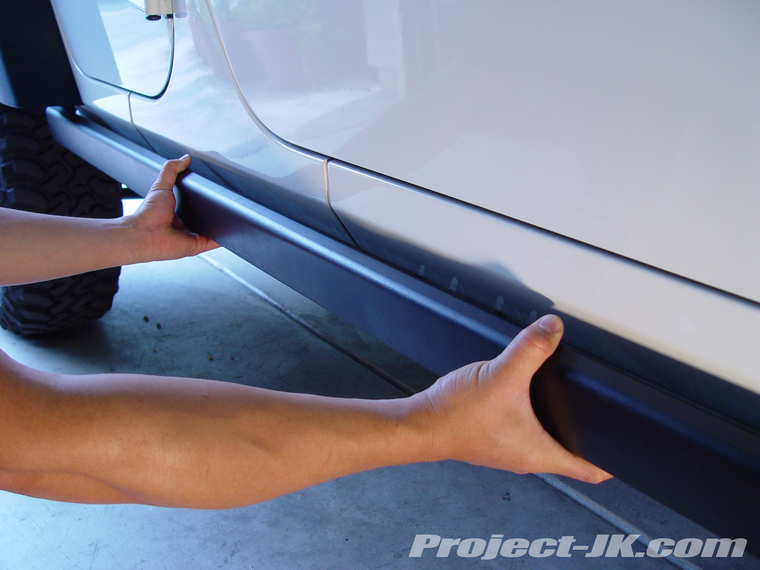
3. With the 6 nuts and 3 bolts removed, the factory rocker guards or running boards will pull off the body pinch seam with ease.
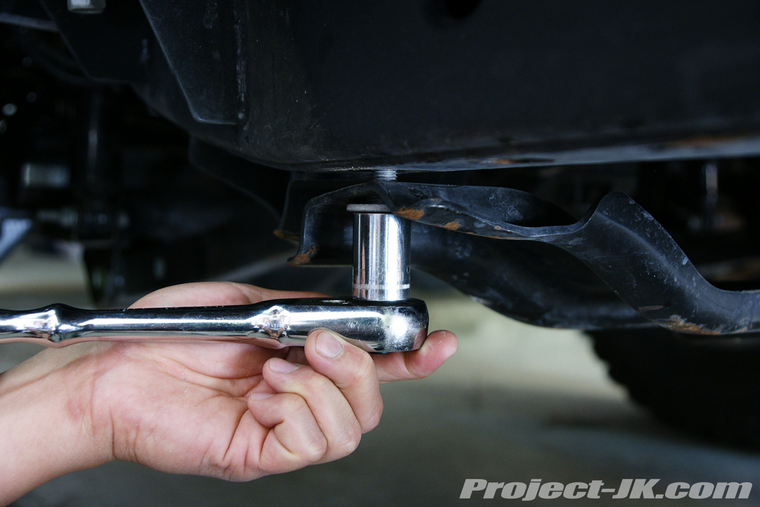
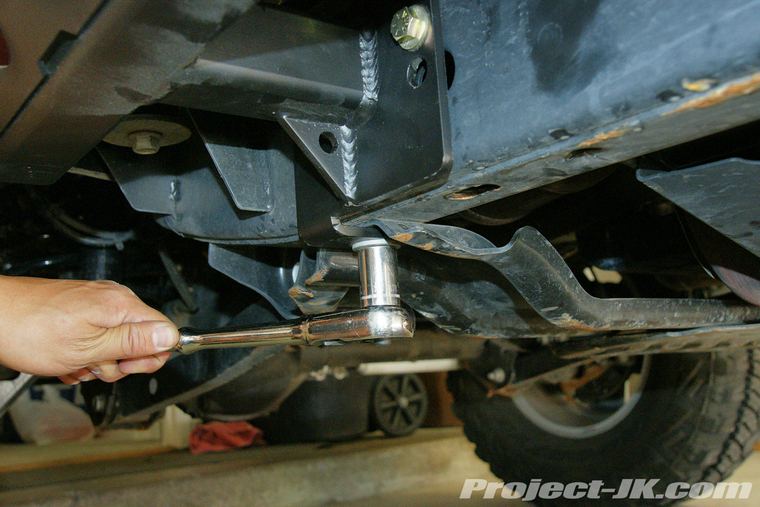
4. Starting on the driver side of your Jeep, use an 18mm socket to remove the bolts securing the automatic transmission and transfer case skid plates to the frame rail.
5. Place your LoD Signature Series Rock Slider on a floor jack and carefully maneuver in place under the driver side rocker panel.

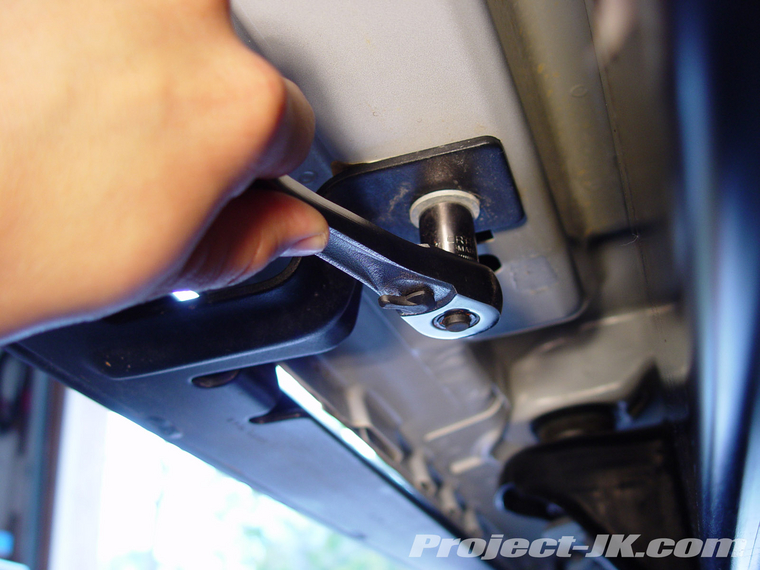
6. Using the factory hardware, secure your new LoD Signature Series Rock Slider to the points where the automatic transmisson and transfer case skid plates attach the frame rail as shown. An 18mm socket will be needed for this job.

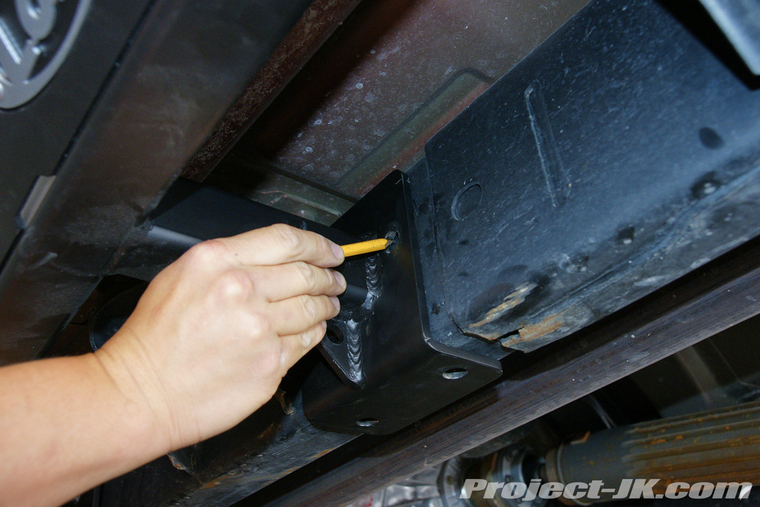
7. Double check that your LoD Signature Series Rock Slider is sitting straight. Then, using it as a template, mark off all the mounting holes you will need to drill out on the side of the frame rail.
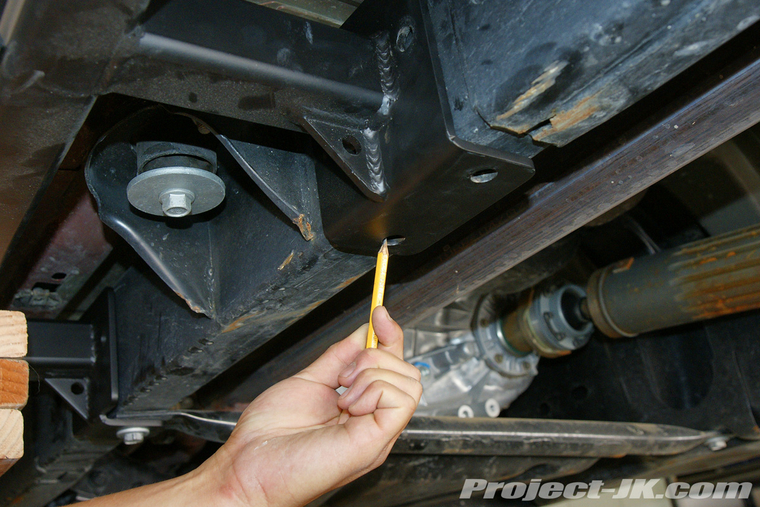
8. On the mount closest to the rear tire, there are 2 holes on the bottom of the frame rail that you will need to mark off as well.
9. Remove the 2 bolts securing your LoD Signature Series Rock Slider onto the frame rail and then carefully lower and remove it.
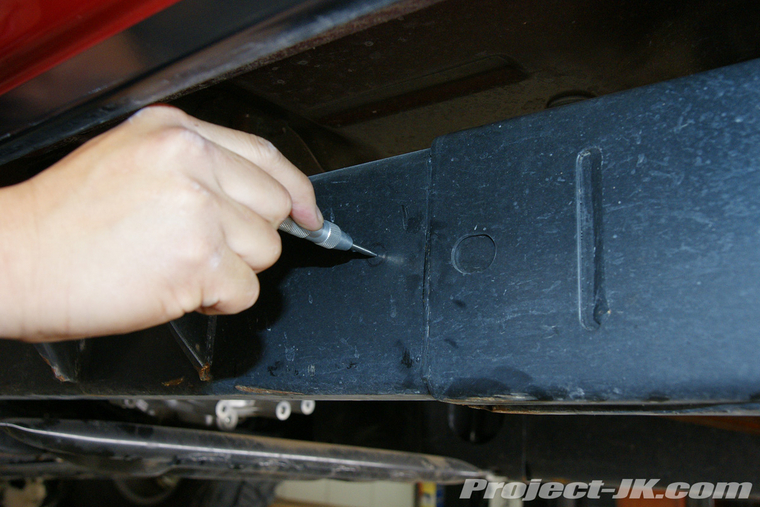
10. With your LoD Signature Series Rock Slider set aside, locate and mark the center of all the holes you need to drill out with a center punch. This will help keep your drill bit from wandering away once you start drilling.
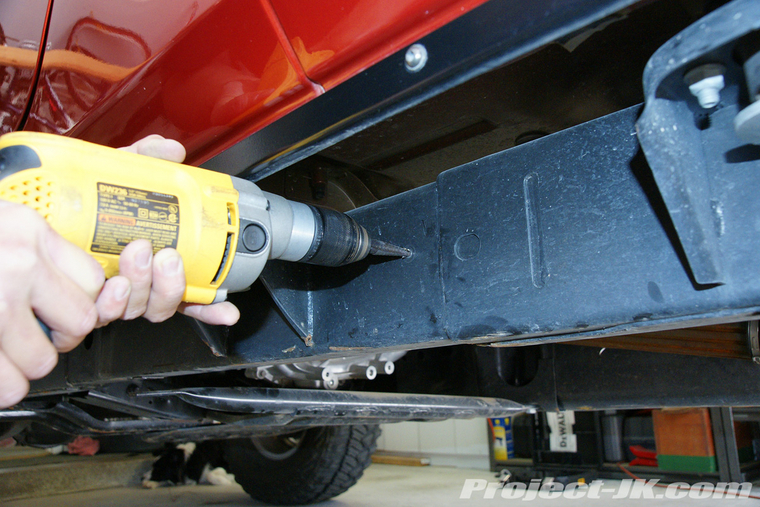
11. Using a small metal drilling bit or Unibit, begin drilling pilot holes on all the mounting points that you’ve marked off the frame rail.
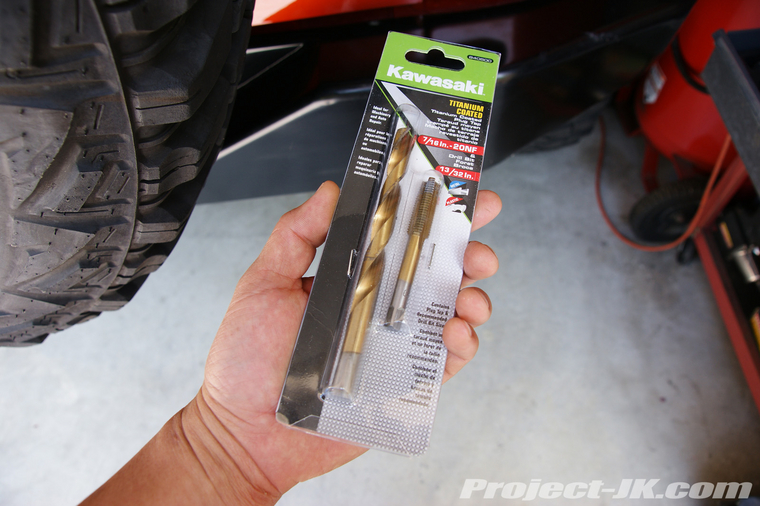
12. If you don’t have one already, you really need to pick up a matched 7/16″ x NF20 Drill Bit and Tap Set like the one shown here.
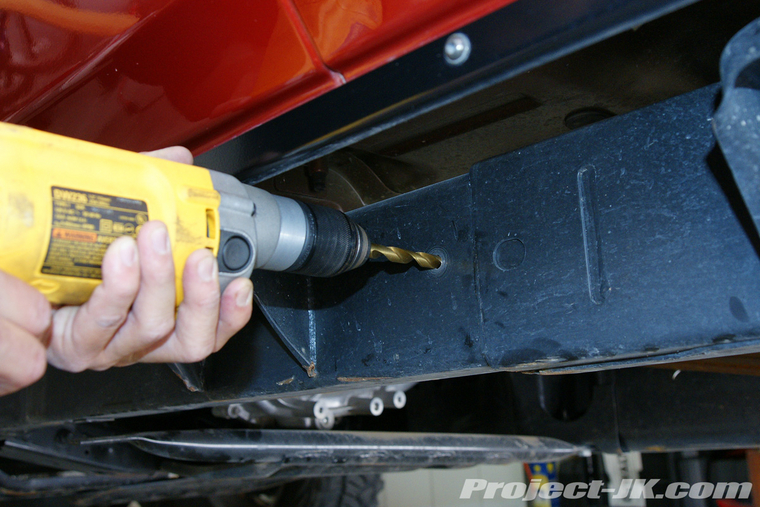
13. Using the drill bit that comes with the drill and tap set, finish drilling out all the pilot holes that you made back on step #11.
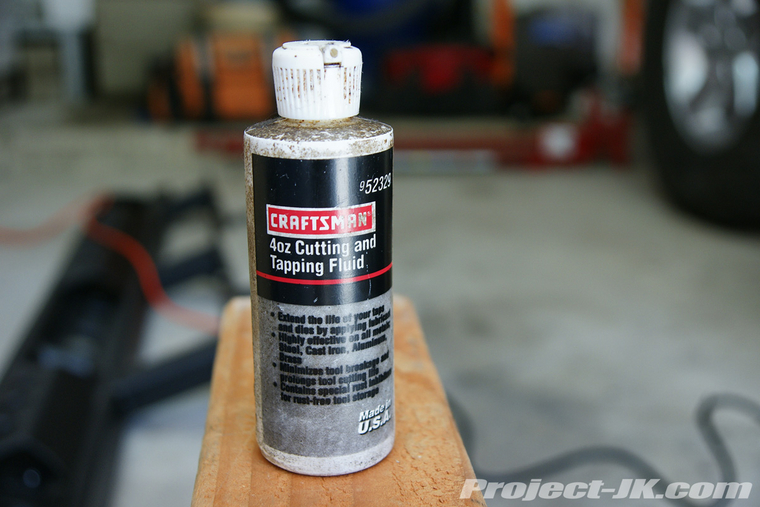
14. If you don’t have some already, I would highly recommend that you pick up some cutting oil as it will help make tapping your mounting holes a whole lot easier.
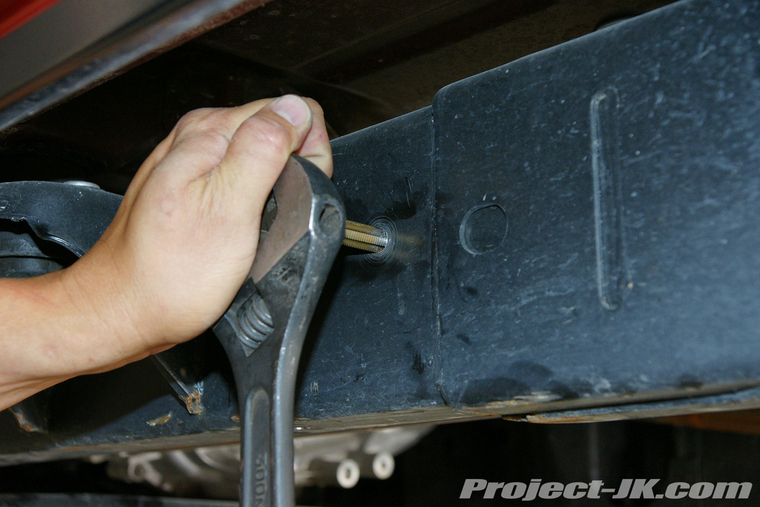
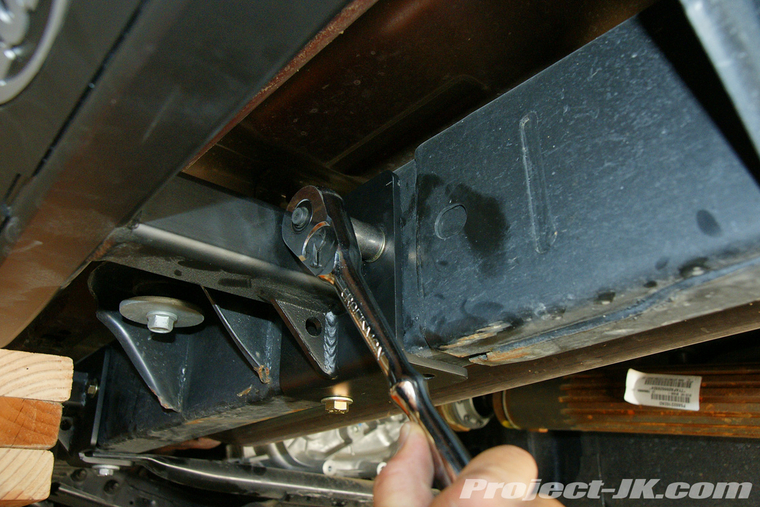
15. With the help of some cutting oil, slowly and carefully tap all your mounting holes. Due to the body of your Jeep being in the way, you will not be able to use a standard tap handle to do this. I improvised and used a wrench to help me out with this job.
16. Place your LoD Signature Series Rock Slider back on a floor jack and carefully maneuver in place under driver side rocker panel.
17. Using the factory hardware, secure your new LoD Signature Series Rock Slider to the points where the automatic transmisson and transfer case skid plates attach to the frame rails. An 18mm socket will be needed for this job.
18. Using the 7/16″x1″ bolts that come with the kit, secure your LoD Signature Series Rock Slider onto the new mouting holes that you made on the frame rails.
19. Repeat this process on the passenger side of your Jeep.
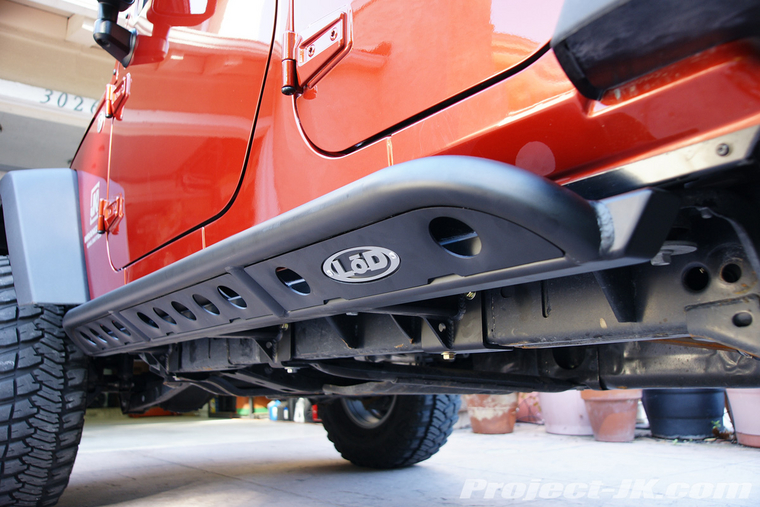
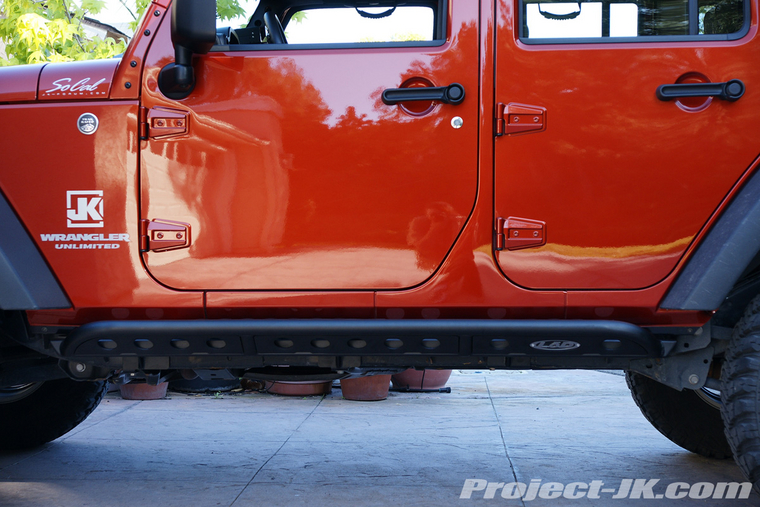
And that’s it! You are now ready to take on some big rocks and obstacles without having to worry about damaging your rocker panels. And, as an added bonus, you have a great looking set of side steps too.
Installed Photos

Designed to mount directly to the frame rails of your Jeep JK Wrangler, the LoD Signature Series Rock Sliders are without a doubt one of the best rocker guards available on the market today. I have personally run a set on my White JK for over a year and can tell you that in addition to them being incredibly strong and capable of taking punishing abuse, they are also very stylish and work great as a side step.
The step by step write-up below will show you just how easy the LoD Signature Series Rock Slider are to install. Please note that I've done this install a few times and so some of the photos featured will be form different color Jeeps.
What you will need
• 10,13,18mm Socket & Wrench
• 5/8″ Socket & Wrench
• Ratchet
• Floor Jack
• Center Punch
• Hand Drill
• 1/8″ Metal Drill Bit or Unibit
• 7/16″ NF20 Drill & Tap Set
• Cutting Oil
Installation Instructions
1. To remove either the Jeep JK Wrangler Unlimited Rubicon rocker guards or Sahara running boards, use a 10mm wrench to remove the 3 pairs of nuts securing them to the body pinch seam.
2. Using a 13mm socket, remove the 3 bolts securing the Rubicon factory rocker guards or Sahara running boards to the bottom of the body.
3. With the 6 nuts and 3 bolts removed, the factory rocker guards or running boards will pull off the body pinch seam with ease.
4. Starting on the driver side of your Jeep, use an 18mm socket to remove the bolts securing the automatic transmission and transfer case skid plates to the frame rail.
5. Place your LoD Signature Series Rock Slider on a floor jack and carefully maneuver in place under the driver side rocker panel.
6. Using the factory hardware, secure your new LoD Signature Series Rock Slider to the points where the automatic transmisson and transfer case skid plates attach the frame rail as shown. An 18mm socket will be needed for this job.
7. Double check that your LoD Signature Series Rock Slider is sitting straight. Then, using it as a template, mark off all the mounting holes you will need to drill out on the side of the frame rail.
8. On the mount closest to the rear tire, there are 2 holes on the bottom of the frame rail that you will need to mark off as well.
9. Remove the 2 bolts securing your LoD Signature Series Rock Slider onto the frame rail and then carefully lower and remove it.
10. With your LoD Signature Series Rock Slider set aside, locate and mark the center of all the holes you need to drill out with a center punch. This will help keep your drill bit from wandering away once you start drilling.
11. Using a small metal drilling bit or Unibit, begin drilling pilot holes on all the mounting points that you’ve marked off the frame rail.
12. If you don’t have one already, you really need to pick up a matched 7/16″ x NF20 Drill Bit and Tap Set like the one shown here.
13. Using the drill bit that comes with the drill and tap set, finish drilling out all the pilot holes that you made back on step #11.
14. If you don’t have some already, I would highly recommend that you pick up some cutting oil as it will help make tapping your mounting holes a whole lot easier.
15. With the help of some cutting oil, slowly and carefully tap all your mounting holes. Due to the body of your Jeep being in the way, you will not be able to use a standard tap handle to do this. I improvised and used a wrench to help me out with this job.
16. Place your LoD Signature Series Rock Slider back on a floor jack and carefully maneuver in place under driver side rocker panel.
17. Using the factory hardware, secure your new LoD Signature Series Rock Slider to the points where the automatic transmisson and transfer case skid plates attach to the frame rails. An 18mm socket will be needed for this job.
18. Using the 7/16″x1″ bolts that come with the kit, secure your LoD Signature Series Rock Slider onto the new mouting holes that you made on the frame rails.
19. Repeat this process on the passenger side of your Jeep.
And that’s it! You are now ready to take on some big rocks and obstacles without having to worry about damaging your rocker panels. And, as an added bonus, you have a great looking set of side steps too.
Installed Photos
