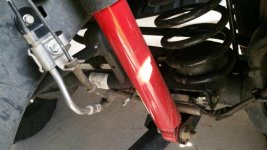
If you’re planning to lift your Jeep JK Wrangler 3″ or more, it is important that you also plan to install a set of rear brake line extension brackets or better yet, install a set of stainless steel extended brake lines. Without them, your short factory brake lines will get damaged when articulating on the trail. Fortunately, upgrading your brake lines to a set of extended ones is relatively affordable and, as you will see in the write-up below, easy to do.
What You Will Need
• 10,11,12,15,17mm Sockets & Wrenches
• Ratchets
• Inch lb. Torque Wrench
• Pliers
• Wire Snips
• Zip Ties
• Oil Catch Pan
• Brake Fluid
• Brake Bleeder Kit
What You Will Get
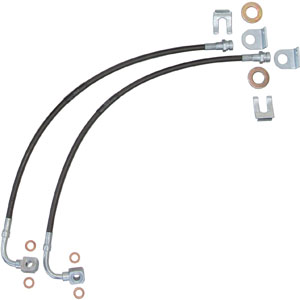
(4) Extended Brake Lines
(8) Copper Crush Washers
(4) Mounting Brackets w/Clips
Instructions
This is a pic of all the parts you should get with your new stainless steel extended brake line kit. Take some time to make sure you have all the parts shown as well as all the tools listed on the left prior to starting this project.
Rear End Installation
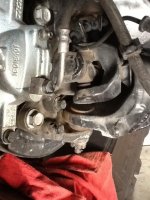
1. Open up your hood so that you can keep an eye on the master cylinder and then place an oil catch pan underneath the driver side rear brake caliper. Then, using a 15mm socket, remove the banjo bolt securing your brake line to it.
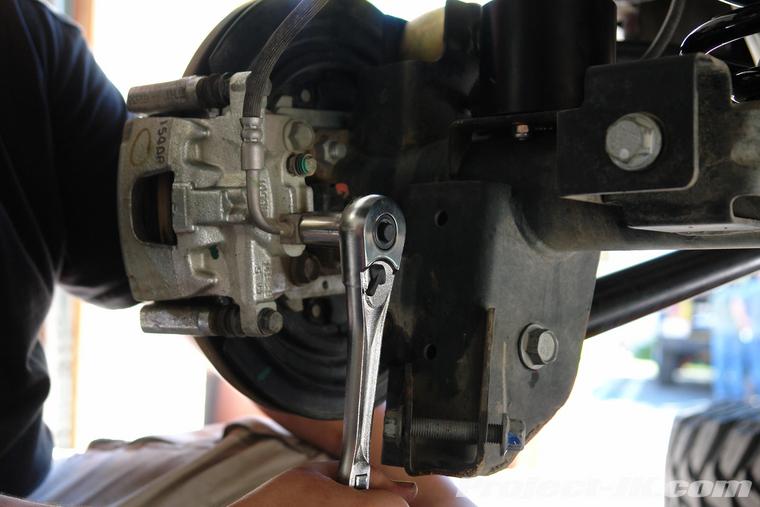
2. Remove the banjo bolt from the brake hose, remove the copper washers and then set it aside for now as you will need to reuse this bolt. Try to hang or position the loose brake line end up to help minimize the amount of brake fluid that will leak out.
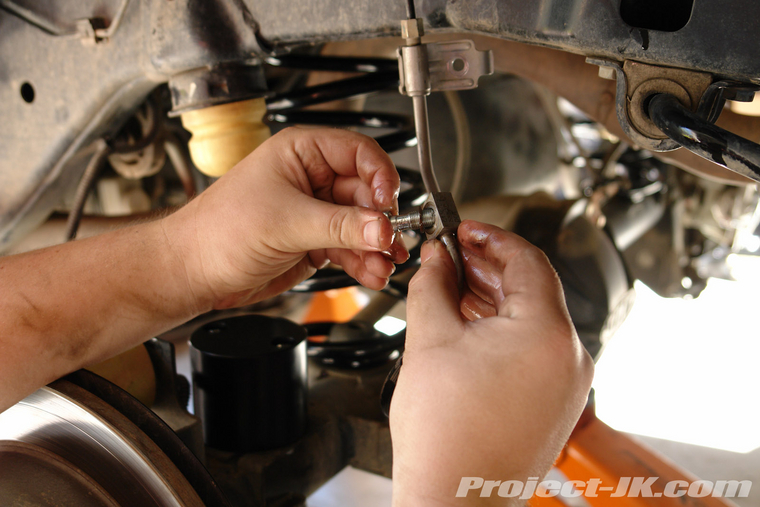
3. Using an 11mm wrench, separate the hard line from the bracket/hose. Then, using a 10mm socket, remove the bolt securing the bracket/hose to the frame rail. Set aside the bolt for later use but the hose can be discarded.
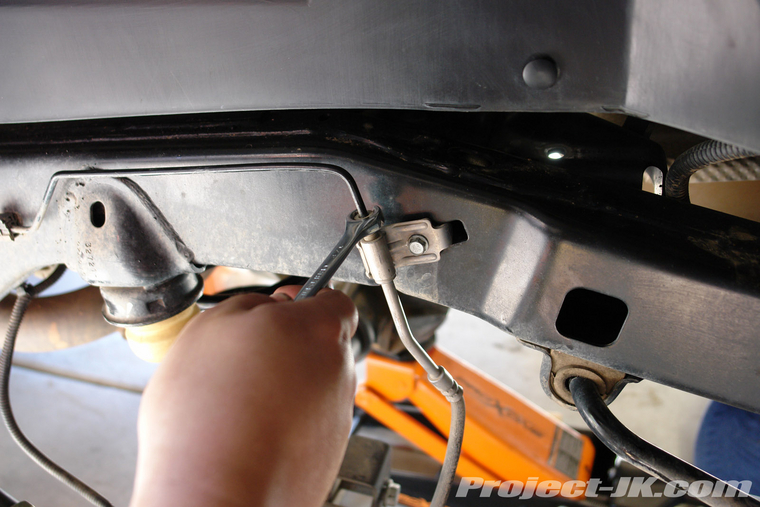
4. Slip one of the new copper crush washers that should come with your new stainless steel brake lines on to the factory banjo bolt you removed earlier.
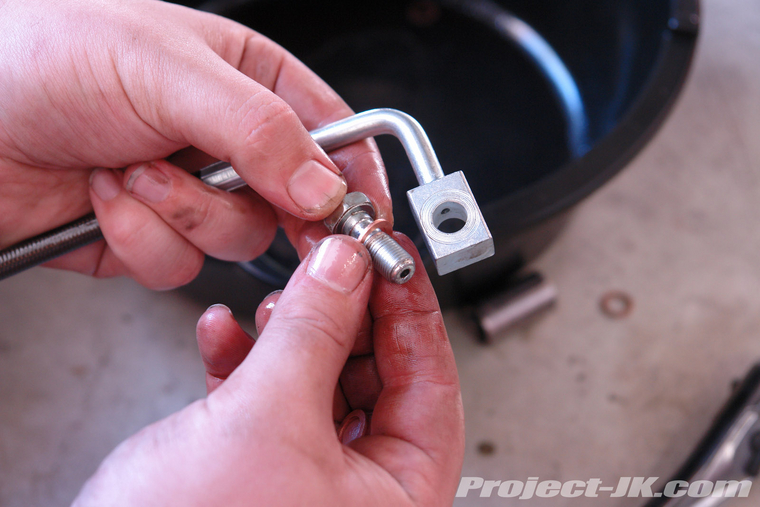
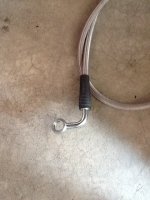
5. Insert the factory banjo bolt with copper crush washer on through the new stainless steel brake line (be mindful that the elbow of the hard line needs to extend towards the back) and then slip on another copper crush washer as shown in this pic.
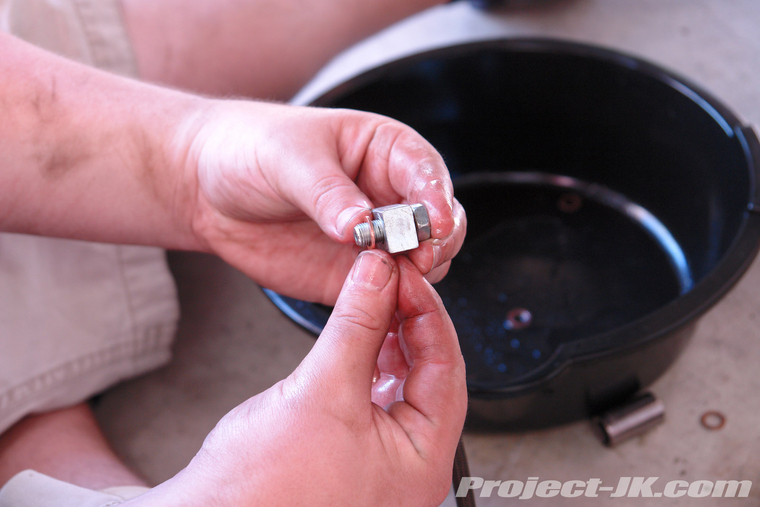
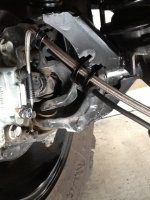
6. Using a 15mm socket, secure your new stainless steel break line to the break caliper making sure that the hard line elbow extends out and back (as opposed to up, then out) as shown in this pic. Be VERY CAREFUL to only tighten the banjo bolt to 276 in. lbs. of torque. This is a very delicate bolt and can break easily if too much force is applied.
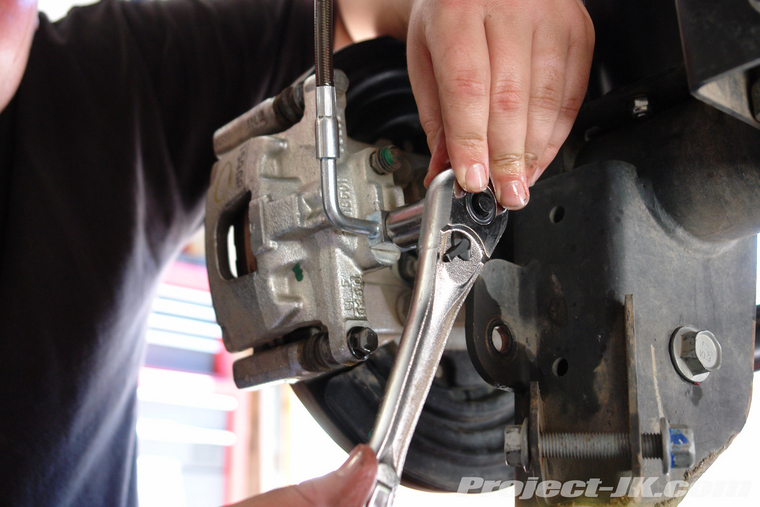
7. Use a 10mm socket to secure your new stainless steel brake line mounting brackets to the frame rails using the factory bolts.
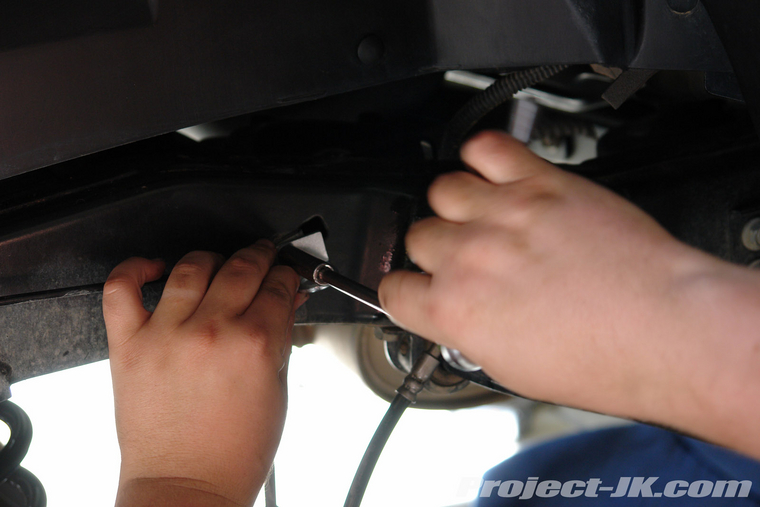
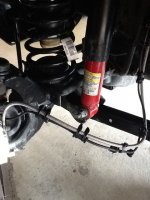
8. Slip your new stainless steel brake line up through the new mounting bracket and then fasten the factory hard line to it using a 12mm and 17mm wrench.
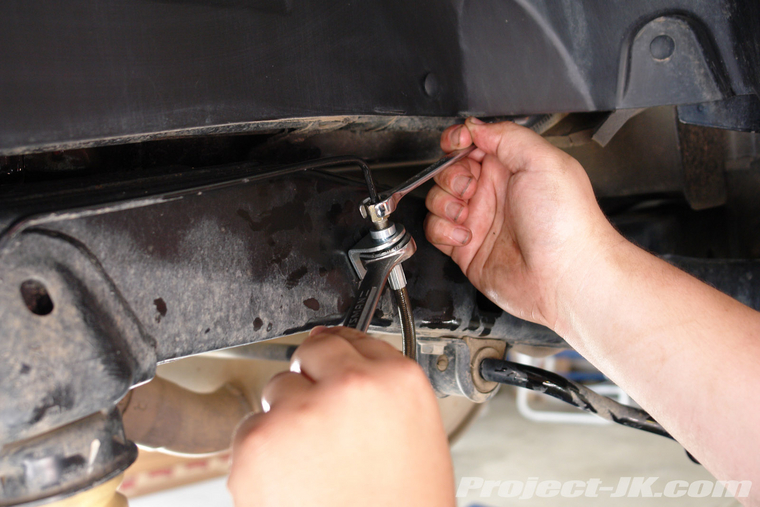
9. Secure your new stainless steel brake line to the mounting bracket using the retaining clip provided with the kit.
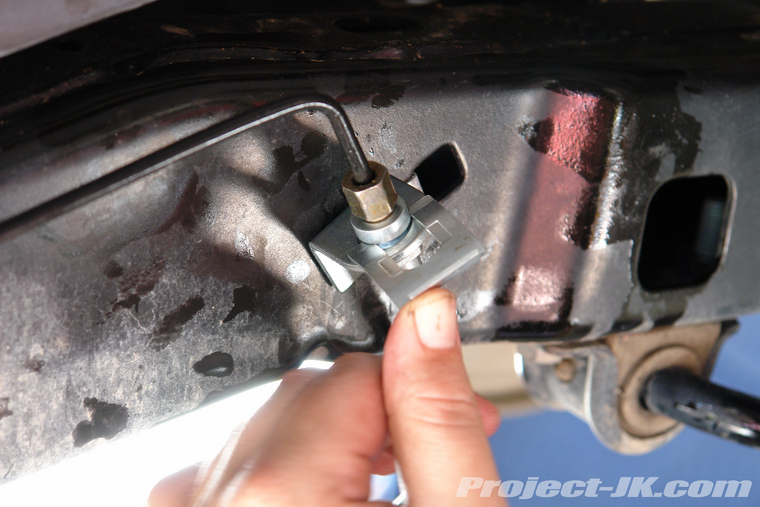
10. Check the fluid level in your master cylinder, fill as needed and then repeat these steps on the passenger side.
Front End Installation
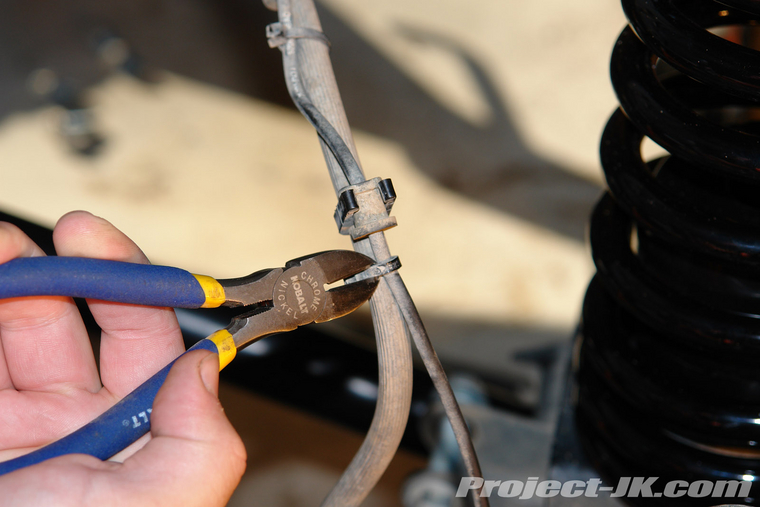
1. Begin the installation of your new stainless steel brake lines by cutting the thin support tie holding your passenger side brake line and ABS line together as shown in this pic.
2. Use a pair of pliers to carefully separate the main plastic coupling holding your brake line and ABS lines together.
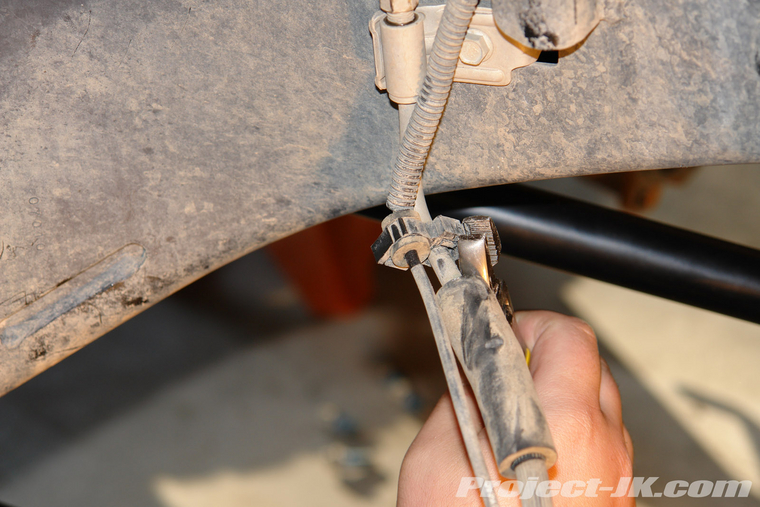
3. Using an 11mm wrench, separate the hard line from the bracket/hose. Then, using a 10mm socket, remove the bolt securing the bracket/hose to the frame rail. Set aside the bolt for later use but the hose can be discarded.
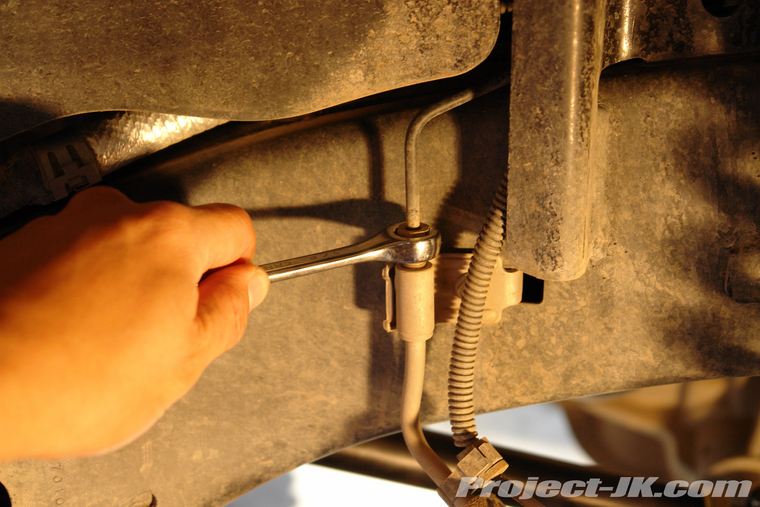
4. Use a 10mm socket to secure your new stainless steel brake line mounting bracket to the frame rails using the factory bolt.
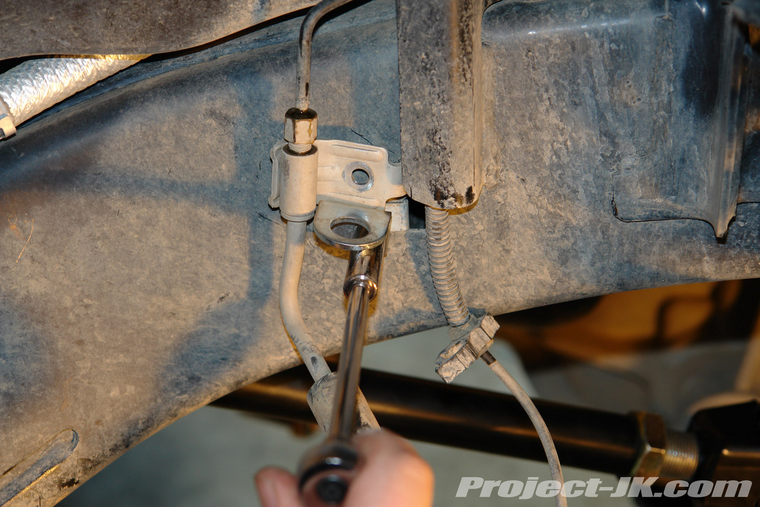
5. Place an oil catch pan underneath your the brake caliper. Then, using a 15mm socket, remove the banjo bolt securing your brake line to it and set it aside as you will need to reuse it. The hose can be discarded.
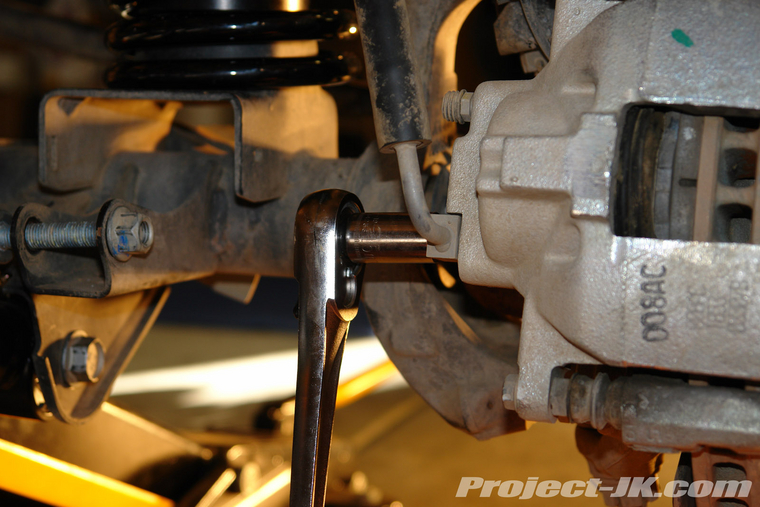
6. Slip your new stainless steel brake line up through the new mounting bracket and then fasten the hard line to it using a 12mm and 17mm wrench.
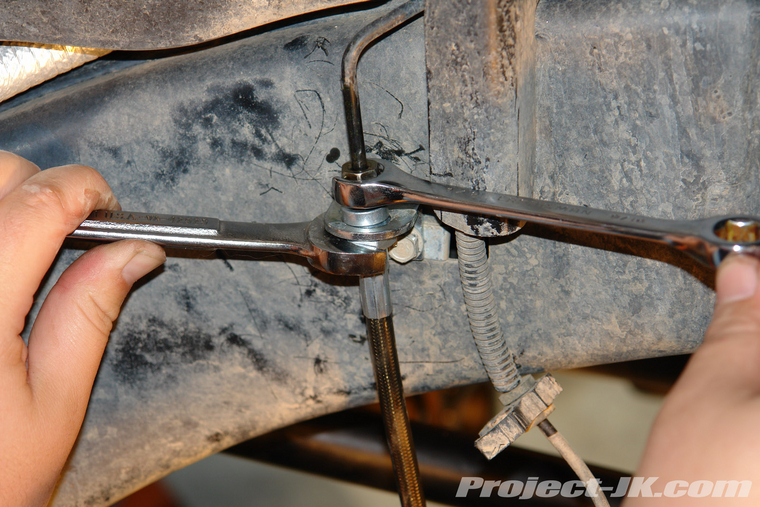
7. As before, slip one of the new copper crush washers that should come with your new stainless steel brake lines on to the factory banjo bolt you removed earlier.
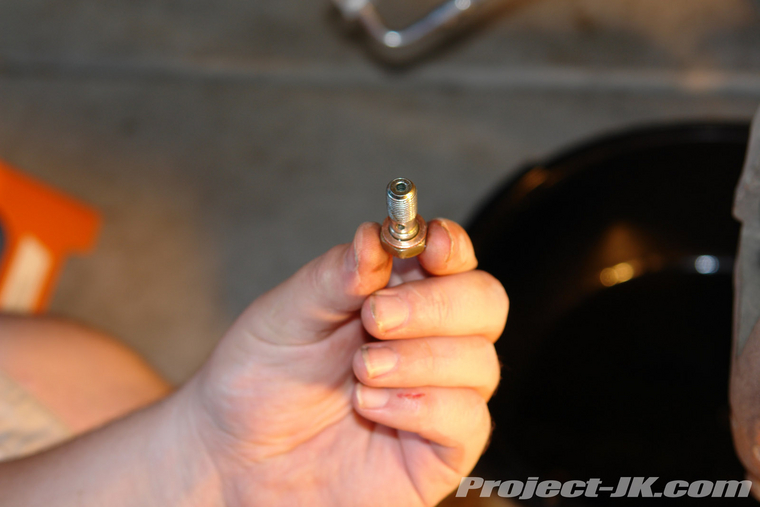
8. Insert the factory banjo bolt with copper crush washer on through the new stainless steel brake line (be mindful that the elbow of the hard line needs to extend towards the back) and then slip on another copper crush washer as shown in this pic.
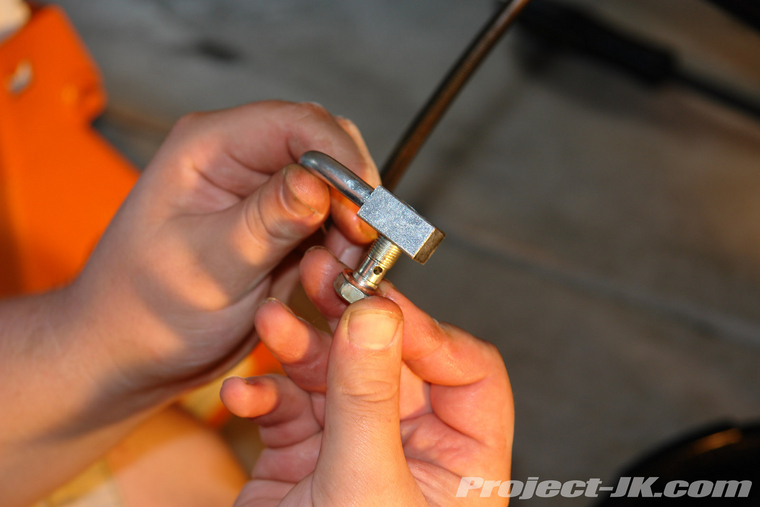
9. Using a 15mm socket, secure your new stainless steel break line to the break caliper making sure that the hard line elbow extends out and back (as opposed to up, then out) as shown in this pic. Be VERY CAREFUL to only tighten the banjo bolt to 276 in. lbs. of torque. This is a very delicate bolt and can break easily if too much force is applied.
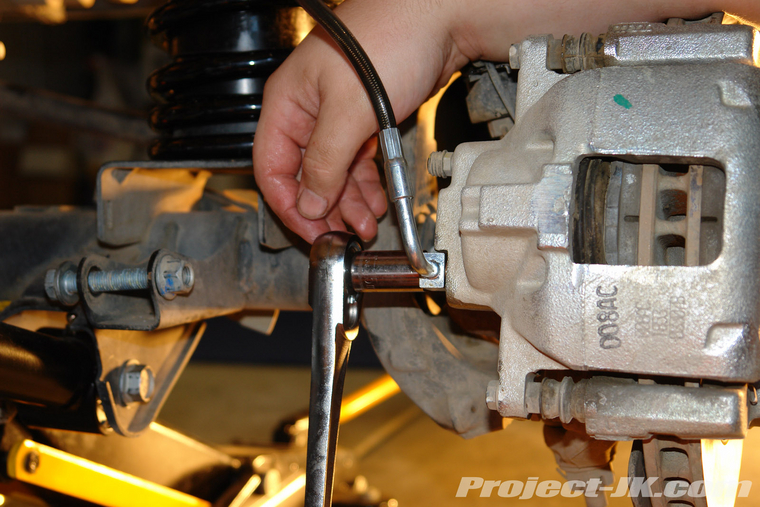
10. Secure your new stainless steel brake line to the mounting bracket using the retaining clip provided with the kit.
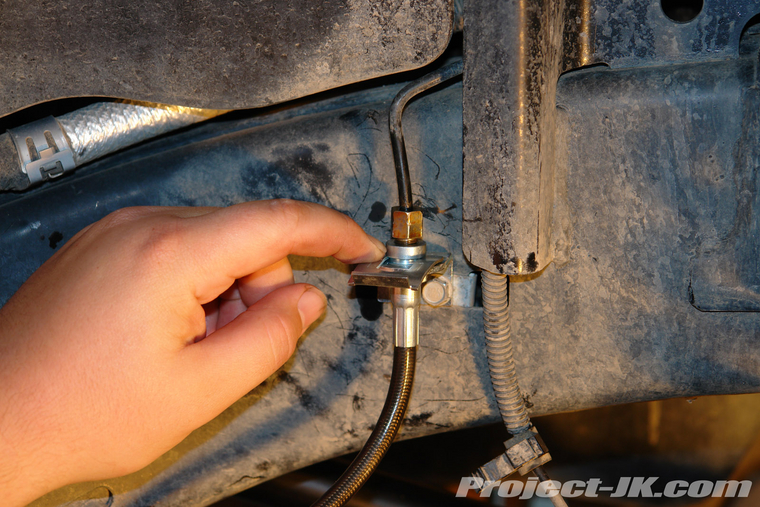
11. Reattach your new stainless steel brake line and ABS wiring together using the factory main plastic coupler.
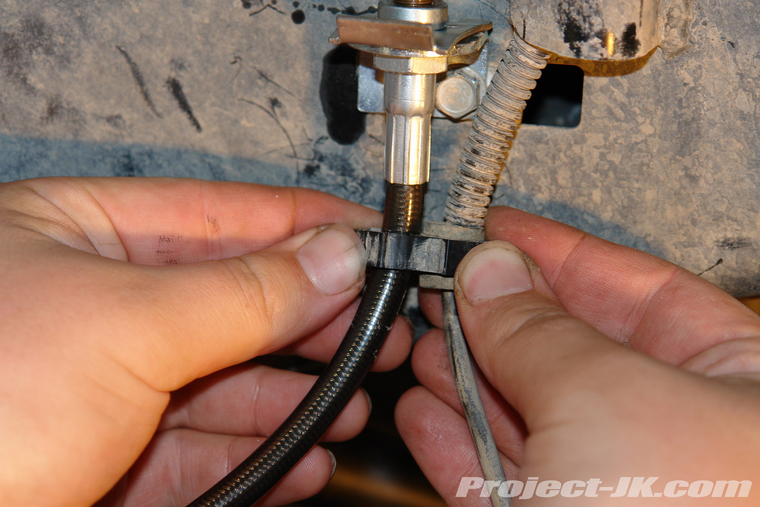
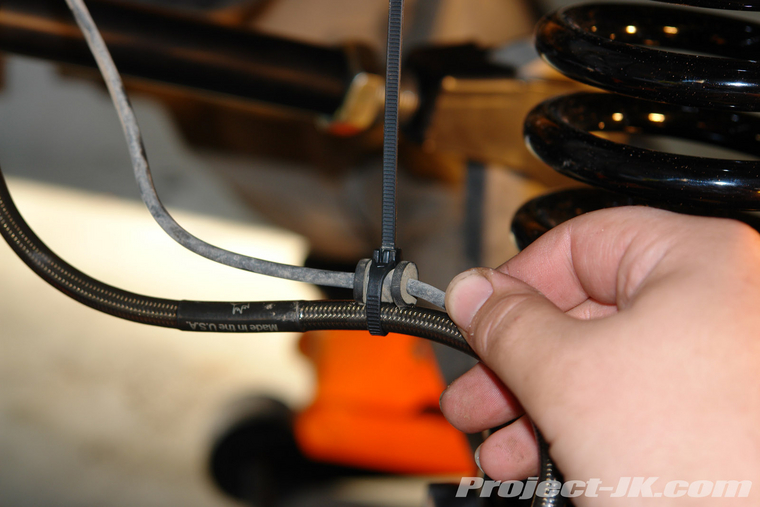
12. For additional support, zip-tie your new stainless steel brake line and ABS together as they were before.
13. Check the fluid level in your master cylinder, fill as needed and then repeat these steps on the driver side.
14. You will need to bleed your brake system before you can drive it. Click on the link below to see a detailed write-up on how to do this:
Jeep JK Wrangler Brake Bleeding Write-Up

What You Will Need
• 10,11,12,15,17mm Sockets & Wrenches
• Ratchets
• Inch lb. Torque Wrench
• Pliers
• Wire Snips
• Zip Ties
• Oil Catch Pan
• Brake Fluid
• Brake Bleeder Kit
What You Will Get
(4) Extended Brake Lines
(8) Copper Crush Washers
(4) Mounting Brackets w/Clips
Instructions
This is a pic of all the parts you should get with your new stainless steel extended brake line kit. Take some time to make sure you have all the parts shown as well as all the tools listed on the left prior to starting this project.
Rear End Installation
1. Open up your hood so that you can keep an eye on the master cylinder and then place an oil catch pan underneath the driver side rear brake caliper. Then, using a 15mm socket, remove the banjo bolt securing your brake line to it.
2. Remove the banjo bolt from the brake hose, remove the copper washers and then set it aside for now as you will need to reuse this bolt. Try to hang or position the loose brake line end up to help minimize the amount of brake fluid that will leak out.
3. Using an 11mm wrench, separate the hard line from the bracket/hose. Then, using a 10mm socket, remove the bolt securing the bracket/hose to the frame rail. Set aside the bolt for later use but the hose can be discarded.
4. Slip one of the new copper crush washers that should come with your new stainless steel brake lines on to the factory banjo bolt you removed earlier.
5. Insert the factory banjo bolt with copper crush washer on through the new stainless steel brake line (be mindful that the elbow of the hard line needs to extend towards the back) and then slip on another copper crush washer as shown in this pic.
6. Using a 15mm socket, secure your new stainless steel break line to the break caliper making sure that the hard line elbow extends out and back (as opposed to up, then out) as shown in this pic. Be VERY CAREFUL to only tighten the banjo bolt to 276 in. lbs. of torque. This is a very delicate bolt and can break easily if too much force is applied.
7. Use a 10mm socket to secure your new stainless steel brake line mounting brackets to the frame rails using the factory bolts.
8. Slip your new stainless steel brake line up through the new mounting bracket and then fasten the factory hard line to it using a 12mm and 17mm wrench.
9. Secure your new stainless steel brake line to the mounting bracket using the retaining clip provided with the kit.
10. Check the fluid level in your master cylinder, fill as needed and then repeat these steps on the passenger side.
Front End Installation
1. Begin the installation of your new stainless steel brake lines by cutting the thin support tie holding your passenger side brake line and ABS line together as shown in this pic.
2. Use a pair of pliers to carefully separate the main plastic coupling holding your brake line and ABS lines together.
3. Using an 11mm wrench, separate the hard line from the bracket/hose. Then, using a 10mm socket, remove the bolt securing the bracket/hose to the frame rail. Set aside the bolt for later use but the hose can be discarded.
4. Use a 10mm socket to secure your new stainless steel brake line mounting bracket to the frame rails using the factory bolt.
5. Place an oil catch pan underneath your the brake caliper. Then, using a 15mm socket, remove the banjo bolt securing your brake line to it and set it aside as you will need to reuse it. The hose can be discarded.
6. Slip your new stainless steel brake line up through the new mounting bracket and then fasten the hard line to it using a 12mm and 17mm wrench.
7. As before, slip one of the new copper crush washers that should come with your new stainless steel brake lines on to the factory banjo bolt you removed earlier.
8. Insert the factory banjo bolt with copper crush washer on through the new stainless steel brake line (be mindful that the elbow of the hard line needs to extend towards the back) and then slip on another copper crush washer as shown in this pic.
9. Using a 15mm socket, secure your new stainless steel break line to the break caliper making sure that the hard line elbow extends out and back (as opposed to up, then out) as shown in this pic. Be VERY CAREFUL to only tighten the banjo bolt to 276 in. lbs. of torque. This is a very delicate bolt and can break easily if too much force is applied.
10. Secure your new stainless steel brake line to the mounting bracket using the retaining clip provided with the kit.
11. Reattach your new stainless steel brake line and ABS wiring together using the factory main plastic coupler.
12. For additional support, zip-tie your new stainless steel brake line and ABS together as they were before.
13. Check the fluid level in your master cylinder, fill as needed and then repeat these steps on the driver side.
14. You will need to bleed your brake system before you can drive it. Click on the link below to see a detailed write-up on how to do this:
Jeep JK Wrangler Brake Bleeding Write-Up

