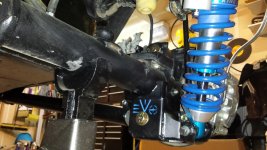
If you're tired of getting hung up and dragging your super low hanging rear axle lower control arm mounts on rocks and other obstacles out on the trail, there is a simple and cost effective solution available for your Jeep JK Wrangler and it's known as an EVO Rock Star. Made by EVO MFG, the Rock Stars are essentially lower control arm mount skids that allow you to chop the bottom of your factory control arm axle mounts and raise the lowest point 1.5" higher off the ground. I should note that in doing this, your sway bar links and lower shock mounts will also get raised up about 2" and if you choose to do this mod, you'll want to make sure that your shocks are short enough to accommodate the decrease in their up travel. With that in mind, this is a great mod that everyone who wheels their Jeep should consider and this write-up will show you what all is involved to get them installed.
What you will need
• EVO Rock Stars
• 18, 19, 21mm Socket & Wrench
• 9/16" Socket & Wrench
• Ratchet
• Torque Wrench
• Sawzall w/Metal Cutting Blade
• Angle Grinder w/Cutoff Wheel and Flap Disc
• Floor Jack
• (2) Jack Stands
• Tape Measure
• Sharpe or Grease Pencil
Instructions
1. Using a floor jack, lift your Jeep from the base of your rear differential until the tires are off the ground and then lower it onto a pair of jack stands. Using a 19mm socket or lug wrench, remove your wheels from the rear axle.
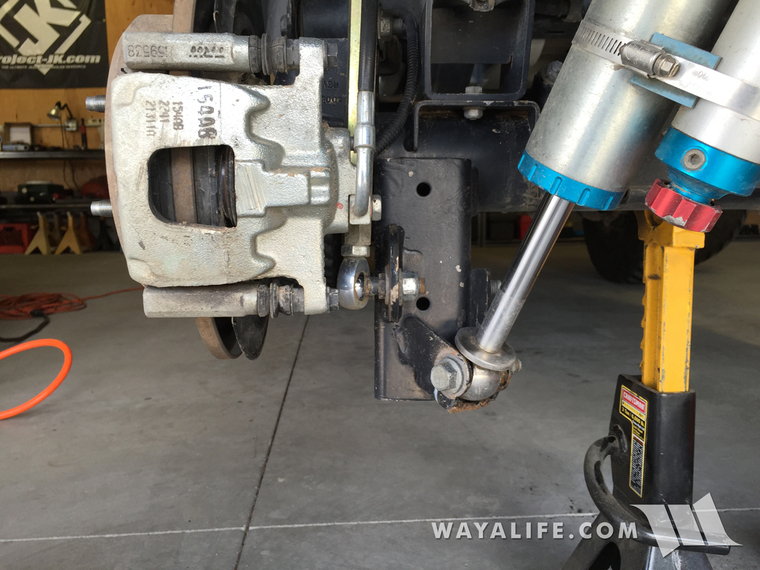
2. Using an 18mm socket and wrench, remove the bolt and nut securing your Jeep JK Wrangler’s rear shocks to the lower axle mounts. Pull the shock out of the mount and push it aside for now.
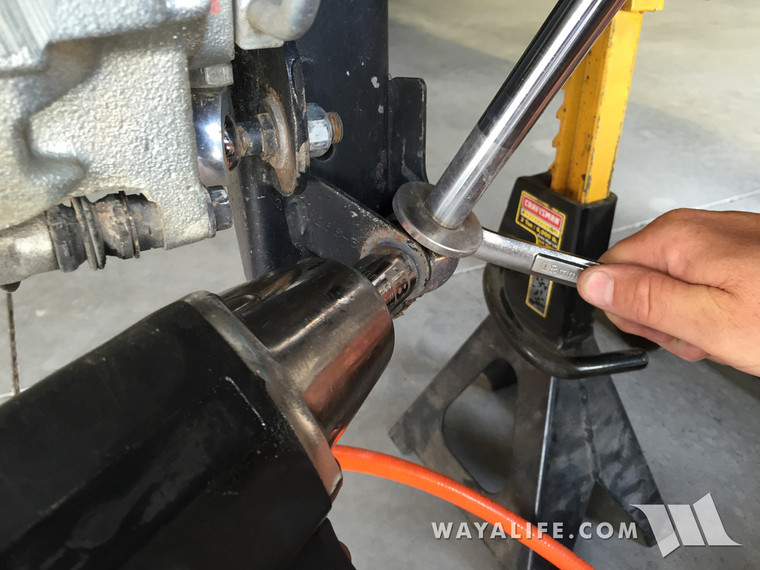
3. Using an 18mm socket and wrench, remove the bolts and nuts securing the factory links to the lower axle mounts. If you have a set of aftermarket links, you will most likely need to use a different set of wrenches. The EVO links shown in this photo requires a 5/8" wrench to hold the stud in place and a 3/4" socket to remove the nut.
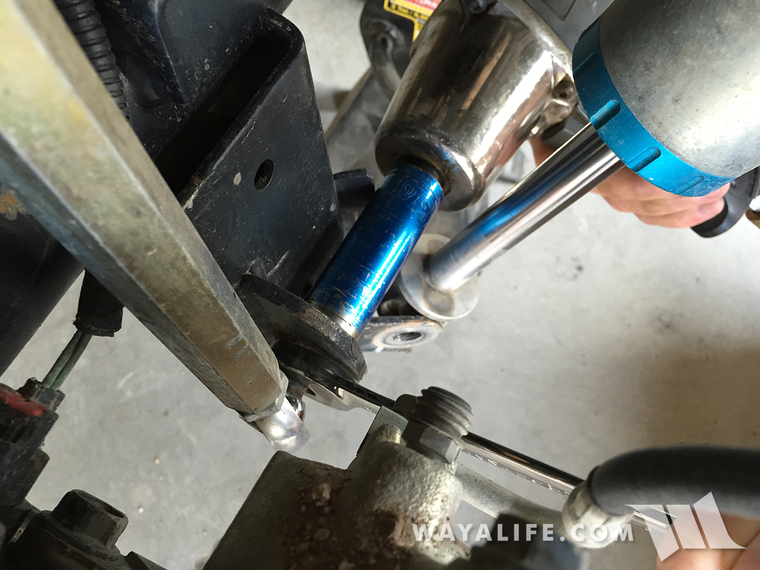
4. Remove your Jeep JK Wrangler factory rear lower control arms from the axle mounts using a 21mm socket and wrench.
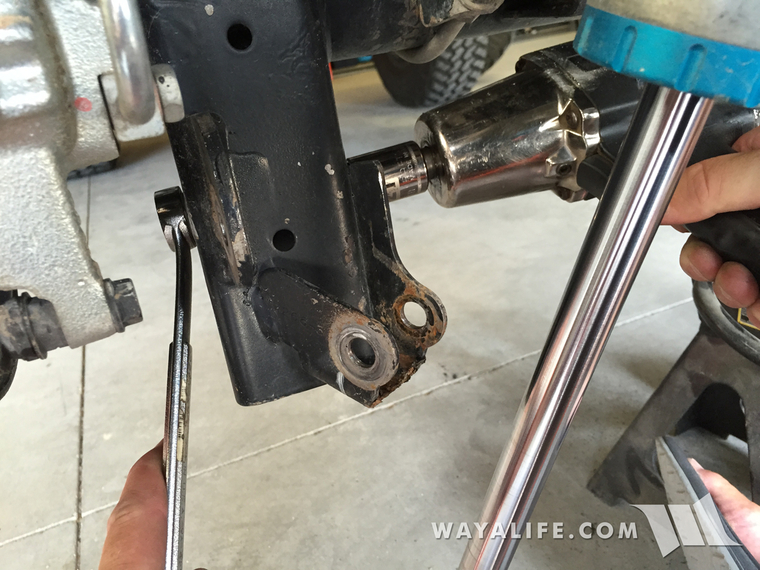
5. The bonded rubber bushings on your factory lower control arms will prevent it from rotating down and out of the axle mount. Using a 21mm socket and wrench, loosen but do not remove the bolt and nut securing the control arm to the frame mount. Allow the control arm to rotated down onto the ground.
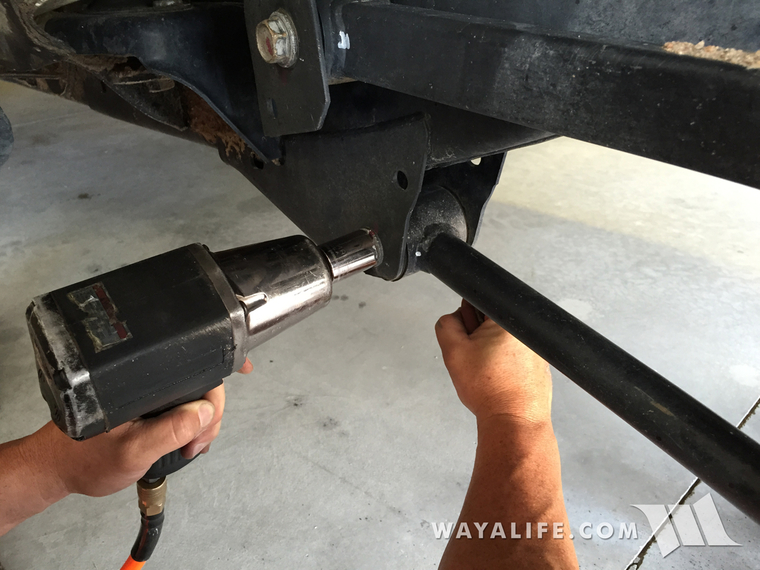
6. Measuring from the center of the axle mount hole, make a clear mark 1-1/2" down using a Sharpe or grease pencil and then continue that line all the way around the entire mount.
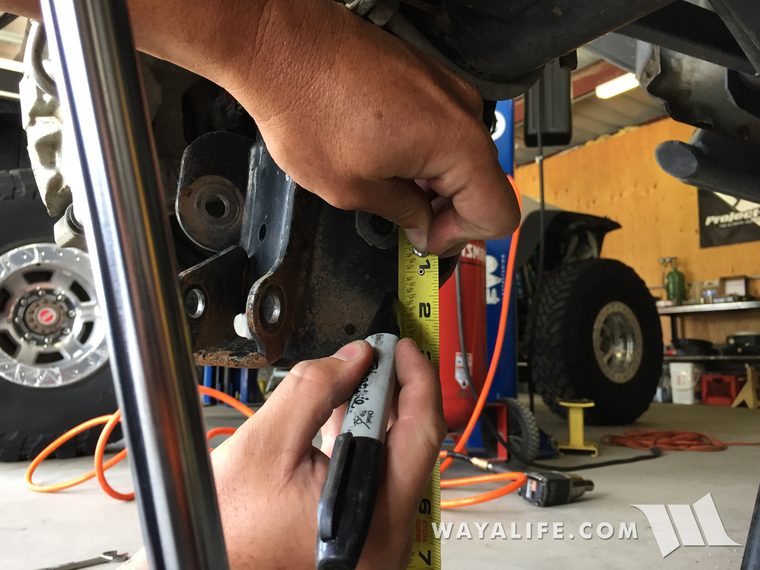
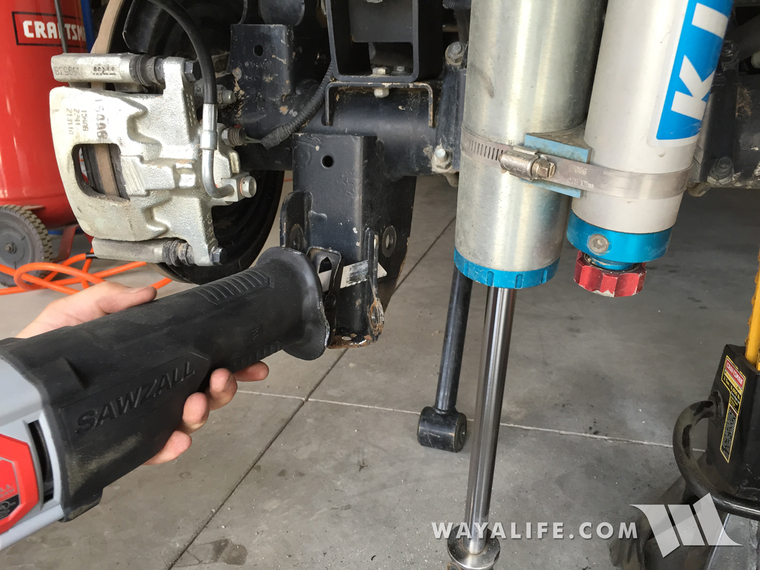
7. Using a sawzall or grinder with a cutoff wheel, remove the shock mount from the control arm mount as shown.
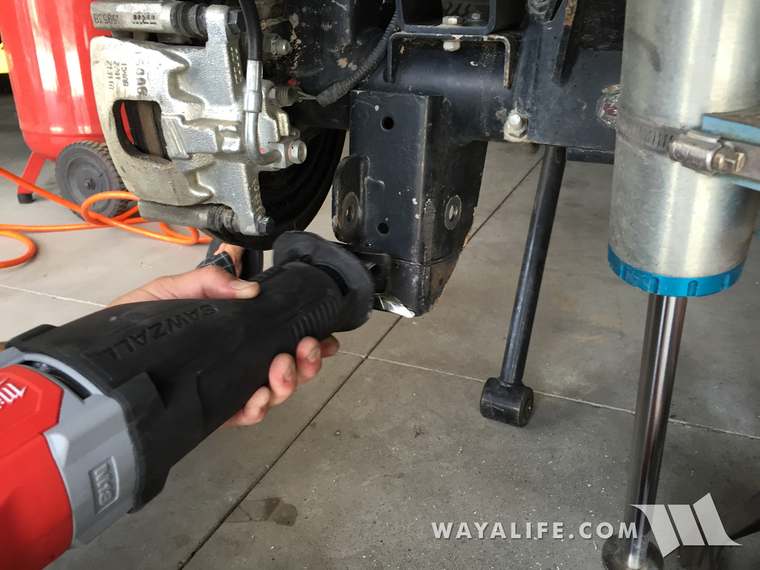
8. Using a sawzall or grinder with a cutoff wheel, cut the mount off along the line you drew back on step #6.
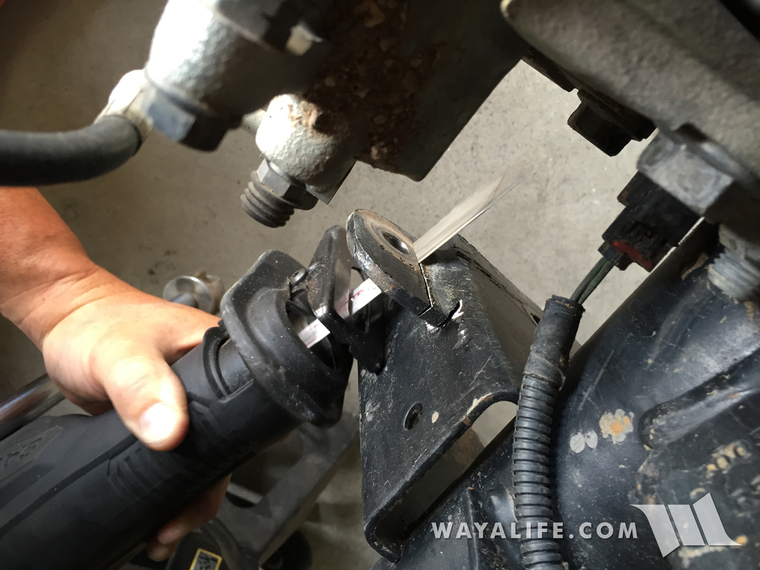
9. Finally, using a sawzall or grinder with a cutoff wheel, cut the sway bar mount off and then grind down what's left of all the mounts using a grinder with a flap disc.
10. Loosely install your new EVO Rockstar onto your factory axle mount using the new control arm bolt provided with the kit.
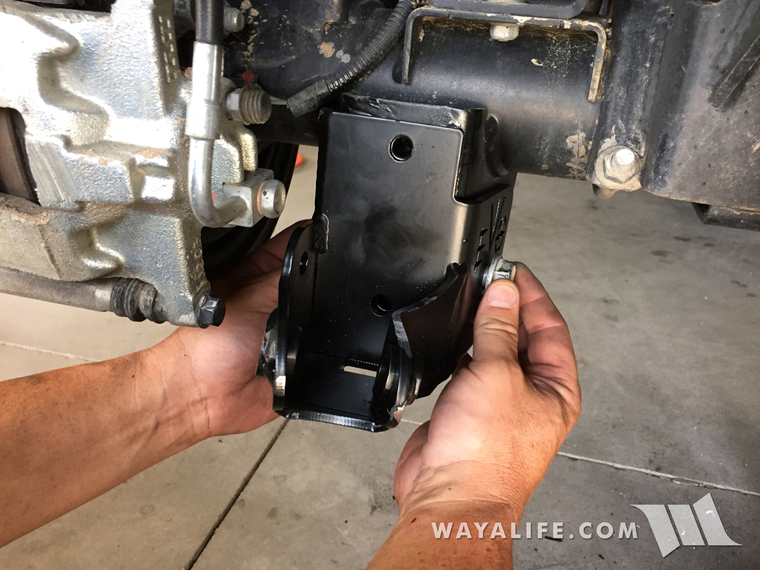
11. Install the provided nuts, washers and bolts through the EVO Rockstar mount as shown. Please note that the upper bolt goes through the face and that the lower bolt comes through it from behind and secured in place with a nut.
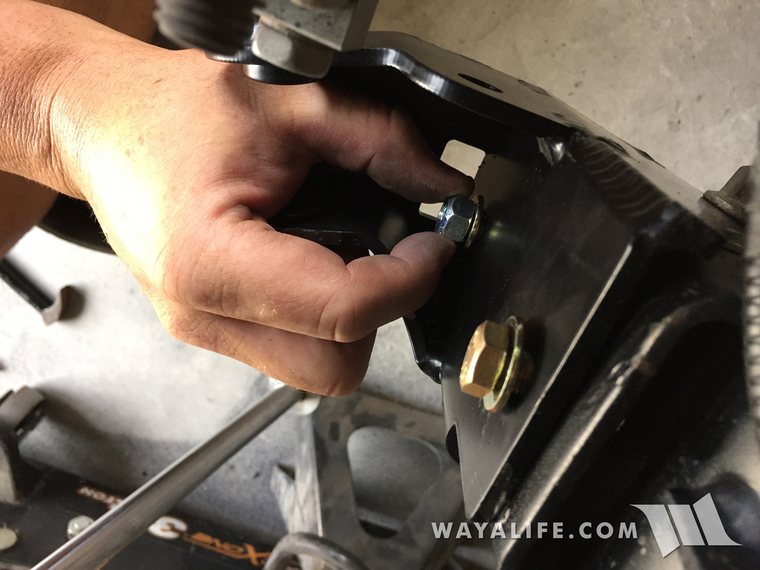
12. Using a 9/16" wrench and socket, secure the bolts and nuts in place.
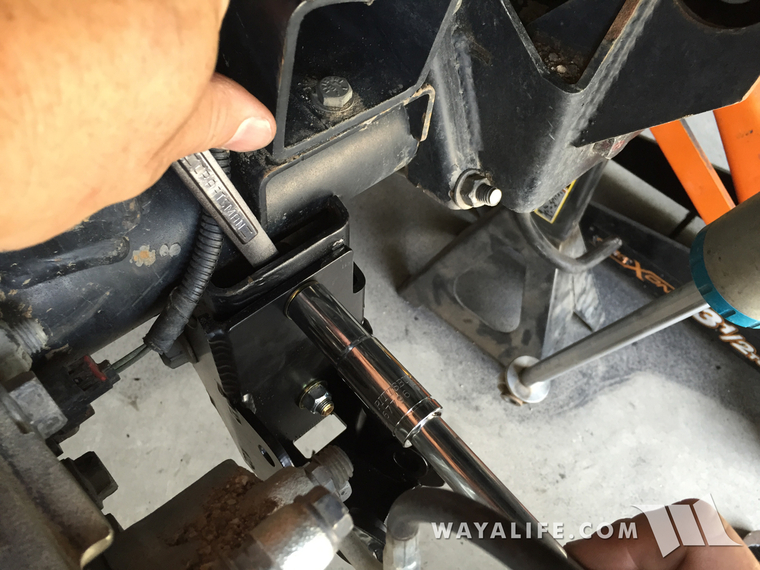
13. Reinstall your lower control arm and secure it in place using the new bolt and nut provided. Install your sway bar link and shock onto your new EVO Rock Star mount and then repeat the whole process on the passenger side of your Jeep. When finished, reinstall your wheel, lower your Jeep back onto the ground and then make sure to tighten your control arm bolts to 125 ft. lbs. of torque.
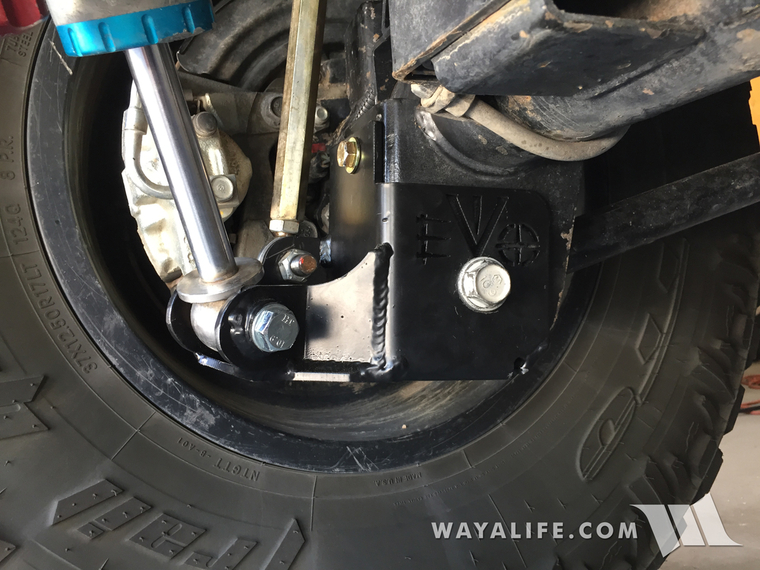
And that's it! The base of you're rear axle lower control arm mounts are now 1.5" higher off the ground and armored up with a set of EVO Rock Stars. Enjoy
What you will need
• EVO Rock Stars
• 18, 19, 21mm Socket & Wrench
• 9/16" Socket & Wrench
• Ratchet
• Torque Wrench
• Sawzall w/Metal Cutting Blade
• Angle Grinder w/Cutoff Wheel and Flap Disc
• Floor Jack
• (2) Jack Stands
• Tape Measure
• Sharpe or Grease Pencil
Instructions
1. Using a floor jack, lift your Jeep from the base of your rear differential until the tires are off the ground and then lower it onto a pair of jack stands. Using a 19mm socket or lug wrench, remove your wheels from the rear axle.
2. Using an 18mm socket and wrench, remove the bolt and nut securing your Jeep JK Wrangler’s rear shocks to the lower axle mounts. Pull the shock out of the mount and push it aside for now.
3. Using an 18mm socket and wrench, remove the bolts and nuts securing the factory links to the lower axle mounts. If you have a set of aftermarket links, you will most likely need to use a different set of wrenches. The EVO links shown in this photo requires a 5/8" wrench to hold the stud in place and a 3/4" socket to remove the nut.
4. Remove your Jeep JK Wrangler factory rear lower control arms from the axle mounts using a 21mm socket and wrench.
5. The bonded rubber bushings on your factory lower control arms will prevent it from rotating down and out of the axle mount. Using a 21mm socket and wrench, loosen but do not remove the bolt and nut securing the control arm to the frame mount. Allow the control arm to rotated down onto the ground.
6. Measuring from the center of the axle mount hole, make a clear mark 1-1/2" down using a Sharpe or grease pencil and then continue that line all the way around the entire mount.
7. Using a sawzall or grinder with a cutoff wheel, remove the shock mount from the control arm mount as shown.
8. Using a sawzall or grinder with a cutoff wheel, cut the mount off along the line you drew back on step #6.
9. Finally, using a sawzall or grinder with a cutoff wheel, cut the sway bar mount off and then grind down what's left of all the mounts using a grinder with a flap disc.
10. Loosely install your new EVO Rockstar onto your factory axle mount using the new control arm bolt provided with the kit.
11. Install the provided nuts, washers and bolts through the EVO Rockstar mount as shown. Please note that the upper bolt goes through the face and that the lower bolt comes through it from behind and secured in place with a nut.
12. Using a 9/16" wrench and socket, secure the bolts and nuts in place.
13. Reinstall your lower control arm and secure it in place using the new bolt and nut provided. Install your sway bar link and shock onto your new EVO Rock Star mount and then repeat the whole process on the passenger side of your Jeep. When finished, reinstall your wheel, lower your Jeep back onto the ground and then make sure to tighten your control arm bolts to 125 ft. lbs. of torque.
And that's it! The base of you're rear axle lower control arm mounts are now 1.5" higher off the ground and armored up with a set of EVO Rock Stars. Enjoy

