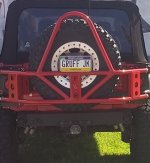
For those of you who own an EVO Tire Carrier, something like it or are just wanting to relocate your license plate down low and onto your rear cross member like we have, this write-up will show how you can make your own mount and in minutes. This DIY mod uses simple hardware that you can find at any Home Depot and the best part is, it's dirt cheap.
What you will need
• (1) 20-Gauge 1-1/4" x 9" Simpson Strong-Tie
• (2) 1/2" - 1/4" x 20 Bolts
• (2) 1/4" x 20 Nuts
• (2) 1/4" Washers
• (2) 12 x 1.5mm Nuts
• 18mm Wrench
• 7/16" Socket & Wrench
• Ratchet
• Center Punch
• Drill
• Unibit
• Bench Vice
• Ruler or Tape Measure
• Sharpe Marker
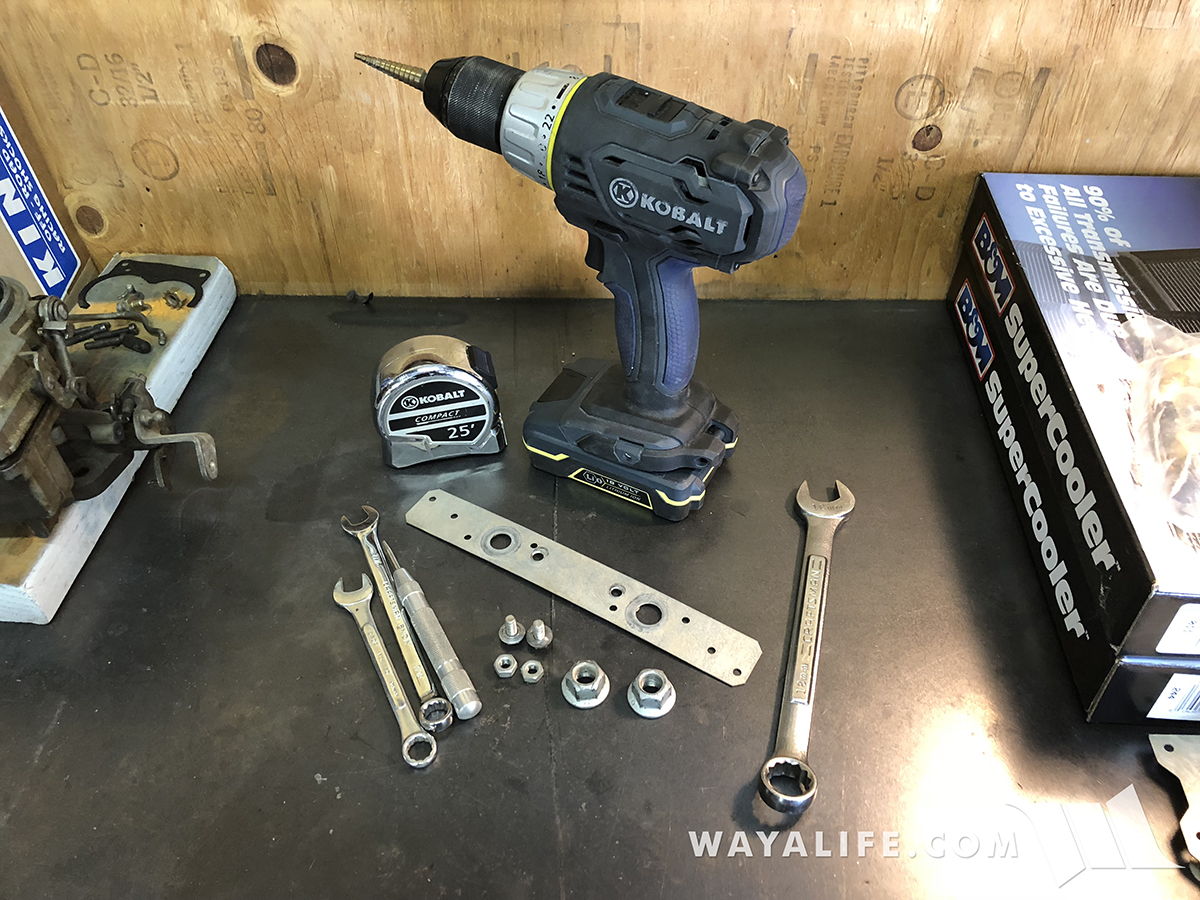
This is a shot of most everything you'll need to make your own rear cross member license plate mount.
Instructions
1. Take a 20-Gauge 1-1/4" x 9" Simpson Strong-Tie, locate the center of it and then make 2 marks 2-1/2" on either side of it using a Sharpe marker as shown in this pic.
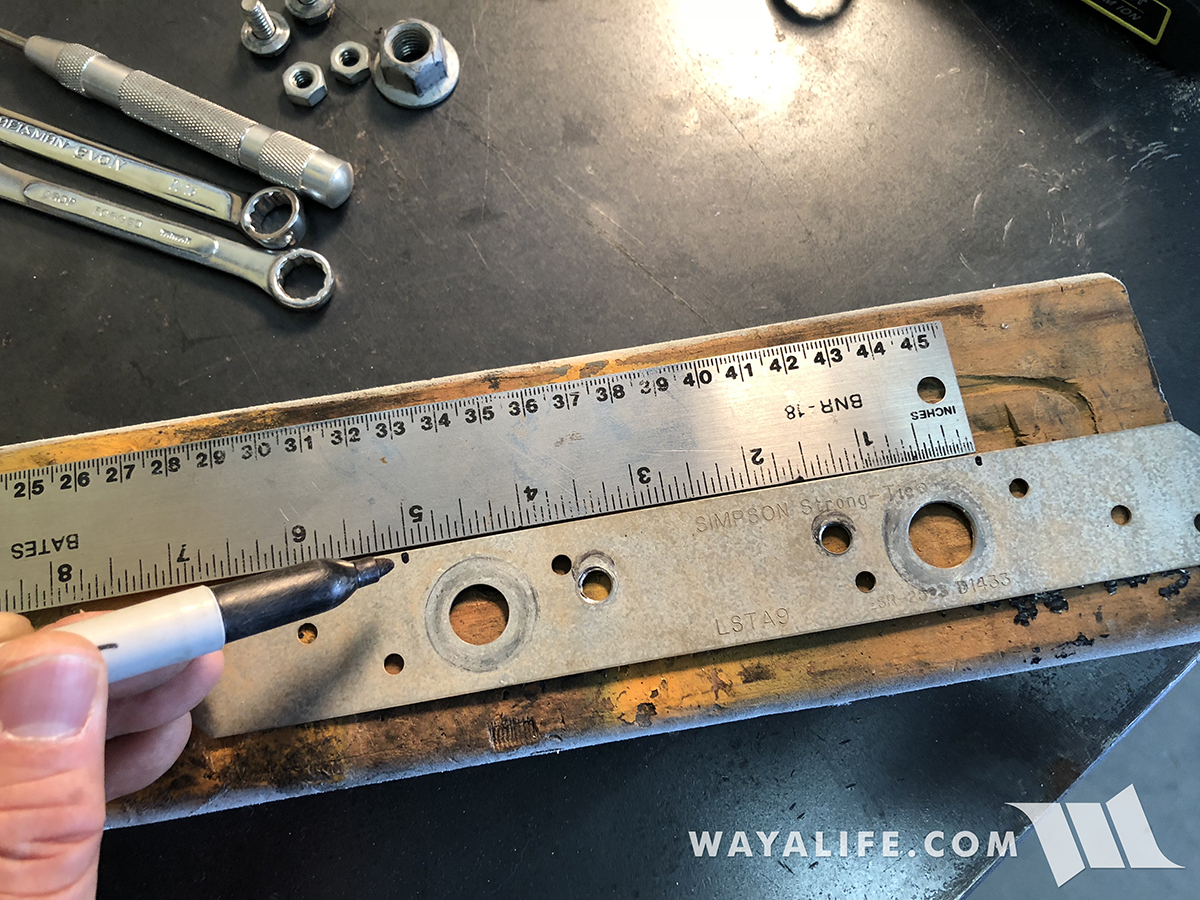
2. Using a Sharpe marker, draw a line from the mark you made and then draw a parallel line 3/4" from it as shown here.
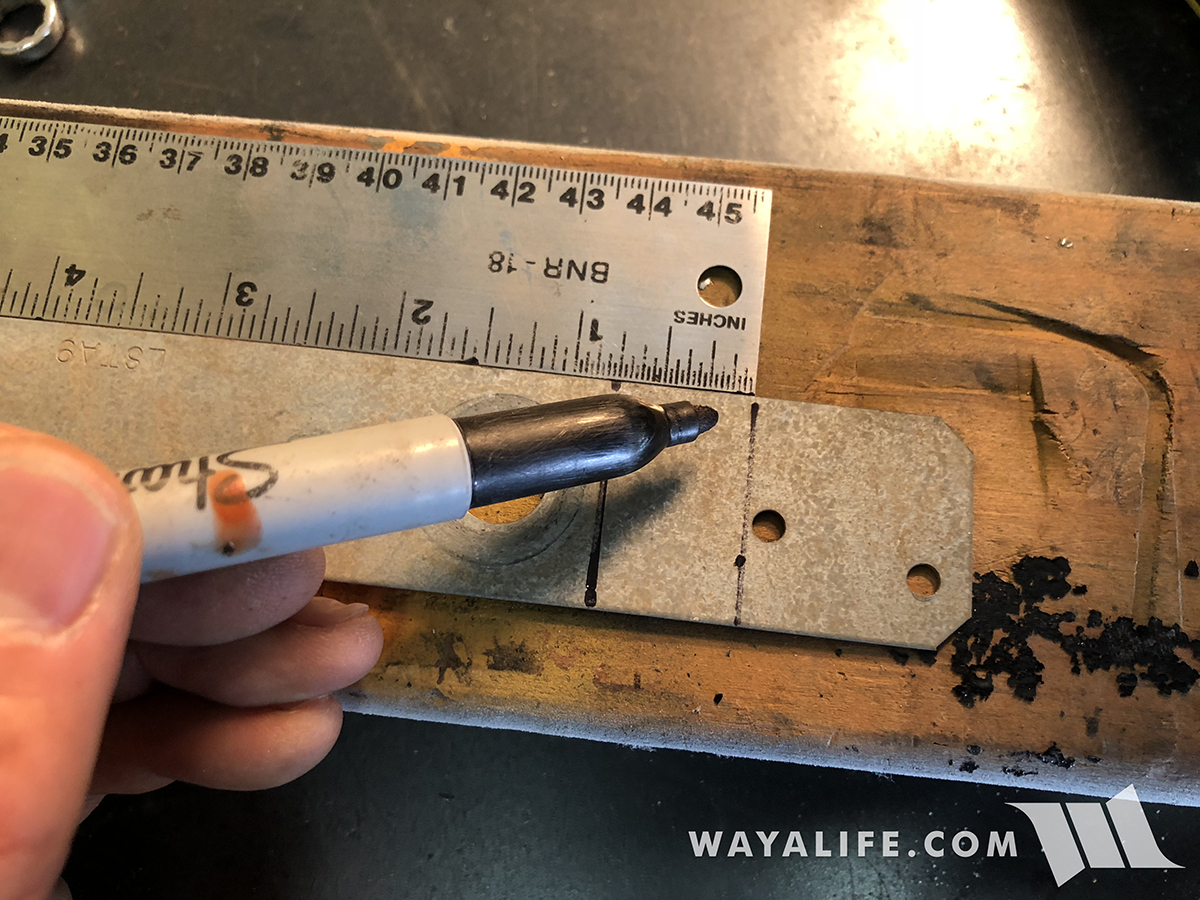
This is what your Simpson Strong-Tie should look like all drawn up.
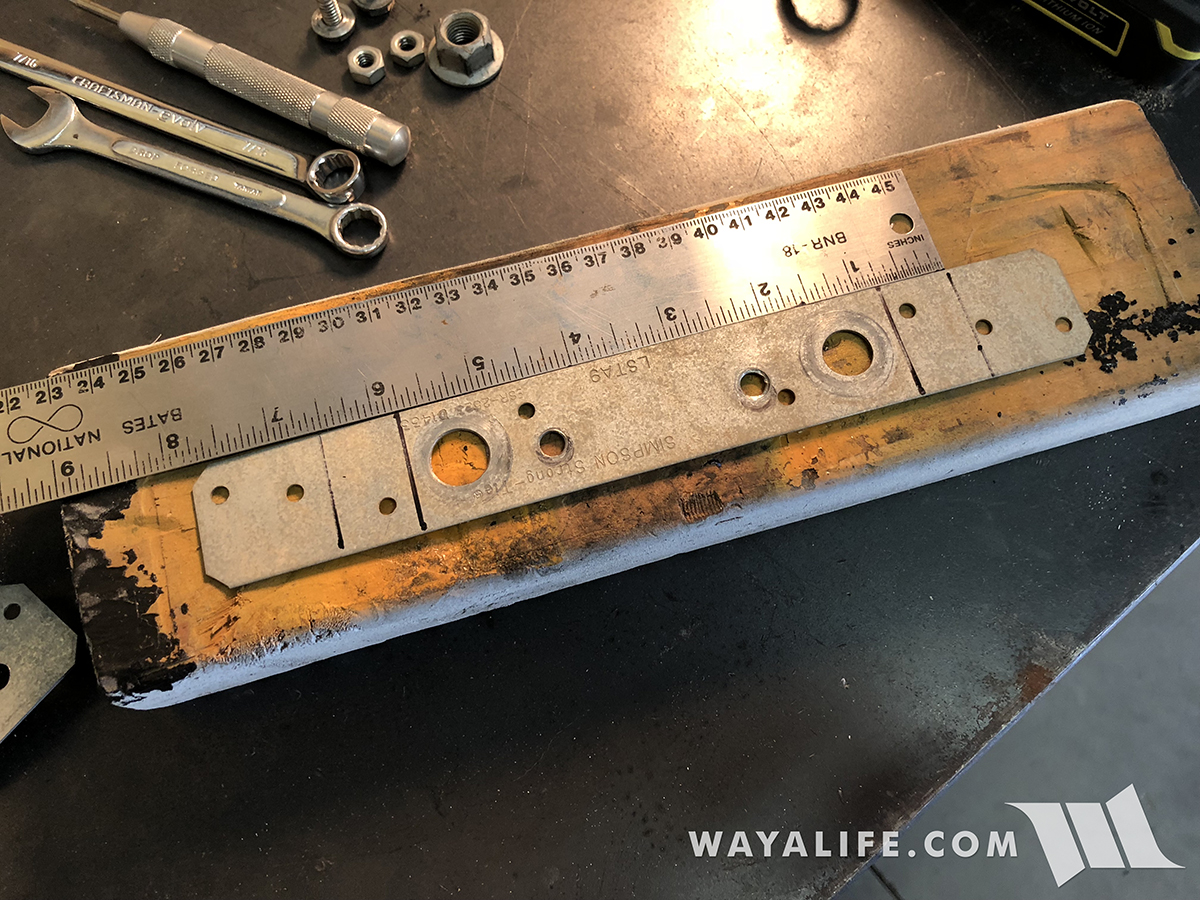
3. Place your Simpson Strong-Tie into a bench vice with one of the inner lines positioned at the top edge of the vice jaws.
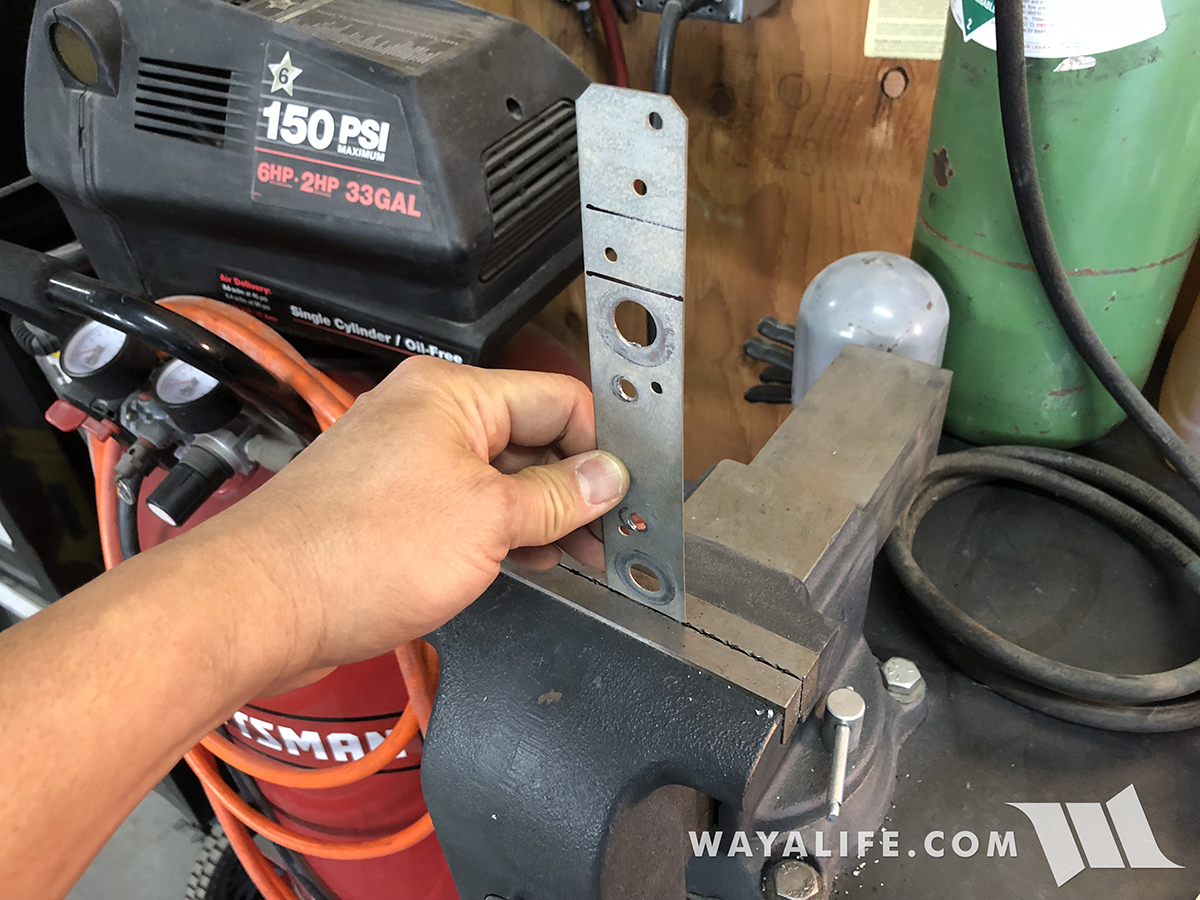
4. Bend the Simpson Strong-Tie in your bench vice as shown and then repeat on the other side.
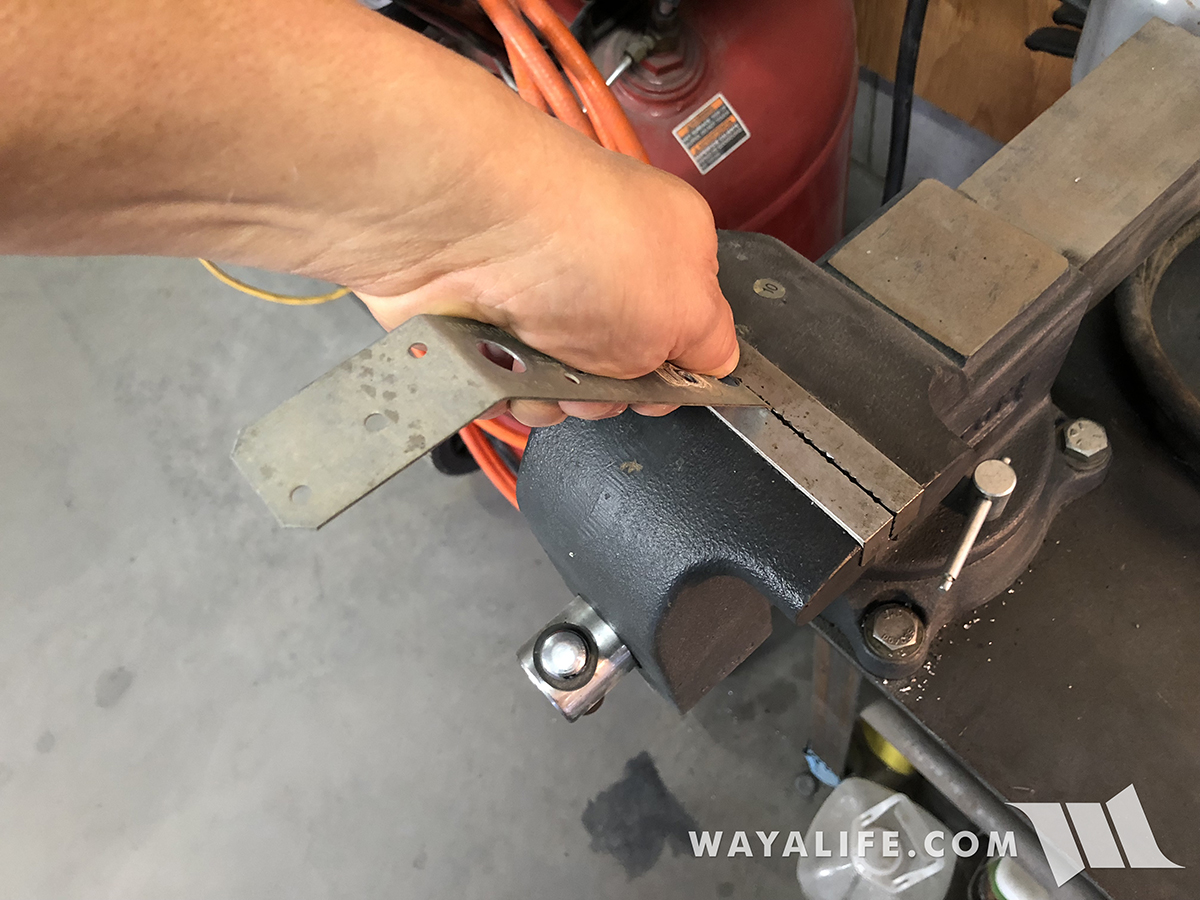
5. Remove your Simpson Strong-Tie from your bench vice and then clamp it back in place, right up to one of the outer lines you drew eariler. Again, use your vice to bend the Strong tie so that it's parallel with the center portion of it.
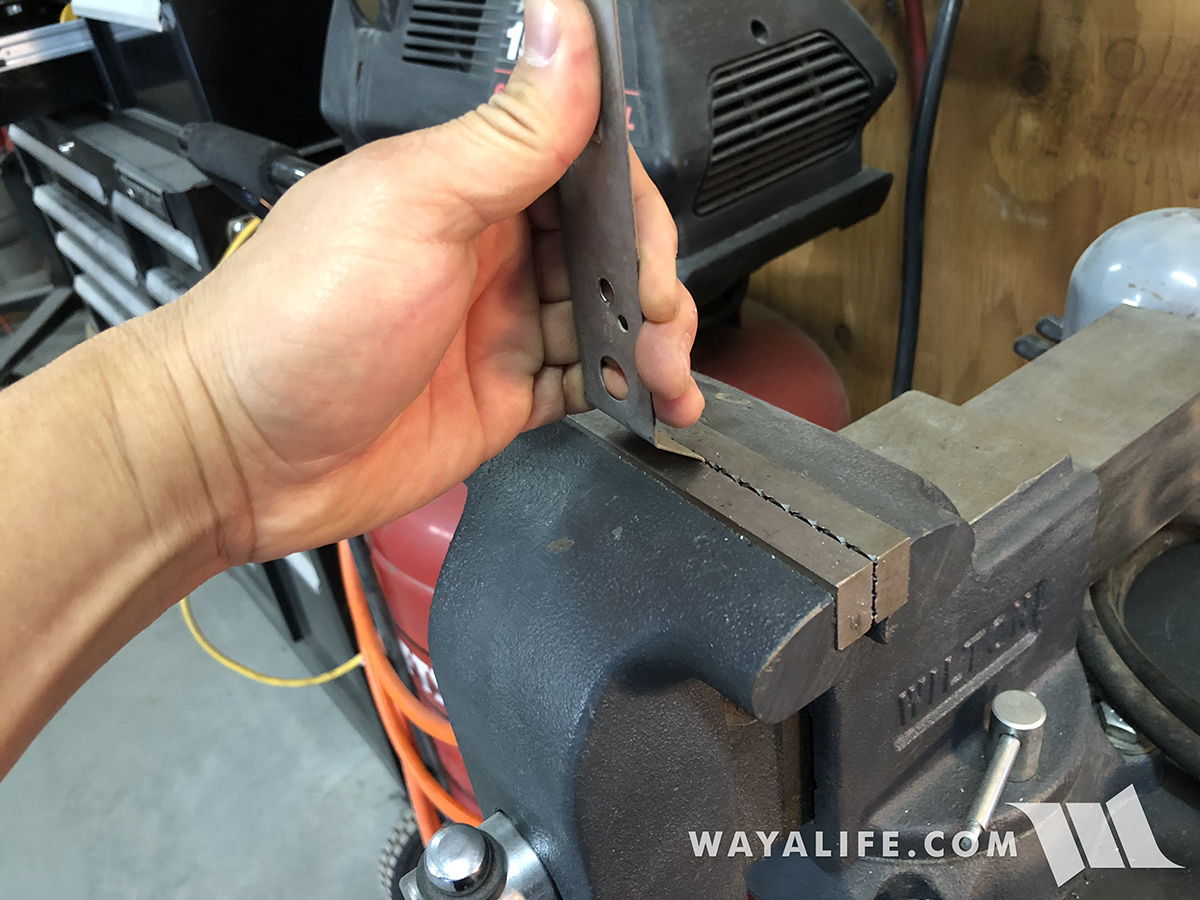
6. Locate the small existing hole closest to the outer bend and then measure 7" out from the center of it as shown in the pic below.
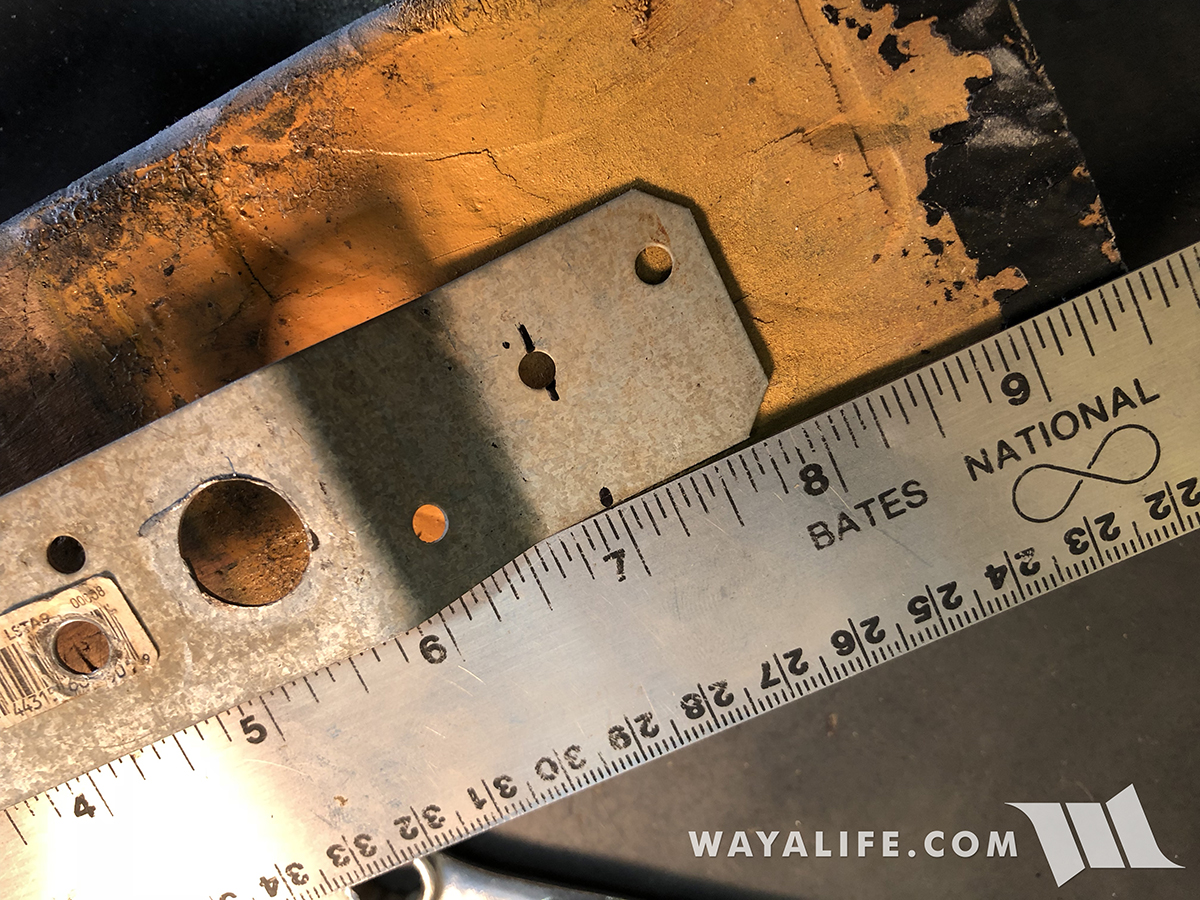
7. Use a Sharpe marker to locate the center point, 7" across from the other existing hole.
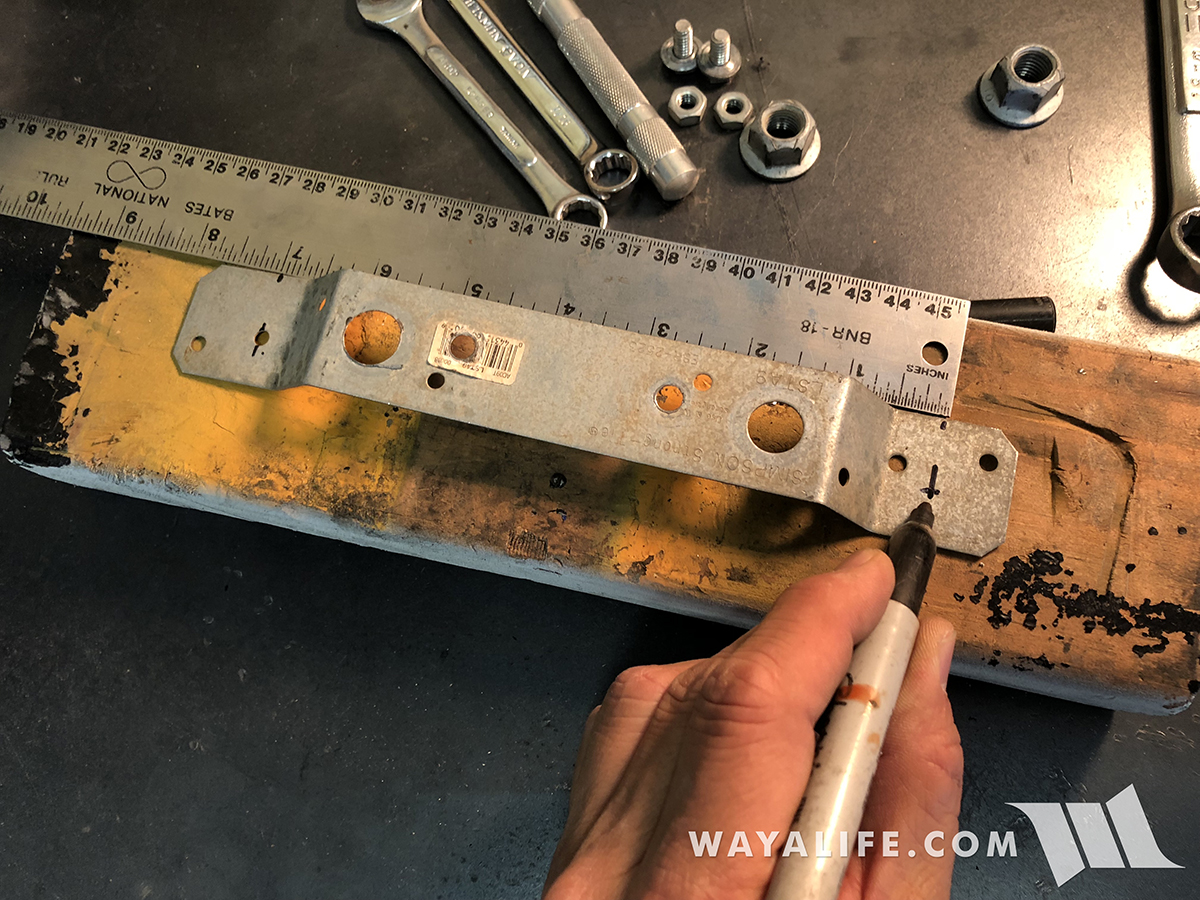
8. Use a center punch to mark the point you made in step #7.
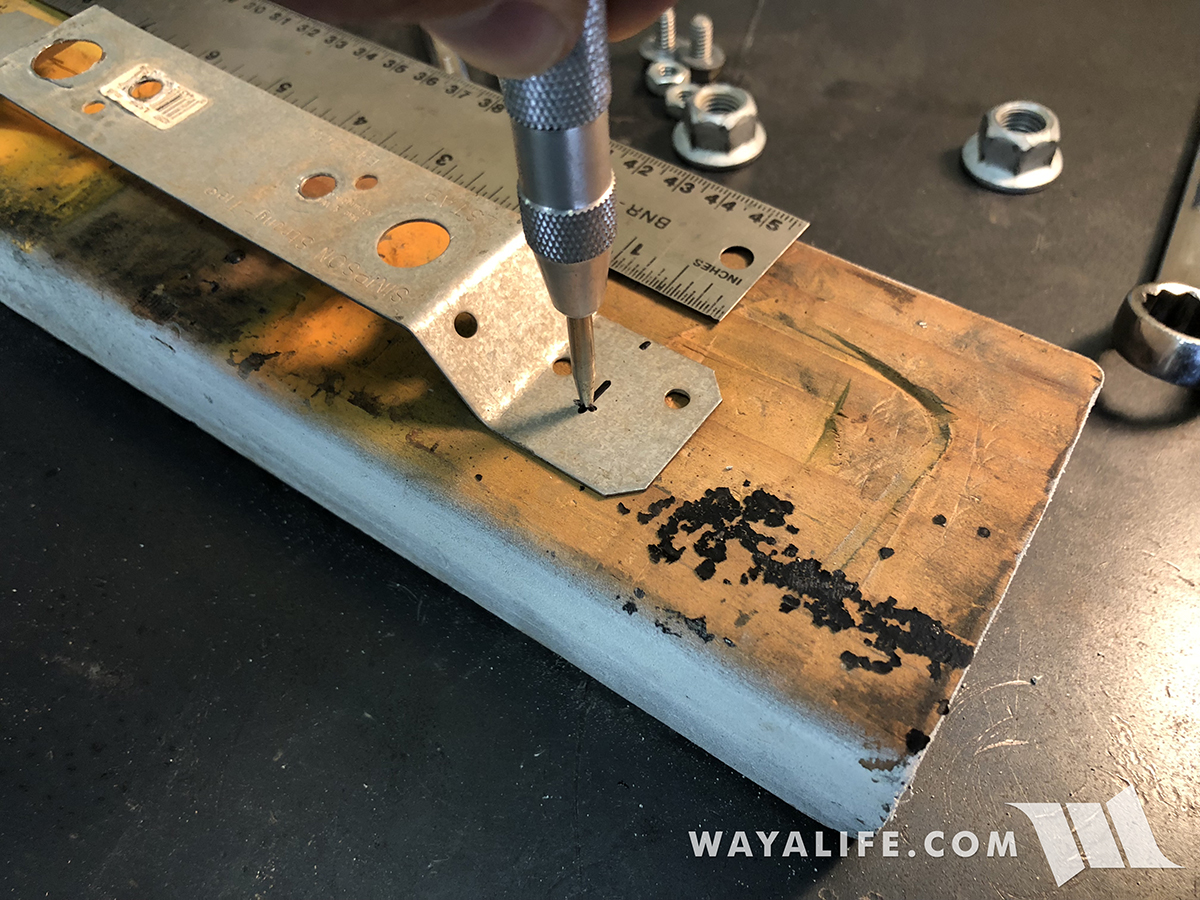
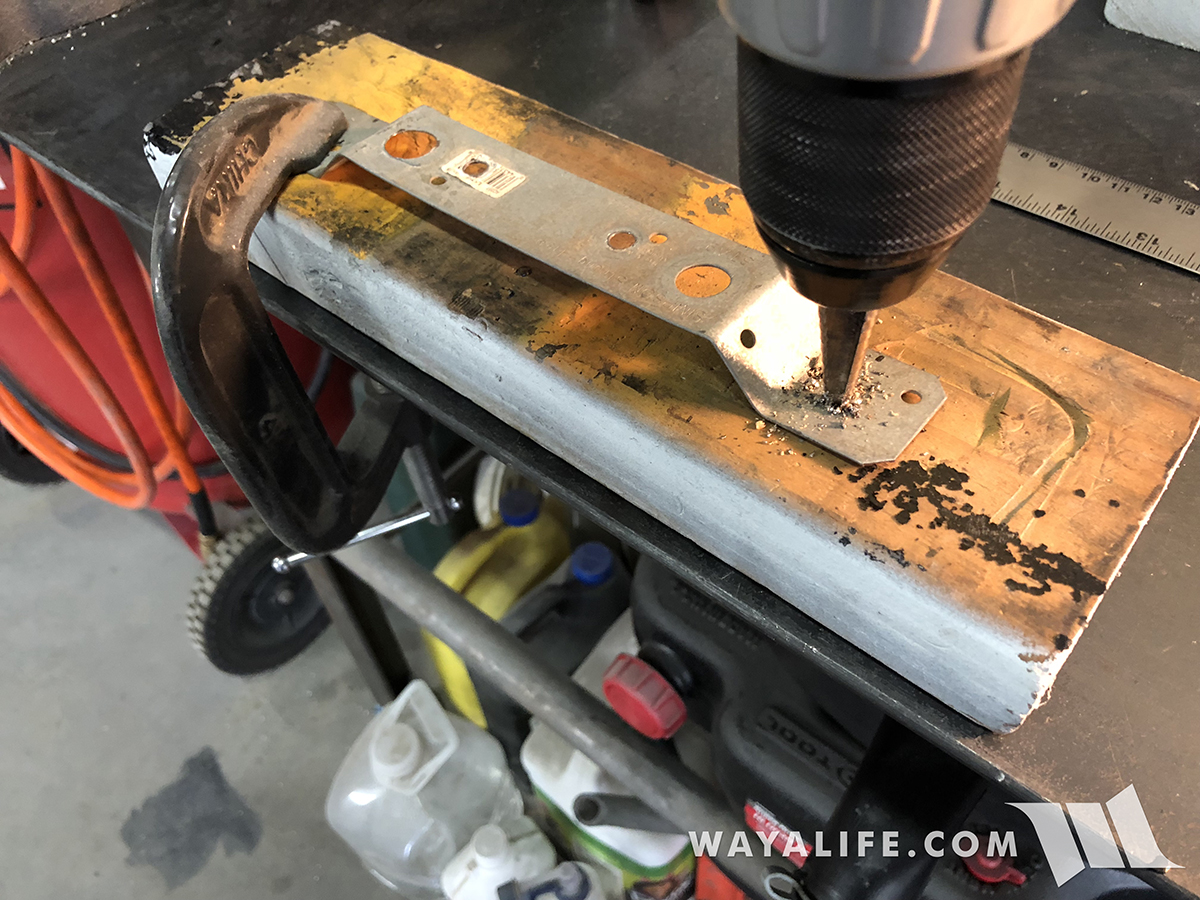
9. Use a unibit to drill a 1/4" hole through the point you just center punched as well as the small existing hole on the opposite side.
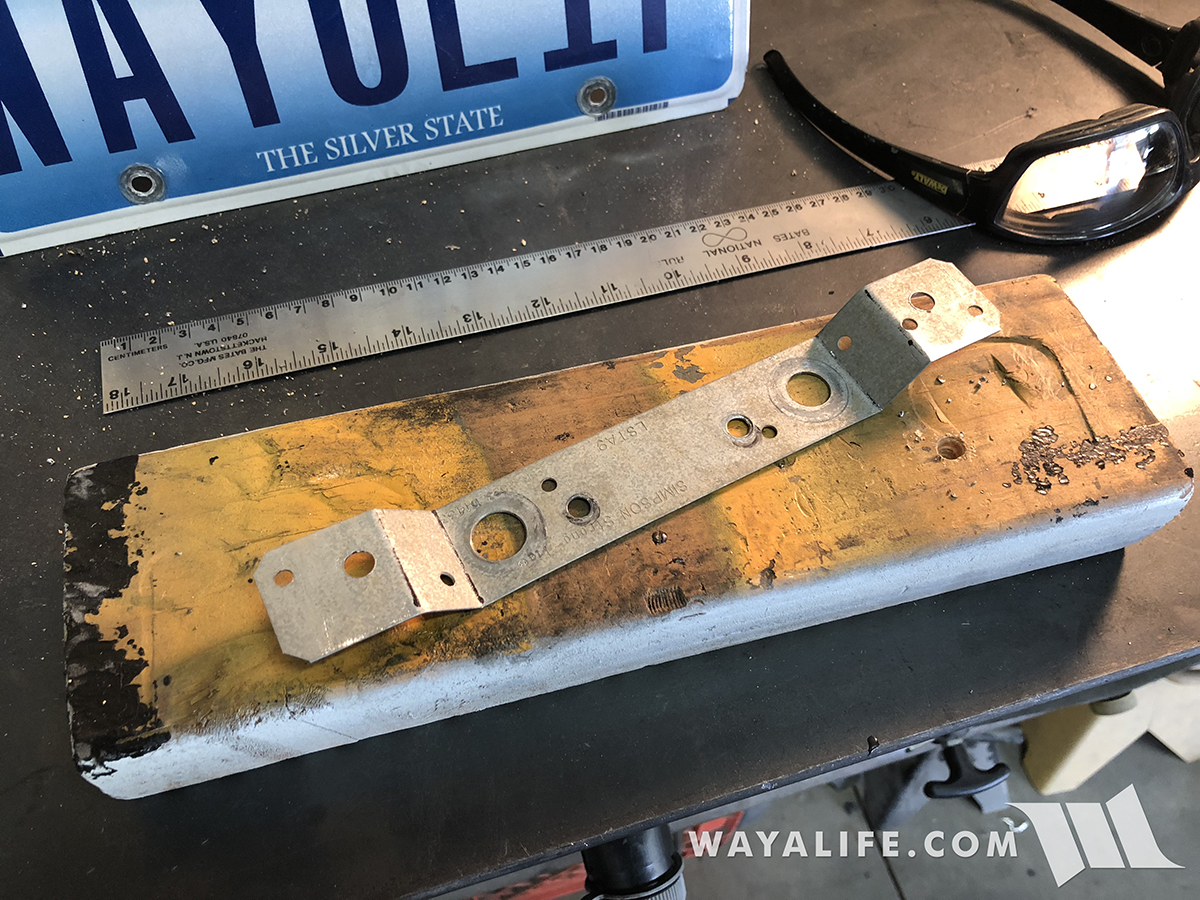
This is a shot of what your new rear cross member license place relocation mount should look like when done.
10. Place your new rear cross member license place relocation mount onto the 2 center hitch receiver bolts protruding through the nuts.
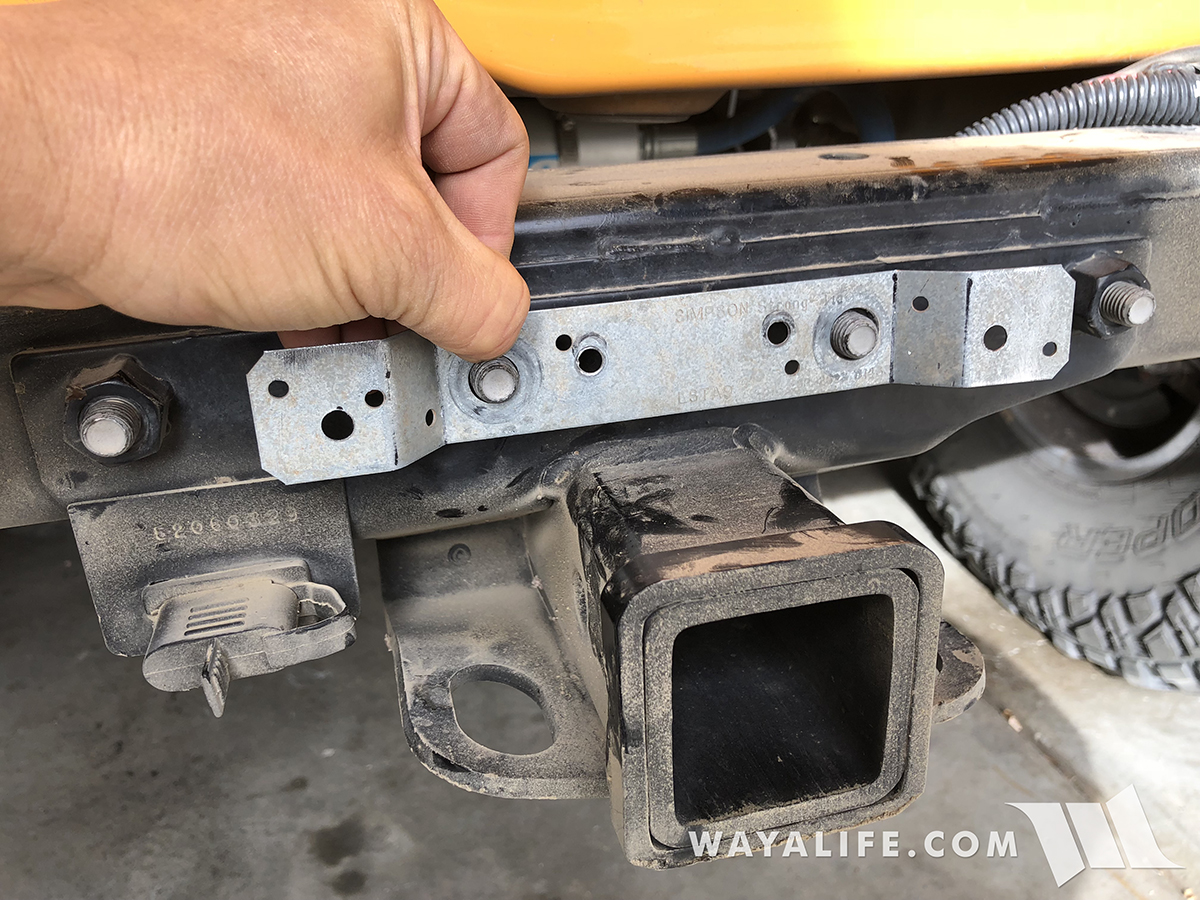
11. Secure your new rear cross member license place relocation mount in place using (2) 12 x 1.5mm nuts. I reused a pair of factory nuts that I had left over from a previous mod.
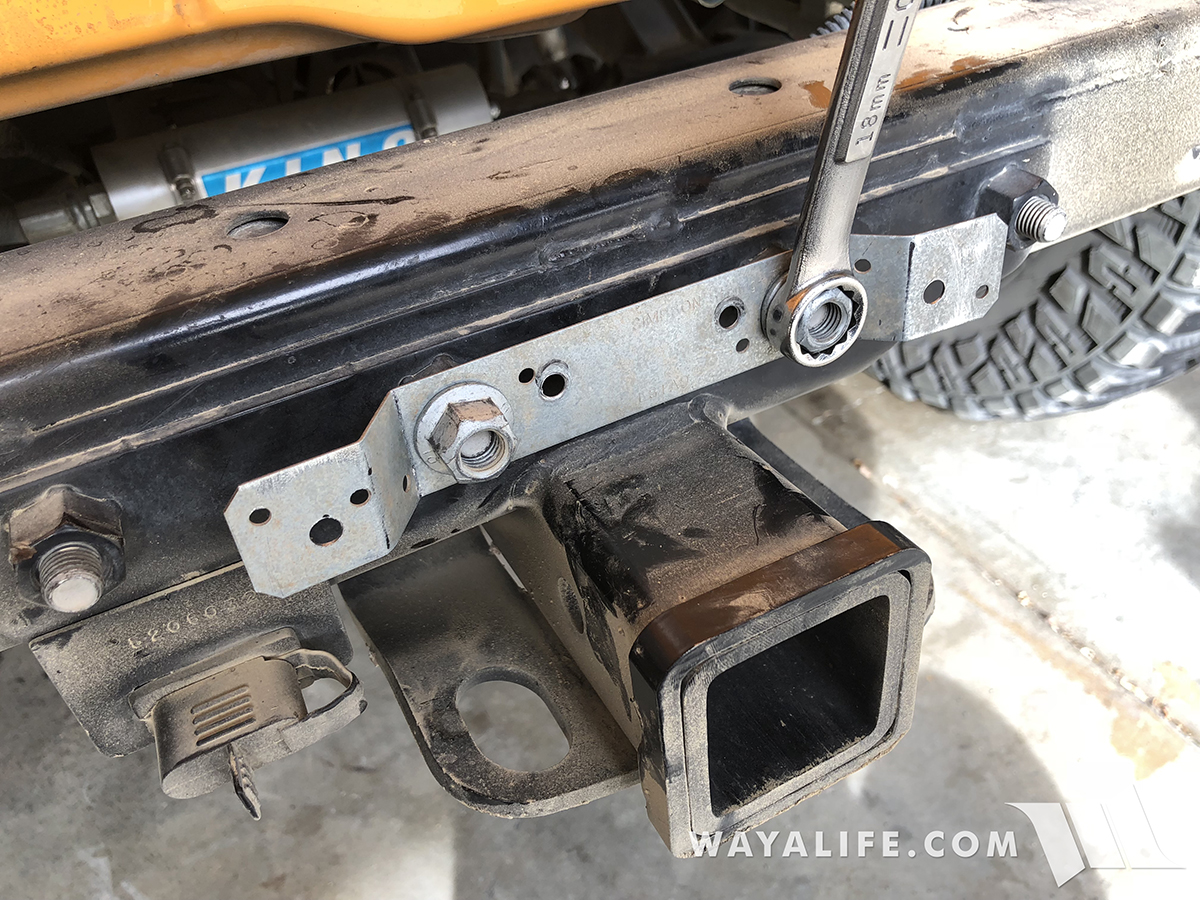
12. Secure your license plate to your new rear cross member relocation mount using (2) 1/2" - 1/4" x 20 Bolts, (2) 1/4" Washers and (2) 1/4" x 20 nuts. You will need a 7/16" socket and wrench for this job.
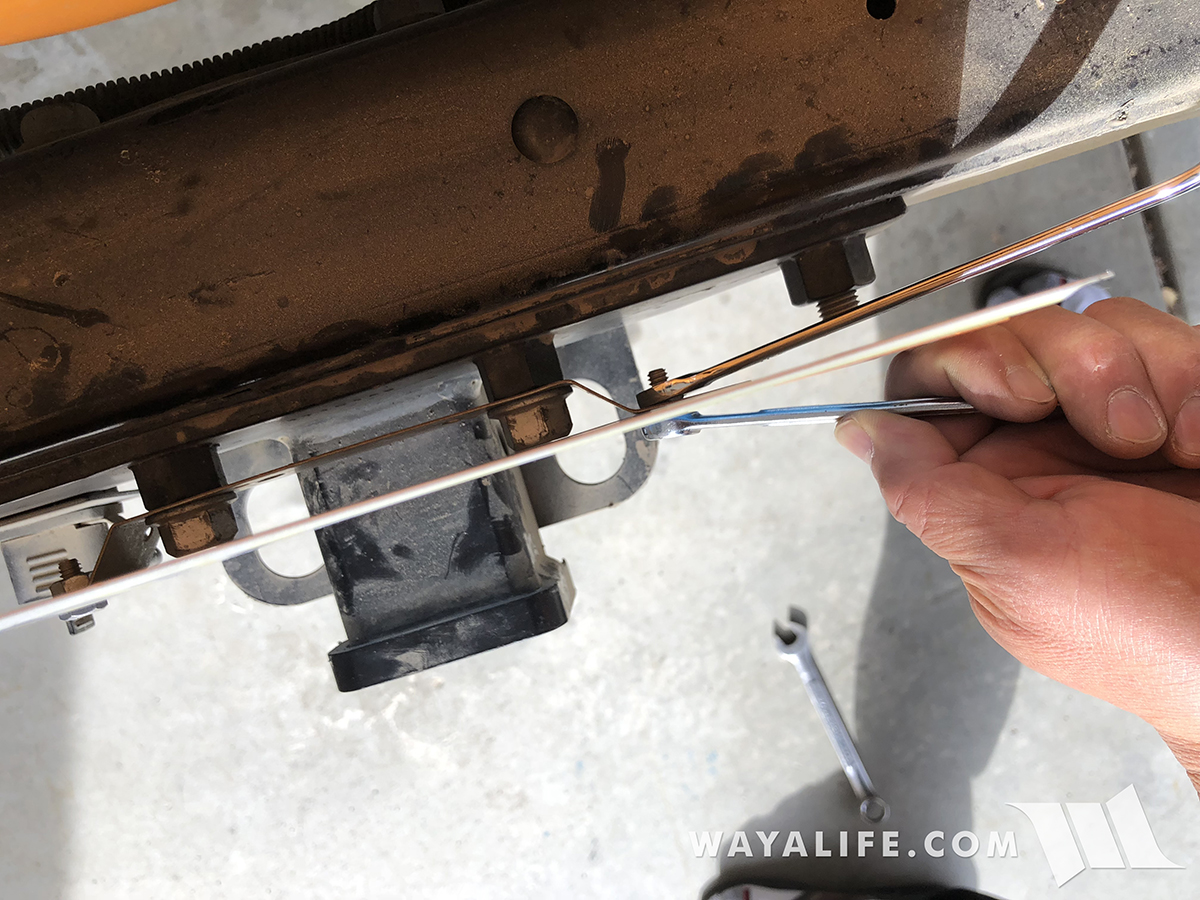
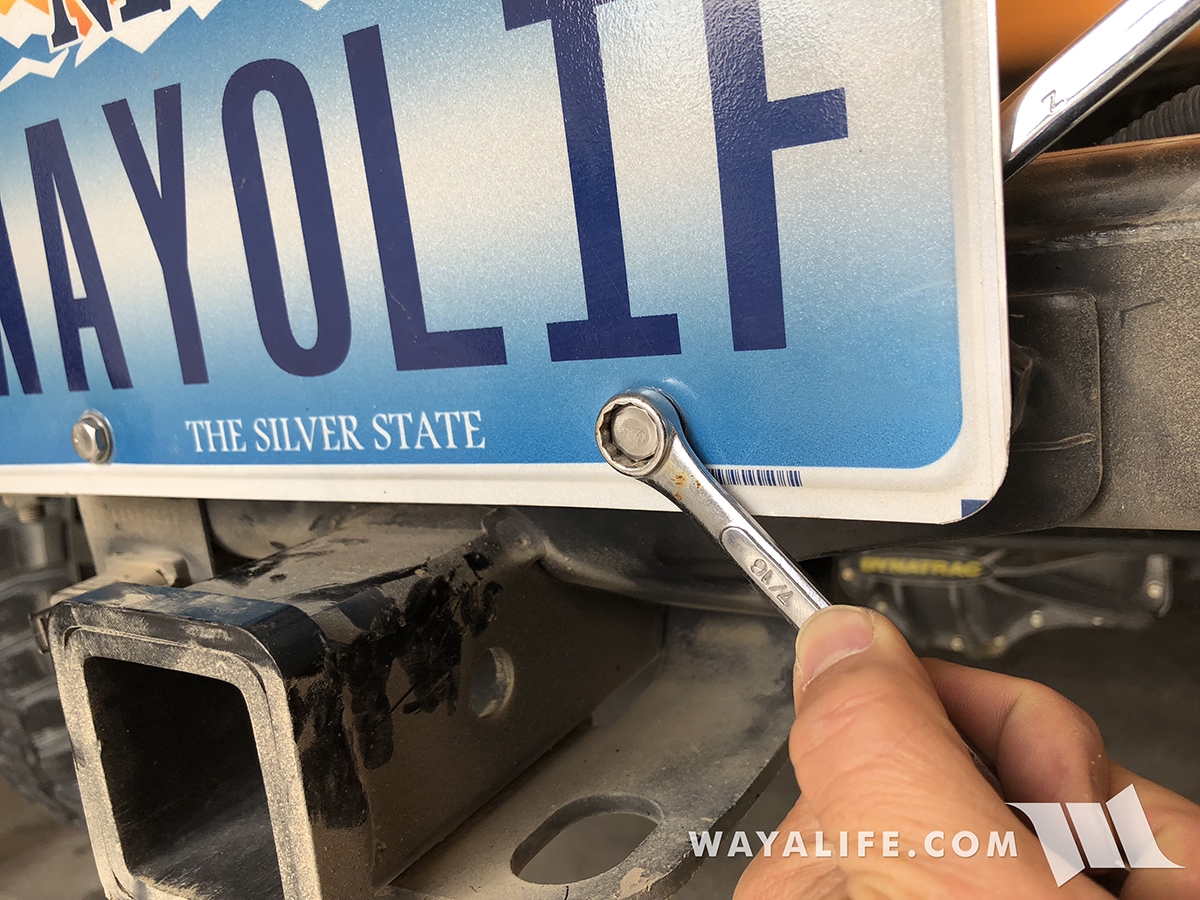
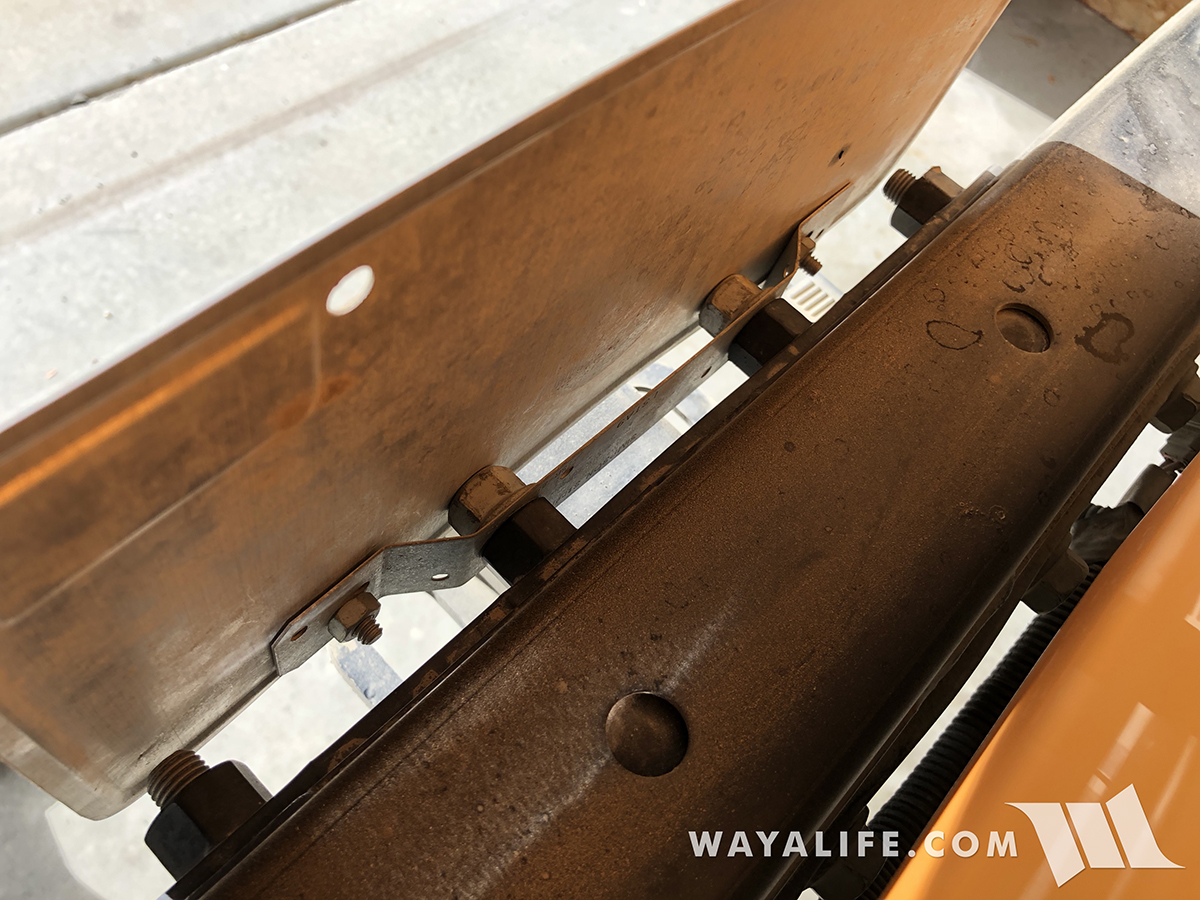
Here are a couple of shots that show what everything looks like once installed. First, from behind.
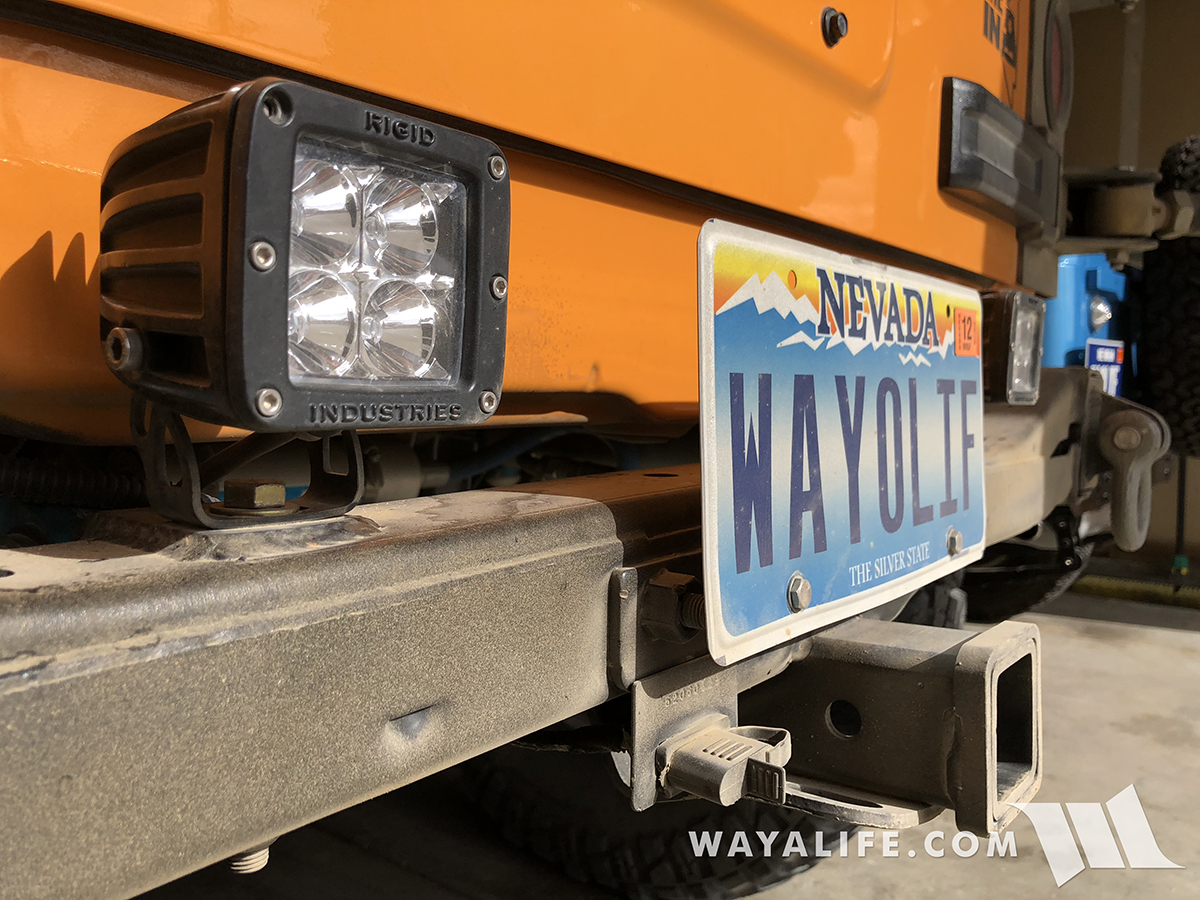
And from the front.
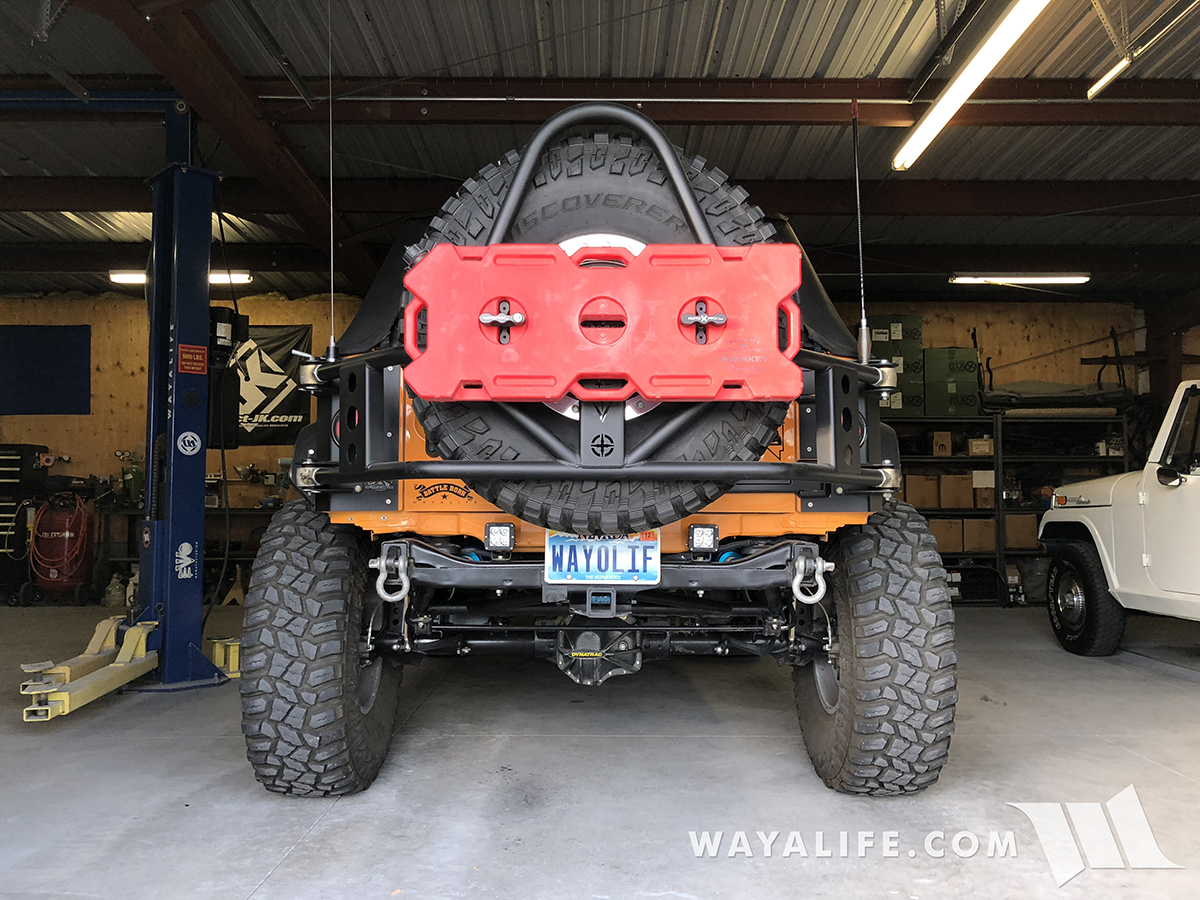
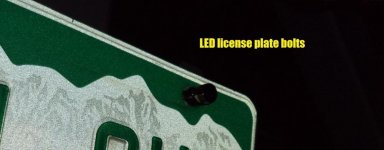
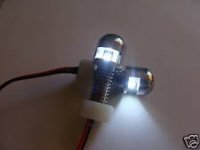
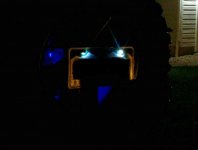
For those of you who'd want to run license plate lights, this is what my friend Tony has been running for years and they've been working out well for him.
Custom Dynamics LED License Plate Tag Bolts with White LEDs
<iframe style="width:120px;height:240px;" marginwidth="0" marginheight="0" scrolling="no" frameborder="0" src="//ws-na.amazon-adsystem.com/widgets/q?ServiceVersion=20070822&OneJS=1&Operation=GetAdHtml&MarketPlace=US&source=ss&ref=as_ss_li_til&ad_type=product_link&tracking_id=wayalifeparts-20&marketplace=amazon®ion=US&placement=B0041QGSF0&asins=B0041QGSF0&linkId=baed626ff87a75970fd51f804b4bb5d5&show_border=true&link_opens_in_new_window=true"></iframe>
I hope you found this write-up helpful to you in relocating your rear license plate onto your rear cross member. Please let me know if you have any questions.
What you will need
• (1) 20-Gauge 1-1/4" x 9" Simpson Strong-Tie
• (2) 1/2" - 1/4" x 20 Bolts
• (2) 1/4" x 20 Nuts
• (2) 1/4" Washers
• (2) 12 x 1.5mm Nuts
• 18mm Wrench
• 7/16" Socket & Wrench
• Ratchet
• Center Punch
• Drill
• Unibit
• Bench Vice
• Ruler or Tape Measure
• Sharpe Marker
This is a shot of most everything you'll need to make your own rear cross member license plate mount.

Instructions
1. Take a 20-Gauge 1-1/4" x 9" Simpson Strong-Tie, locate the center of it and then make 2 marks 2-1/2" on either side of it using a Sharpe marker as shown in this pic.

2. Using a Sharpe marker, draw a line from the mark you made and then draw a parallel line 3/4" from it as shown here.

This is what your Simpson Strong-Tie should look like all drawn up.

3. Place your Simpson Strong-Tie into a bench vice with one of the inner lines positioned at the top edge of the vice jaws.

4. Bend the Simpson Strong-Tie in your bench vice as shown and then repeat on the other side.

5. Remove your Simpson Strong-Tie from your bench vice and then clamp it back in place, right up to one of the outer lines you drew eariler. Again, use your vice to bend the Strong tie so that it's parallel with the center portion of it.

6. Locate the small existing hole closest to the outer bend and then measure 7" out from the center of it as shown in the pic below.

7. Use a Sharpe marker to locate the center point, 7" across from the other existing hole.

8. Use a center punch to mark the point you made in step #7.

9. Use a unibit to drill a 1/4" hole through the point you just center punched as well as the small existing hole on the opposite side.

This is a shot of what your new rear cross member license place relocation mount should look like when done.

10. Place your new rear cross member license place relocation mount onto the 2 center hitch receiver bolts protruding through the nuts.

11. Secure your new rear cross member license place relocation mount in place using (2) 12 x 1.5mm nuts. I reused a pair of factory nuts that I had left over from a previous mod.

12. Secure your license plate to your new rear cross member relocation mount using (2) 1/2" - 1/4" x 20 Bolts, (2) 1/4" Washers and (2) 1/4" x 20 nuts. You will need a 7/16" socket and wrench for this job.


Here are a couple of shots that show what everything looks like once installed. First, from behind.

And from the front.


For those of you who'd want to run license plate lights, this is what my friend Tony has been running for years and they've been working out well for him.
Custom Dynamics LED License Plate Tag Bolts with White LEDs
<iframe style="width:120px;height:240px;" marginwidth="0" marginheight="0" scrolling="no" frameborder="0" src="//ws-na.amazon-adsystem.com/widgets/q?ServiceVersion=20070822&OneJS=1&Operation=GetAdHtml&MarketPlace=US&source=ss&ref=as_ss_li_til&ad_type=product_link&tracking_id=wayalifeparts-20&marketplace=amazon®ion=US&placement=B0041QGSF0&asins=B0041QGSF0&linkId=baed626ff87a75970fd51f804b4bb5d5&show_border=true&link_opens_in_new_window=true"></iframe>
I hope you found this write-up helpful to you in relocating your rear license plate onto your rear cross member. Please let me know if you have any questions.

