Clifford the Big Red JK - Build

Status
Not open for further replies.

Rccrwlr

New member
Clifford the Big Red JK - Build
SO.. I thought is was time to create a thread and stop using "What was done to your JK this week" as my build thread. Things are moving slowly forward but the little things over time are adding up. I personally like the look of the Stock JK. They are very capable rigs from the factory. But the Jeep engineers left it up to the owners to finish the build. We are going for a stock looking style but rock ready. Under the stock will be a rig capable of tacking some fun trails. Not the "need a buggy" trails but the "have a few mods and you can come" kind.

So here we go...

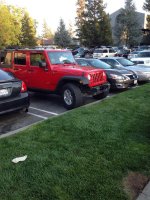
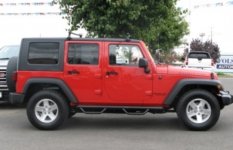
We bought a used 2008 Jeep JKUR last year to replace a failing mini van. This is my wife's daily driver and my weekend toy. (i drive a company car as my DD). It needs to look nice for her and do the fun stuff on the weekend with the family.

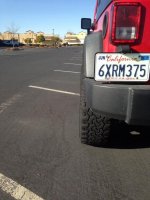
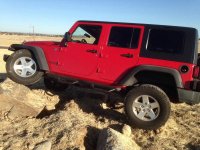
So the build at this point is to add a 3" lift, 35" tires, sliders, stubby bumper, remove the rear bumper and have some fun. Pretty basic.

The day we bought it
ImageUploadedByWAYALIFE1390285598.901109.jpg

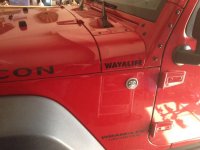
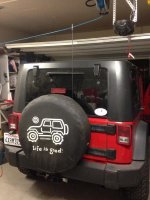
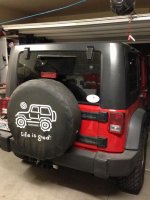
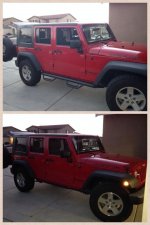
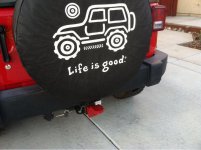
Some minor items - LIG tire cover, rear recovery point, grab handles, WOL Stickers
ImageUploadedByWAYALIFE1390285645.507146.jpg
ImageUploadedByWAYALIFE1390285766.515421.jpg

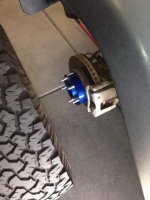
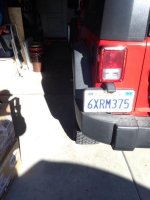
When we bought the Jeep it had 285/70 17 BFG AT tires and they still have some good life left in them so we added wheel spacers to keep the rubbing at full turn down and to tell you the truth it seems to handle better. Gives it a beefier look.
before
ImageUploadedByWAYALIFE1390285839.092566.jpg
During
ImageUploadedByWAYALIFE1390285800.645467.jpg
After
ImageUploadedByWAYALIFE1390285885.543387.jpg
ImageUploadedByWAYALIFE1390285905.018793.jpg
ImageUploadedByWAYALIFE1390285924.308685.jpg
ImageUploadedByWAYALIFE1390285956.709689.jpg

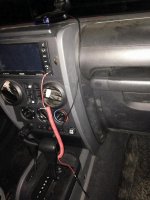
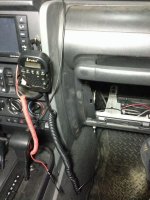
To keep the interior clean we added a Cobra 75 WX ST CB and a quick disconnect at the antenna so that when its trail time we are ready.
to trailImageUploadedByWAYALIFE1390285976.266978.jpg not to trailImageUploadedByWAYALIFE1390285987.913122.jpg
to trailImageUploadedByWAYALIFE1390286009.804332.jpgnot to trailImageUploadedByWAYALIFE1390286019.344092.jpg
 
A few trips

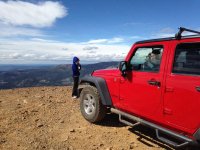
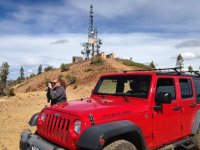
Signal Peak
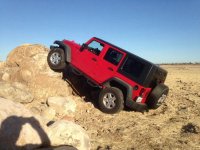
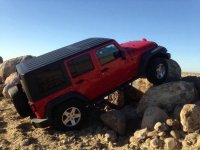
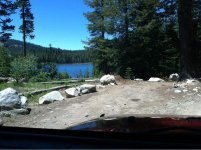
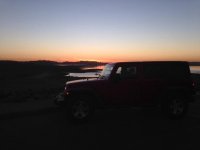
ImageUploadedByWAYALIFE1390286140.874972.jpgImageUploadedByWAYALIFE1390286161.575039.jpg

Tahoe side of the Rubicon
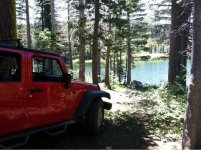
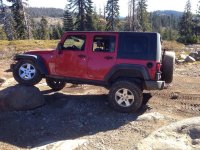
ImageUploadedByWAYALIFE1390286179.284227.jpgImageUploadedByWAYALIFE1390286195.640029.jpgImageUploadedByWAYALIFE1390286216.737999.jpg
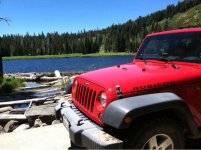
Folsom Lake
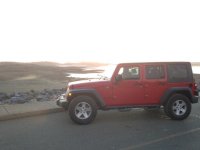
ImageUploadedByWAYALIFE1390286233.220866.jpgImageUploadedByWAYALIFE1390286250.474129.jpgImageUploadedByWAYALIFE1390286270.796096.jpg

And that is where we sit today.


We have been on a quest to name the Jeep. As it's my wife's DD we thought something to do with the fact that my wife has red hair and the jeep is red. This was a good thought but as it will be my son's jeep in a year that wouldn't work to well. After a bit of time Clifford the Big Red Dog came up - and it seems to have stuck - so our JK is named Clifford - the Big Red JK.

We will move at a slow pace but should have fun while we are doing it.
 
Last edited:
Removed the steps
ImageUploadedByWAYALIFE1390774114.768564.jpg

Added some Rubi Rails. Going a bit backwards but really I am moving forward if that makes any sense
ImageUploadedByWAYALIFE1390774183.085383.jpg
 
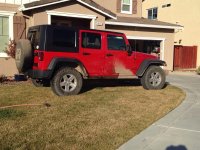
Conserving water
Watering the grass: check
Cleaning Clifford after a good trip: check
Turning suburbia into redneck central: priceless
ImageUploadedByWAYALIFE1390786729.415837.jpg
 
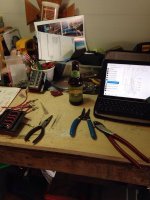
To go with DIY Waytekwire courtesy of White Dynamite and Pvanweelden

ImageUploadedByWAYALIFE1394344125.394356.jpg

Sorry looks like me beer is in the way
 
Your bumpers coming out great. Wish the EVO bumper came with the installation of the flog lights..

You coming down the the S&G April 18th?
 
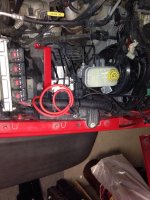
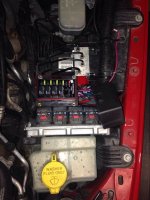
Almost ready for the install
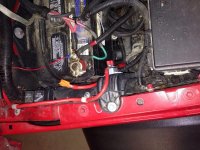
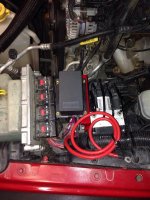
The power connection
ImageUploadedByWAYALIFE1395033861.035509.jpg
ImageUploadedByWAYALIFE1395033927.066593.jpg

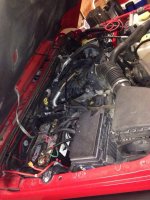
The location
ImageUploadedByWAYALIFE1395033734.050309.jpg

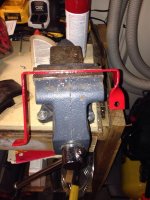
The bracket
ImageUploadedByWAYALIFE1395033756.650906.jpg
ImageUploadedByWAYALIFE1395033780.933594.jpg
ImageUploadedByWAYALIFE1395033795.515699.jpg

Bracket install
ImageUploadedByWAYALIFE1395033825.735679.jpg
ImageUploadedByWAYALIFE1395033944.116584.jpg

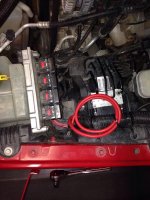
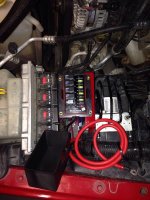
Waytekwire pod install
ImageUploadedByWAYALIFE1395033968.651272.jpg
ImageUploadedByWAYALIFE1395033991.733746.jpg

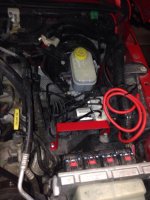
Just need to finalize some of the connections and it's all ready for accessories.
 
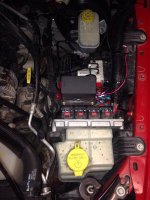
Ready for switch connections and accessories. More this weekend

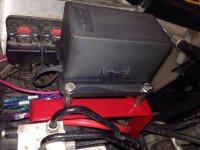
With cover
ImageUploadedByWAYALIFE1395125915.448738.jpg

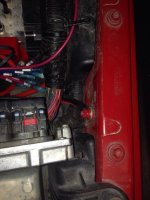
Ground location
ImageUploadedByWAYALIFE1395125930.235871.jpg

Without cover
ImageUploadedByWAYALIFE1395125968.834089.jpg

Stand offs to keep the terminals away from the bracket
ImageUploadedByWAYALIFE1395125993.053552.jpg

This is one of my favorite buildups. Looks clean and from the factory. The DIY Waytekwire courtesy of White Dynamite and Pvanweelden was VERY easy to follow with the parts list etc. thanks guys.

Loving the WOL!
 
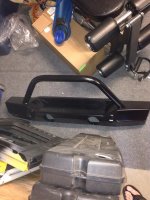
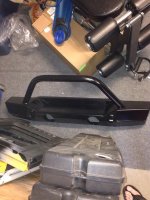
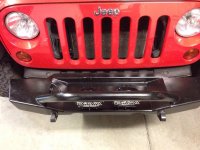
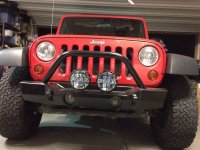
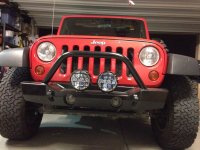
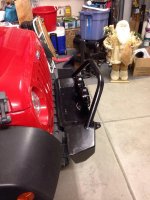
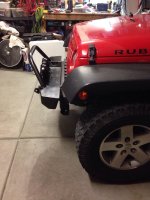
Picked up a used Hanson Stubby front bumper with a winchguard from a member that is selling his JKU. I opened up my trusty WOL app and followed the writeup WayALife did. So nice to have a clean clear writeup to follow to double check you work. Thanks

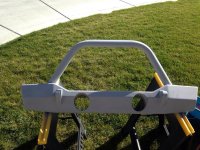
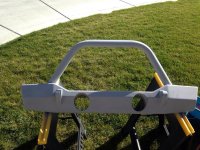
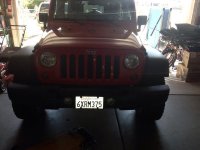
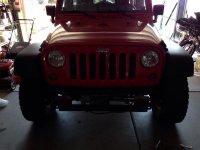
Repainted and looks like new
ImageUploadedByWAYALIFE1395632986.636694.jpg
ImageUploadedByWAYALIFE1395633000.055336.jpg

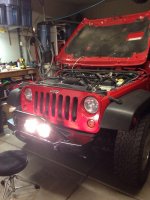
Had some time today so I started the process of installing taking off the factory and installing the replacement

Before
ImageUploadedByWAYALIFE1395633065.713053.jpg

Factory off
ImageUploadedByWAYALIFE1395633090.306007.jpg

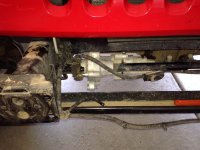
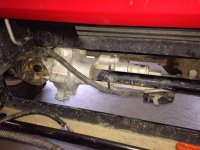
While I had the bumper off I decided to rotate the Rubi away bar disconnect motor. Followed StrizzyChris write up and all works great! Easy to follow instructions are great
ImageUploadedByWAYALIFE1395633110.519003.jpg
ImageUploadedByWAYALIFE1395633122.718955.jpg

Had to run to dinner sans bumper
ImageUploadedByWAYALIFE1395633308.102710.jpg

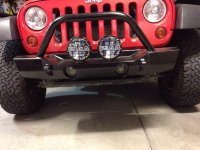
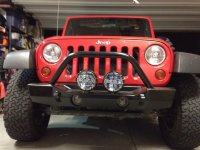
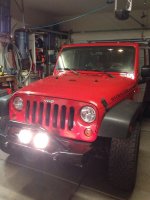
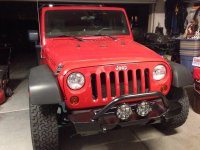
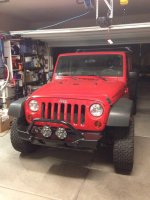
And the reveal!! Drum roll please
ImageUploadedByWAYALIFE1395633341.209045.jpg
ImageUploadedByWAYALIFE1395633371.818516.jpg
ImageUploadedByWAYALIFE1395633381.202276.jpg
ImageUploadedByWAYALIFE1395633392.457848.jpg
ImageUploadedByWAYALIFE1395633409.909246.jpg
ImageUploadedByWAYALIFE1395633421.001616.jpg
ImageUploadedByWAYALIFE1395633430.269251.jpg
ImageUploadedByWAYALIFE1395633440.668491.jpg
ImageUploadedByWAYALIFE1395633450.140782.jpg

Really like the way this came out. Now to wire up the PIAA 520's I found as well. Stay tuned for the light lighting!

"One only needs to follow those that have been there/done that to learn how to do things proper the first time" BCH 3/23/14
 
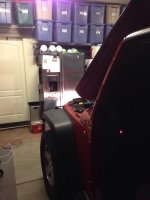
Got a chance today to finish the wires for the switches and lights
ImageUploadedByWAYALIFE1396130179.485569.jpg
ImageUploadedByWAYALIFE1396130192.071136.jpg

All buttoned up
ImageUploadedByWAYALIFE1396130212.038182.jpg


"One only needs to follow those that have been there/done that to learn how to do things proper the first time" BCH
 
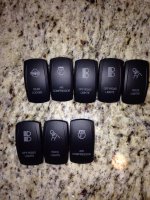
Switch rockers
ImageUploadedByWAYALIFE1396931190.109659.jpg
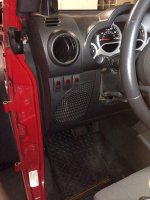
Bottom row is for Clifford, top row is for Rccrwlr


"One only needs to follow those that have been there/done that to learn how to do things proper the first time" BCH
 
Last edited:
Status
Not open for further replies.
Top Bottom