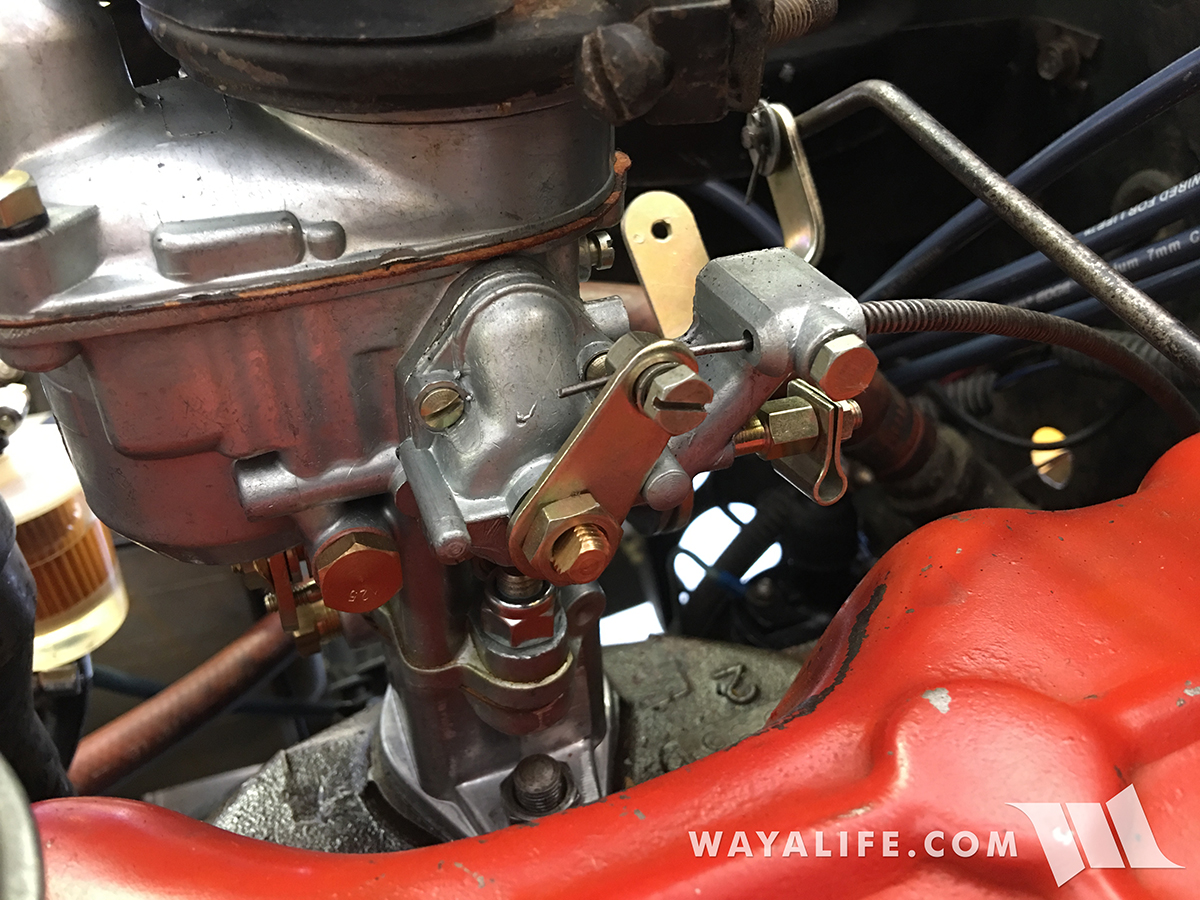
Working on old iron always has a way of becoming a slippery slope in that everything you do to it leads to another something that needs to be done. In the case of Pappy, our 1954 Willys CJ3B, a simple adjustment to his timing lead to me working on his points, changing out his plugs and wires and before I knew it, installing a new Solex 1-Barrel carburetor.
While the Carter YF is a good carburetor, Pappy's was in real need of a rebuild and a few of its components were starting to become worn out enough to be a problem. While I'll most likely still rebuild it, I decided to save that project for another day and for now, decided to just replace it with a new Solex 1-Barrel. At only $128 brand new and readily available for pick-up at my local Summit Racing, I figured it was cheap enough to give it a try and not lose any sleep if it turned out not to work out well.
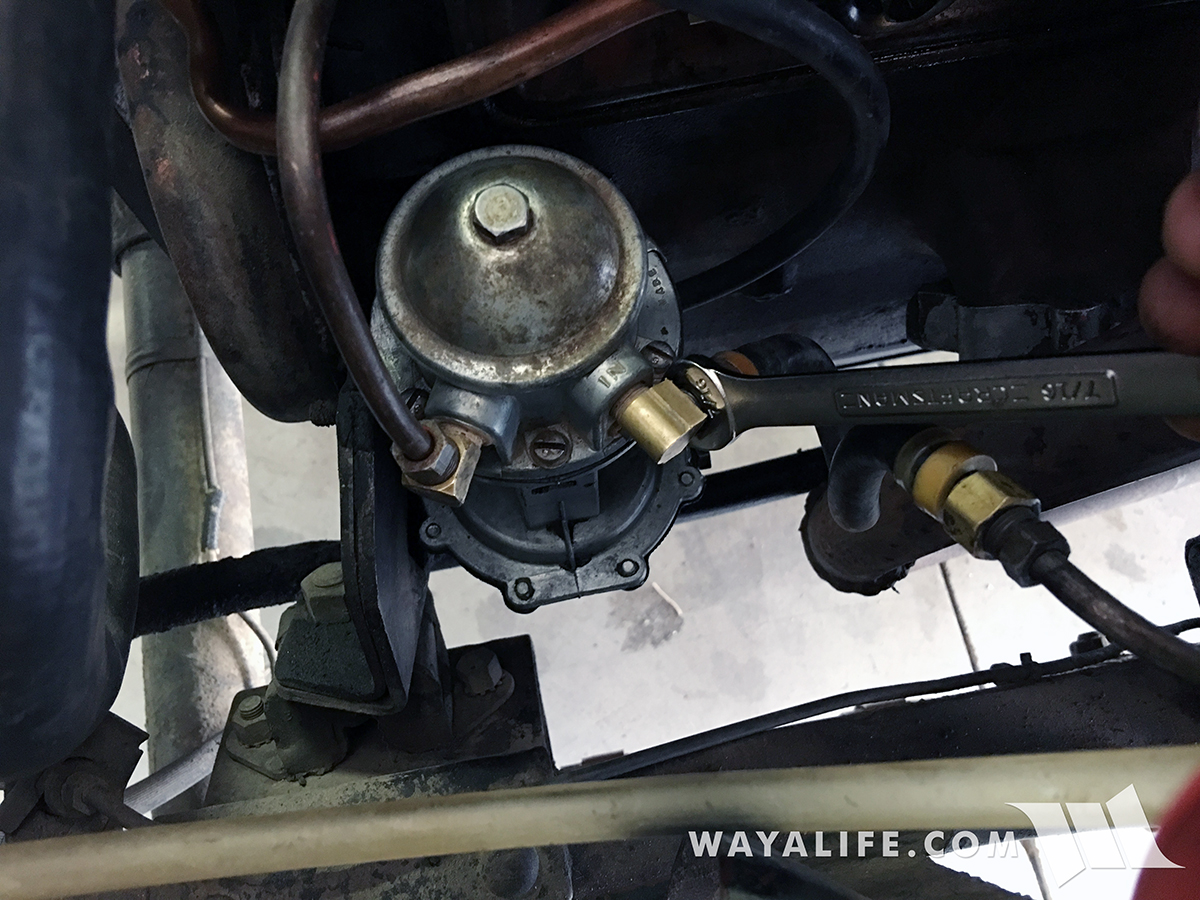
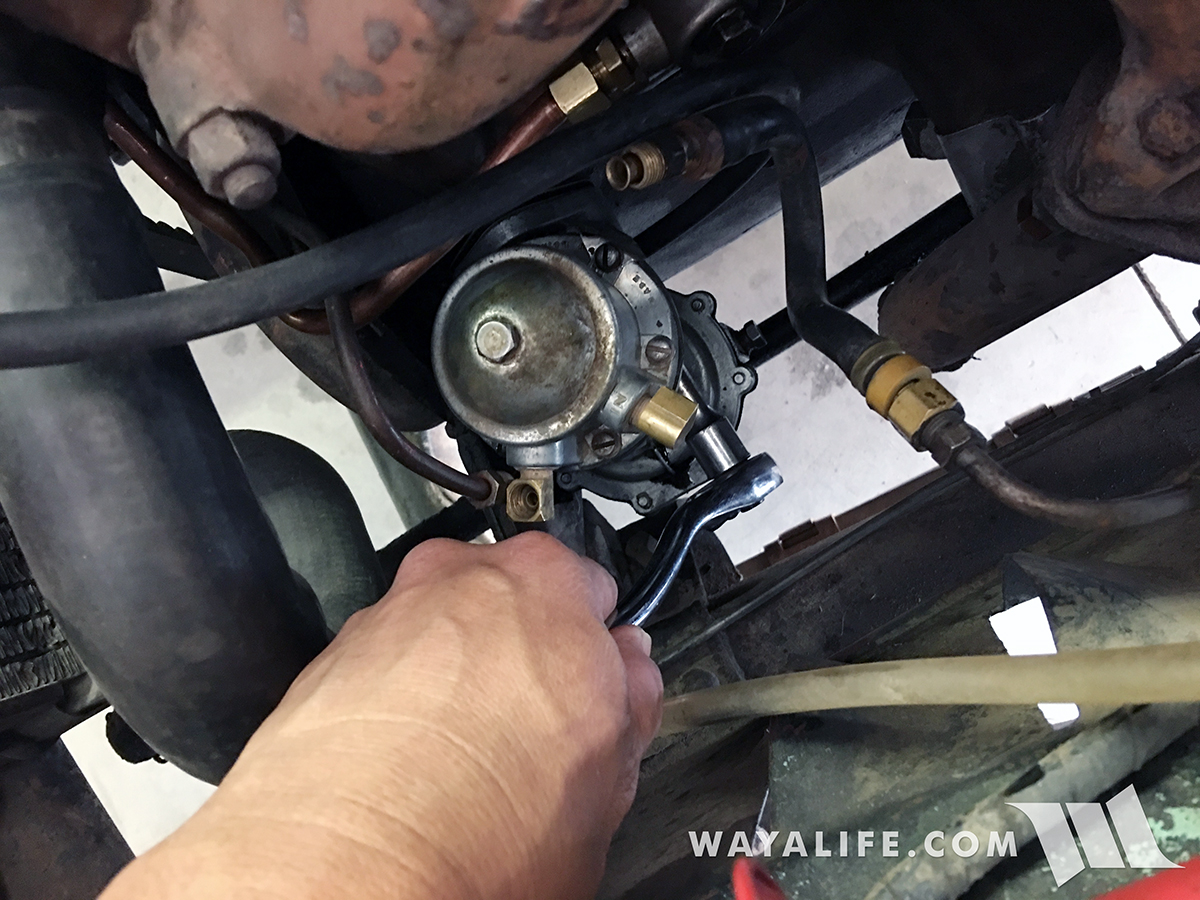
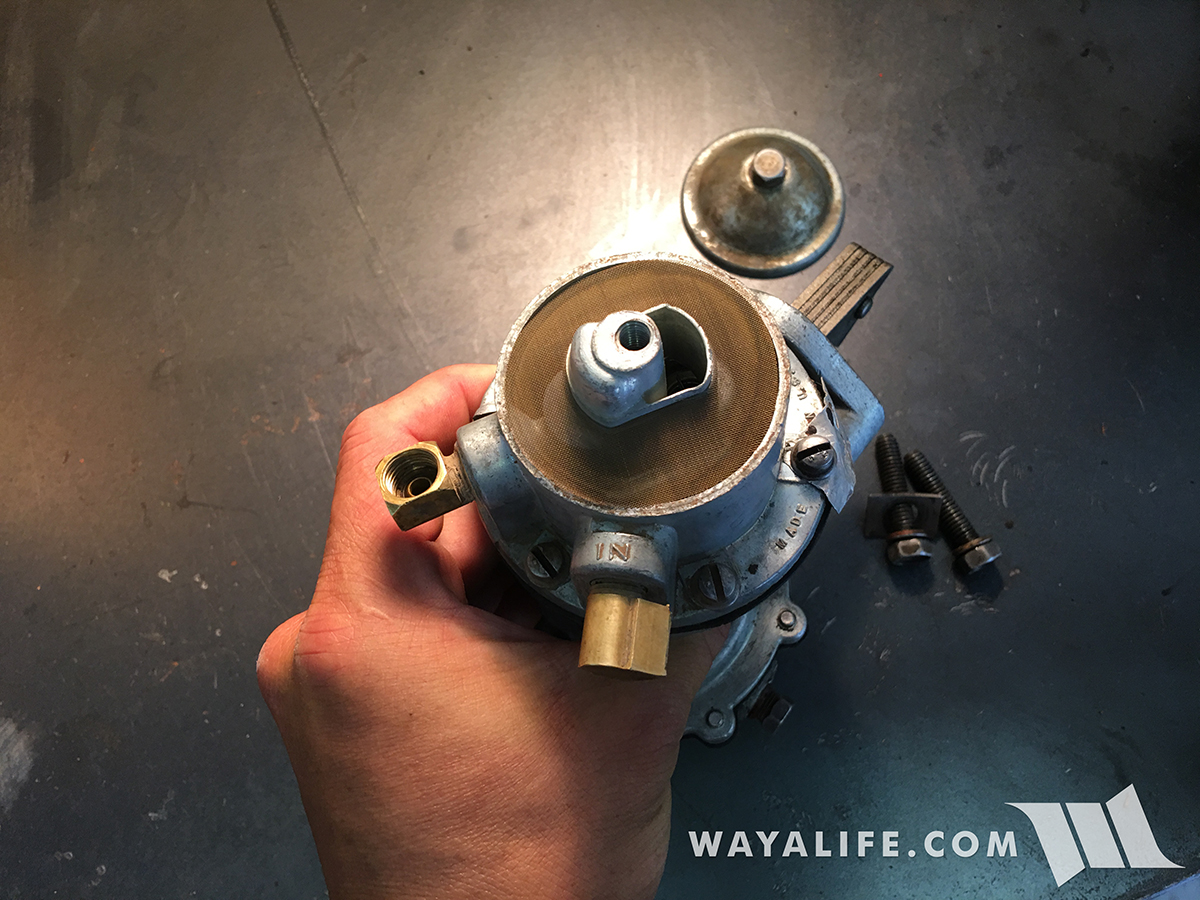
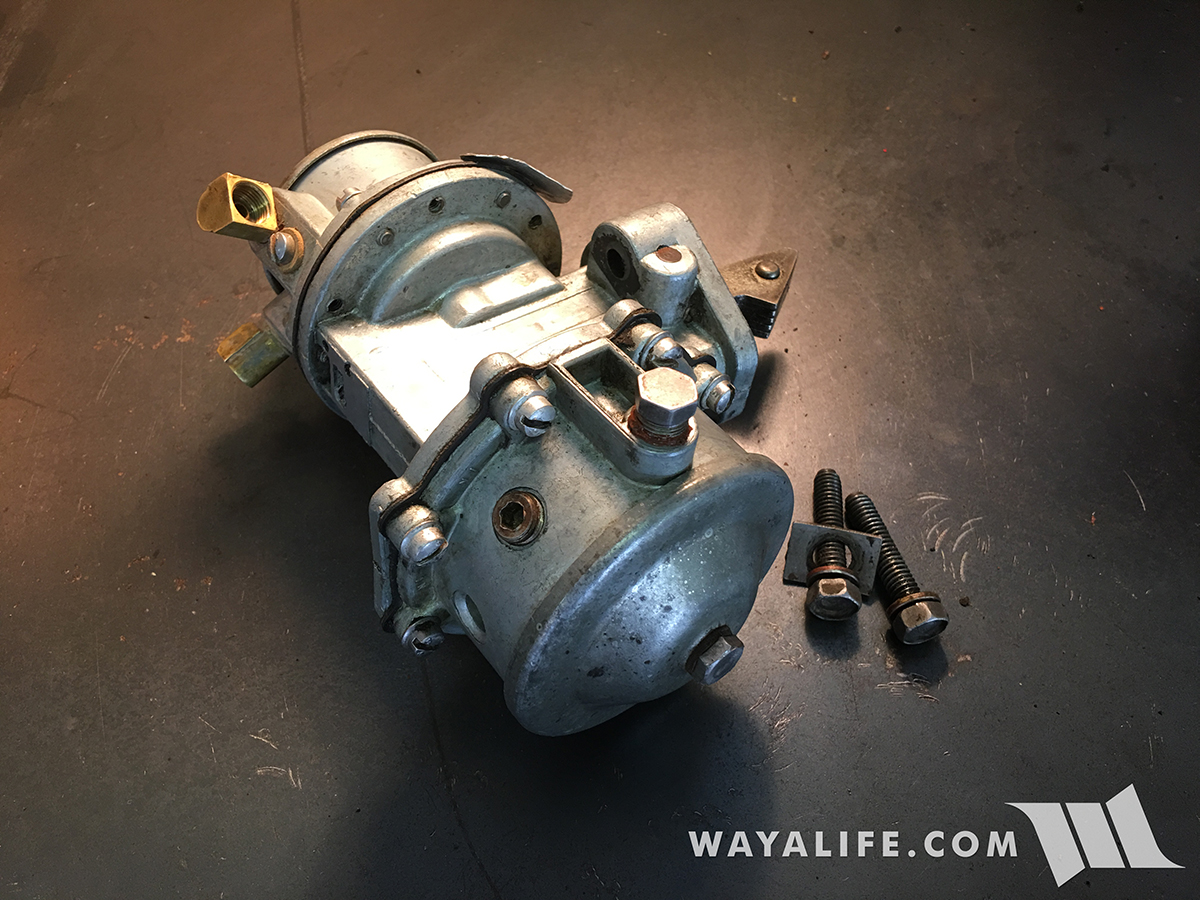
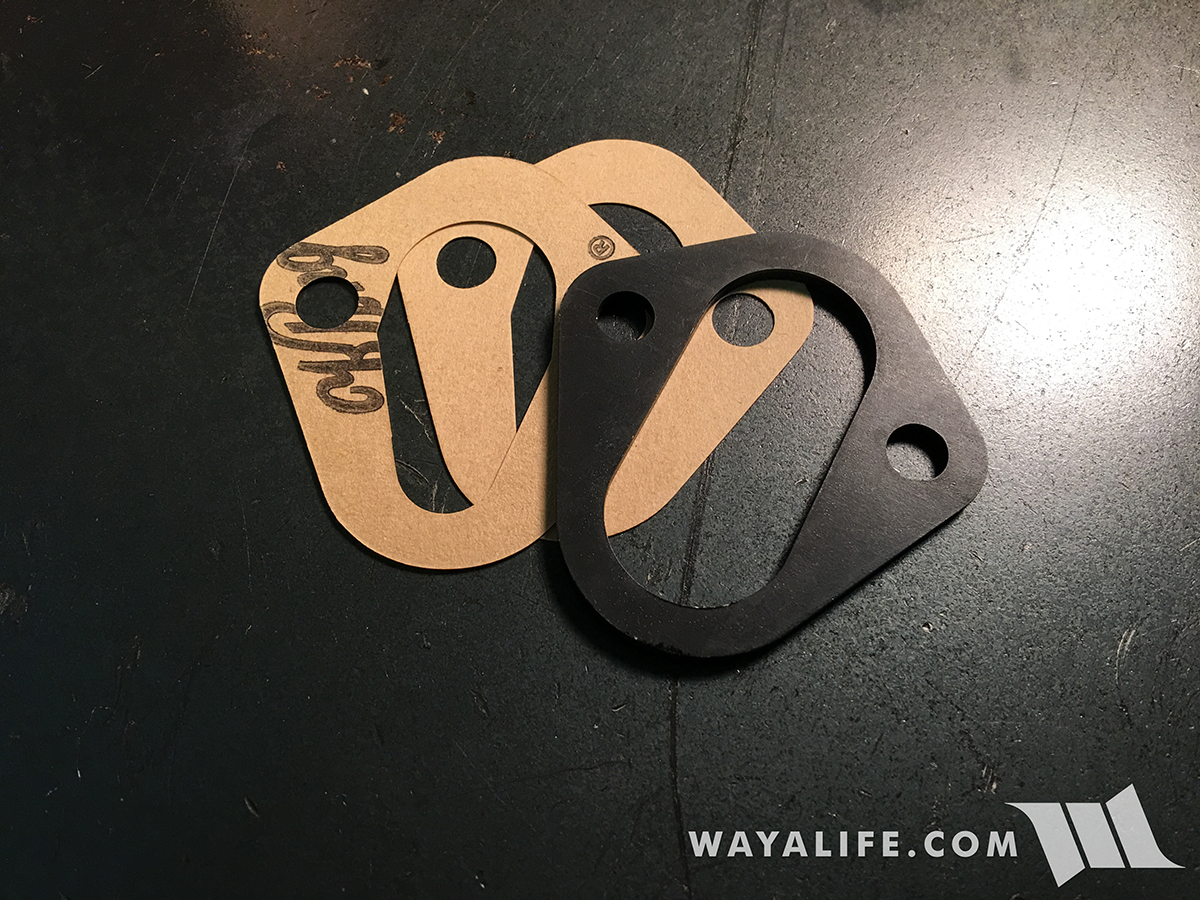
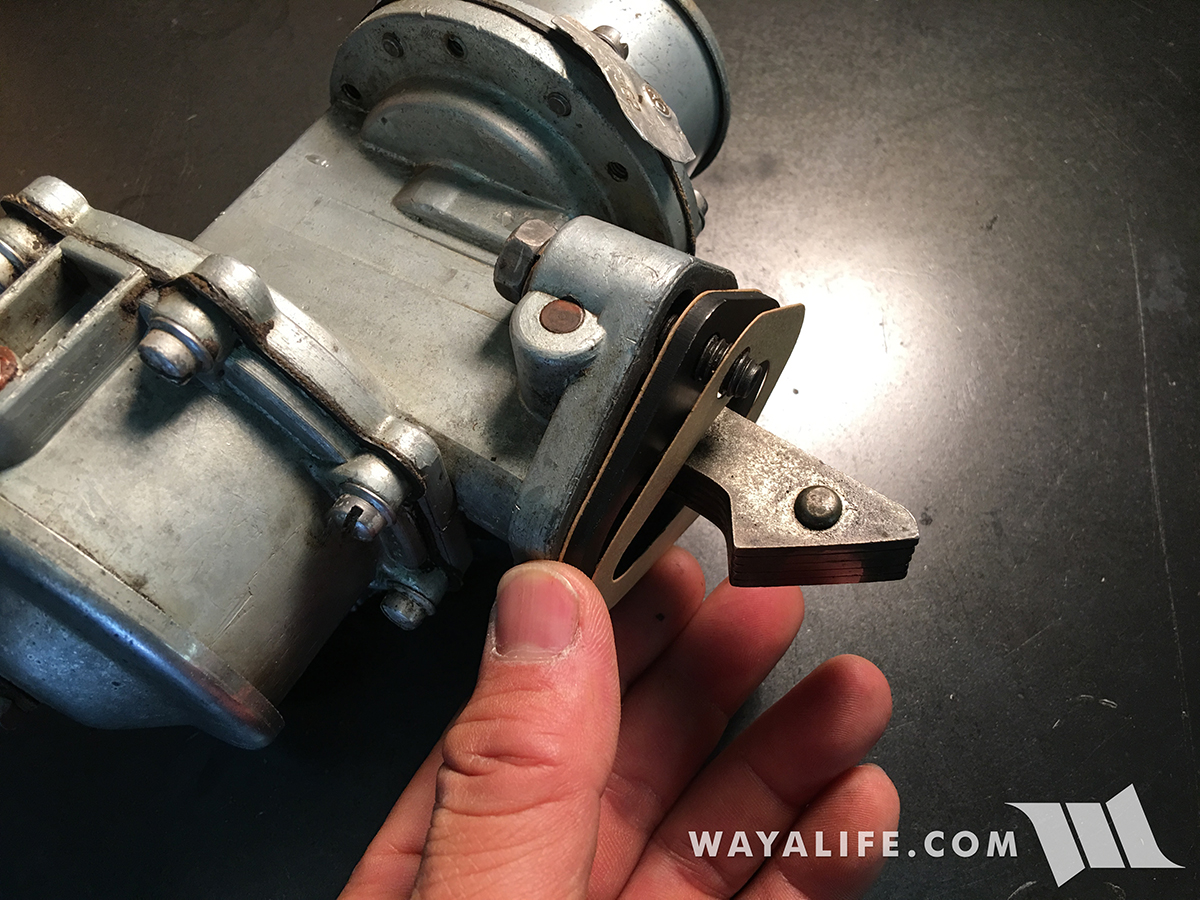
On top of being affordable, a Solex carburetor is super easy to install and it'll bolt right up just like a Carter YF. I should note however that it is necessary to lower the fuel pressure down to about 1.75-2 PSI in order for it to work properly. Typically, you can do this by installing a fuel pressure regulator but I decided to try something a bit different and that was to install a fuel pump spacer. By pushing the pump away from the block, the stroke of the pump arm is effectively reduced that and in turn lowers the pressure.
Here is a short write-up that highlights the steps I had to take in order to swap out Pappy's old Carter YF and replace it with a brand new Solex 1-Barrel. I hope you find the information useful.
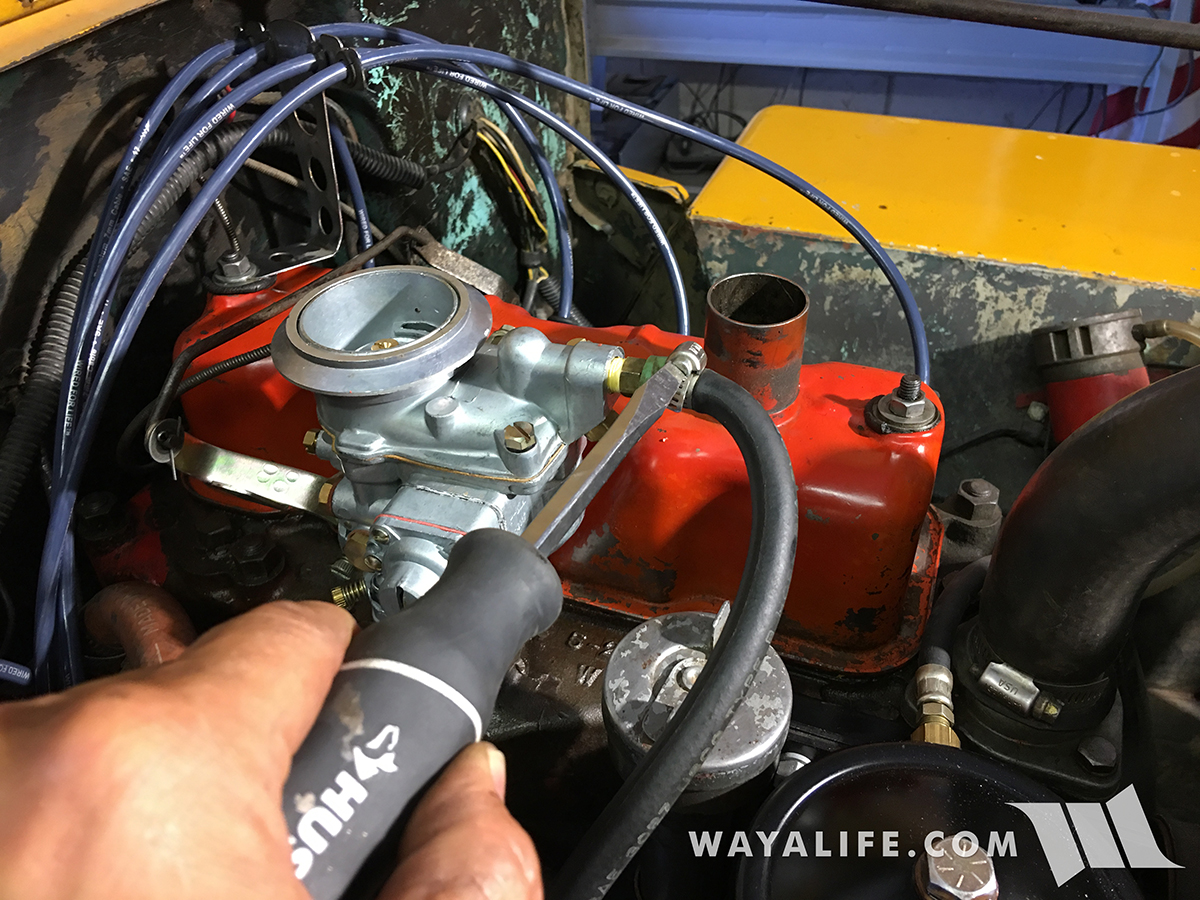
Before the new can go on, the old has to come off and that starts with the removal of the air cleaner. Here you can see me using a screw driver to loosen up the clamp securing the air tube to the top of the carb and air cleaner.
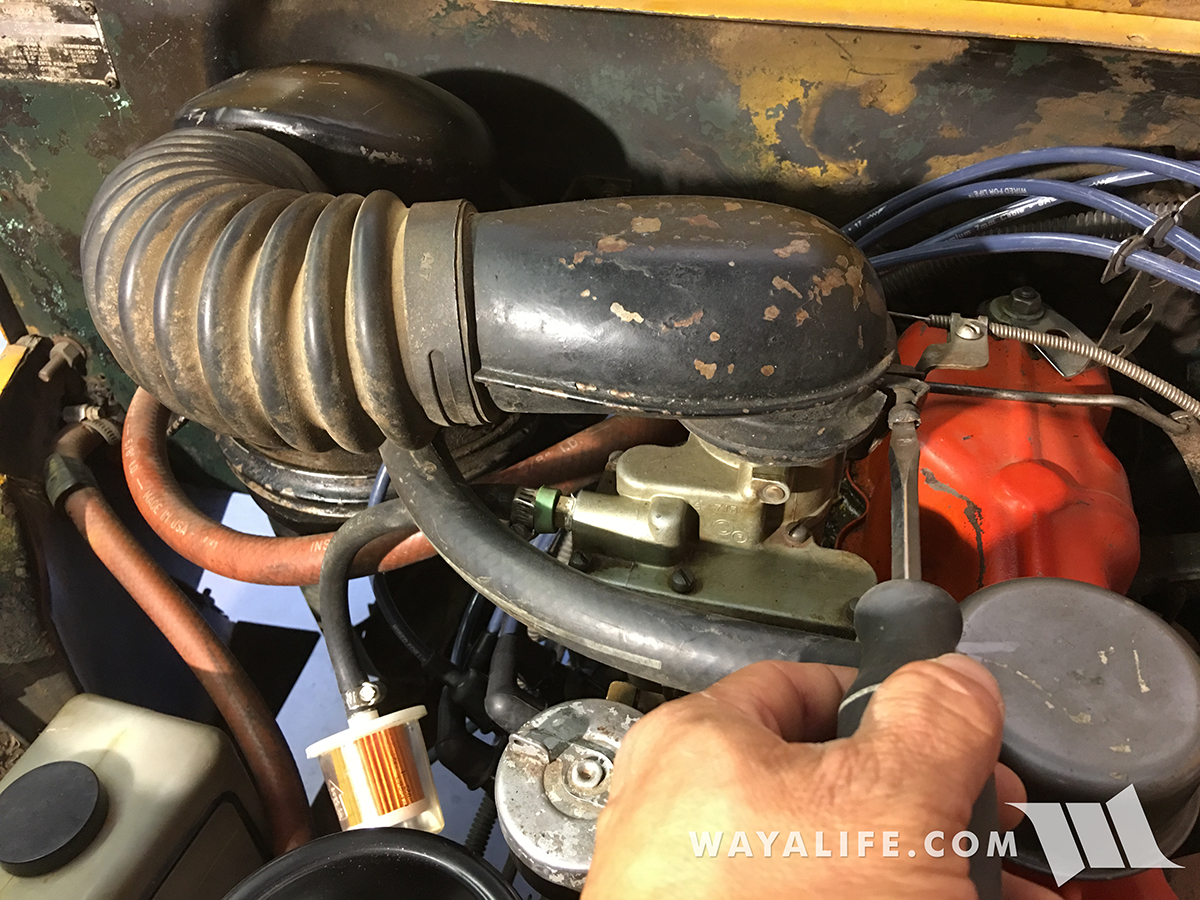
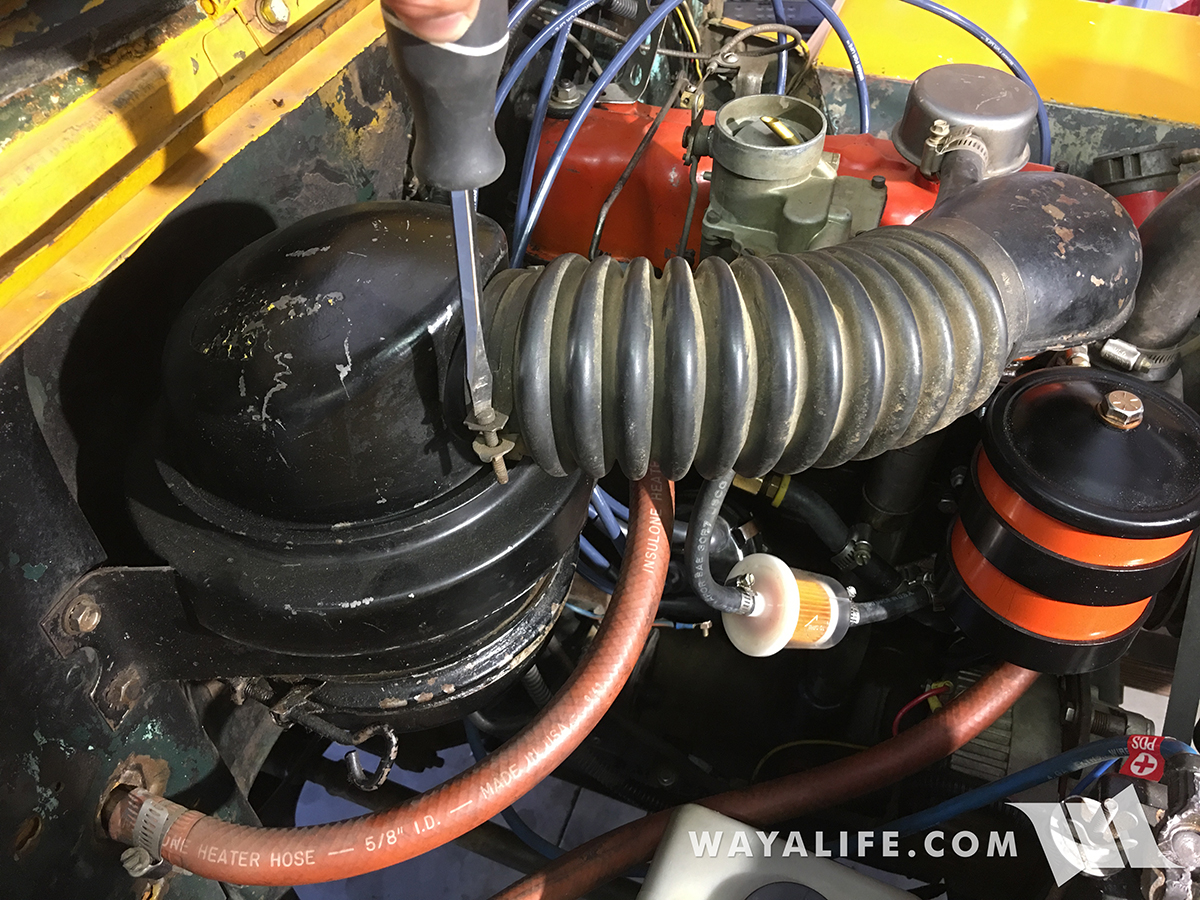
With the clamps loosened up, the air tube can now be removed completely and allow for more access.
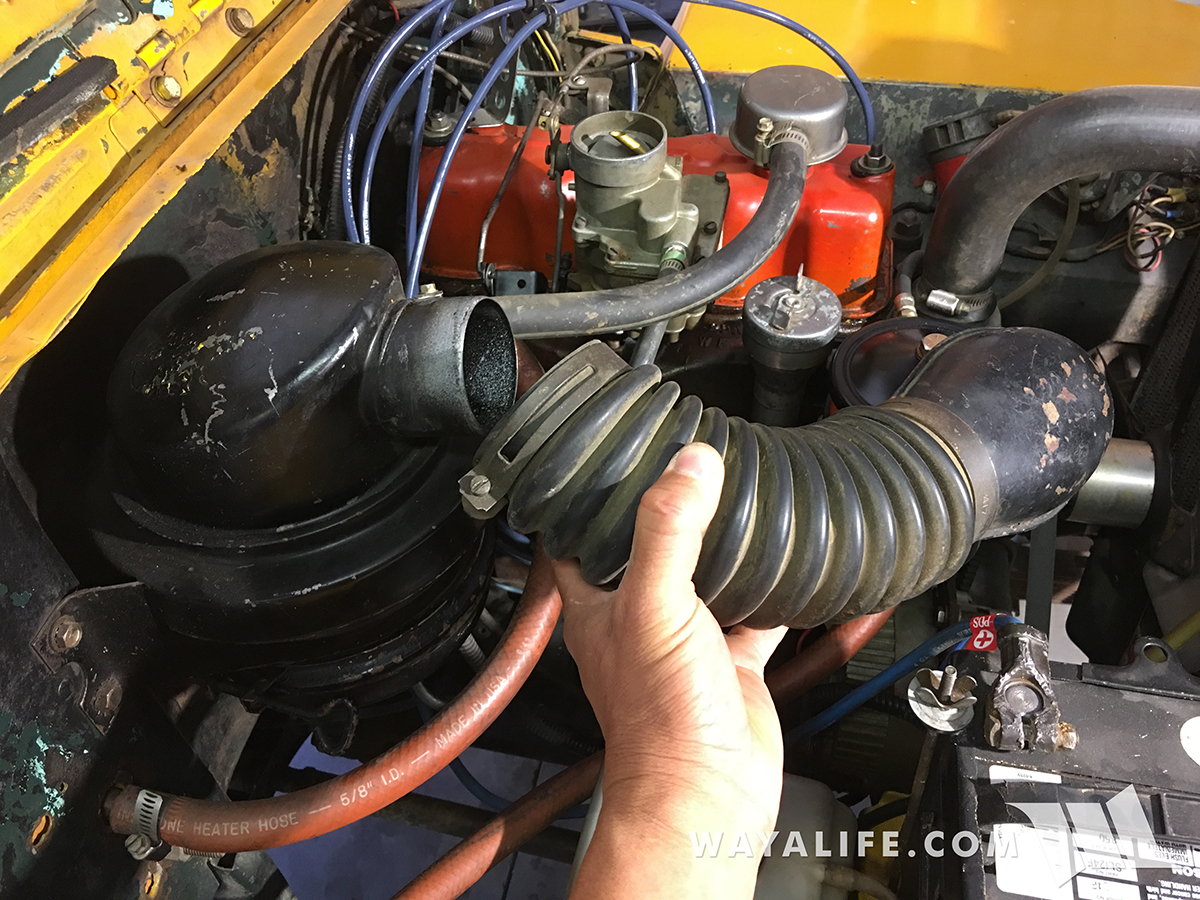
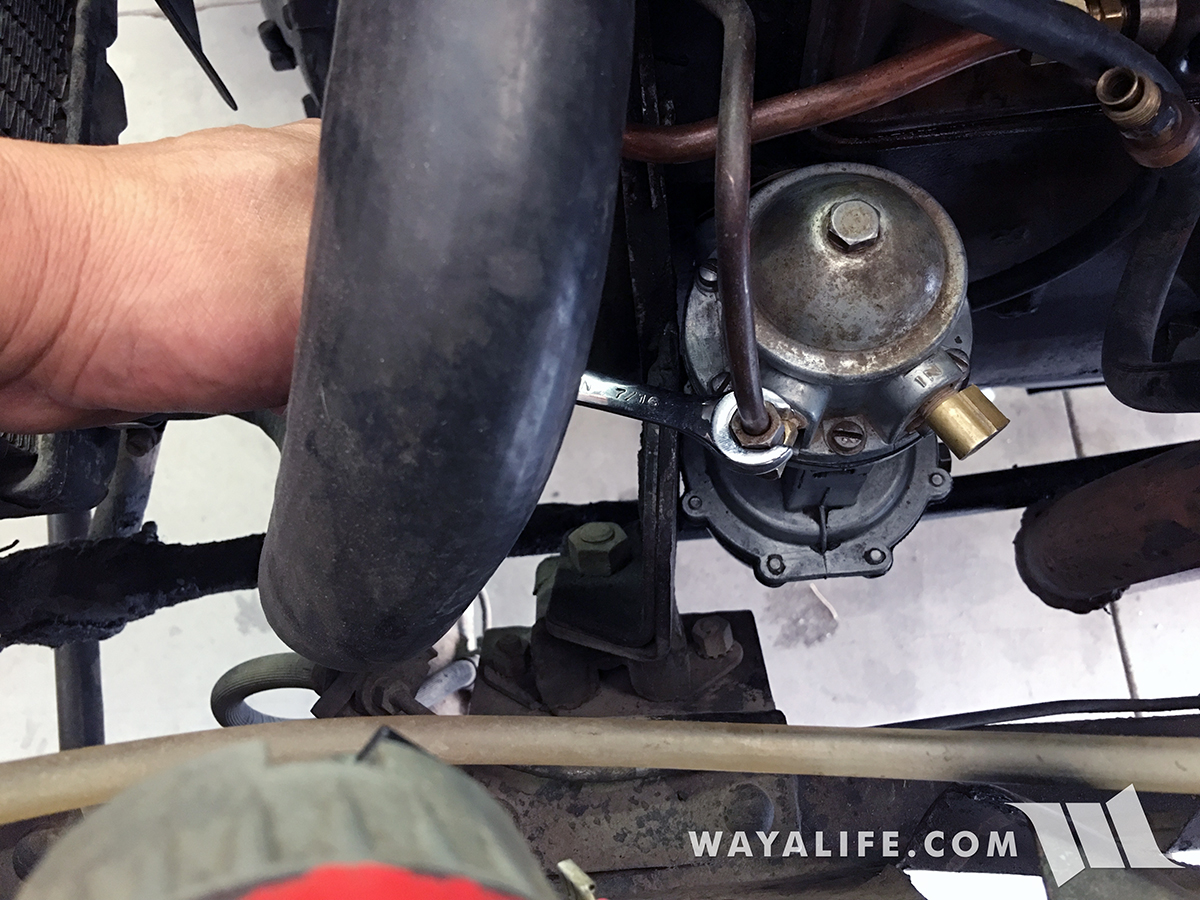
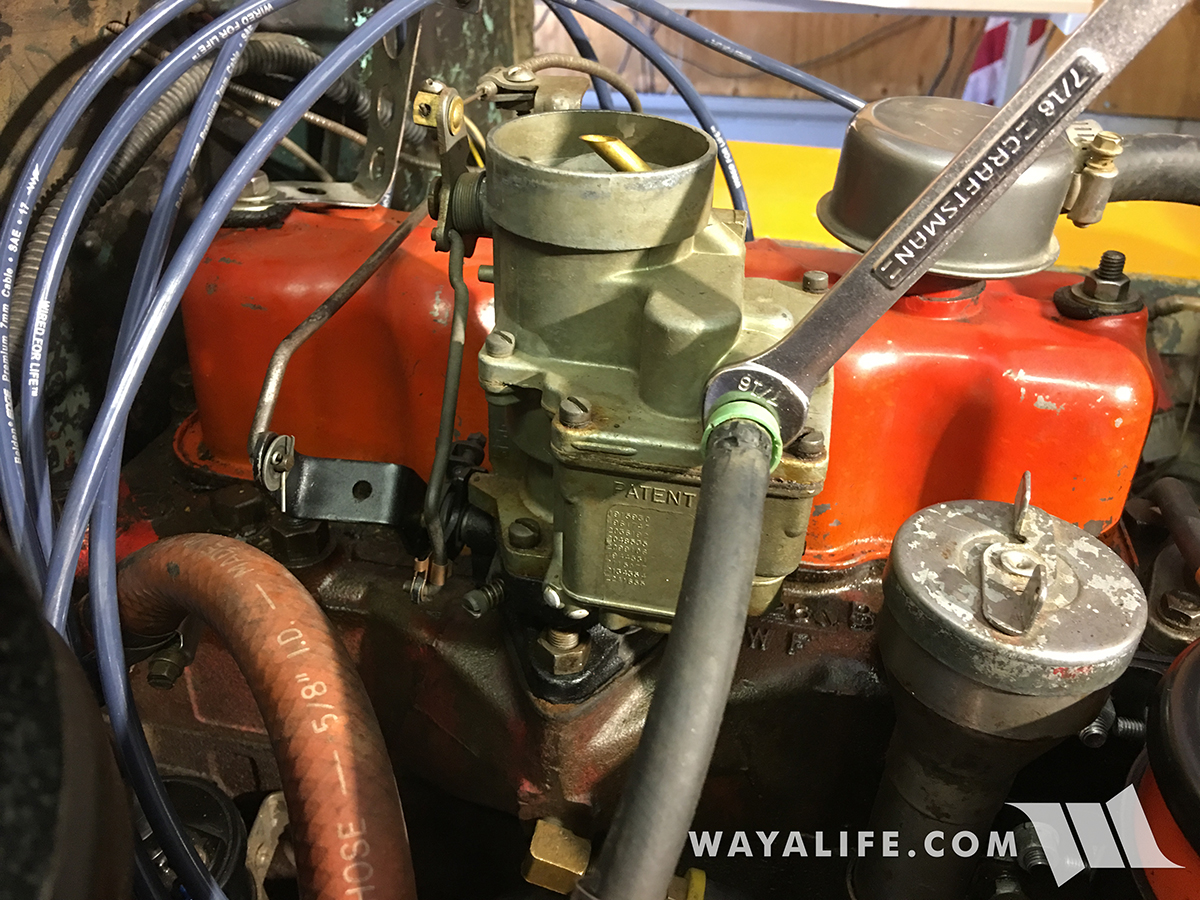
The fuel line feeding the carb can now be disconnected.
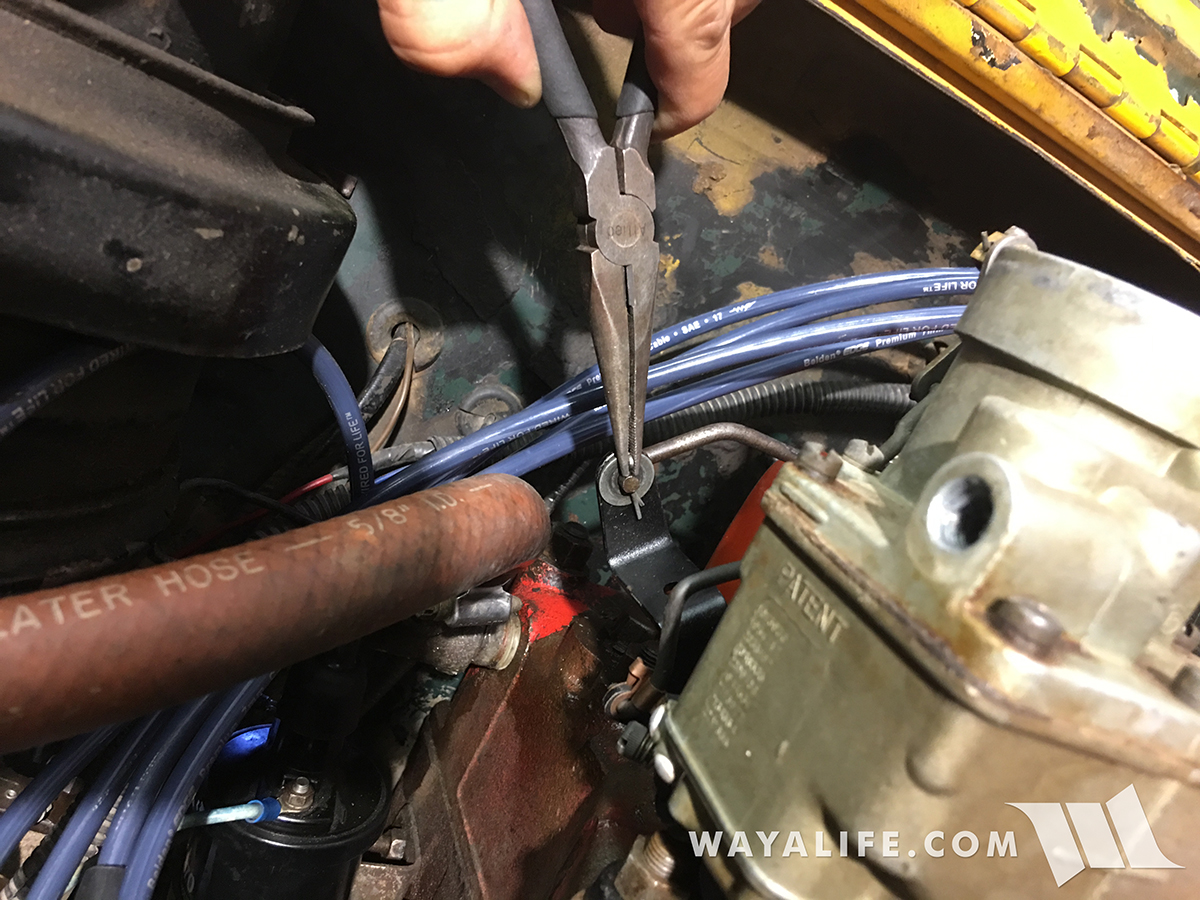
The cotter pin securing the throttle linkage to the throttle body lever needs to be removed in order to separate them.
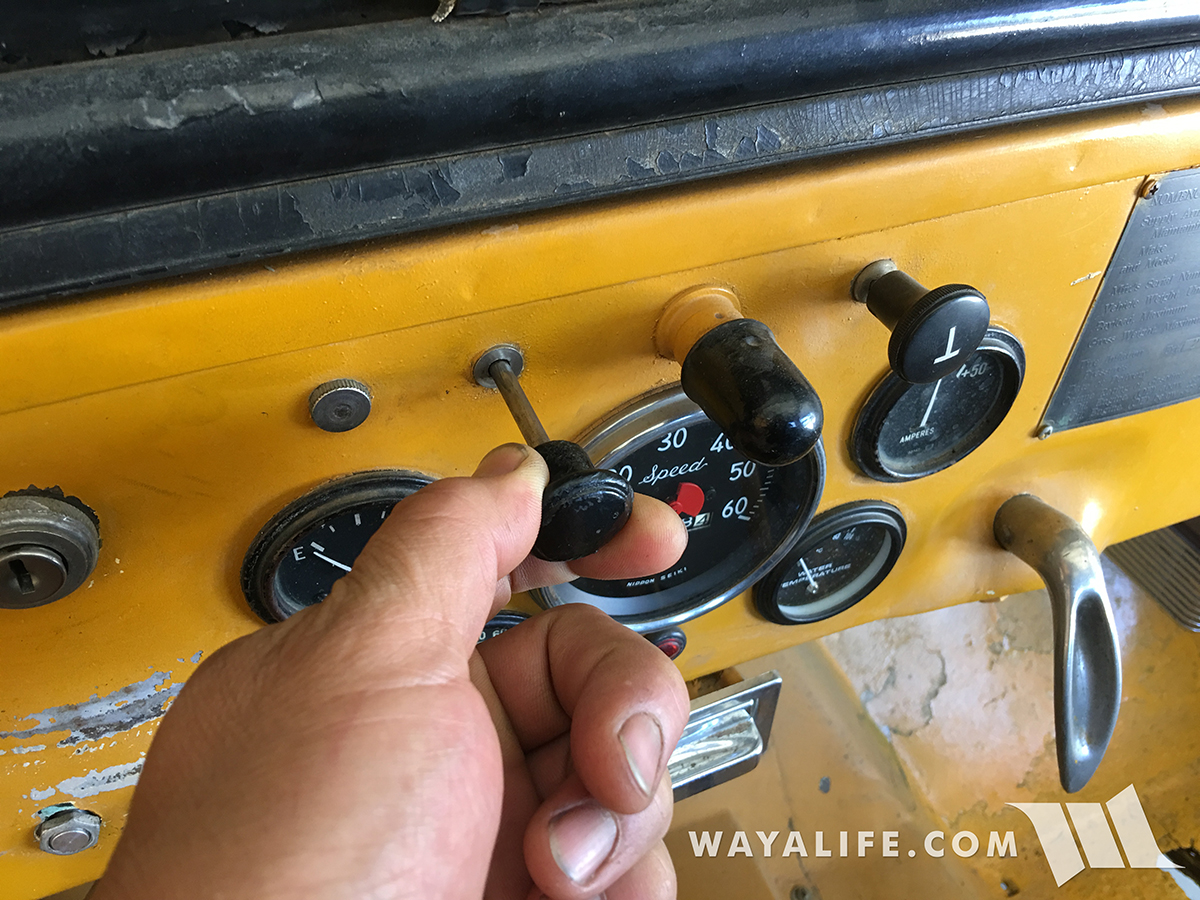
Loosening the screw securing the choke control cable to the choke lever and bracket to free it from the carb.
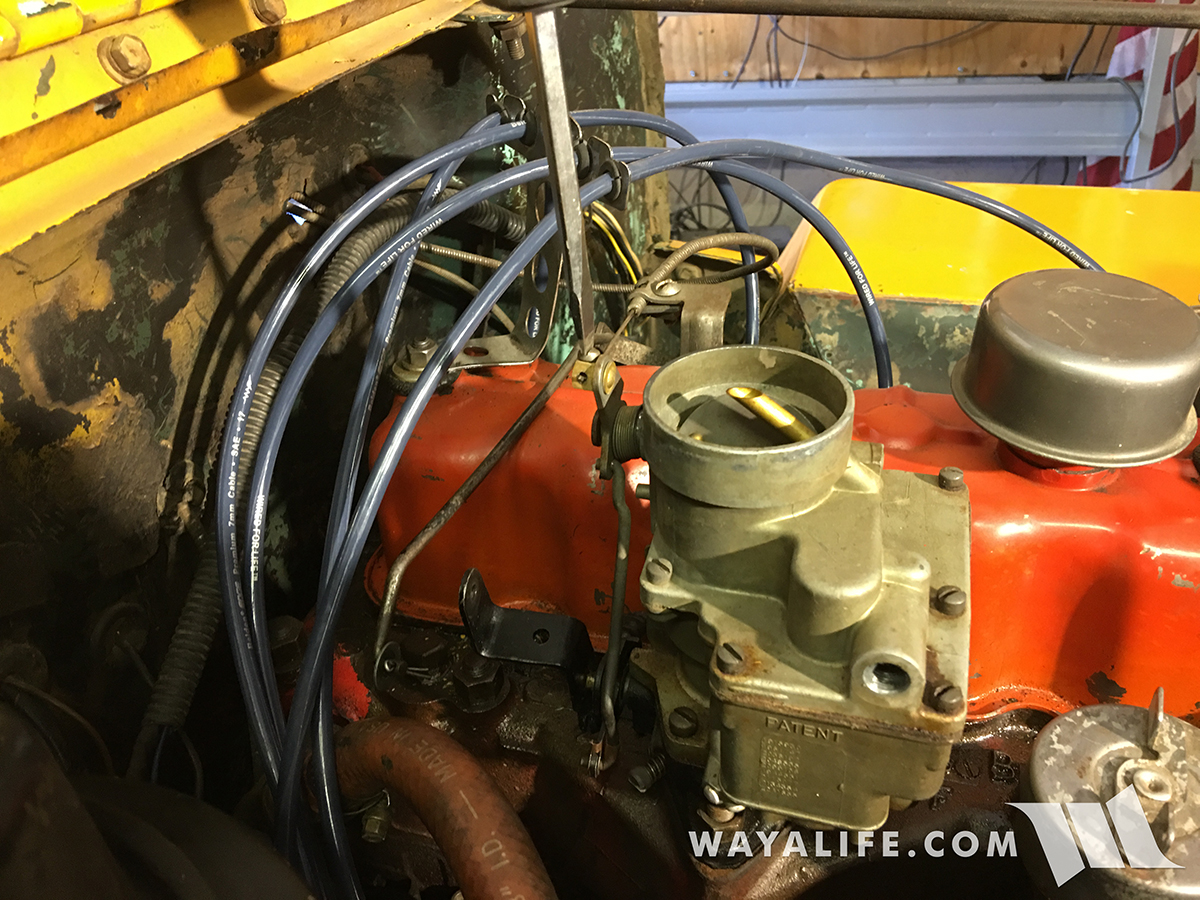
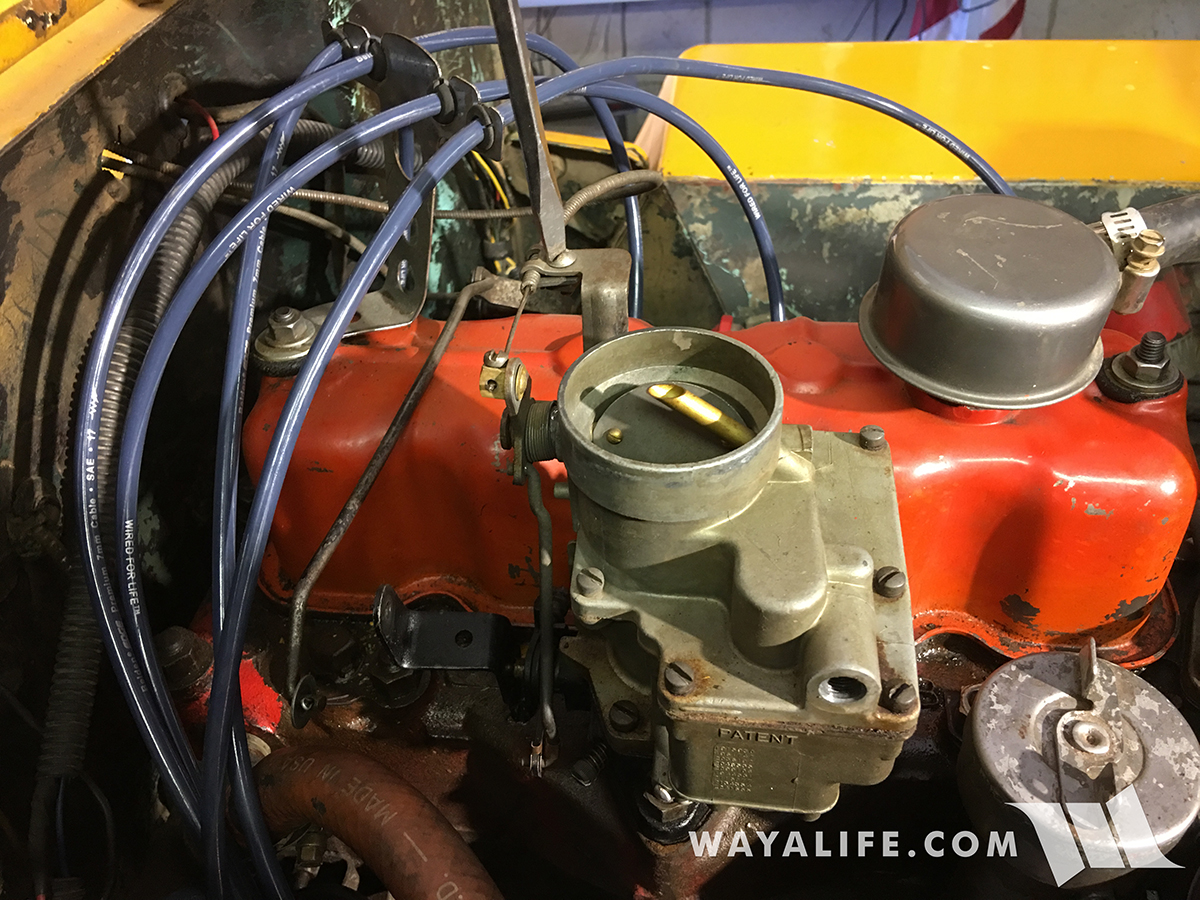
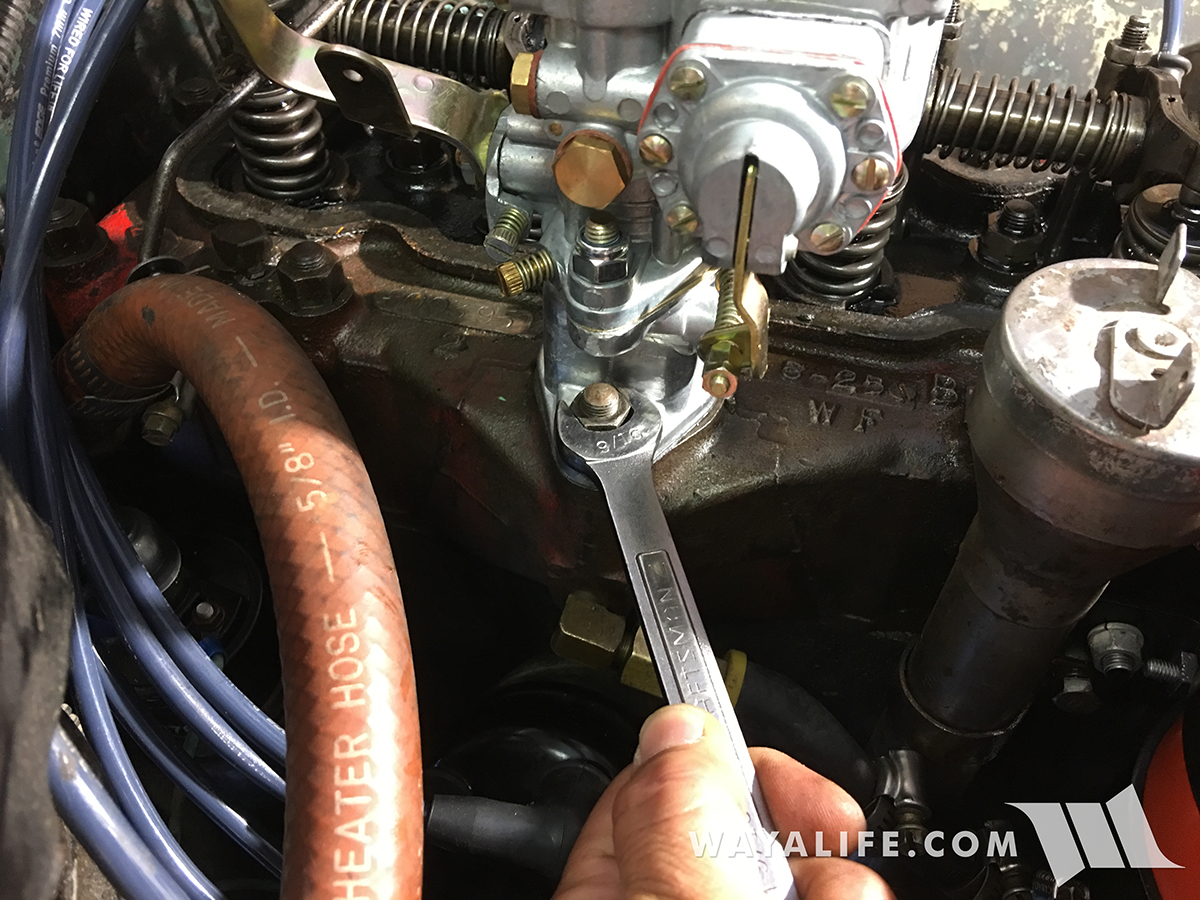
There are only 2 nuts securing the carb to the intake manifold and the one located on the outside and facing the passenger side of the Jeep is easy to get to.
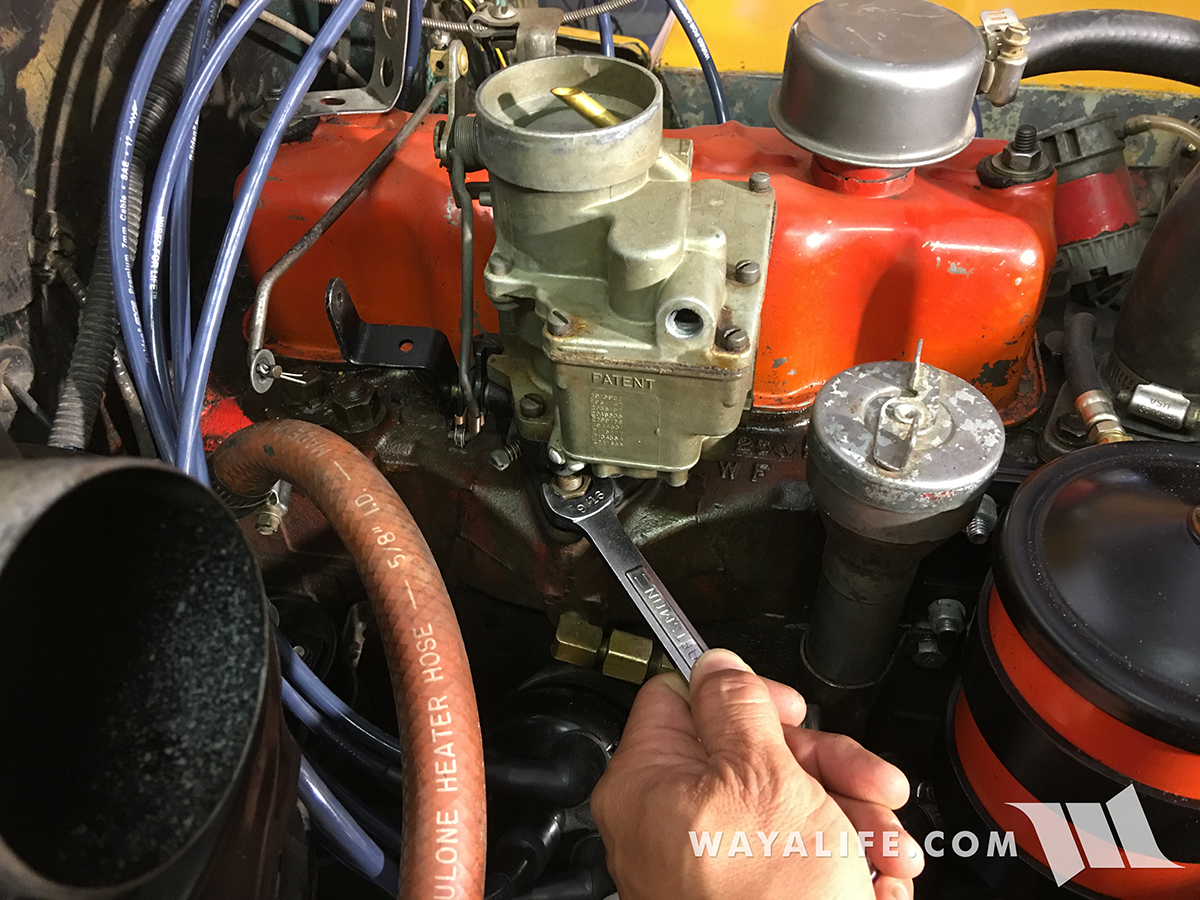
The inside nut is impossible to get to without removing the valve cover. Fortunately, it's just held in place by 2 bolts located on top of it.
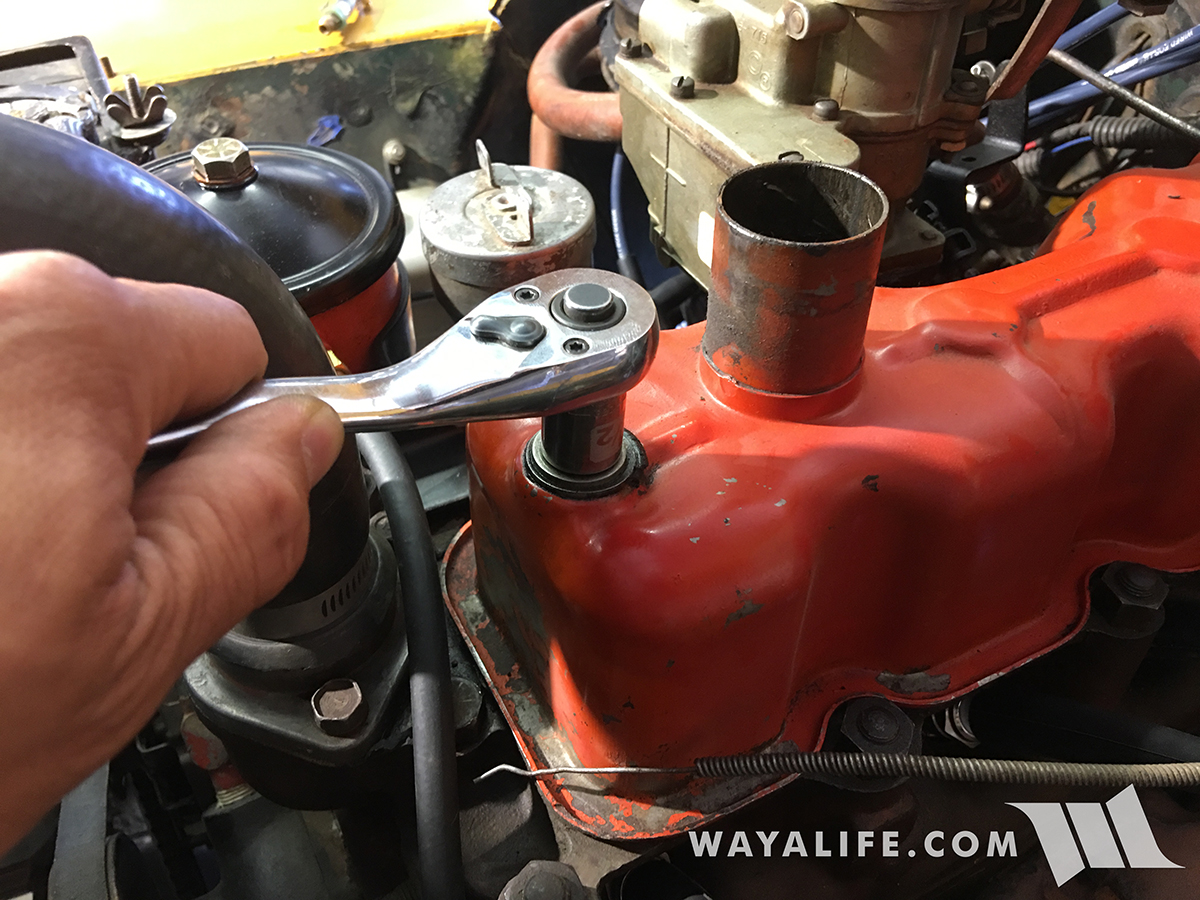
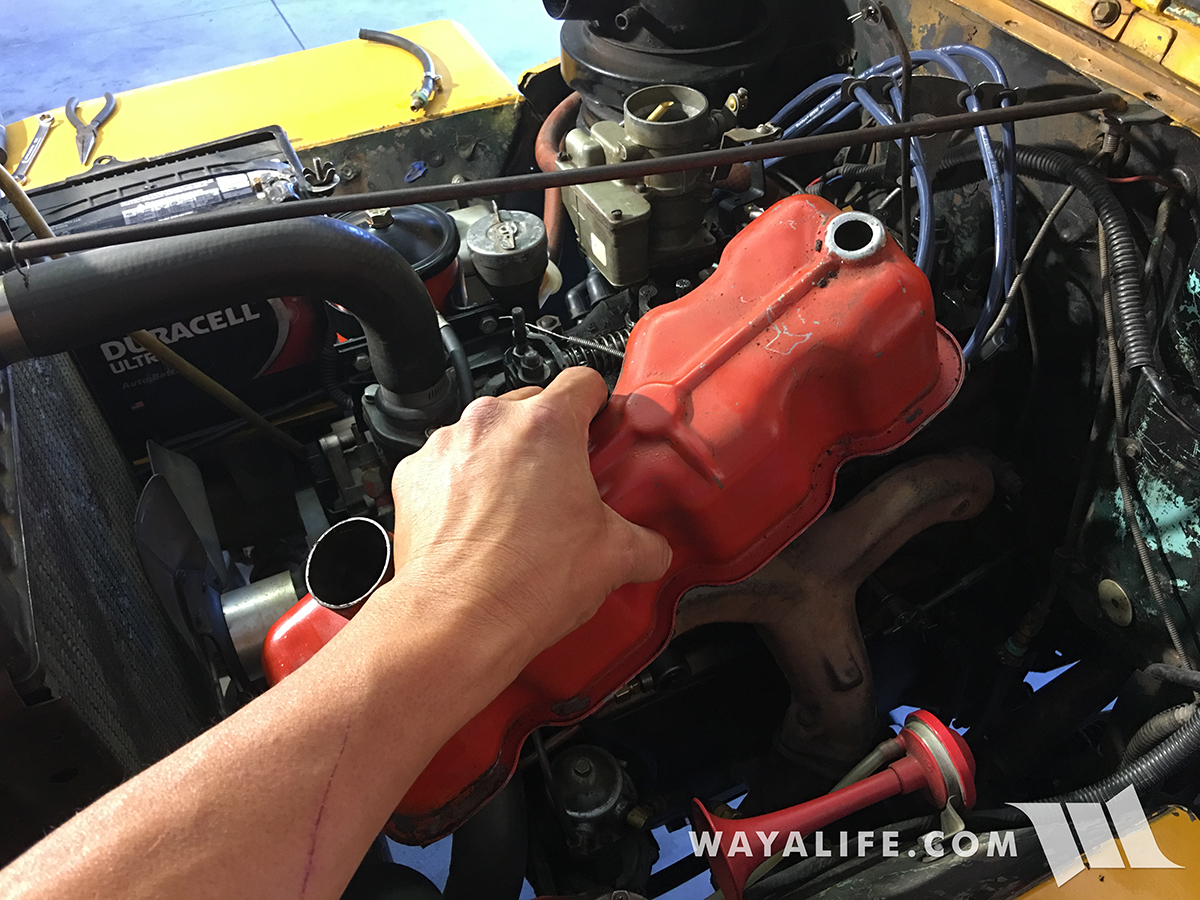
With the bolts removed, the valve cover can be carefully lifted off.
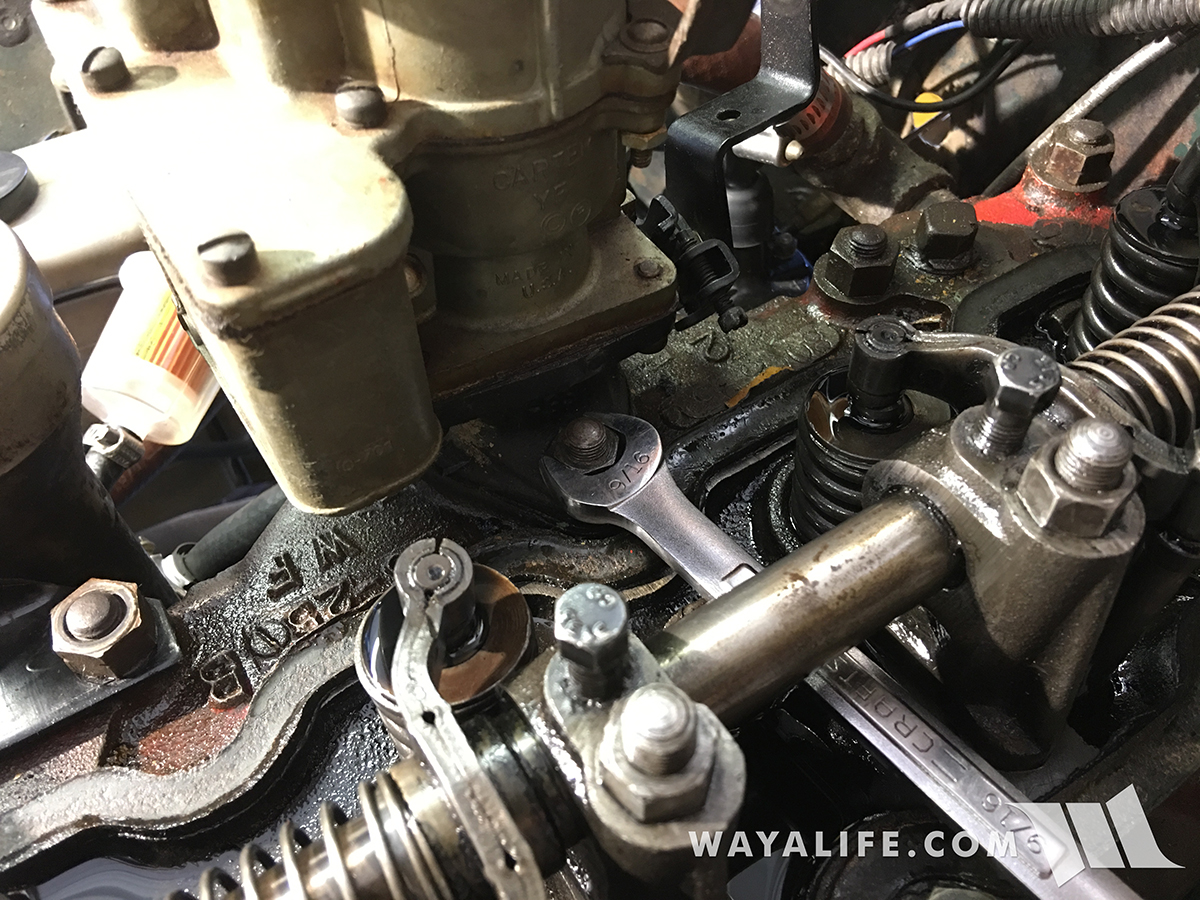
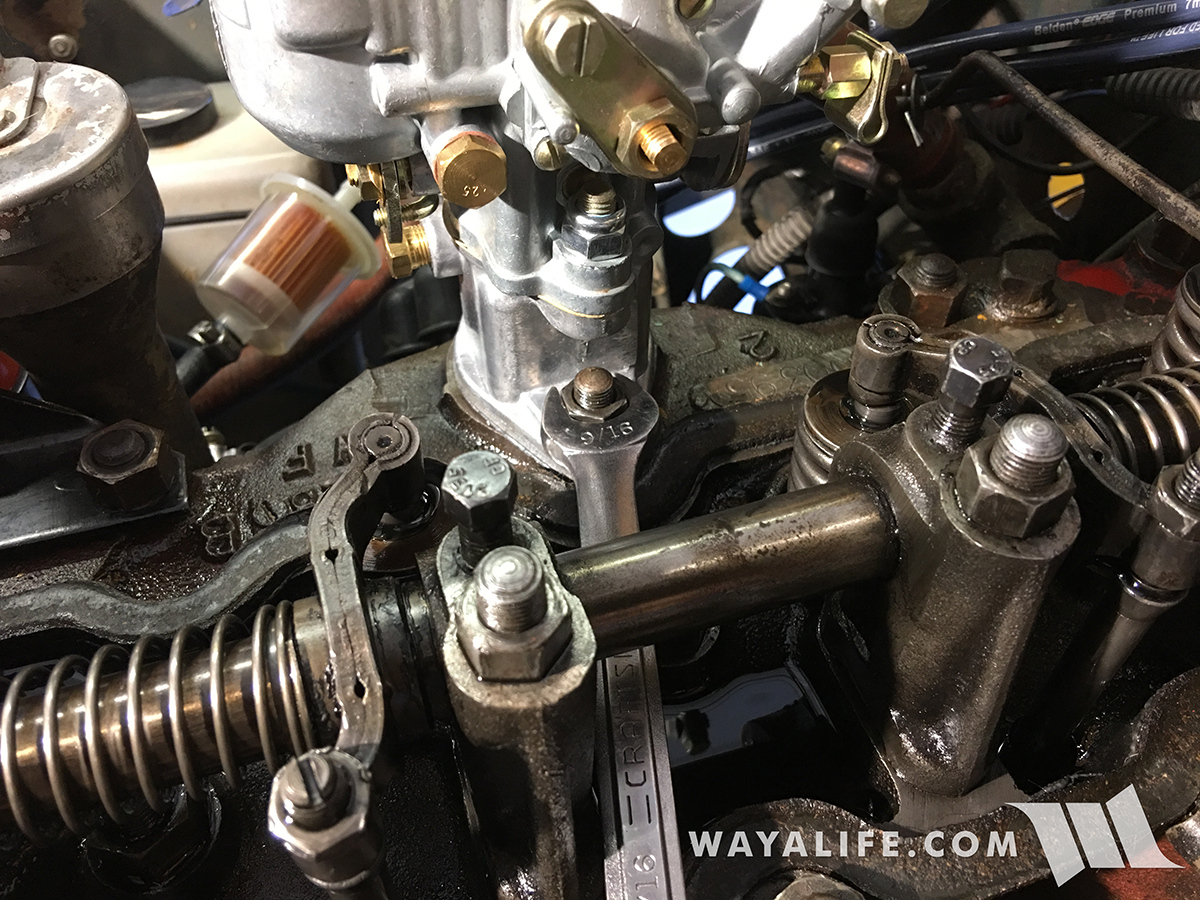
Now that the valve cover is out of the way, the second of 2 nuts securing the carb to the intake manifold can now be removed.
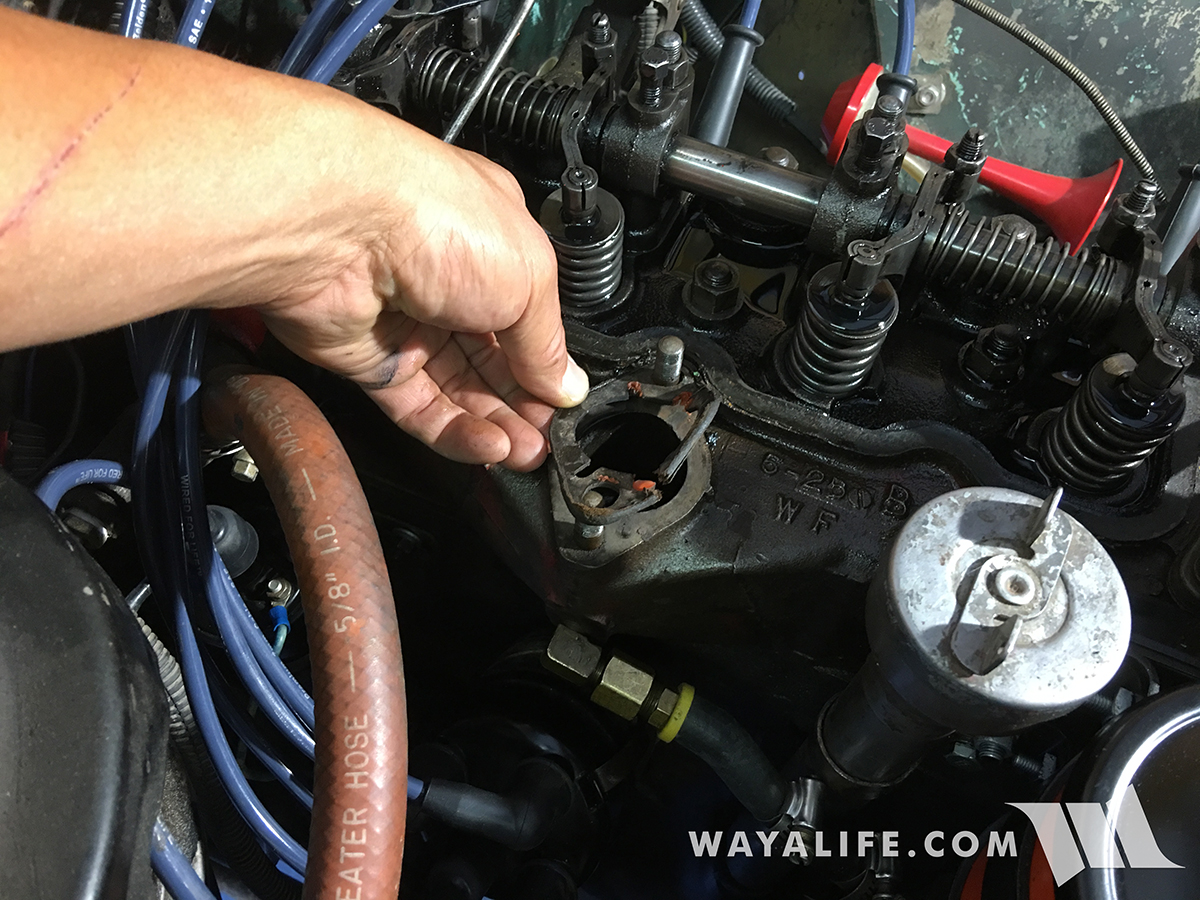
Carefully removing the old intake manifold gasket.
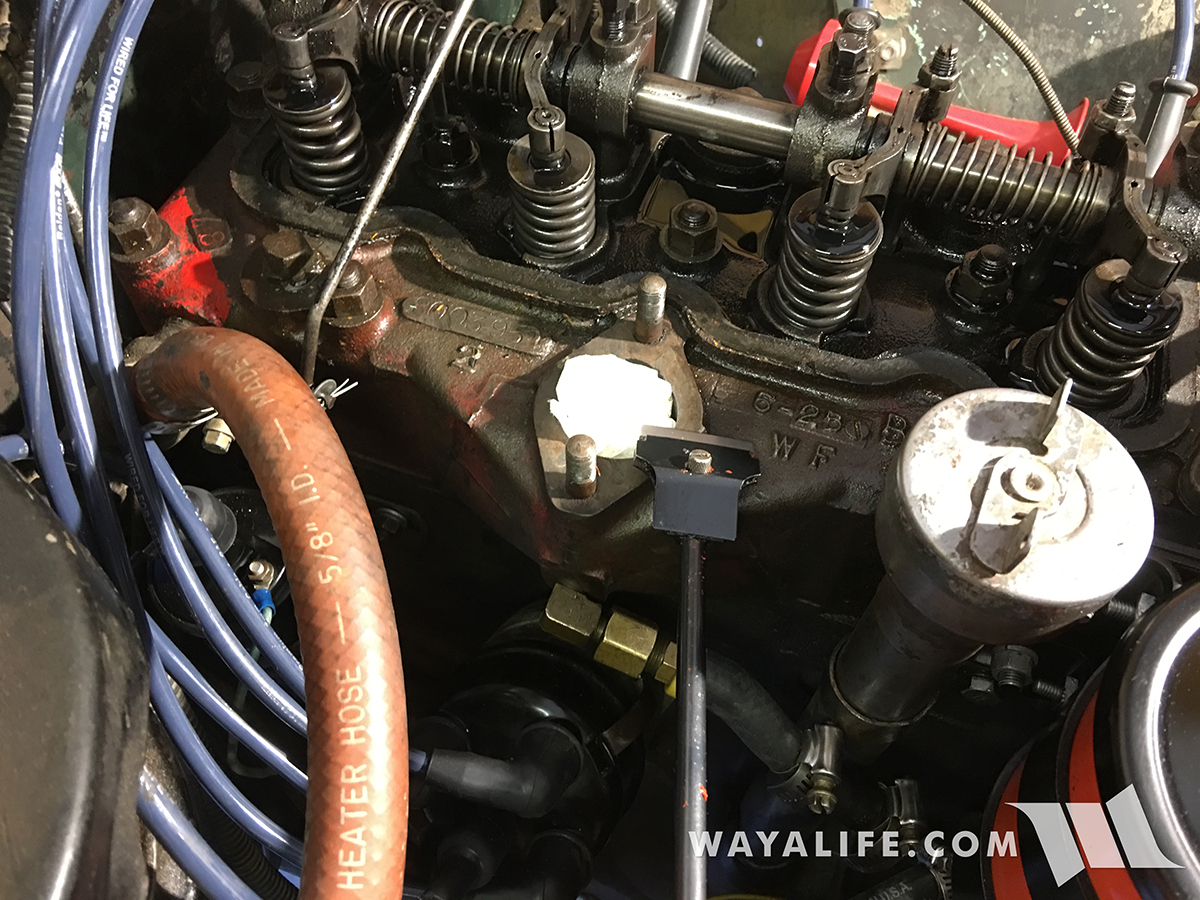
With a clean rag stuffed into the intake manifold to prevent debris from falling in, I made sure the mating surface was clean and free of any old gasket material.
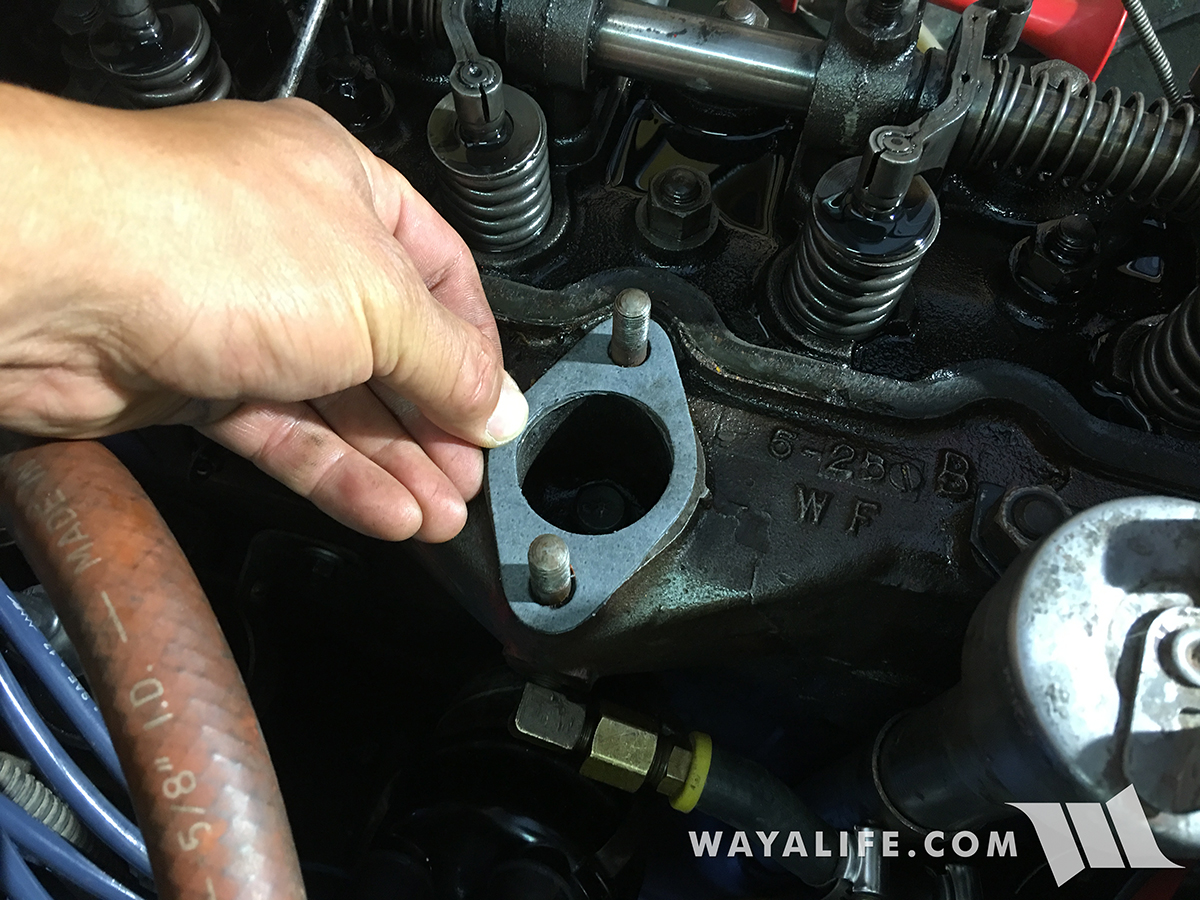
Installing the new gasket that came with the Solex carburetor.
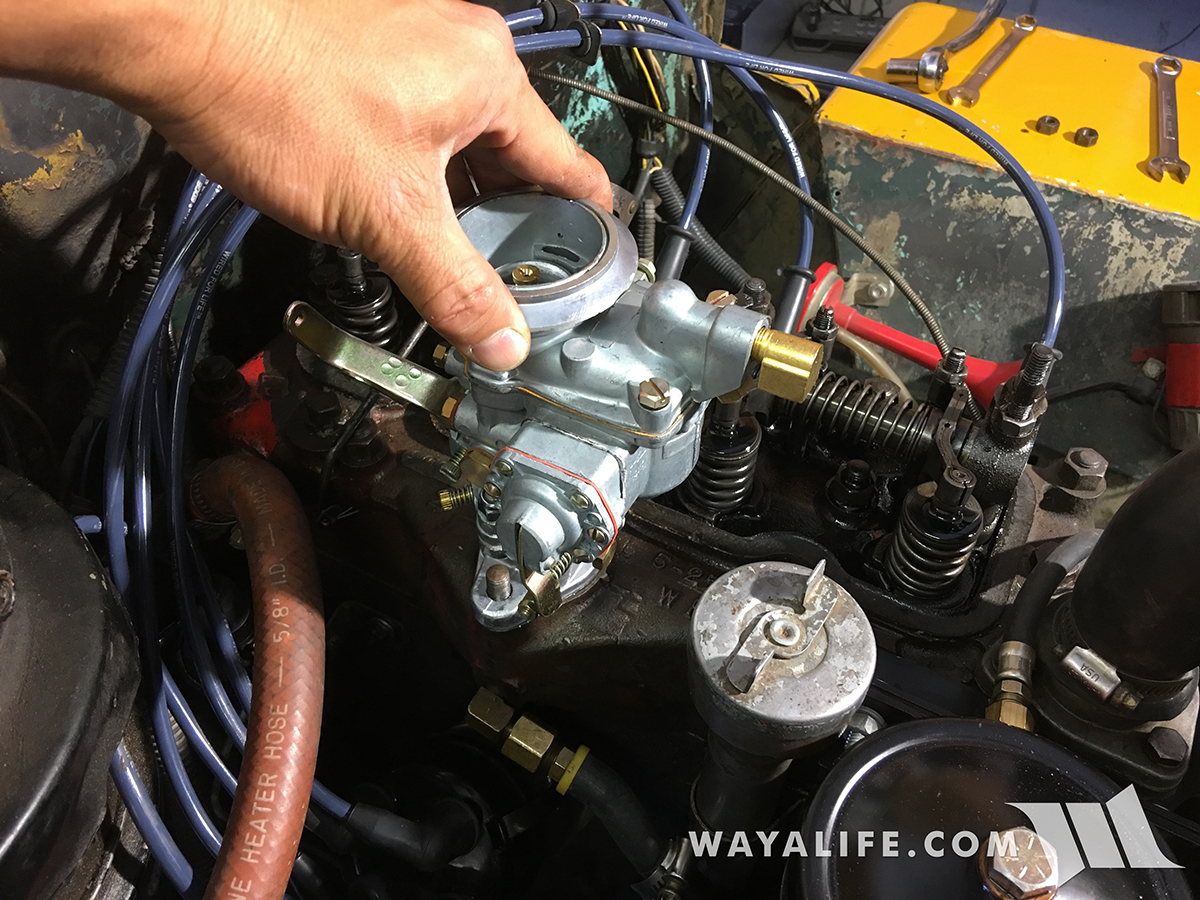
Placing the new Solex carburetor on top of the intake manifold.
Securing the Solex carburetor in place using the factory nuts.
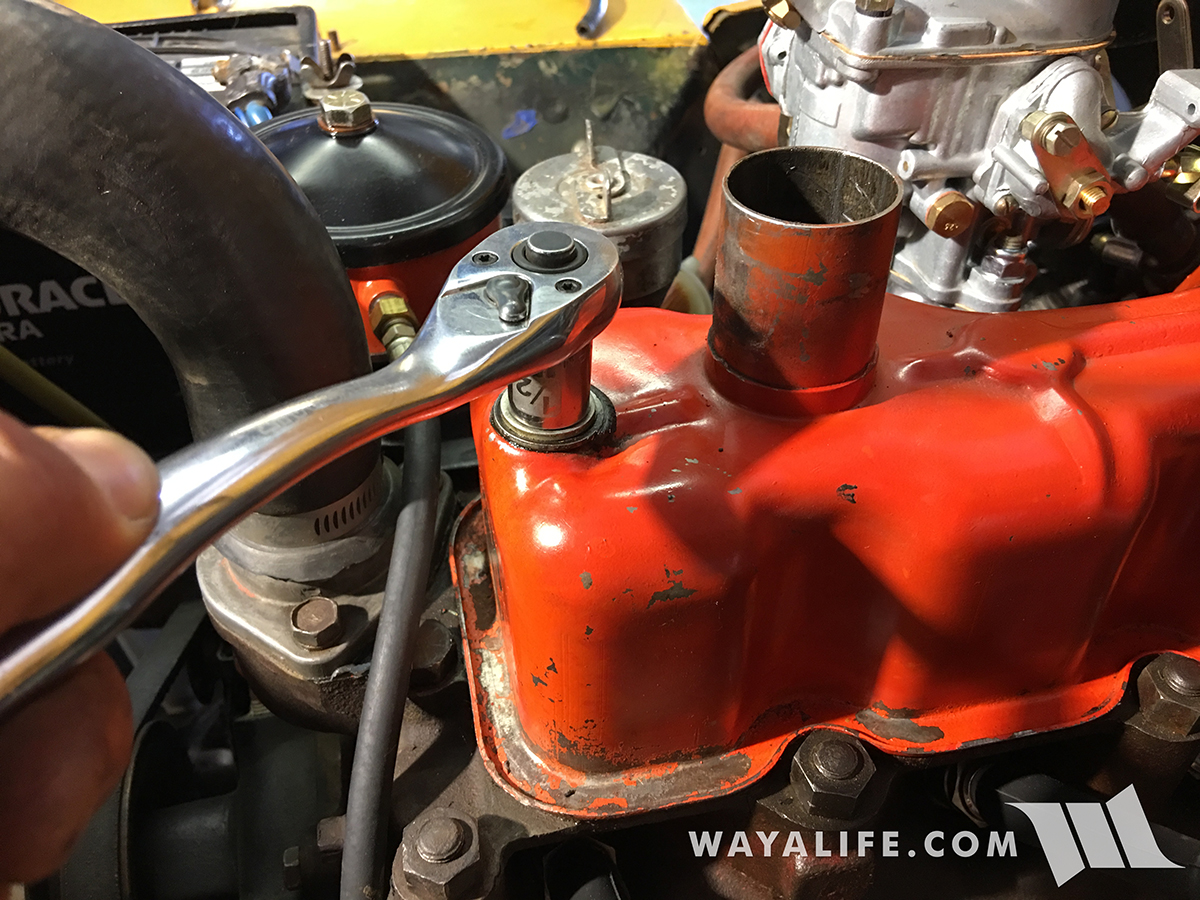
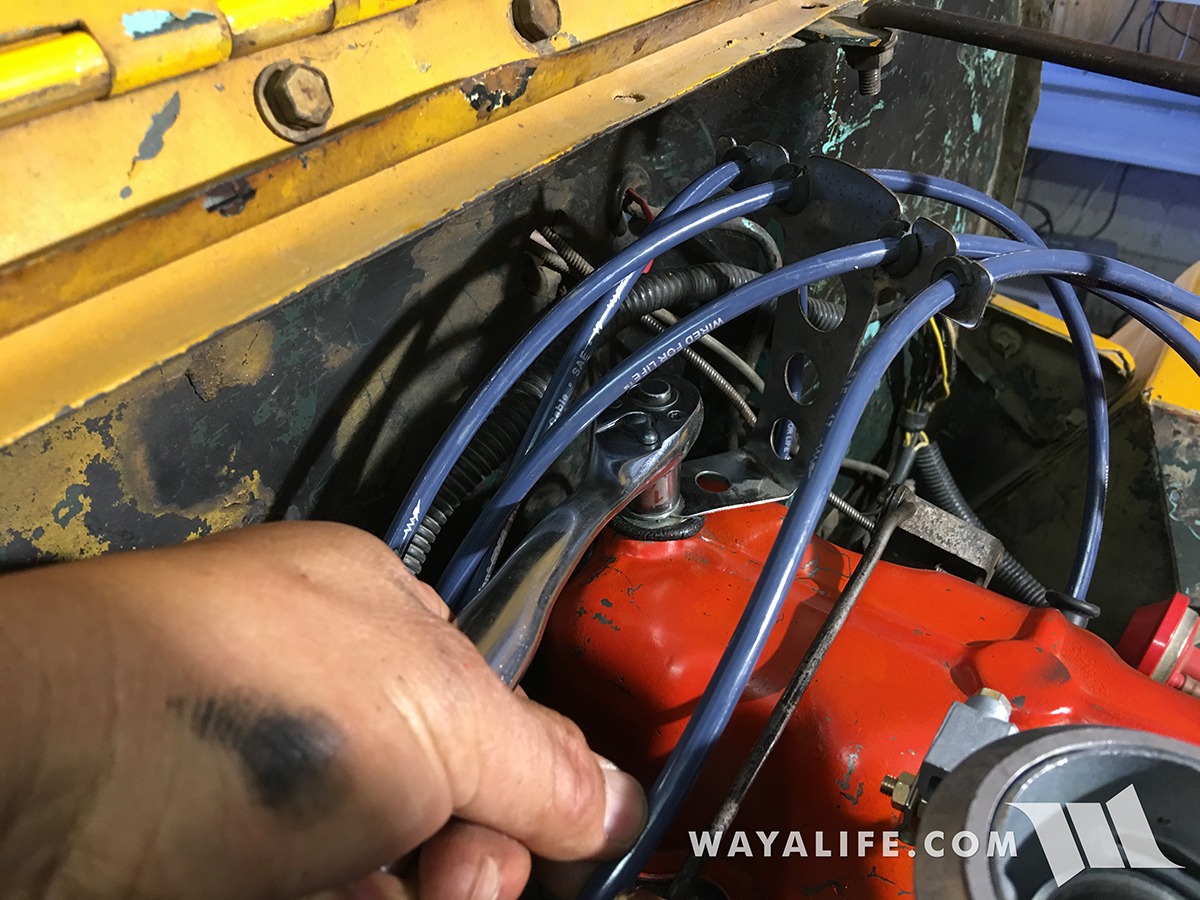
After carefully reinstalling the valve cover, I secured it in place using the factory bolts.
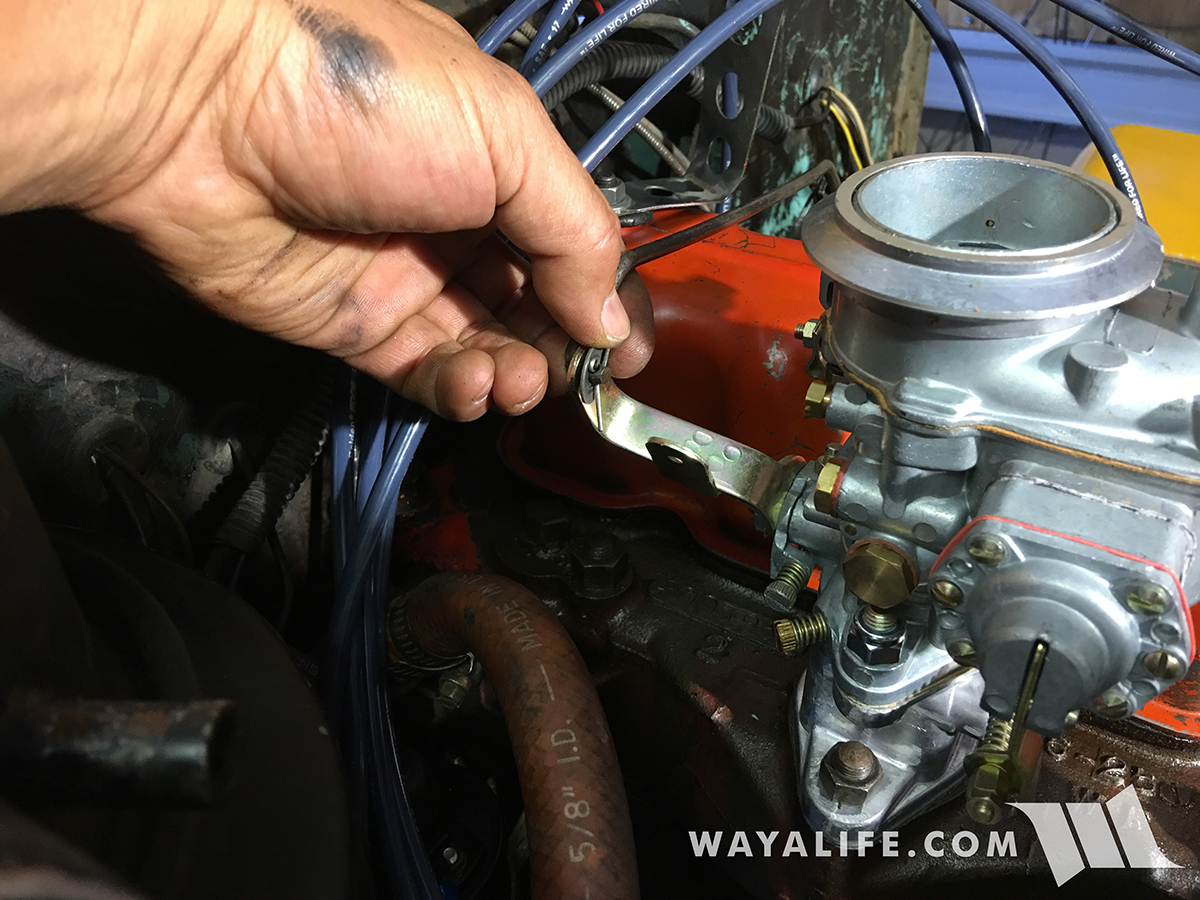
Connecting the throttle linkage to the throttle body lever and securing it in place with the factory washer and cotter pin.
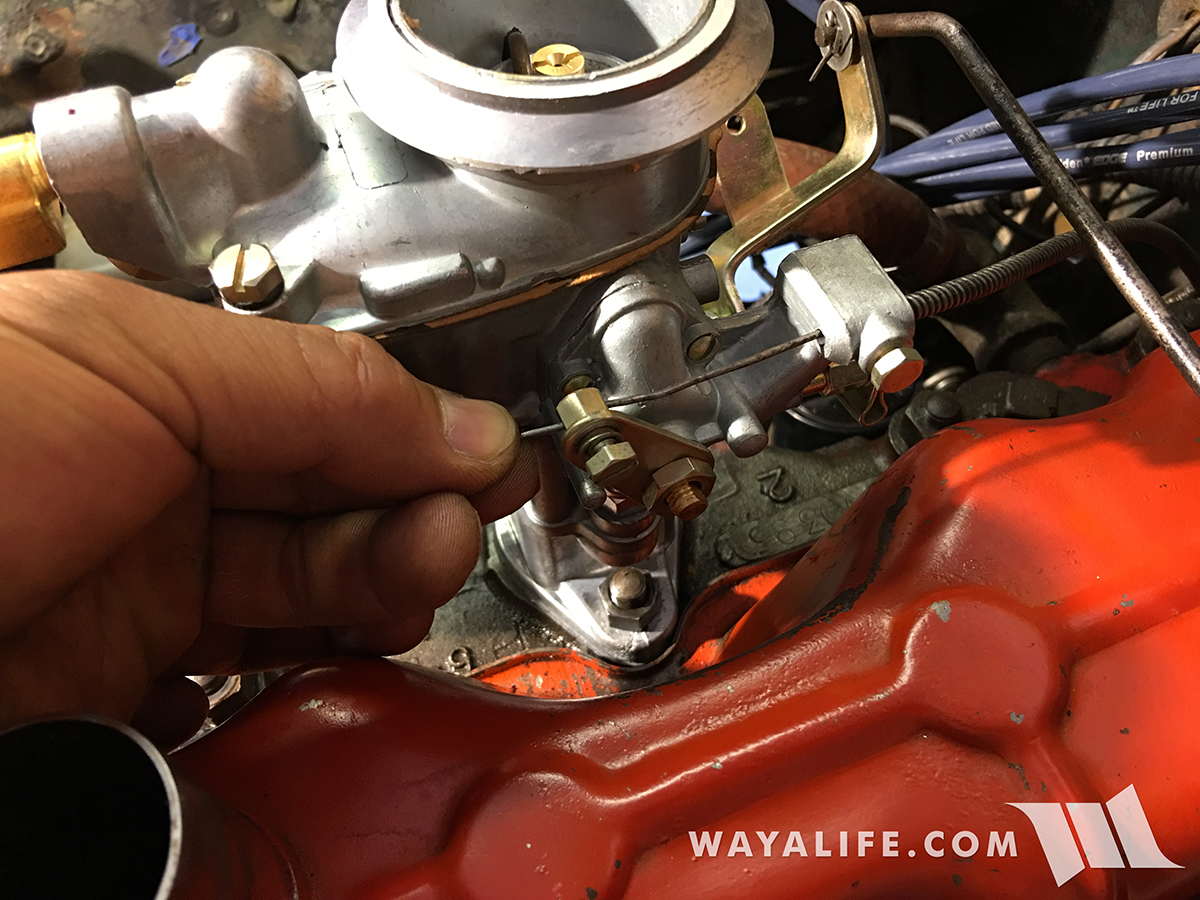
Threading the choke control cable through the carburetor housing and onto the progressive starter lever.
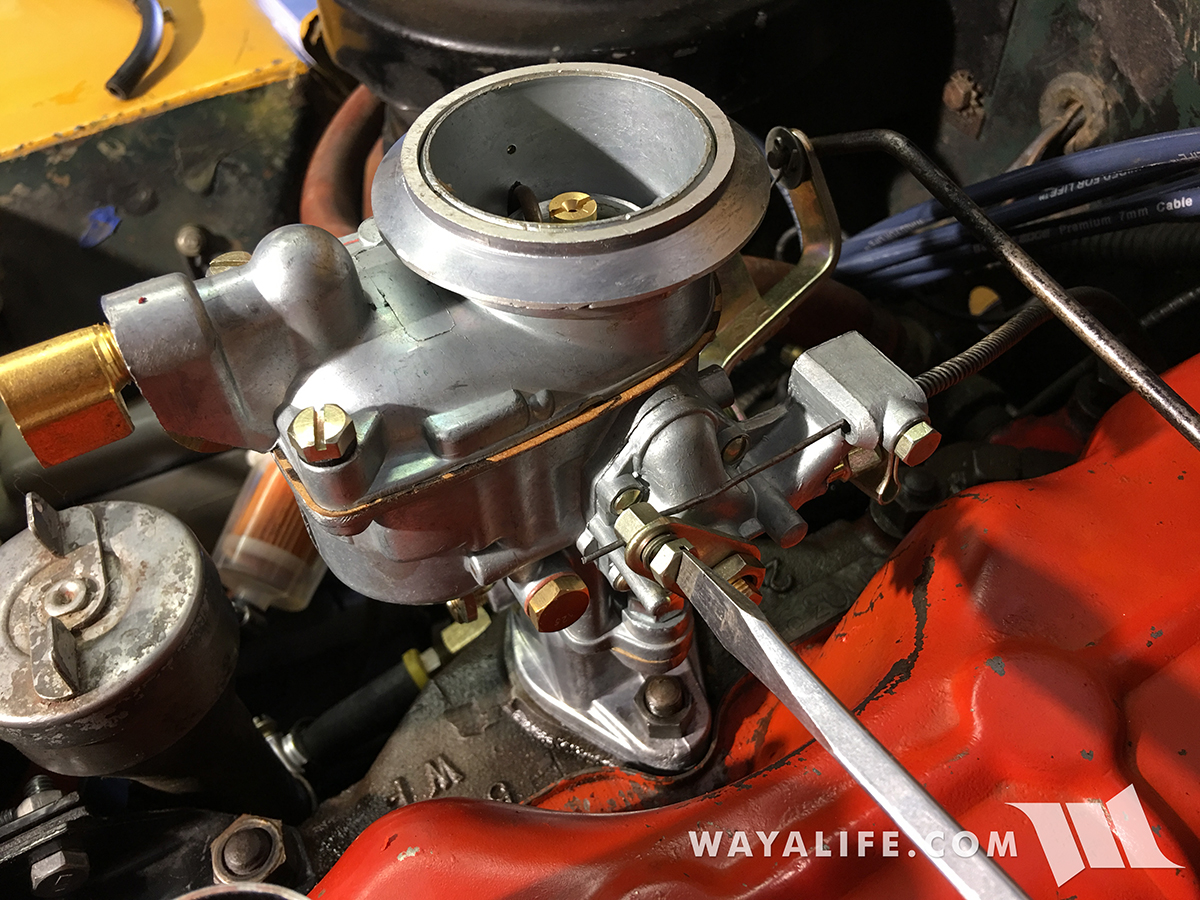
Securing the choke control cable to the progressive starter lever.
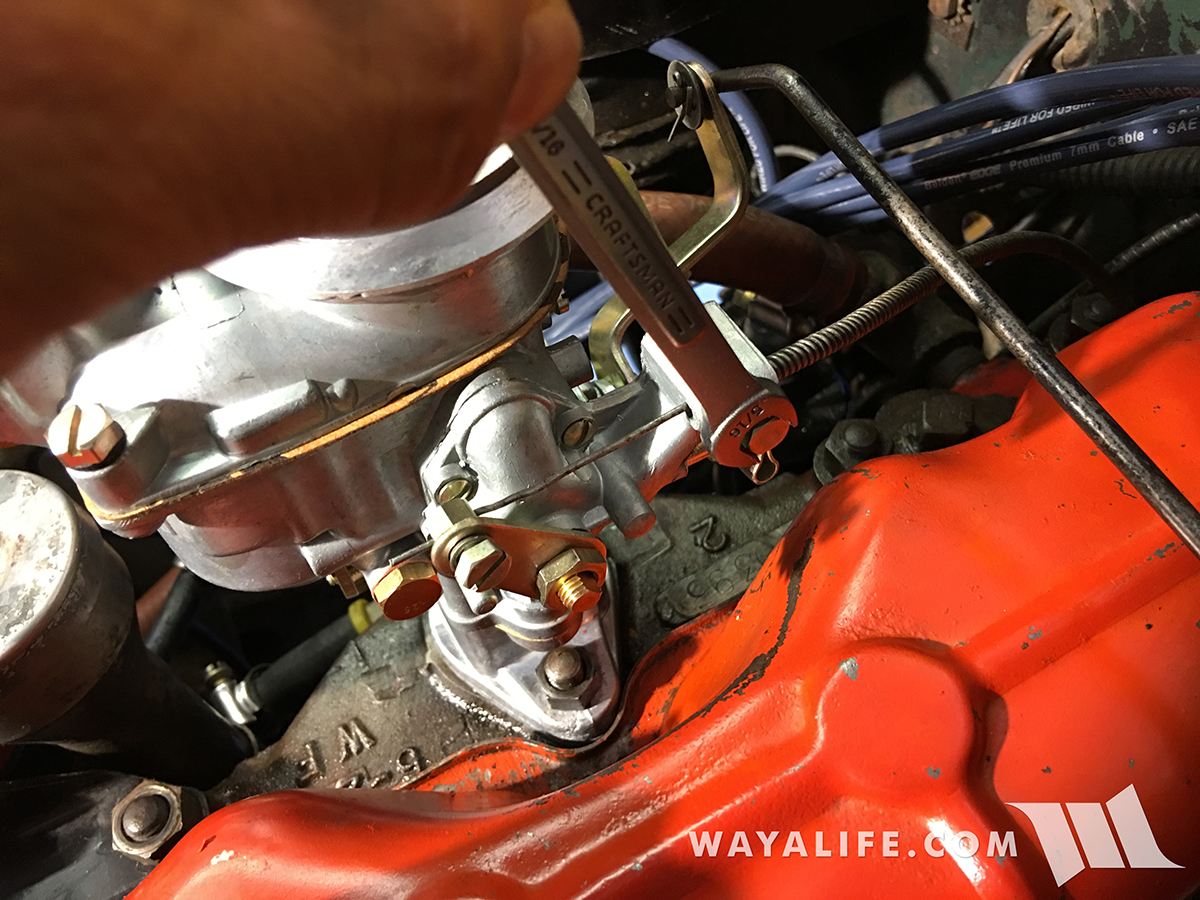
Connecting the fuel line to the Solex carburetor.
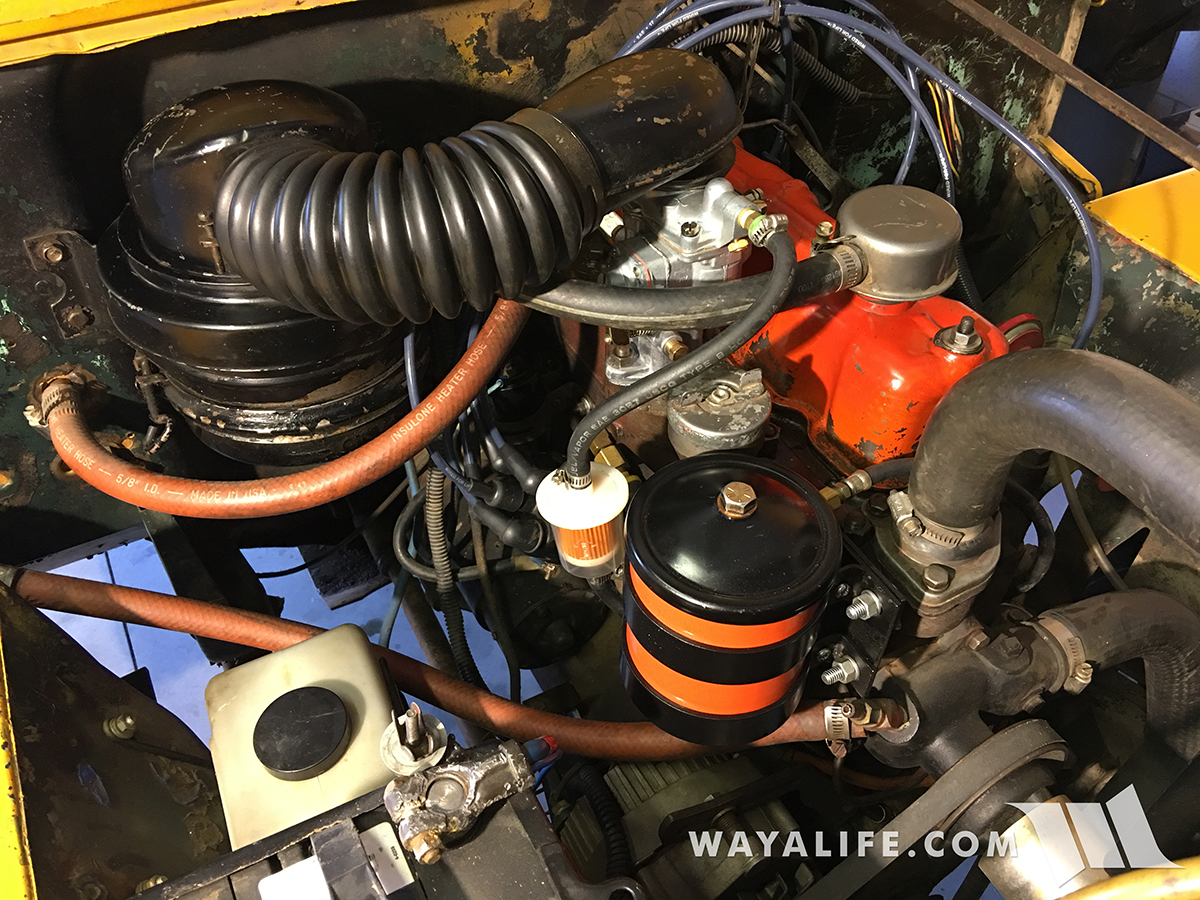
Finally, what everything looks like after installing the air tube.
While the Carter YF is a good carburetor, Pappy's was in real need of a rebuild and a few of its components were starting to become worn out enough to be a problem. While I'll most likely still rebuild it, I decided to save that project for another day and for now, decided to just replace it with a new Solex 1-Barrel. At only $128 brand new and readily available for pick-up at my local Summit Racing, I figured it was cheap enough to give it a try and not lose any sleep if it turned out not to work out well.
On top of being affordable, a Solex carburetor is super easy to install and it'll bolt right up just like a Carter YF. I should note however that it is necessary to lower the fuel pressure down to about 1.75-2 PSI in order for it to work properly. Typically, you can do this by installing a fuel pressure regulator but I decided to try something a bit different and that was to install a fuel pump spacer. By pushing the pump away from the block, the stroke of the pump arm is effectively reduced that and in turn lowers the pressure.
Here is a short write-up that highlights the steps I had to take in order to swap out Pappy's old Carter YF and replace it with a brand new Solex 1-Barrel. I hope you find the information useful.
Before the new can go on, the old has to come off and that starts with the removal of the air cleaner. Here you can see me using a screw driver to loosen up the clamp securing the air tube to the top of the carb and air cleaner.


With the clamps loosened up, the air tube can now be removed completely and allow for more access.

The fuel line feeding the carb can now be disconnected.

The cotter pin securing the throttle linkage to the throttle body lever needs to be removed in order to separate them.

Loosening the screw securing the choke control cable to the choke lever and bracket to free it from the carb.


There are only 2 nuts securing the carb to the intake manifold and the one located on the outside and facing the passenger side of the Jeep is easy to get to.

The inside nut is impossible to get to without removing the valve cover. Fortunately, it's just held in place by 2 bolts located on top of it.

With the bolts removed, the valve cover can be carefully lifted off.

Now that the valve cover is out of the way, the second of 2 nuts securing the carb to the intake manifold can now be removed.

Carefully removing the old intake manifold gasket.

With a clean rag stuffed into the intake manifold to prevent debris from falling in, I made sure the mating surface was clean and free of any old gasket material.

Installing the new gasket that came with the Solex carburetor.

Placing the new Solex carburetor on top of the intake manifold.

Securing the Solex carburetor in place using the factory nuts.


After carefully reinstalling the valve cover, I secured it in place using the factory bolts.


Connecting the throttle linkage to the throttle body lever and securing it in place with the factory washer and cotter pin.

Threading the choke control cable through the carburetor housing and onto the progressive starter lever.

Securing the choke control cable to the progressive starter lever.


Connecting the fuel line to the Solex carburetor.

Finally, what everything looks like after installing the air tube.


