2013 Billet JKUR SLOOOOW Build

I've been a member of the forum for over a year now; doing a lot of reading, and sharing where I can. Although I haven't done a ton, I figured it was time to share what I've done thus far and provide a home for future plans. So let's catch up...

I had a 1997 TJ years ago and loved it. Thought I was out of a Jeep because of kids until they came out with Unlimited. So, needless to say, when the time came for a new vehicle. I made my case to the boss. Ordered on December 29th, 2013 and took delivery on January 28th, 2014.
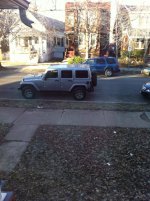
Delivery.jpg

Had been itching to get it muddy and talked my wife into heading out to a local off-road park. Well I got more than I bargained for and paid for the novice mistake of going out alone. We ended up high centered in a mud hole and no one was willing to come back into the trail and attempt a recovery. Fortunately, a guy that lived pretty close went back to his house and brought a chain hoist and we hand cranked it out. I've shared this before, but here is a video my wife took while I was hiking out to get help.
February 17th, 2013:
That incident made quick work of convincing the wife that I needed a winch. Not having much cash for mods, I bought a universal plate from Harbor Freight and modified it, and the stock bumper to fit. It's bolted straight to the frame and I just cut the bumper around it and the fairlead.
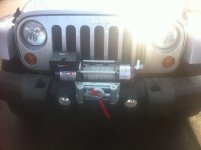
Winch.jpg

My oldest daughter loves to help and spent the whole day working on it with me.
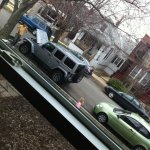
Winch Install.jpg

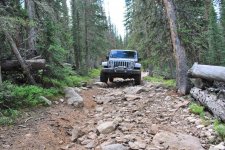
Finally got out for a good wheeling trip.
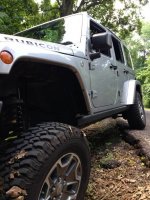
Poser Shot
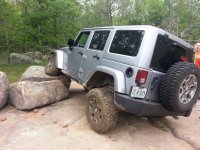
Washita Poser Shot.jpg

Reward for making a hard morning's climb.
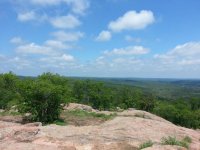
Washita Top.jpg

While I marvel at the capability of this vehicle in it's stock form, I quickly realized that I was going to need to get a little higher off the ground to keep playing at this particular park. So, ever budget conscious, I sold my stock suspension and bought a basic 3" spring lift with nitro charged shocks from Zone Offroad.
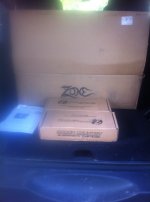
Zone Offroad.jpg

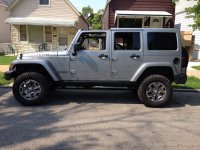
Poser Shot
Lift Poser Shot.jpg

Ready for 35's! Just (still) waiting for these tires to wear out.
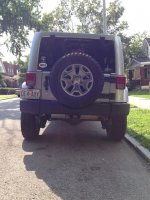
Post-Lift(1).jpg
Post-Lift.jpg

First time we got caught out in the rain and my oldest was prepared! She happened to have her swim bag :D
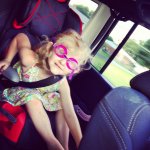
Sam Goggles.jpg

We didn't have a garage for the first year that I had the Jeep so we finally got the top and doors of for a weekend of camping and floating sans kids. Left everything at my parents house along with the kids. :yup:
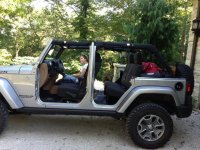
Top and Doors Off.jpg
 
Colorado Trip

Took a guys trip out to Colorado in August of 2013.

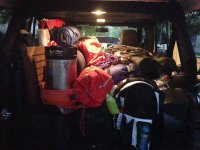
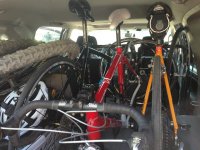
All packed
CO - Packed.jpg
for a week of...

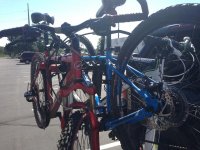
Mountain Biking
CO - MTB.jpg

Road Biking
CO - Road.jpg

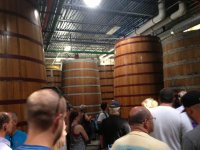
Brewery Tours
CO - Brewery Tours.jpg
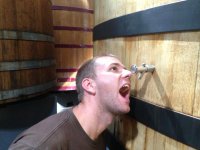
(Not me in the picture, one of my buddies who is a home brewer)
CO - Brewery Tours Willie.jpg

Camping
CO - Camping.jpg

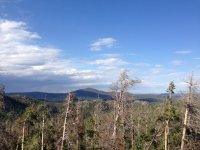
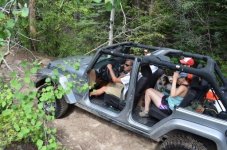
And a couple days of wheeling.
CO - Wheeling Day 1.jpg
CO - Wheeling Day 2.jpg
 
Aruba Trip

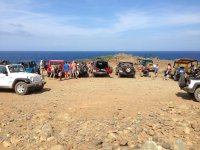
My wife and I were fortunate enough to be asked by some friends to come to Aruba with them. There was extra room in the condo they had and we used award travel to get there and back so we gladly accepted the invite. The absolute BEST thing we did on the trip was to get to know some locals and invited them to come along with us as we rented a couple Jeeps from Budget to explore the island. We got the most incredible tour without the crazy tourist price. Packed the guys a lunch and shared some beers with them and they spent the entire day with us.

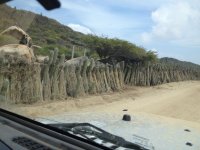
We saw the lighthouse, holes in the coral
Aruba - Blow Holes.jpg

incredible change in terrain
Aruba - Poser Shot1.jpg

blowholes on the windward side of the island

the first chapel on the island, where they still hold service
Aruba - Chapel.jpg

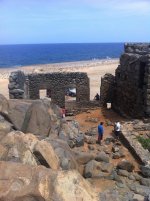
historic gold mines
Aruba - Mine.jpg

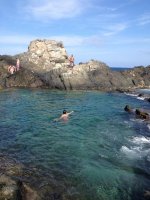
the magnificent Hidden Pools which you can only get to by Jeep, or ATV
Aruba - Hidden Pools.jpgAruba - Hidden Pools1.jpgAruba - Hidden Pools2.jpg

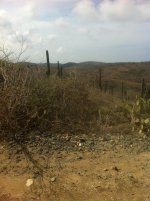
cacti
Aruba - Cacti.jpg

the National Park
Aruba - National Park.jpg

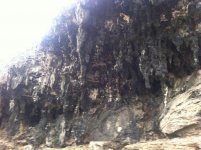
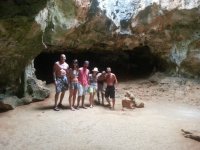
caves
Aruba - Caves.jpgAruba - Caves1.jpg

Baby Beach
Aruba - Baby Beach.jpg

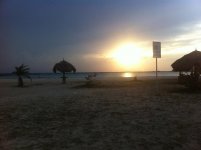
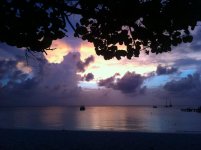
and the beautiful sunset at our mainstay for the week
Aruba - Sunset.jpg
 
DIY SPOD and Lights

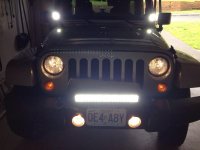
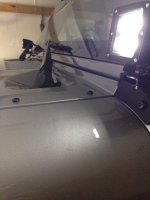
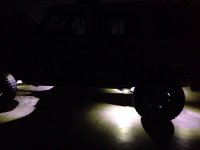
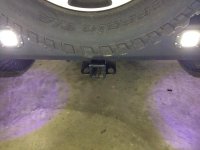
Last major project was following the write up for the DIY SPOD and adding rock lights, flush mount reverse LED pods, A-Pillar LED pods, and a 20" light bar above the fairlead.

Lights - Bar and Pillar.jpgLights - A-Pillar.jpgLights - Rock.jpgLights - Rear Bumper.jpg
 
Thanks! Looking forward to continuing to add to it as budget allows.

Any info or pictures on the DIY sPOD? I am considering doing the same thing. I've done some research already but I'm curious if you have any helpful hints or tips based on your experience building it.
 
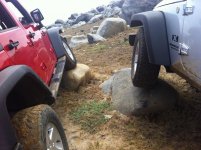
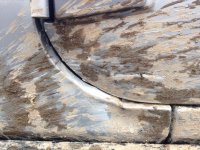
Took some body damage yesterday.
ImageUploadedByWAYALIFE1418661950.985458.jpg

I'll have I get a better picture after I get the Jeep cleaned up. Would love to hear from guys that have had damage in this same spot and how you went about resolving it. Evo skins might be in order, but I'm assuming that I still need to get it flattened out first? I'll definitely have to get the door taken care of.

Here is some video from the day of wheeling.
http://youtu.be/teEUx80GHr8
 
Where is this at? I'm near Fort Leonard Wood and am always interested in checking out new places to wheel. Looked like a good time! Sucks about the body damage, though.
 
Where is this at? I'm near Fort Leonard Wood and am always interested in checking out new places to wheel. Looked like a good time! Sucks about the body damage, though.

It's at Moonlight Racing in Sullivan, MO. It was my first time out there and I'd recommend checking it out!
 
Took some body damage yesterday.
View attachment 114918

I'll have I get a better picture after I get the Jeep cleaned up. Would love to hear from guys that have had damage in this same spot and how you went about resolving it. Evo skins might be in order, but I'm assuming that I still need to get it flattened out first? I'll definitely have to get the door taken care of.

Here is some video from the day of wheeling.
http://youtu.be/teEUx80GHr8

I smacked a rock in a similar location a few months ago. Take a look at my write-up here on how I fixed it. If you have any questions please let me know.

http://wayalife.com/showthread.php?t=20709

-Ryan
 
I smacked a rock in a similar location a few months ago. Take a look at my write-up here on how I fixed it. If you have any questions please let me know.

http://wayalife.com/showthread.php?t=20709

-Ryan

Ah, I remember reading that. Thanks for the link and the refresher! I'm not sure I want to tackle this myself... the lower panel is dented right on the crease - I could see that being pretty difficult. And, like you, the door won't get covered by anything so I'm not confident I could produce an acceptable result. Yours looks like it turned out pretty darn well though!
 
Ah, I remember reading that. Thanks for the link and the refresher! I'm not sure I want to tackle this myself... the lower panel is dented right on the crease - I could see that being pretty difficult. And, like you, the door won't get covered by anything so I'm not confident I could produce an acceptable result. Yours looks like it turned out pretty darn well though!

I hear ya...mine was pushed in by the corner where the door sits, pulling that out was definite the hardest part and is also the part that didn't quite turn out as nicely as I would have liked.

You can always hit a few local body shops and get some quotes on having it taken care of.
 
Would love to hear from guys that have had damage in this same spot and how you went about resolving it. Evo skins might be in order, but I'm assuming that I still need to get it flattened out first? I'll definitely have to get the door taken care of.

Bump. Anyone else had damage at that spot? Did you get it professionally fixed before covering with skins?
 
Bump. Anyone else had damage at that spot? Did you get it professionally fixed before covering with skins?

...the reasoning behind me pulling that dent out in the write up was so that I could eventually install skins. If you don't pull the dent you'll have a difficult time installing the nutserts because they won't be sitting "flush" with the skin. By flush I mean that depending on where the nutsert will need to be installed you may find that it is going into a surface that is pushed into the body from the back of the skin and may not be parallel with the back of the skin. Both of these issues will make it difficult to get the nutsert hole and the bolt hole in the skin properly lined up. Furthermore, if you don't remove the dent, you'll have a void behind the skin between the body where the dent is, which will be a good place for water/dirt/critters/etc. to eventually accumulate.

Though I'm sure you could figure out a way to install the skin while leaving the dent as is, I don't think it would be the best idea.

That was my line of thought, thanks for confirming. :thumb:
 
Warranty Work

Although I love this vehicle, I've not been impressed with the amount of warranty service that I've had to get done on it. Luckily, the dealership has been pretty congenial and covered what needed to be taken care of thus far. It's in the shop right now, just got the following update from the service adviser:

Mirror Recall
- Both sides done.
Software Updates (3)
- Done.
Oil Change
- Done.
5 Tire Rotation
- Done.
Parking Brake
Wouldn't hold anymore.
- Part redesign, parts on order.
- Will replace both the lever and the two cables running to the brakes.
Torn Boot at Pitman Arm End of Draglink
- Needs a new draglink. Part on order.
Water Pump
Intermittently chirping. Has already been replaced once.
- They will replace it again. Tomorrow.
Passenger Seat Heater
Intermittently not staying on. Will turn off immediately after turning on.
- TSB on it and parts will be replaced. On order, but may not be in before they wrap everything else up and may need to bring it back for that.
Transmission
Marbles in a can rattle when clutch is not depressed. Grinds in and out of gear. Especially 1st, 2nd, and 3rd. Stick shift rattles in 4th. They have already replaced the throwout bearings, the input shaft bearings, and the shifter for the same issues previously.
- Cannot duplicate. Said the technician drove it and the manager drove it and couldn't replicate.
- Want me to come by tomorrow (will probably have to be in the afternoon) to drive with them.

All of the above is all being covered under warranty.
 
Top Bottom